

Introduction
In this tutorial, we are going to learn how you can deploy your static website from local to aws ec2 server with nginx.
Step 1
This is a website that we are going to deploy and currently, it is running on the localhost.

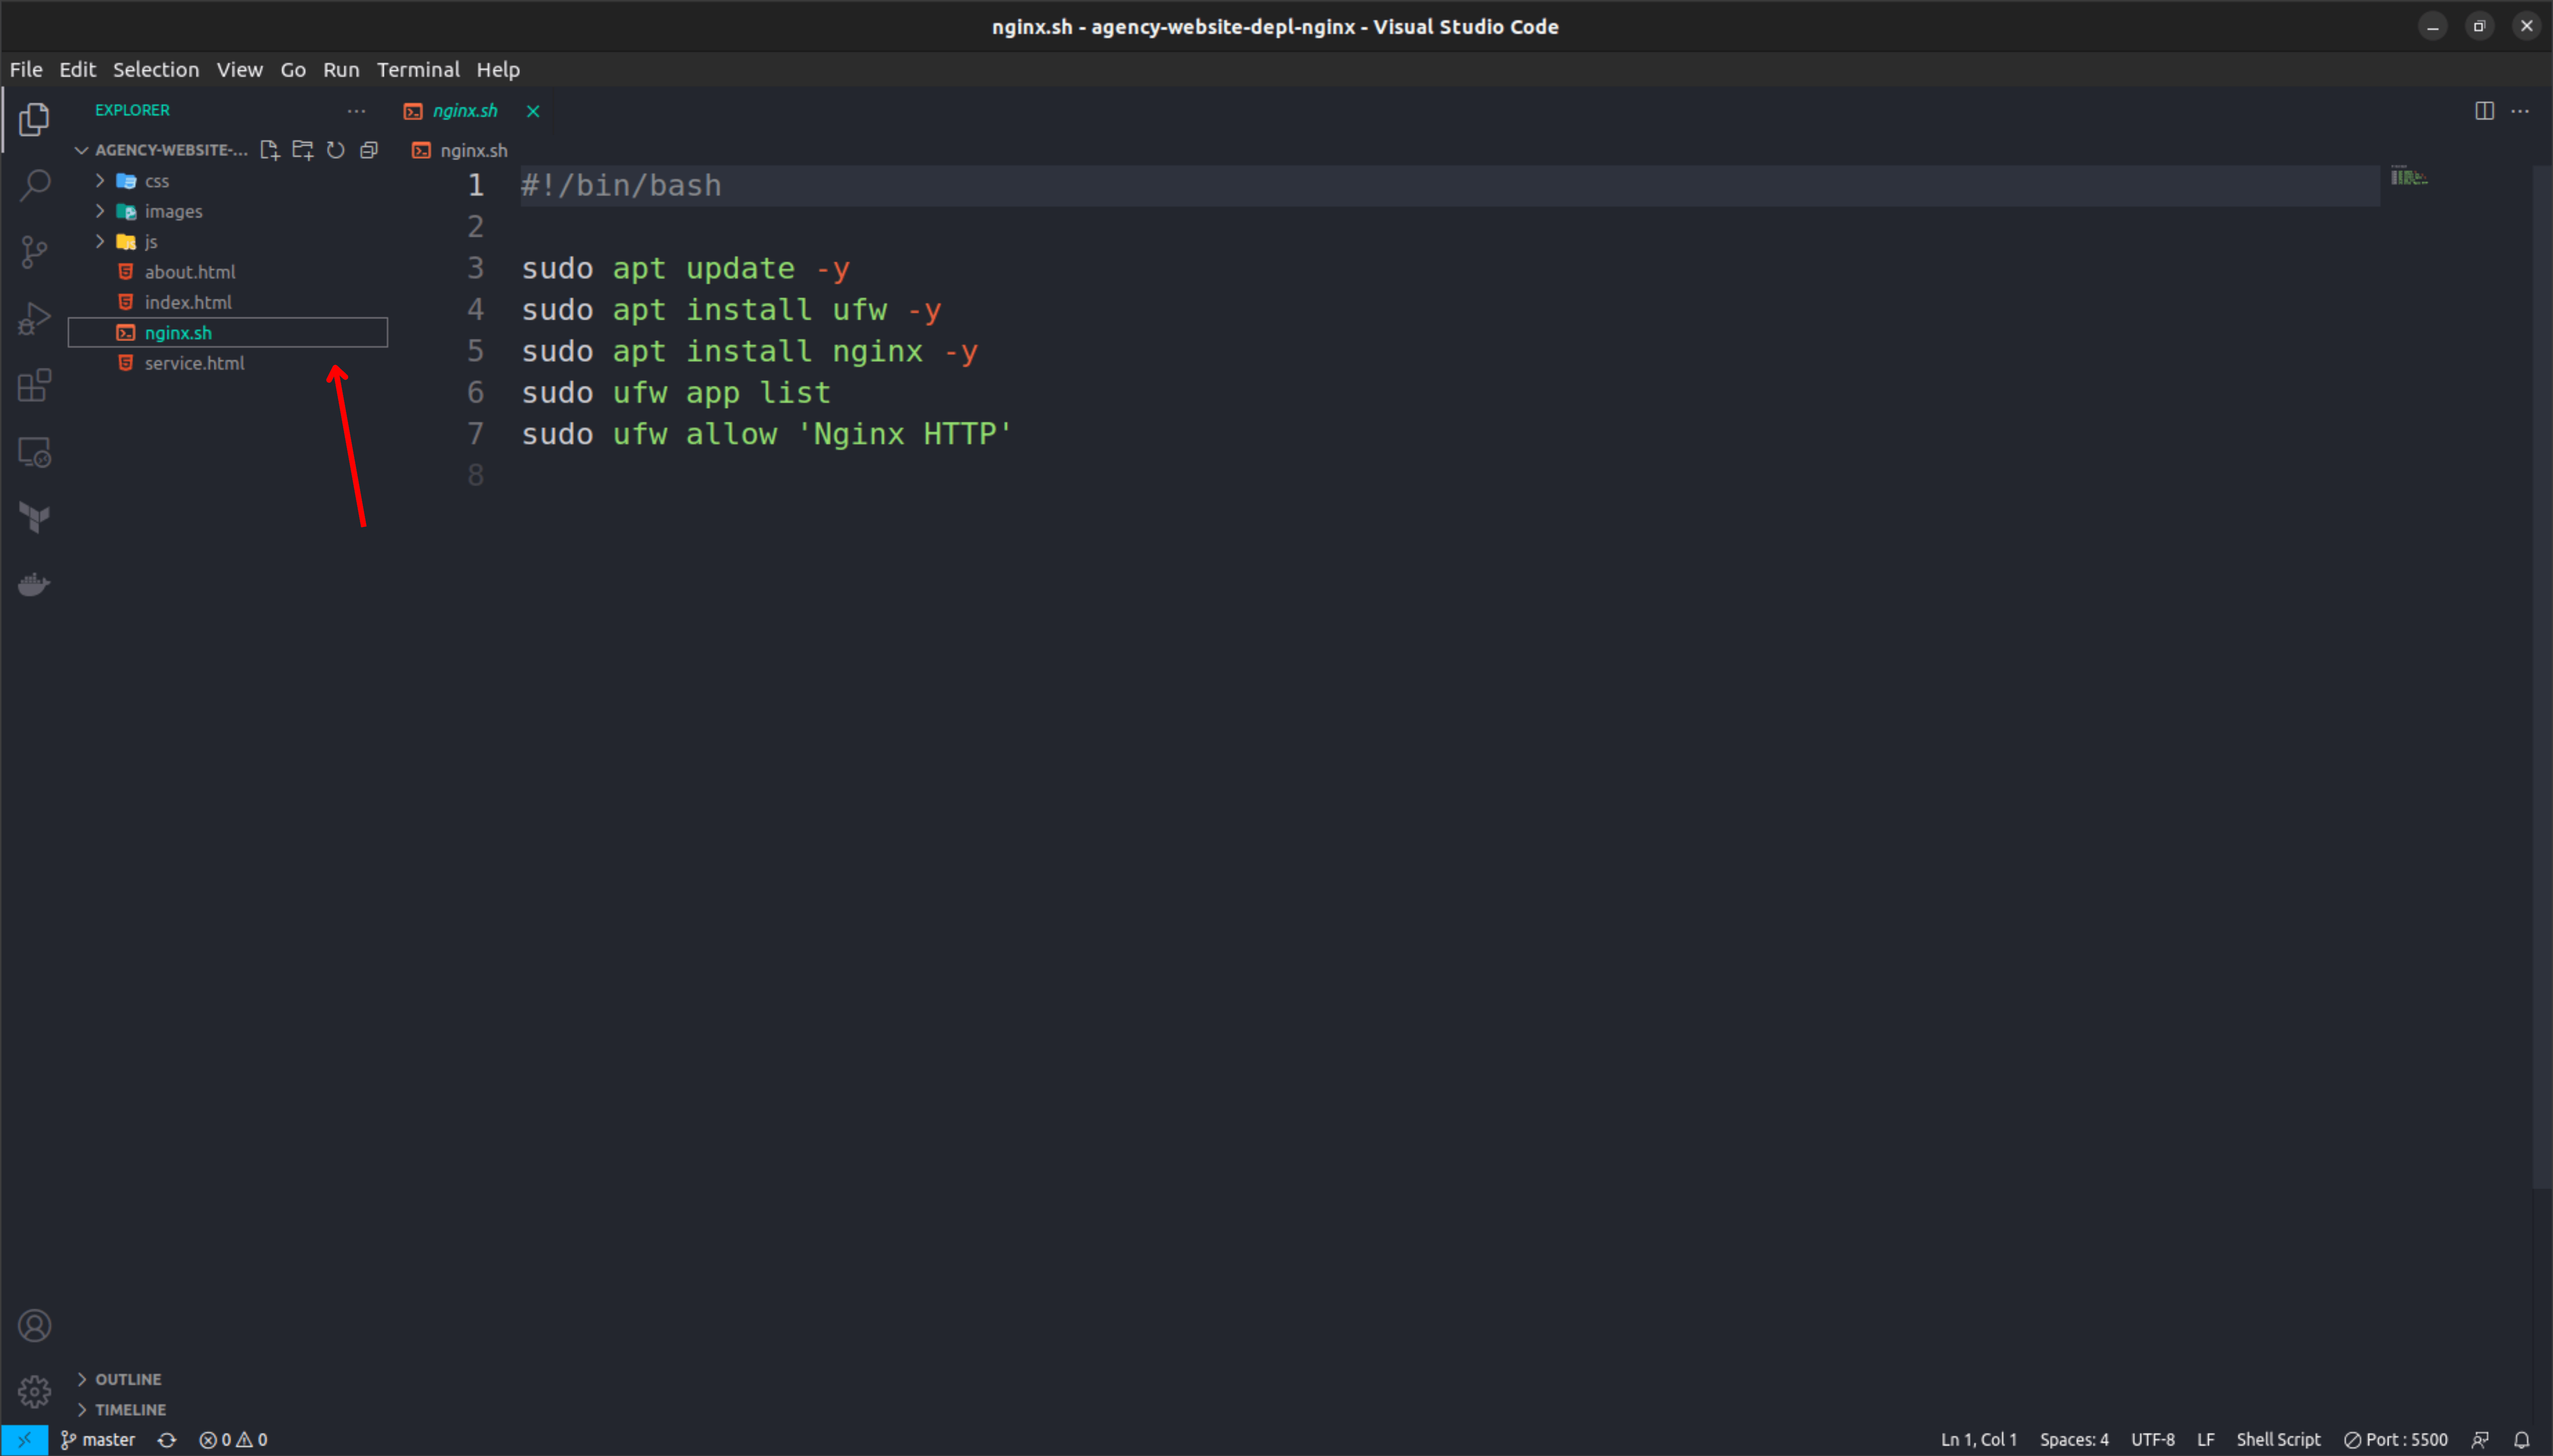
This is the website code that we have

inside the website code, we have an nginx shell script file that can help to install the nginx web server on the aws ec2 server
Once you are done with that then push the website code to GitHub so later on, we can use it & this is my github repo link
https://github.com/rohit-marathe/agency-website-depl-nginx

Step 2
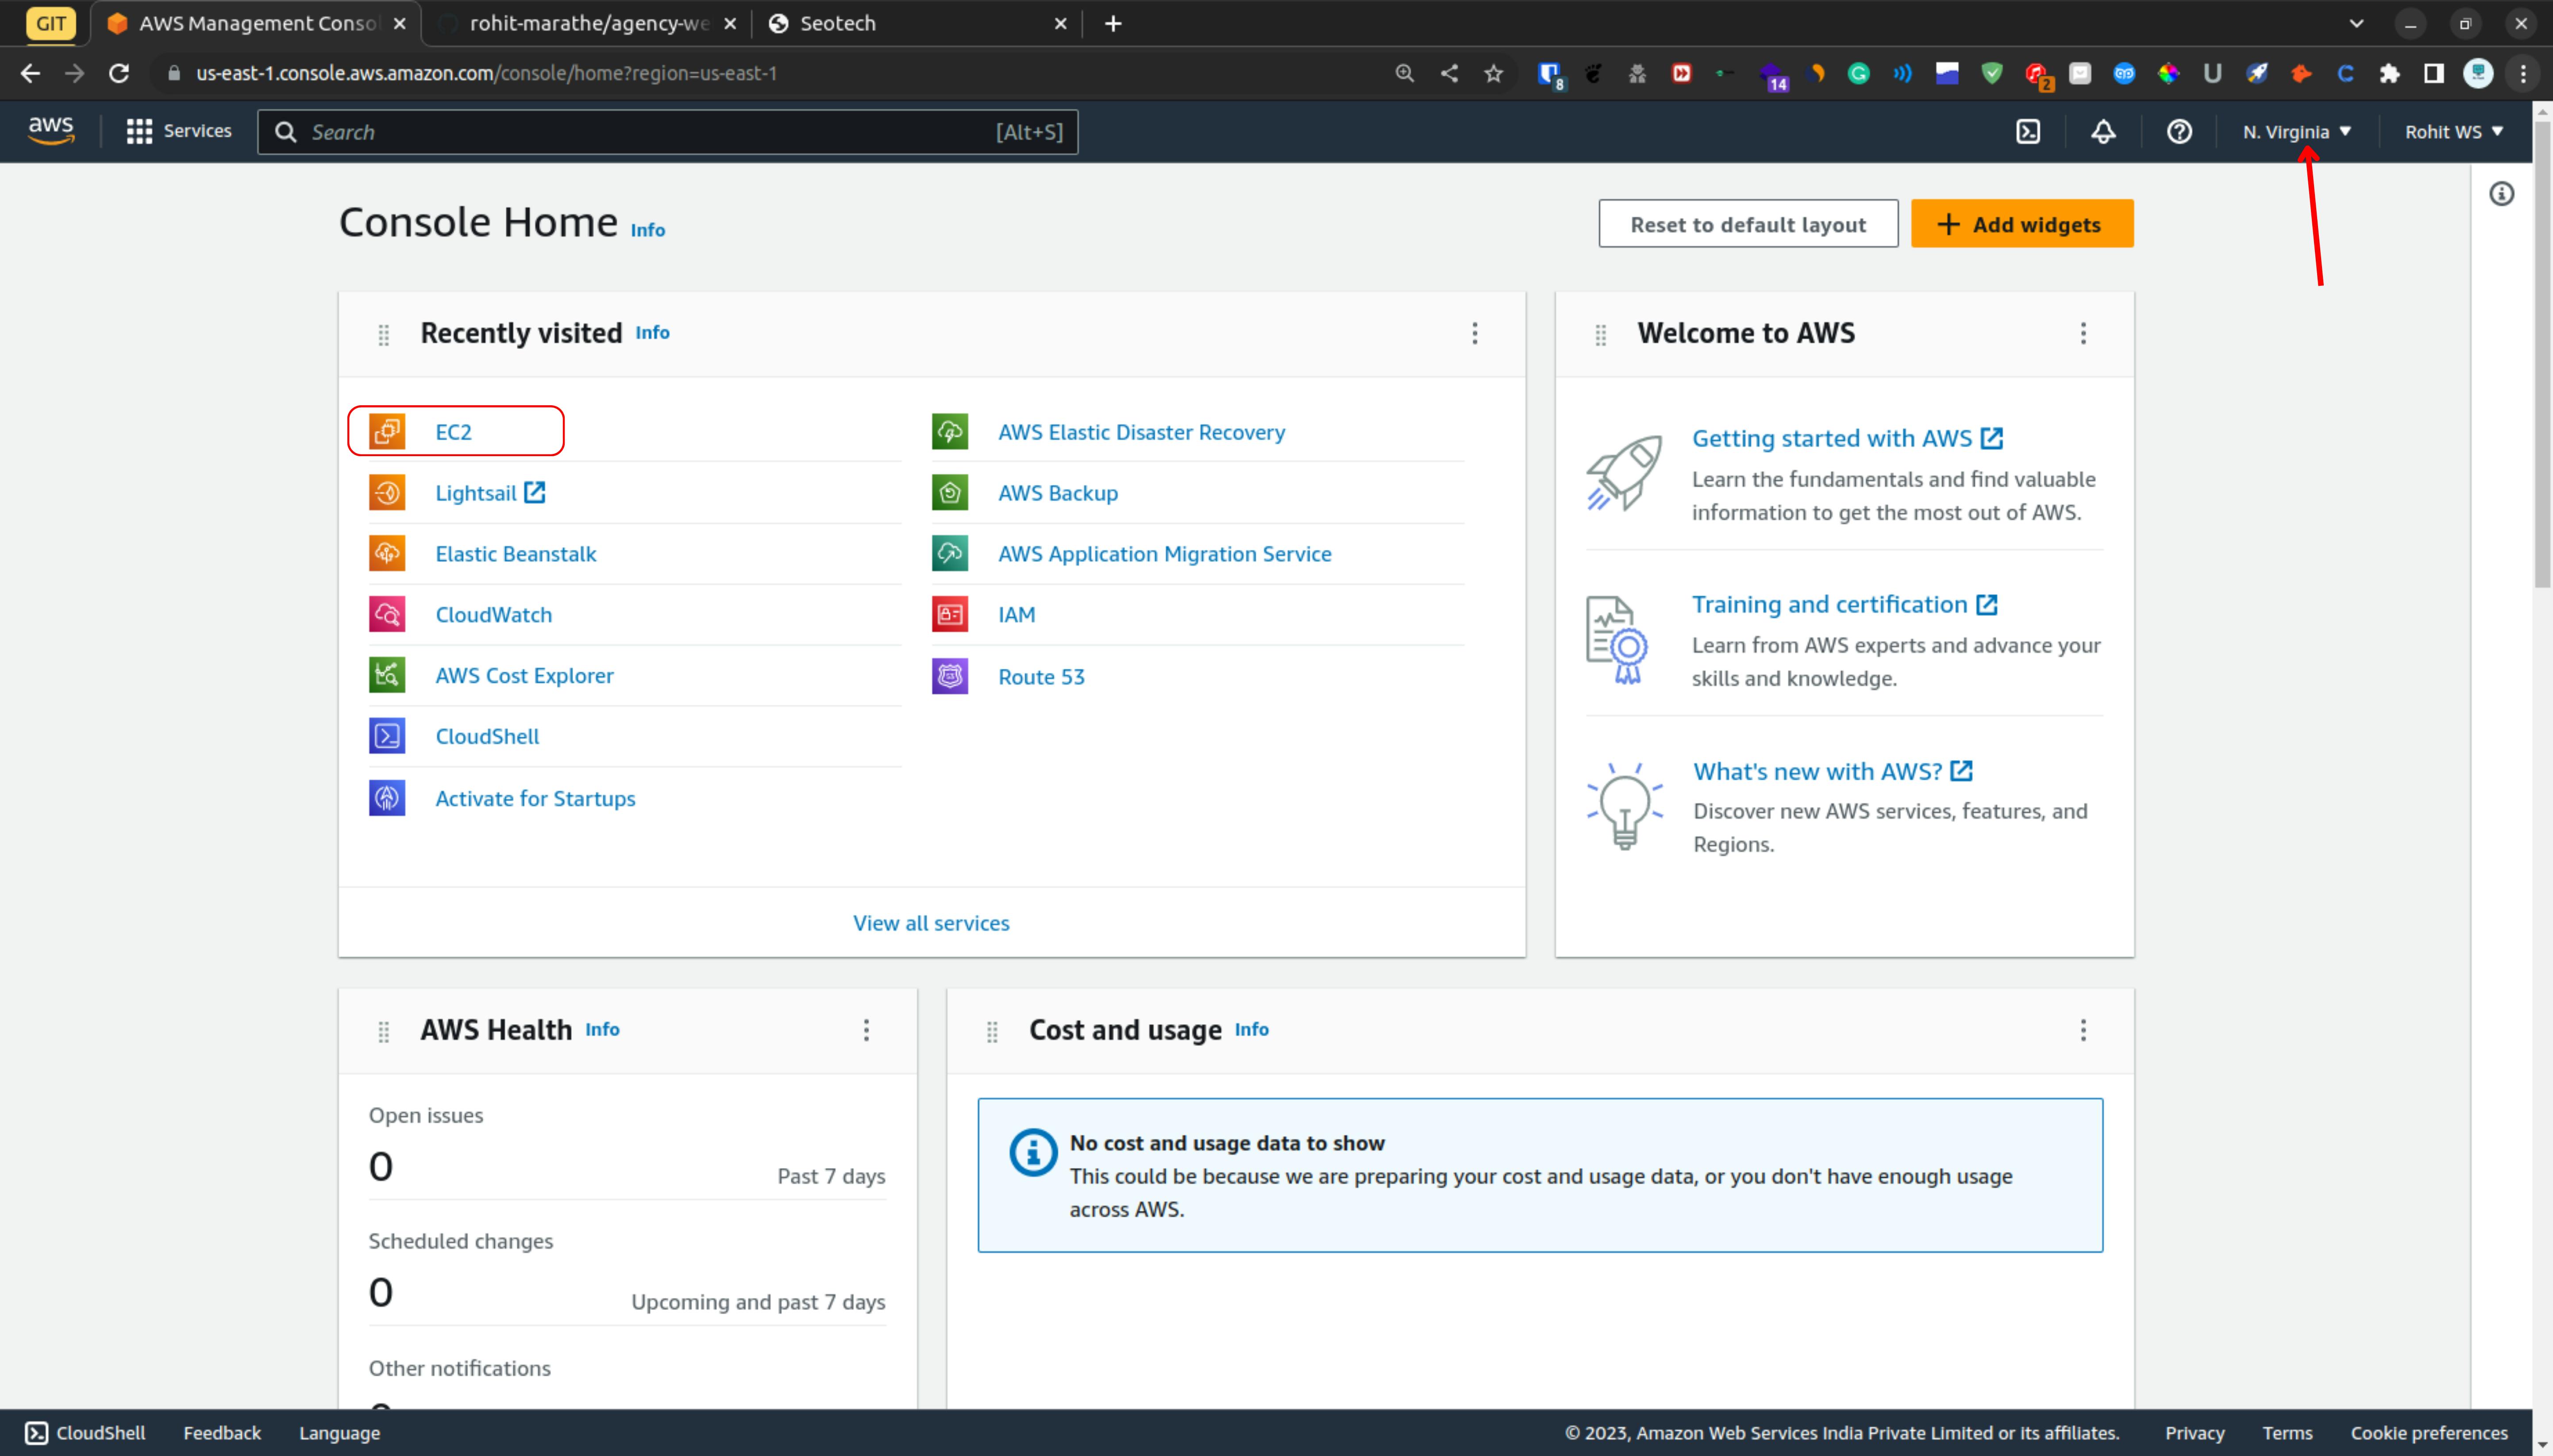
Now login into the aws account and I am going to deploy the website in the N.Virginia. Once you select the region search the ec2 or as you can see that I got the option in the dashboard so click on it.
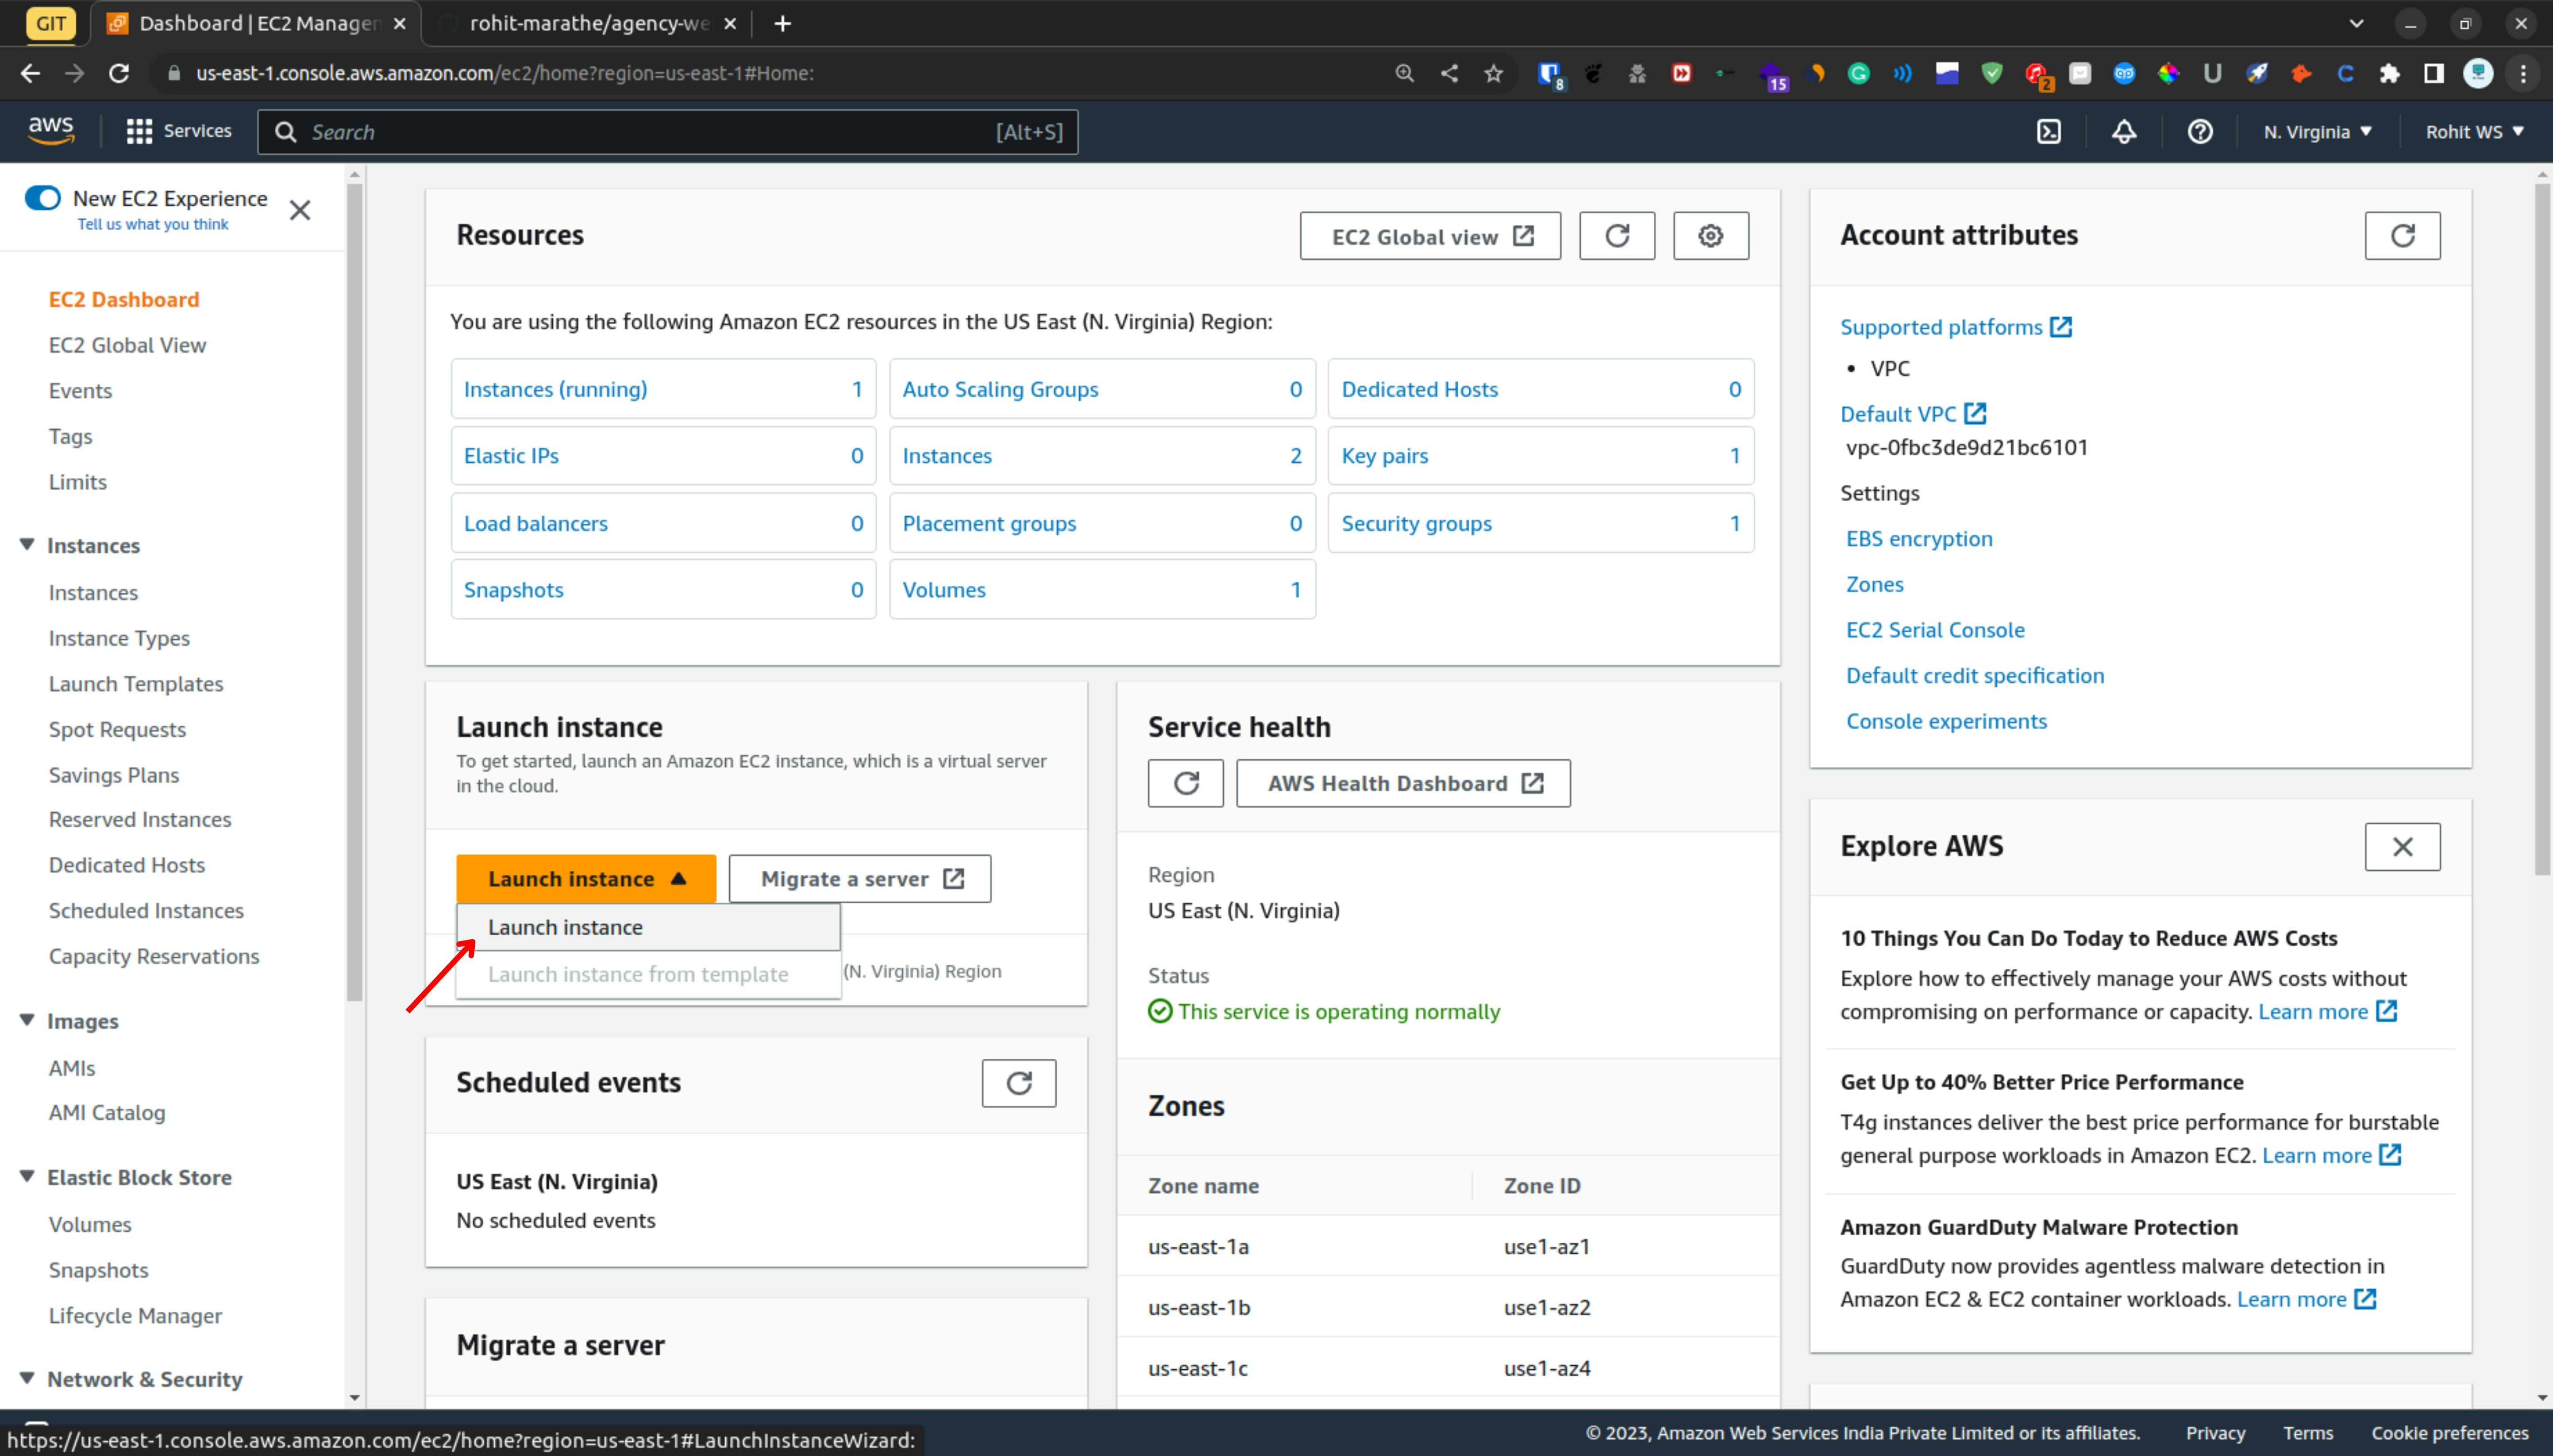
So launching the instance click on launch instance
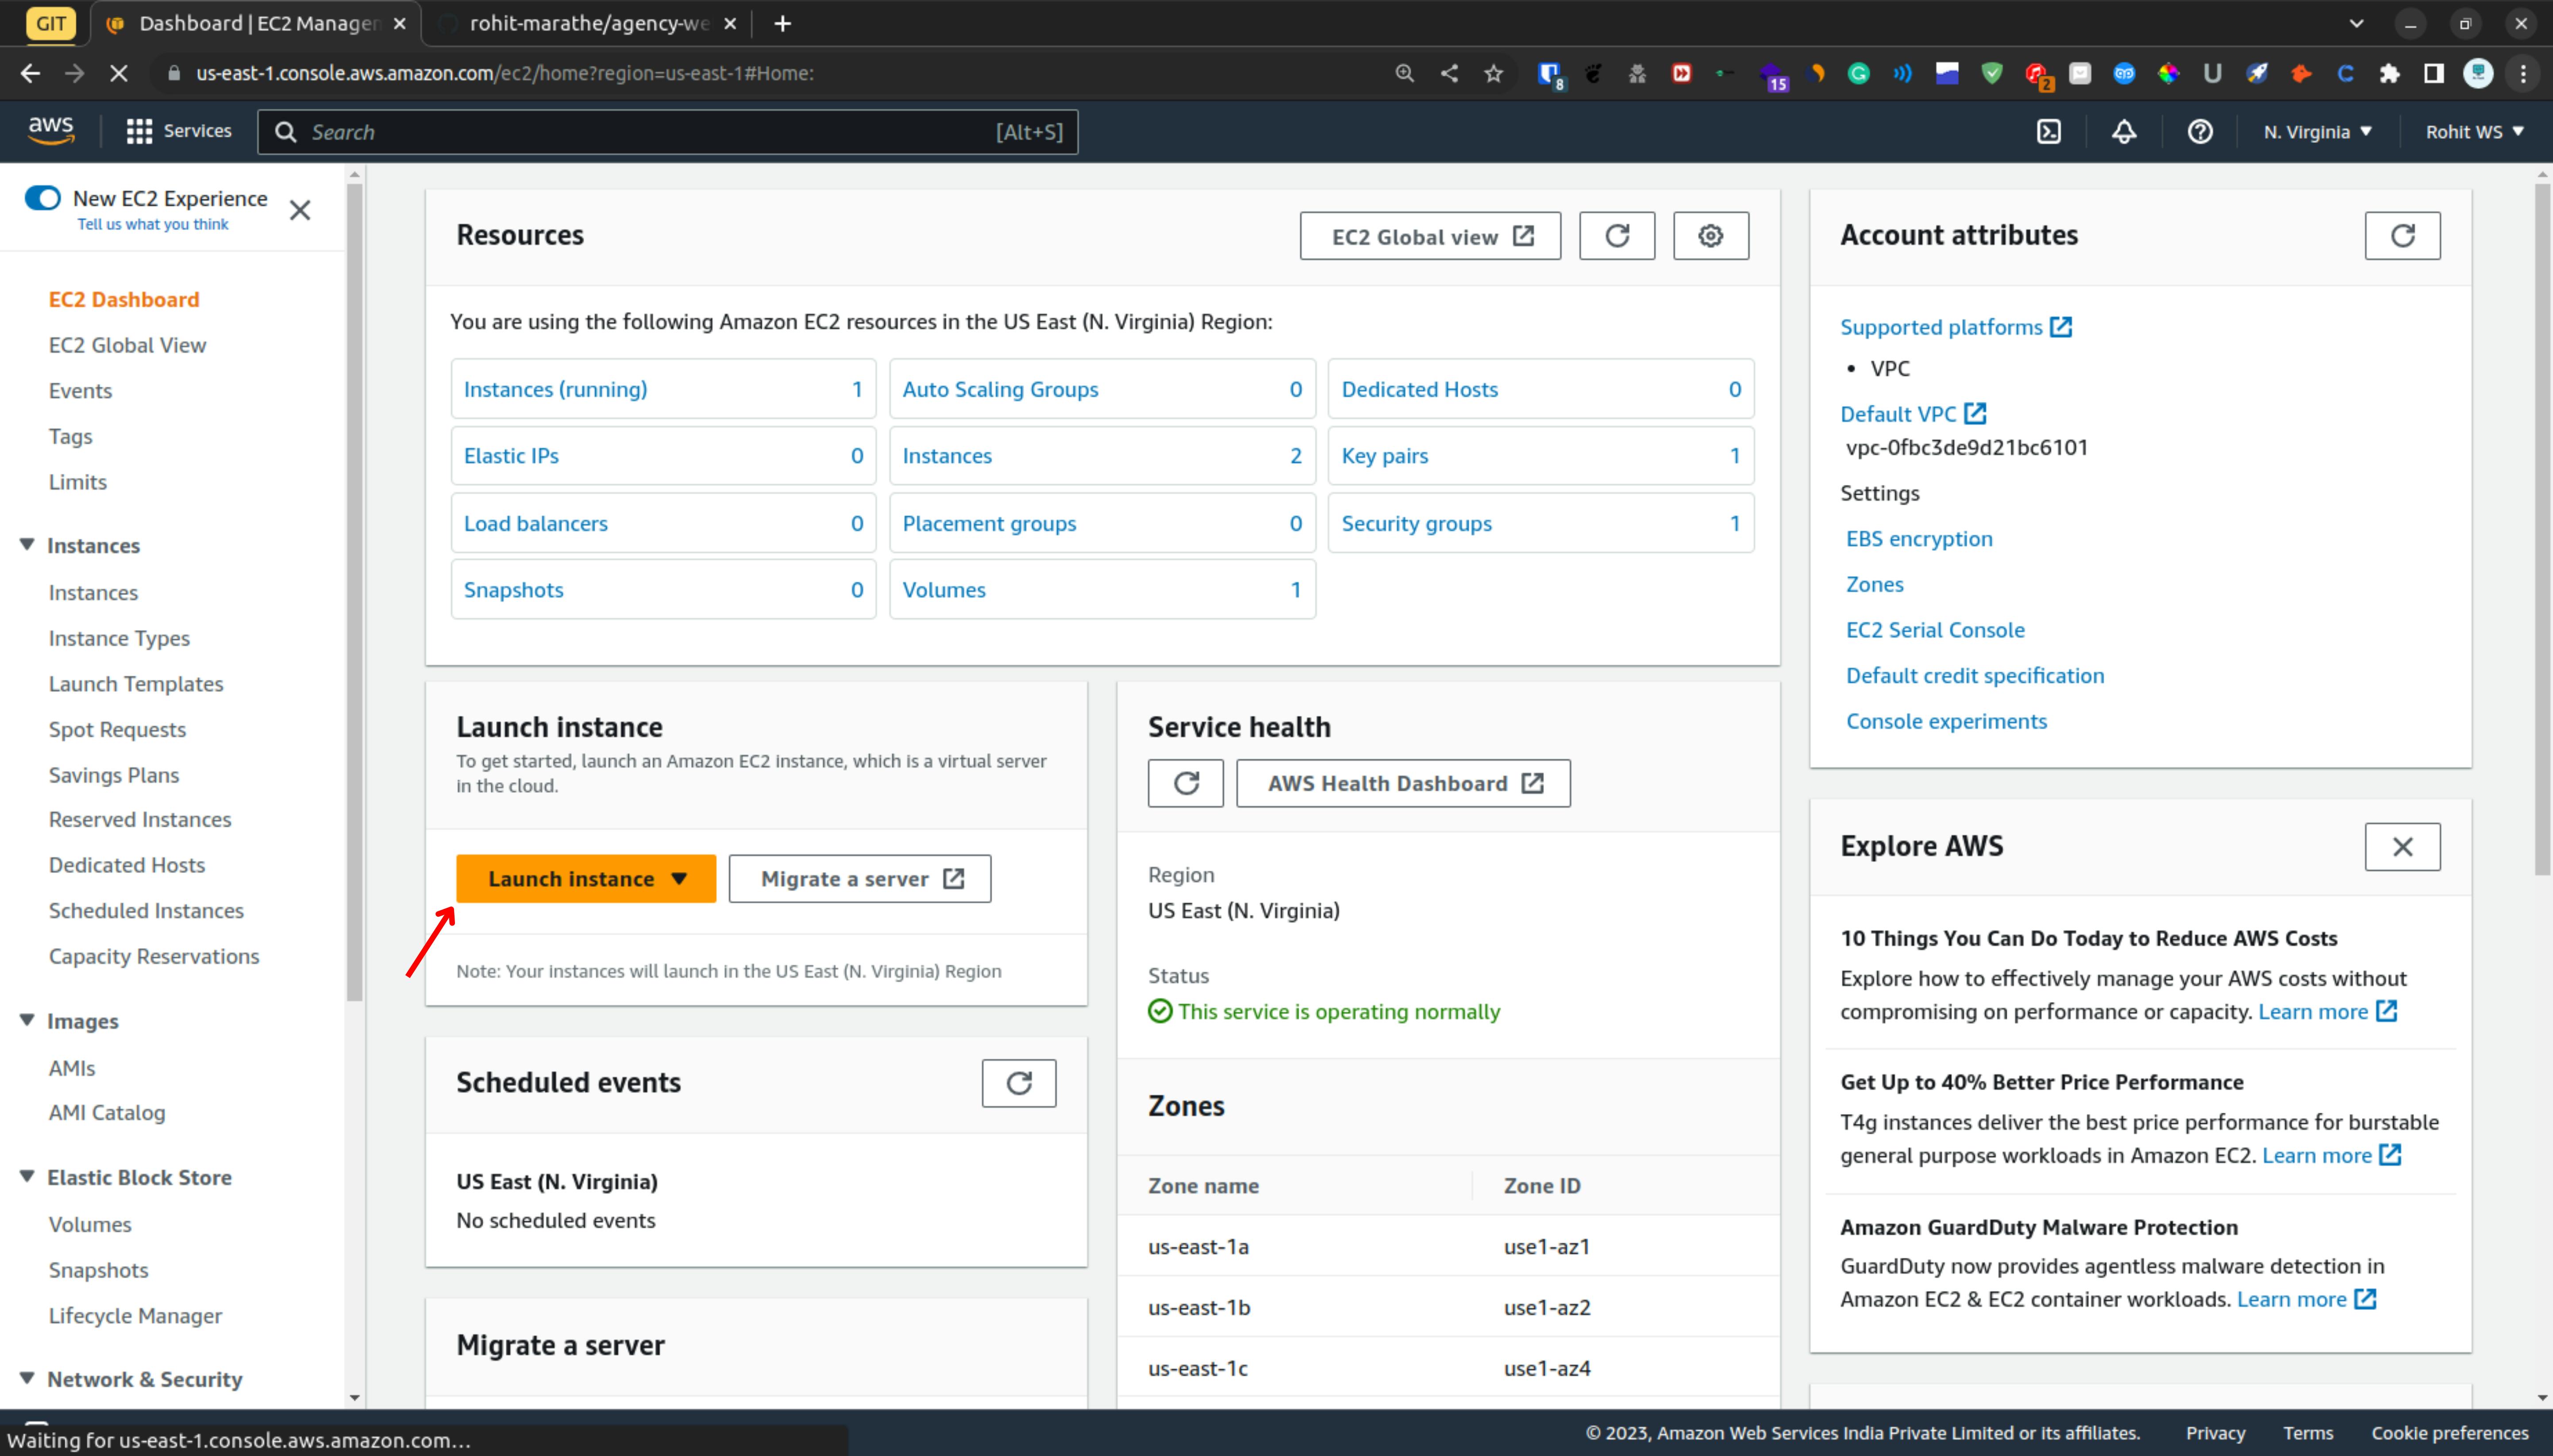
Click On Launch Instance
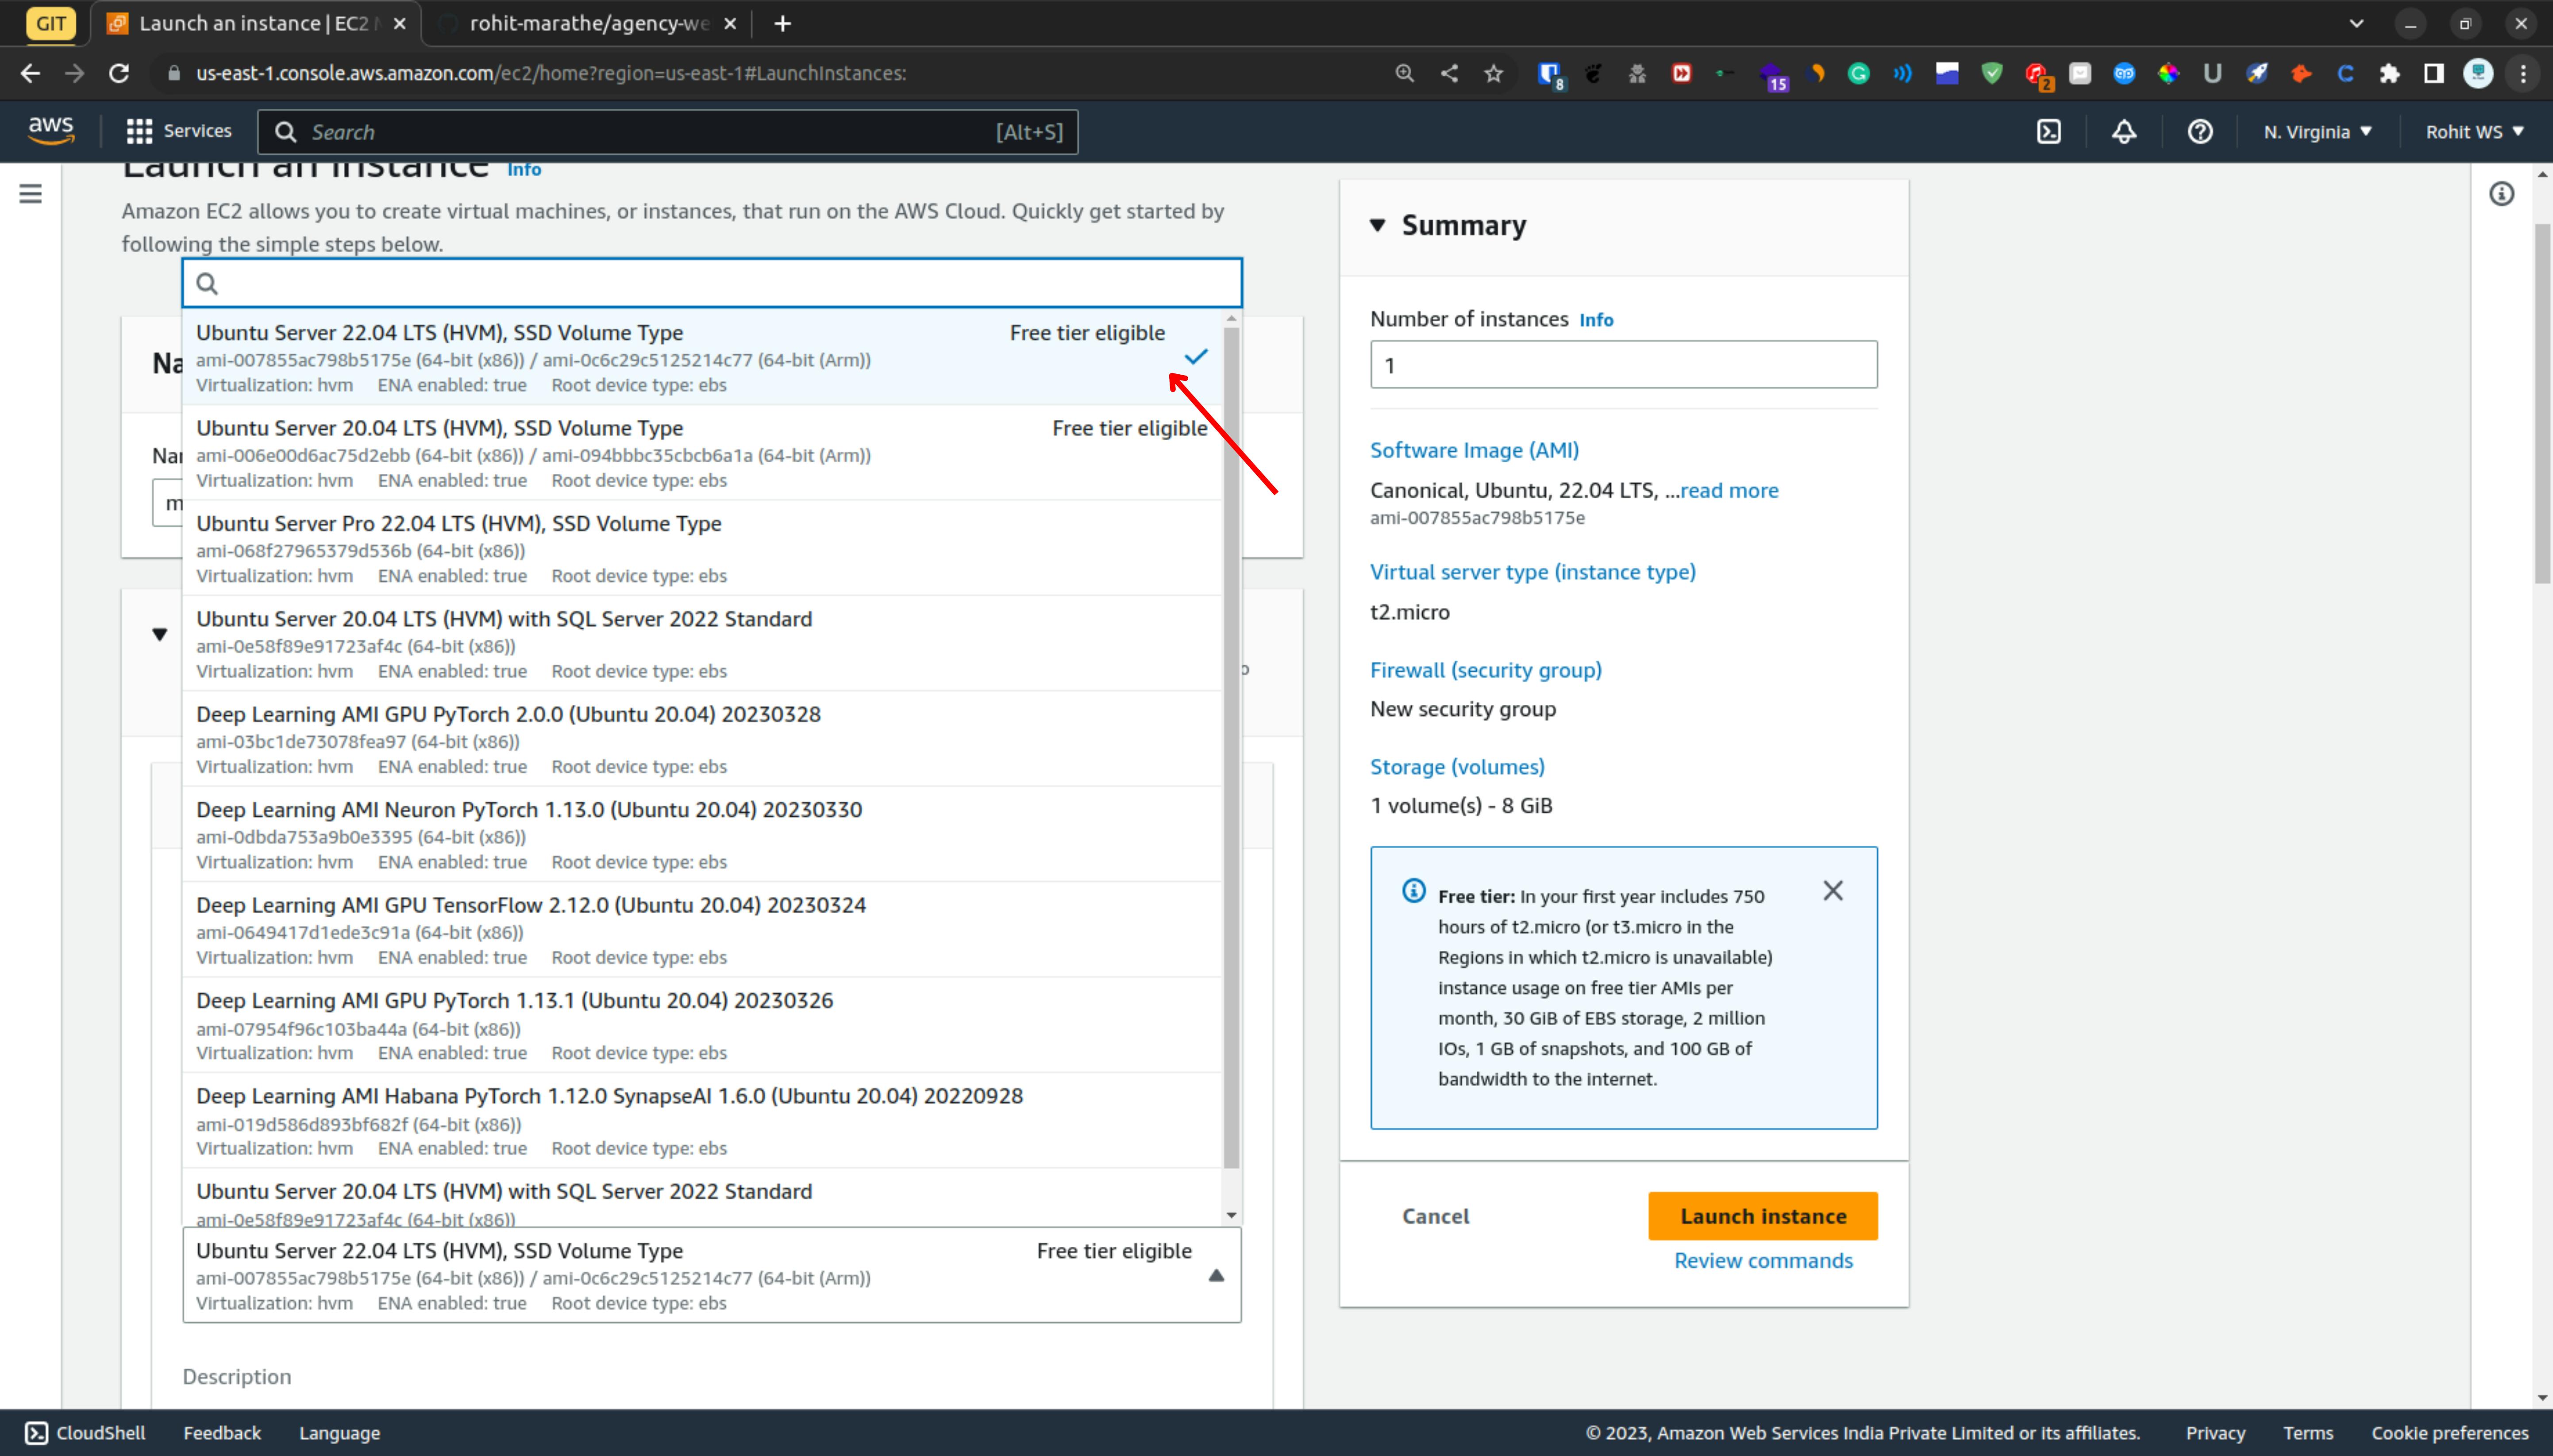
Give the name for your instance & from the AMI ( Amazon Machine Image) select the Ubuntu image.
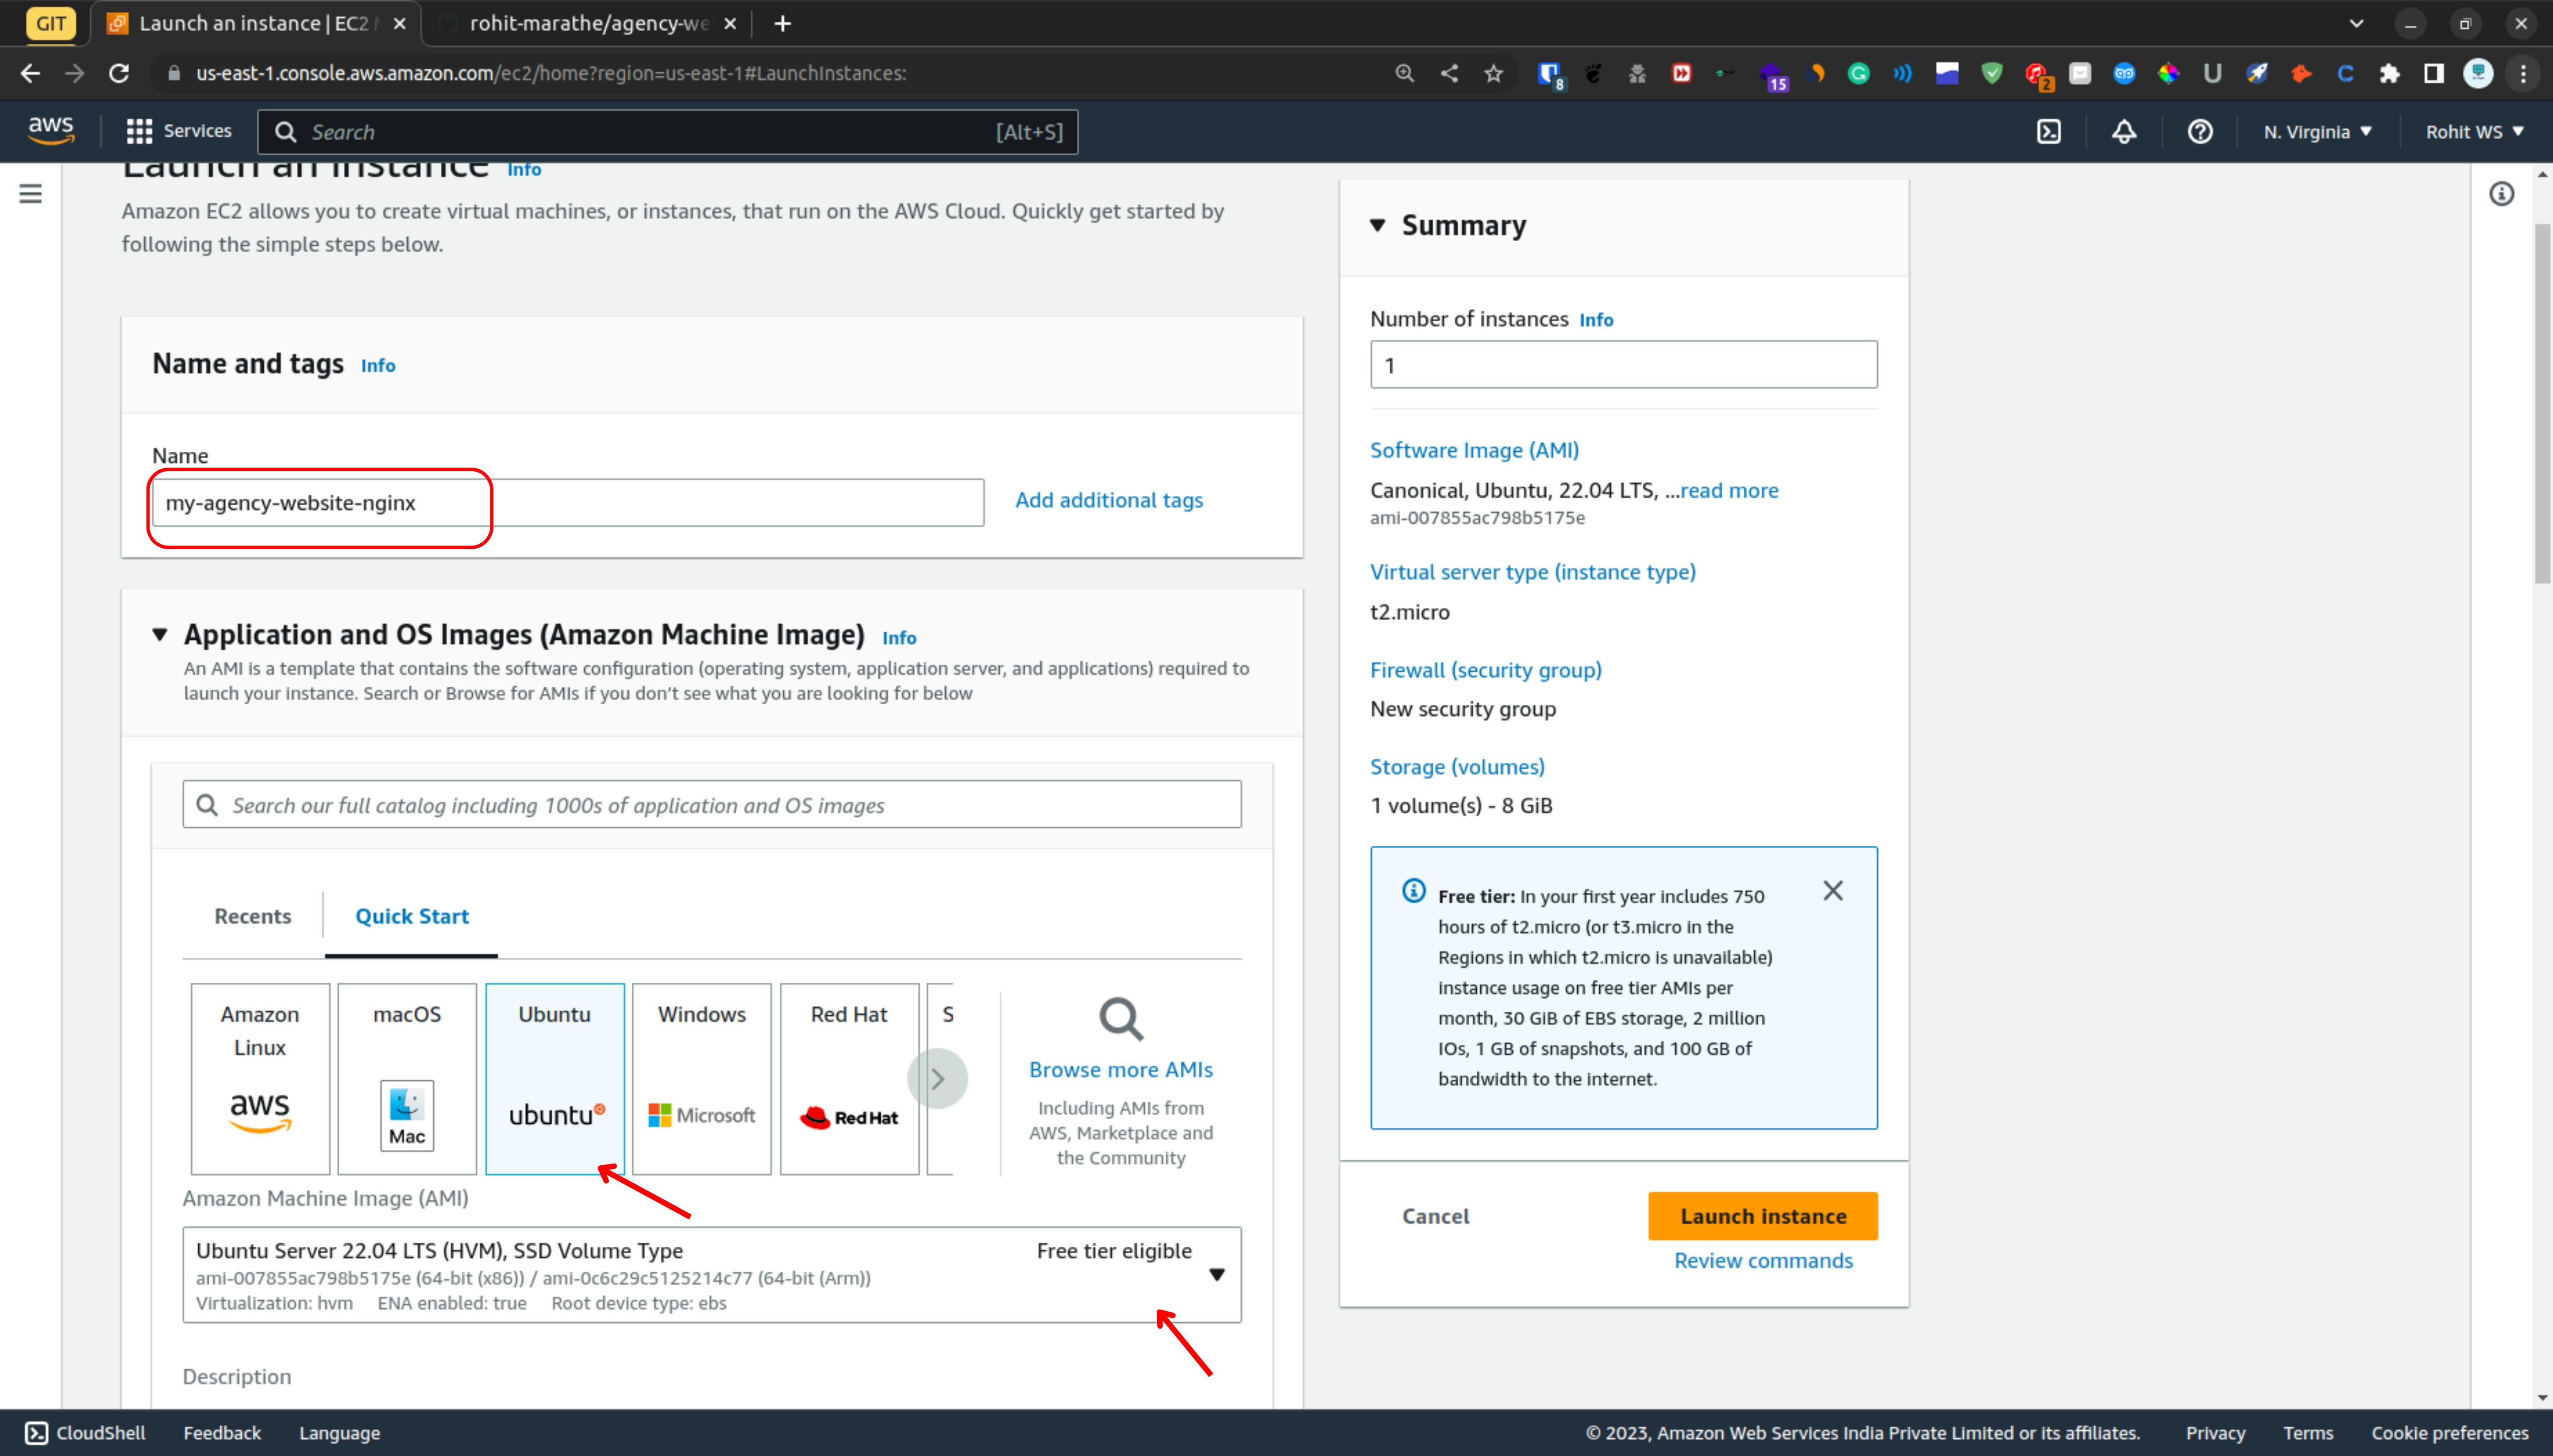
Also, you can select the specific version of Ubuntu and but I have chosen 22.04 and it is available for the free tier
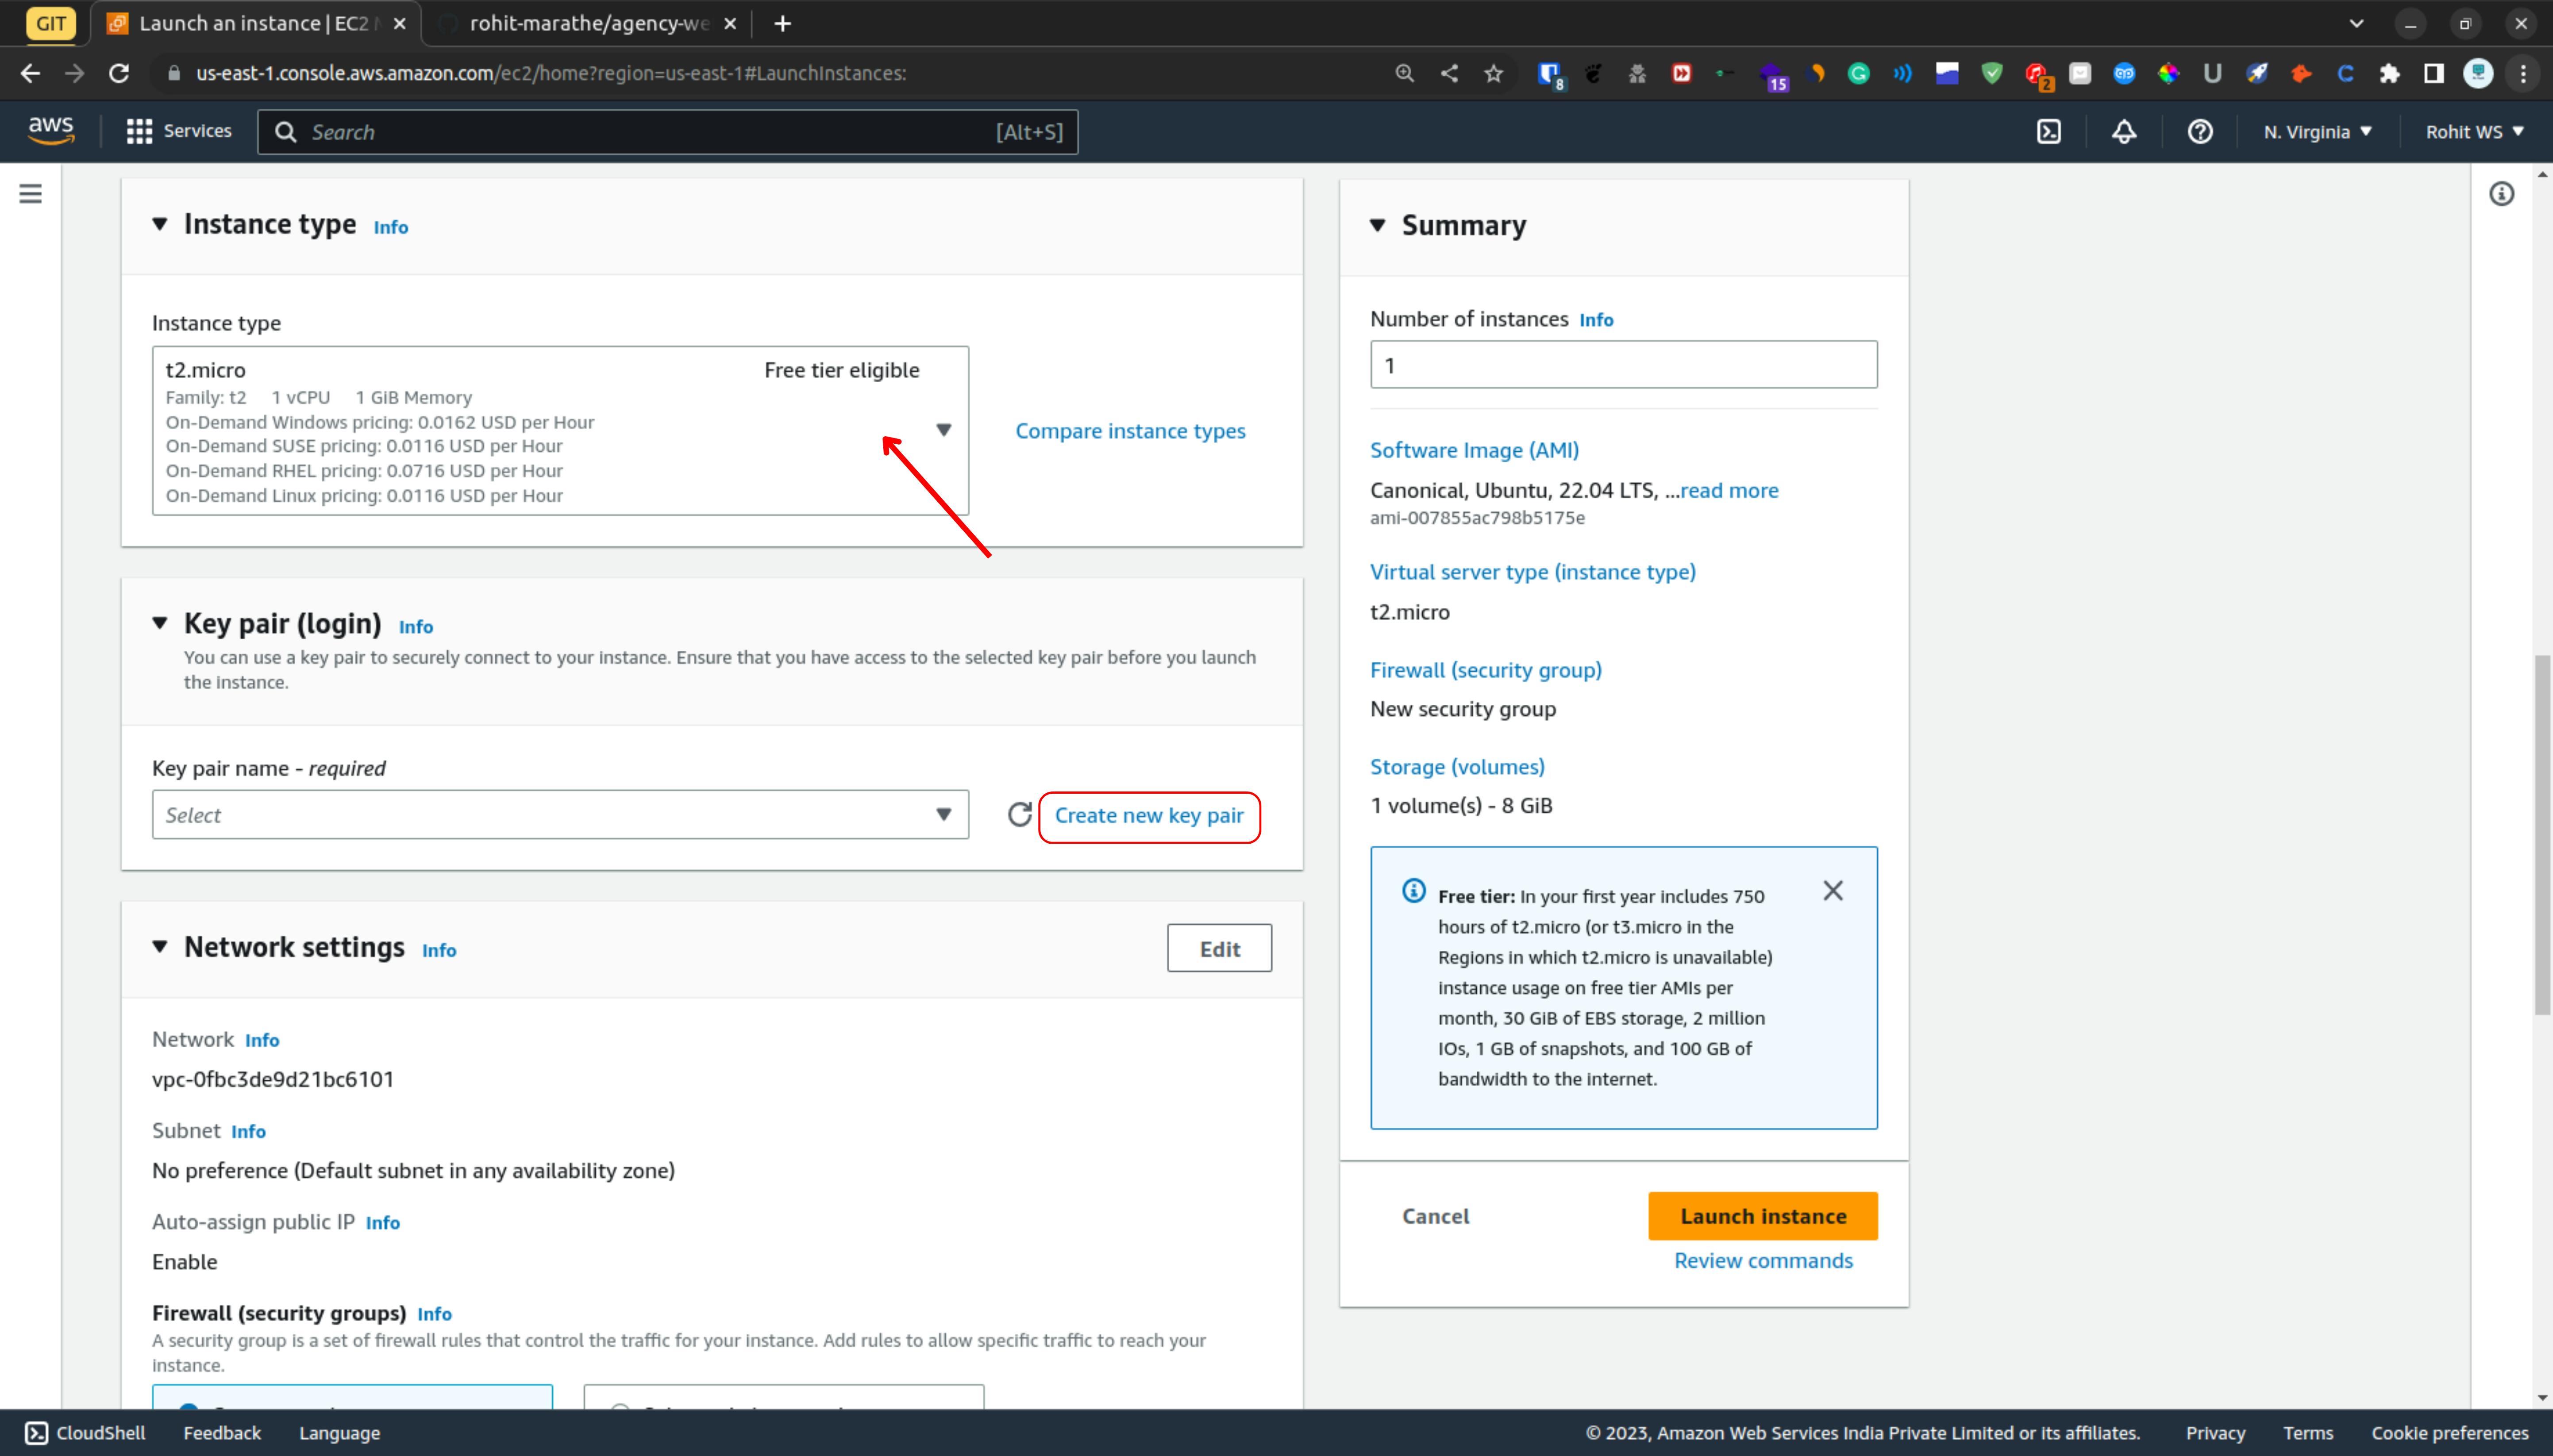
From The Instance Type, I am going to select t2.micro for this tutorial.
Once you the done with the instance selection then you will get the section of key pair which is going to help to connect with the instance if you don't have key pair then click on "create new key pair"
After you get this type of window, Give the name for your key pair and leave it as all the options if you going to connect the instance SSH with Ubuntu. & Click on Create key pair.

But I have already key pair.
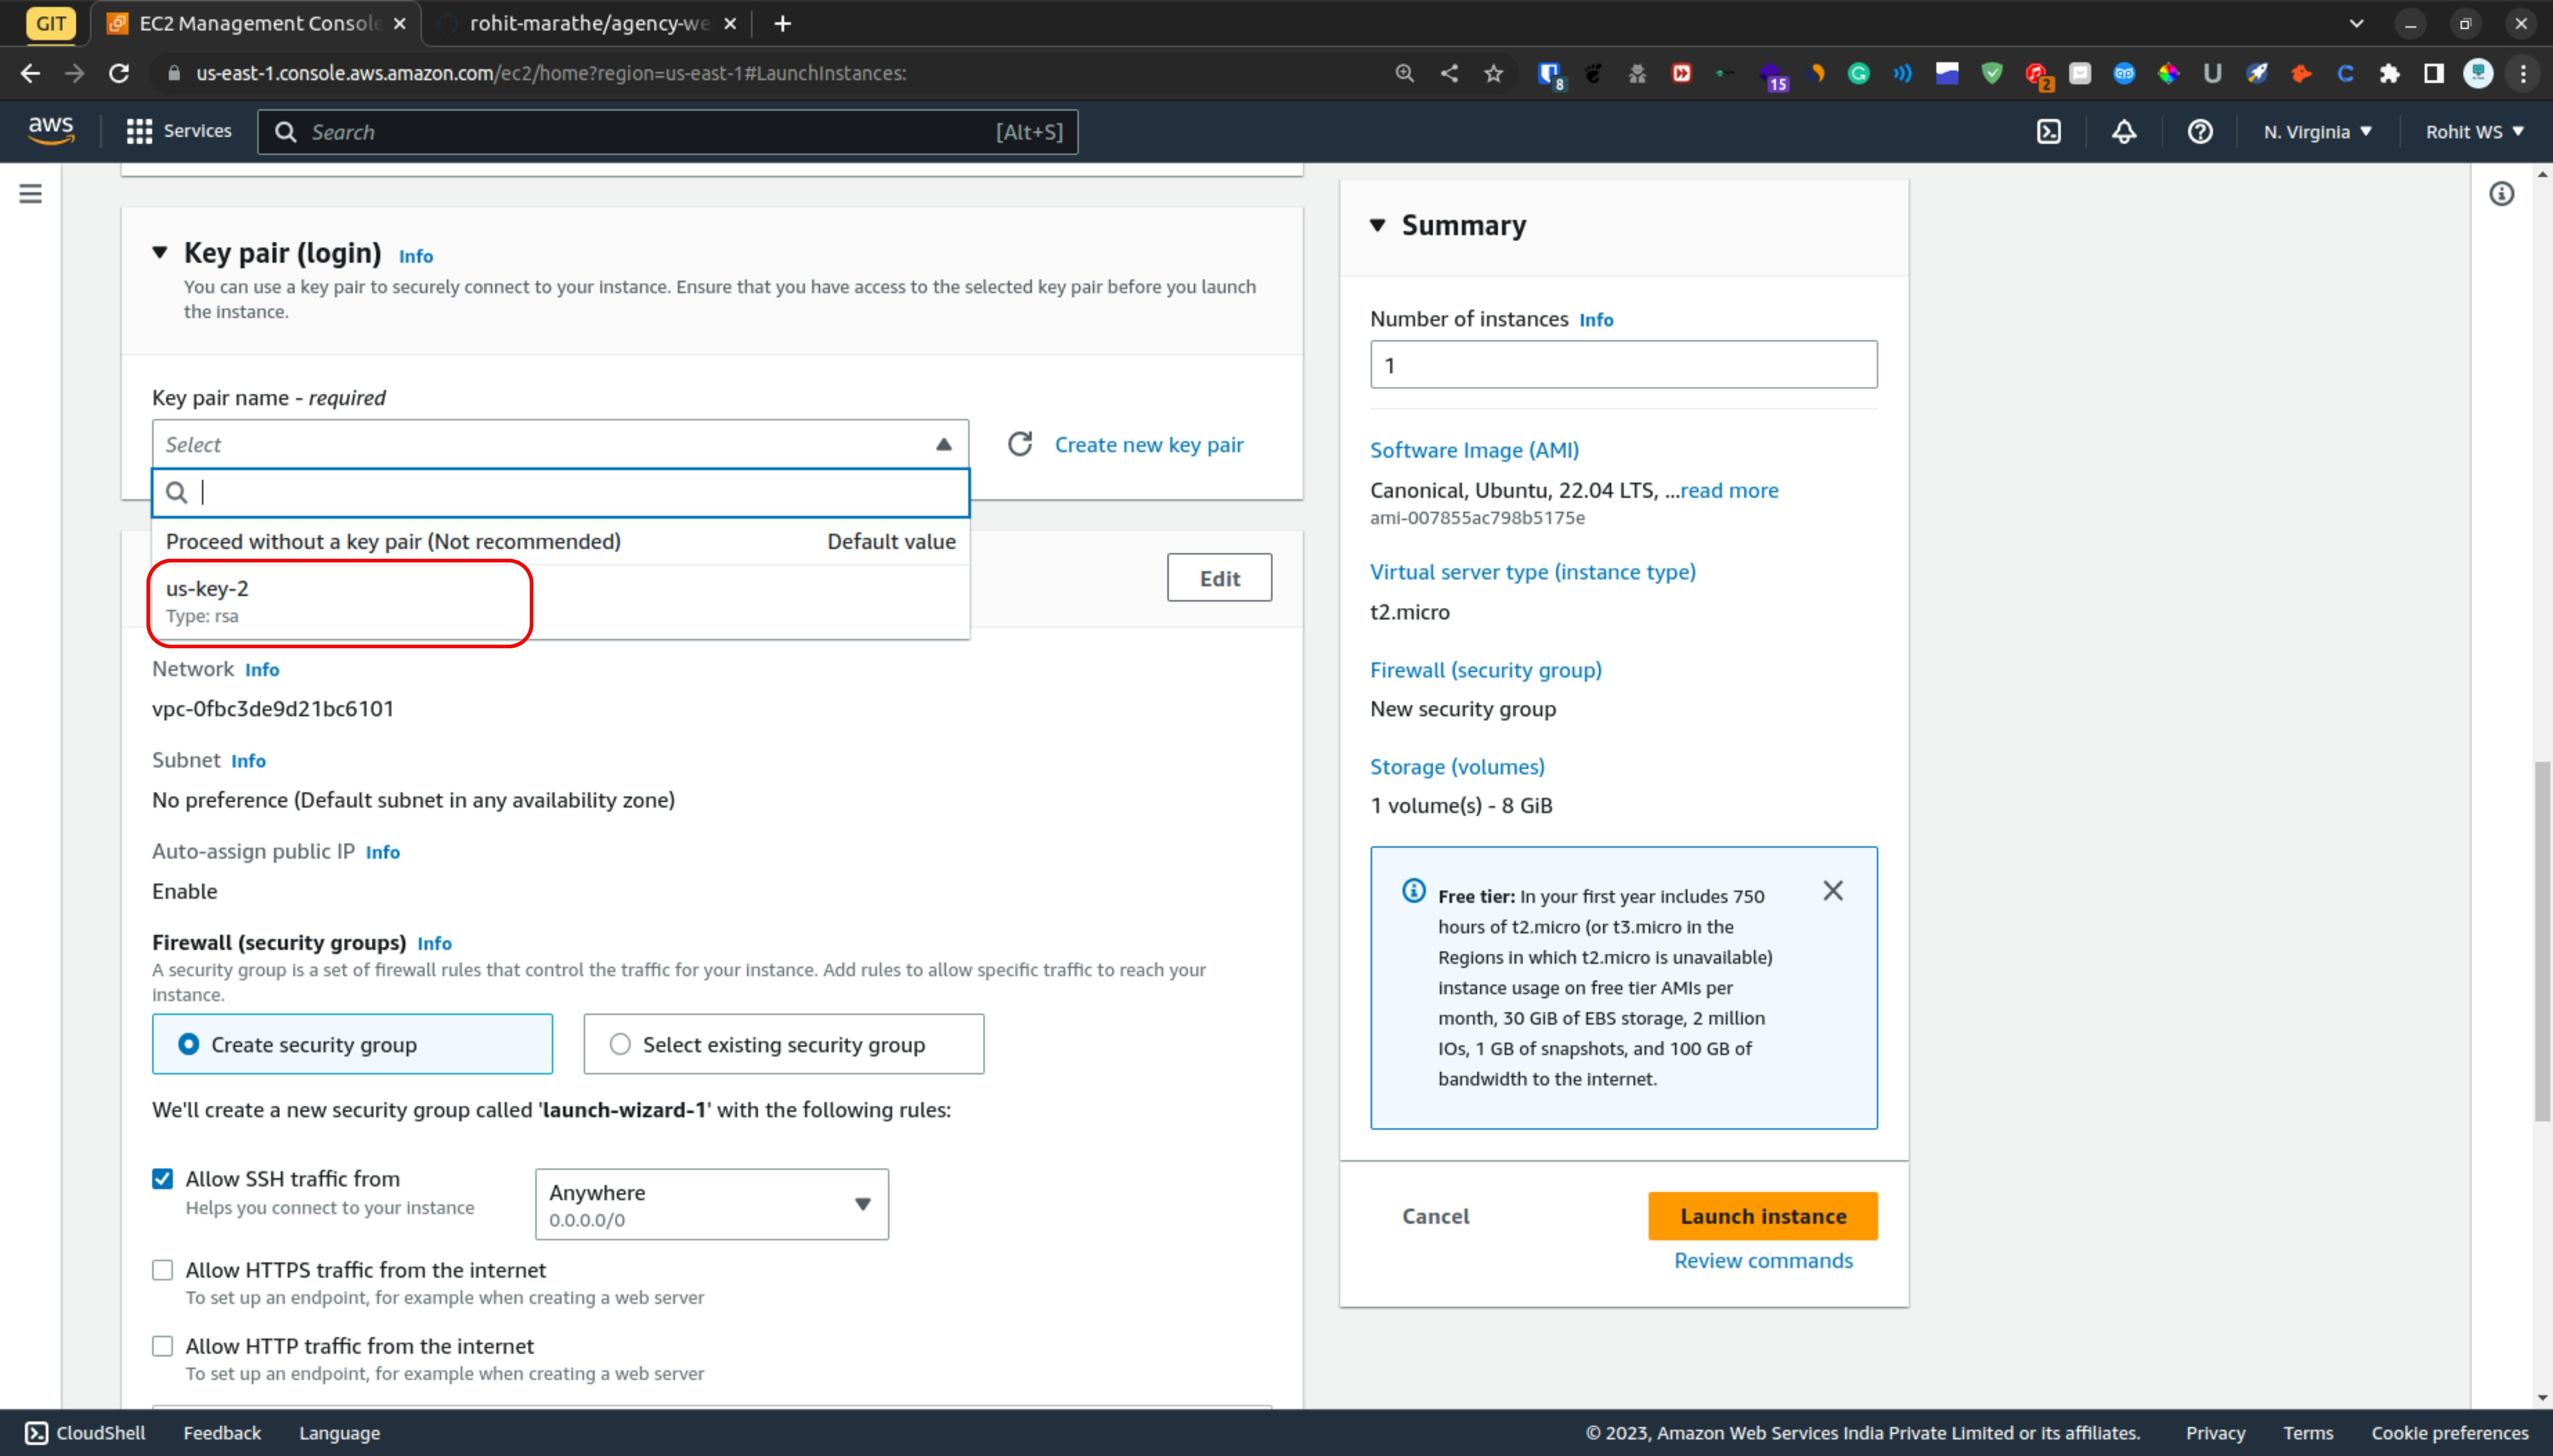
I am going to select the existing ones.

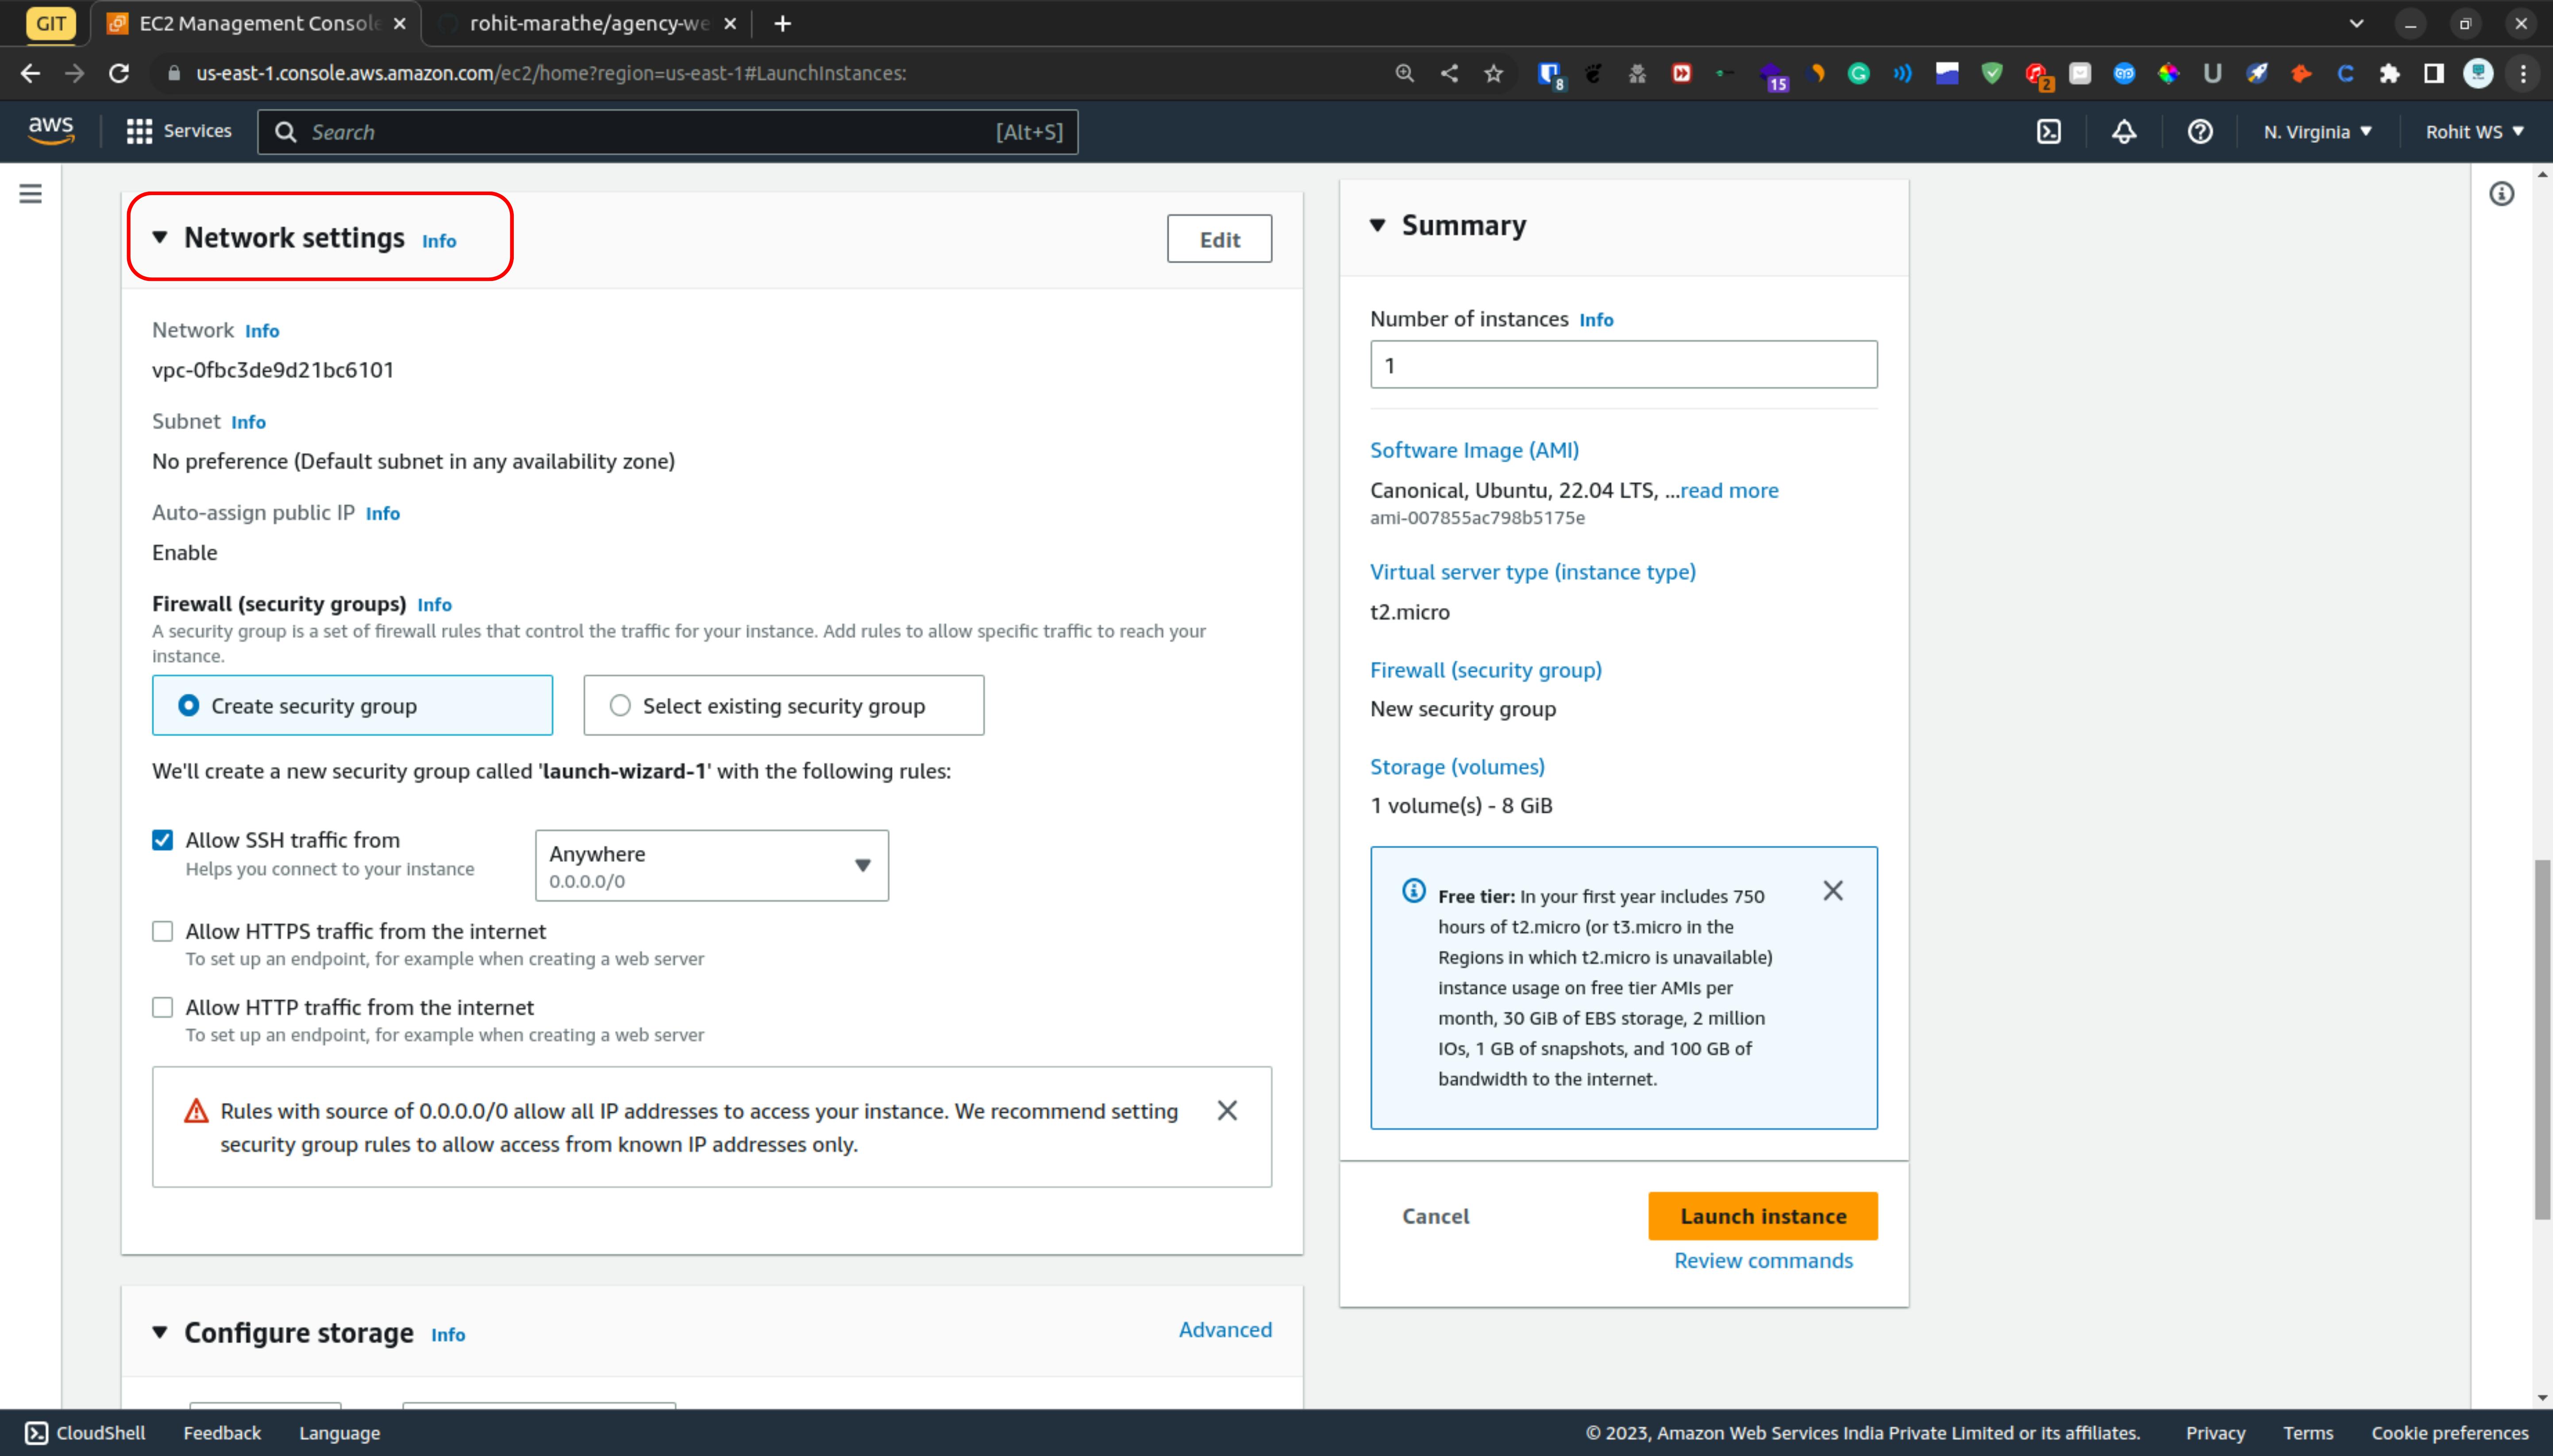
From the network setting & we are going to select a security group ( Security Group Is An Instance level firewall )
I am going to select the existing security group
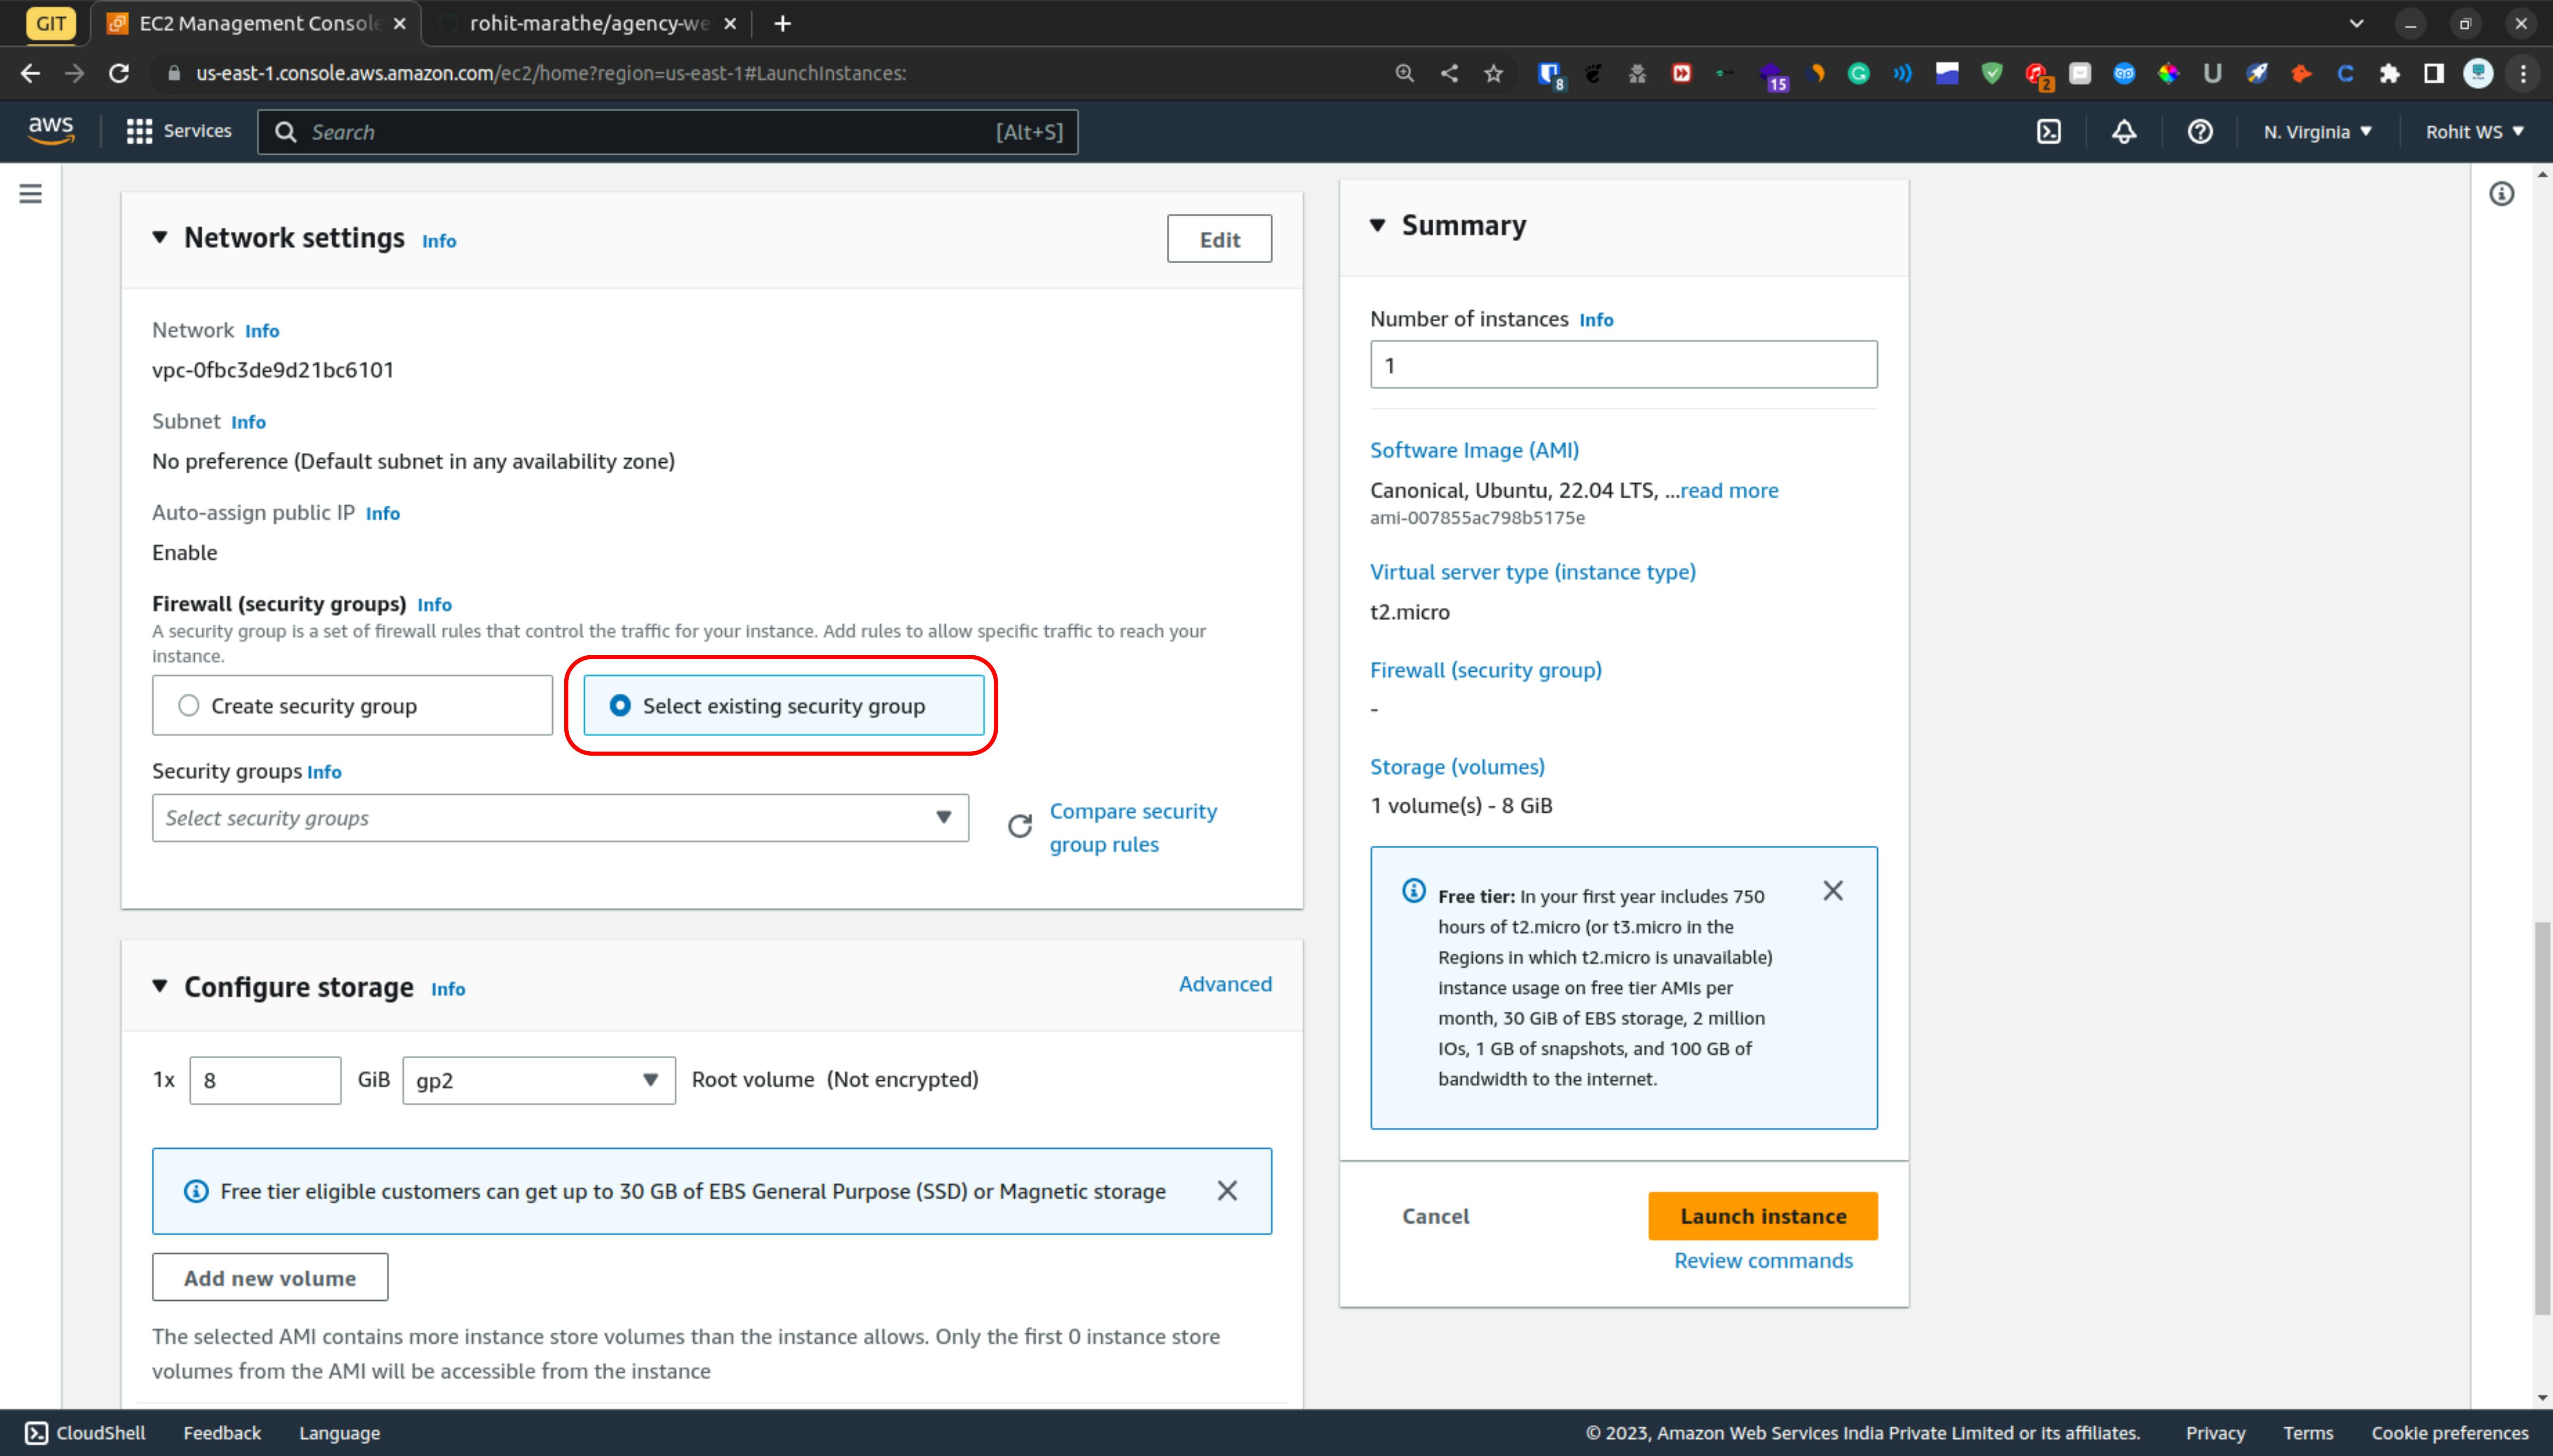
From the drop menu, I am going to select the default option.
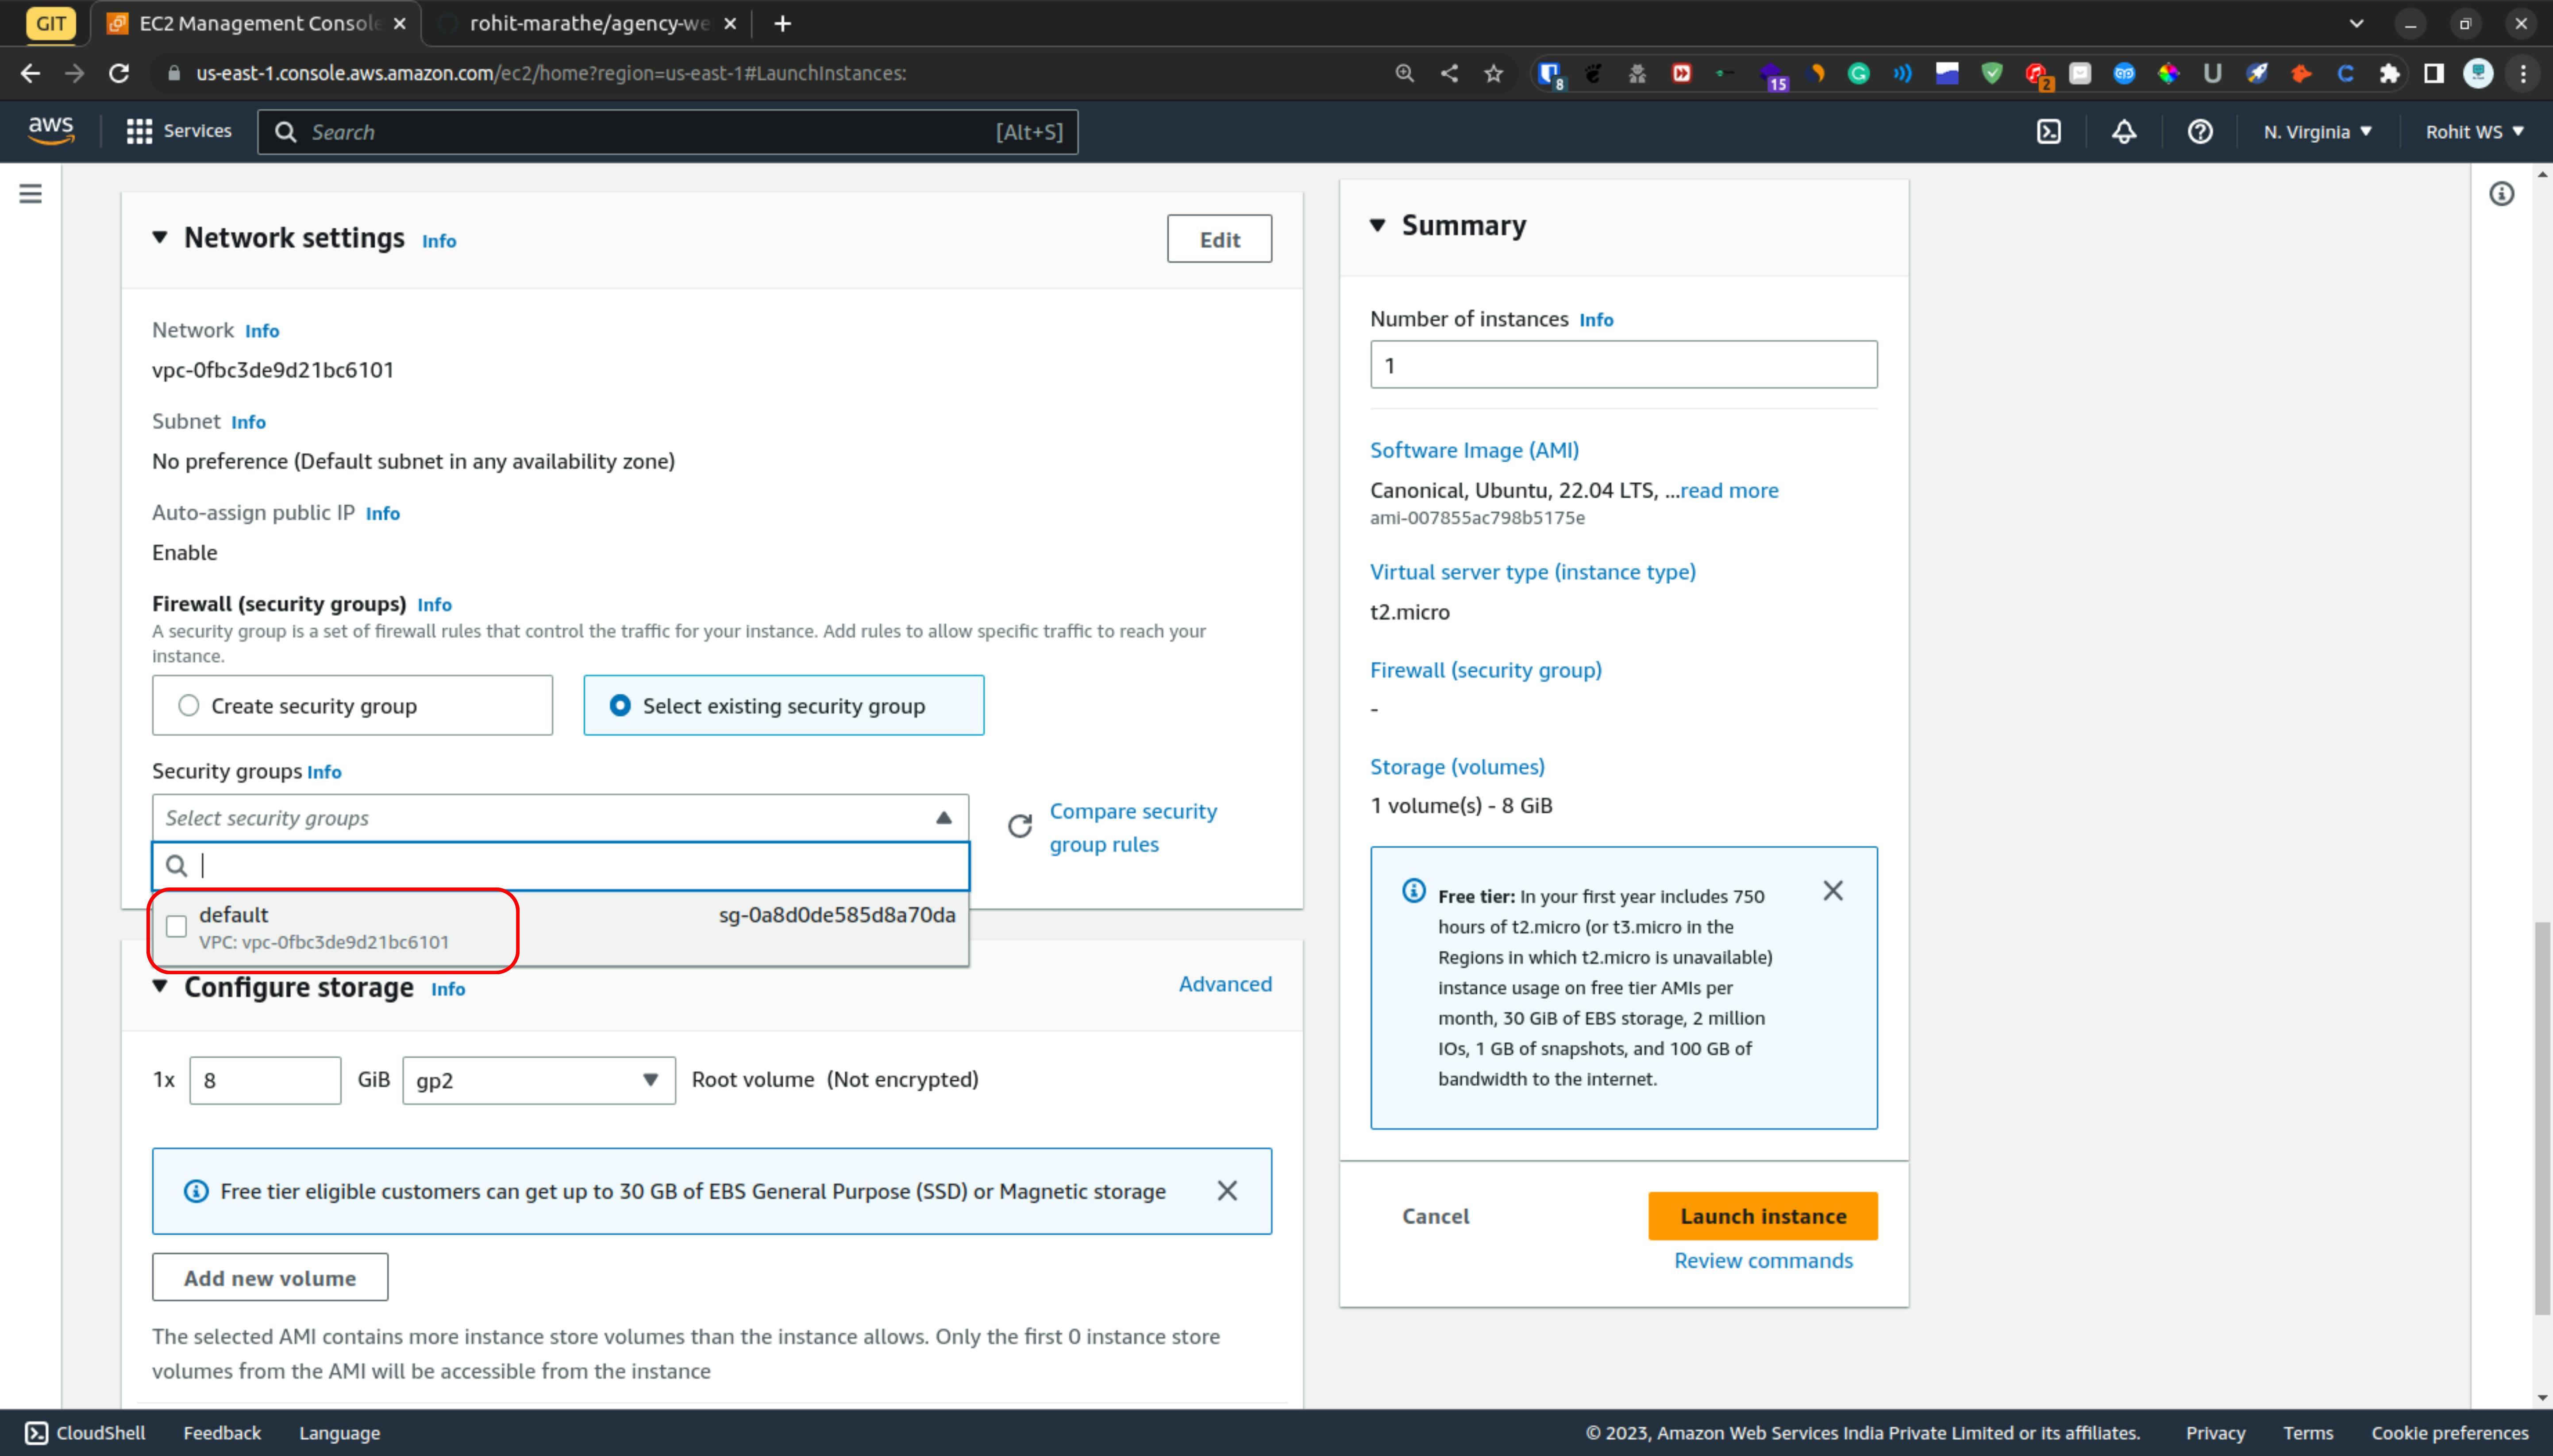
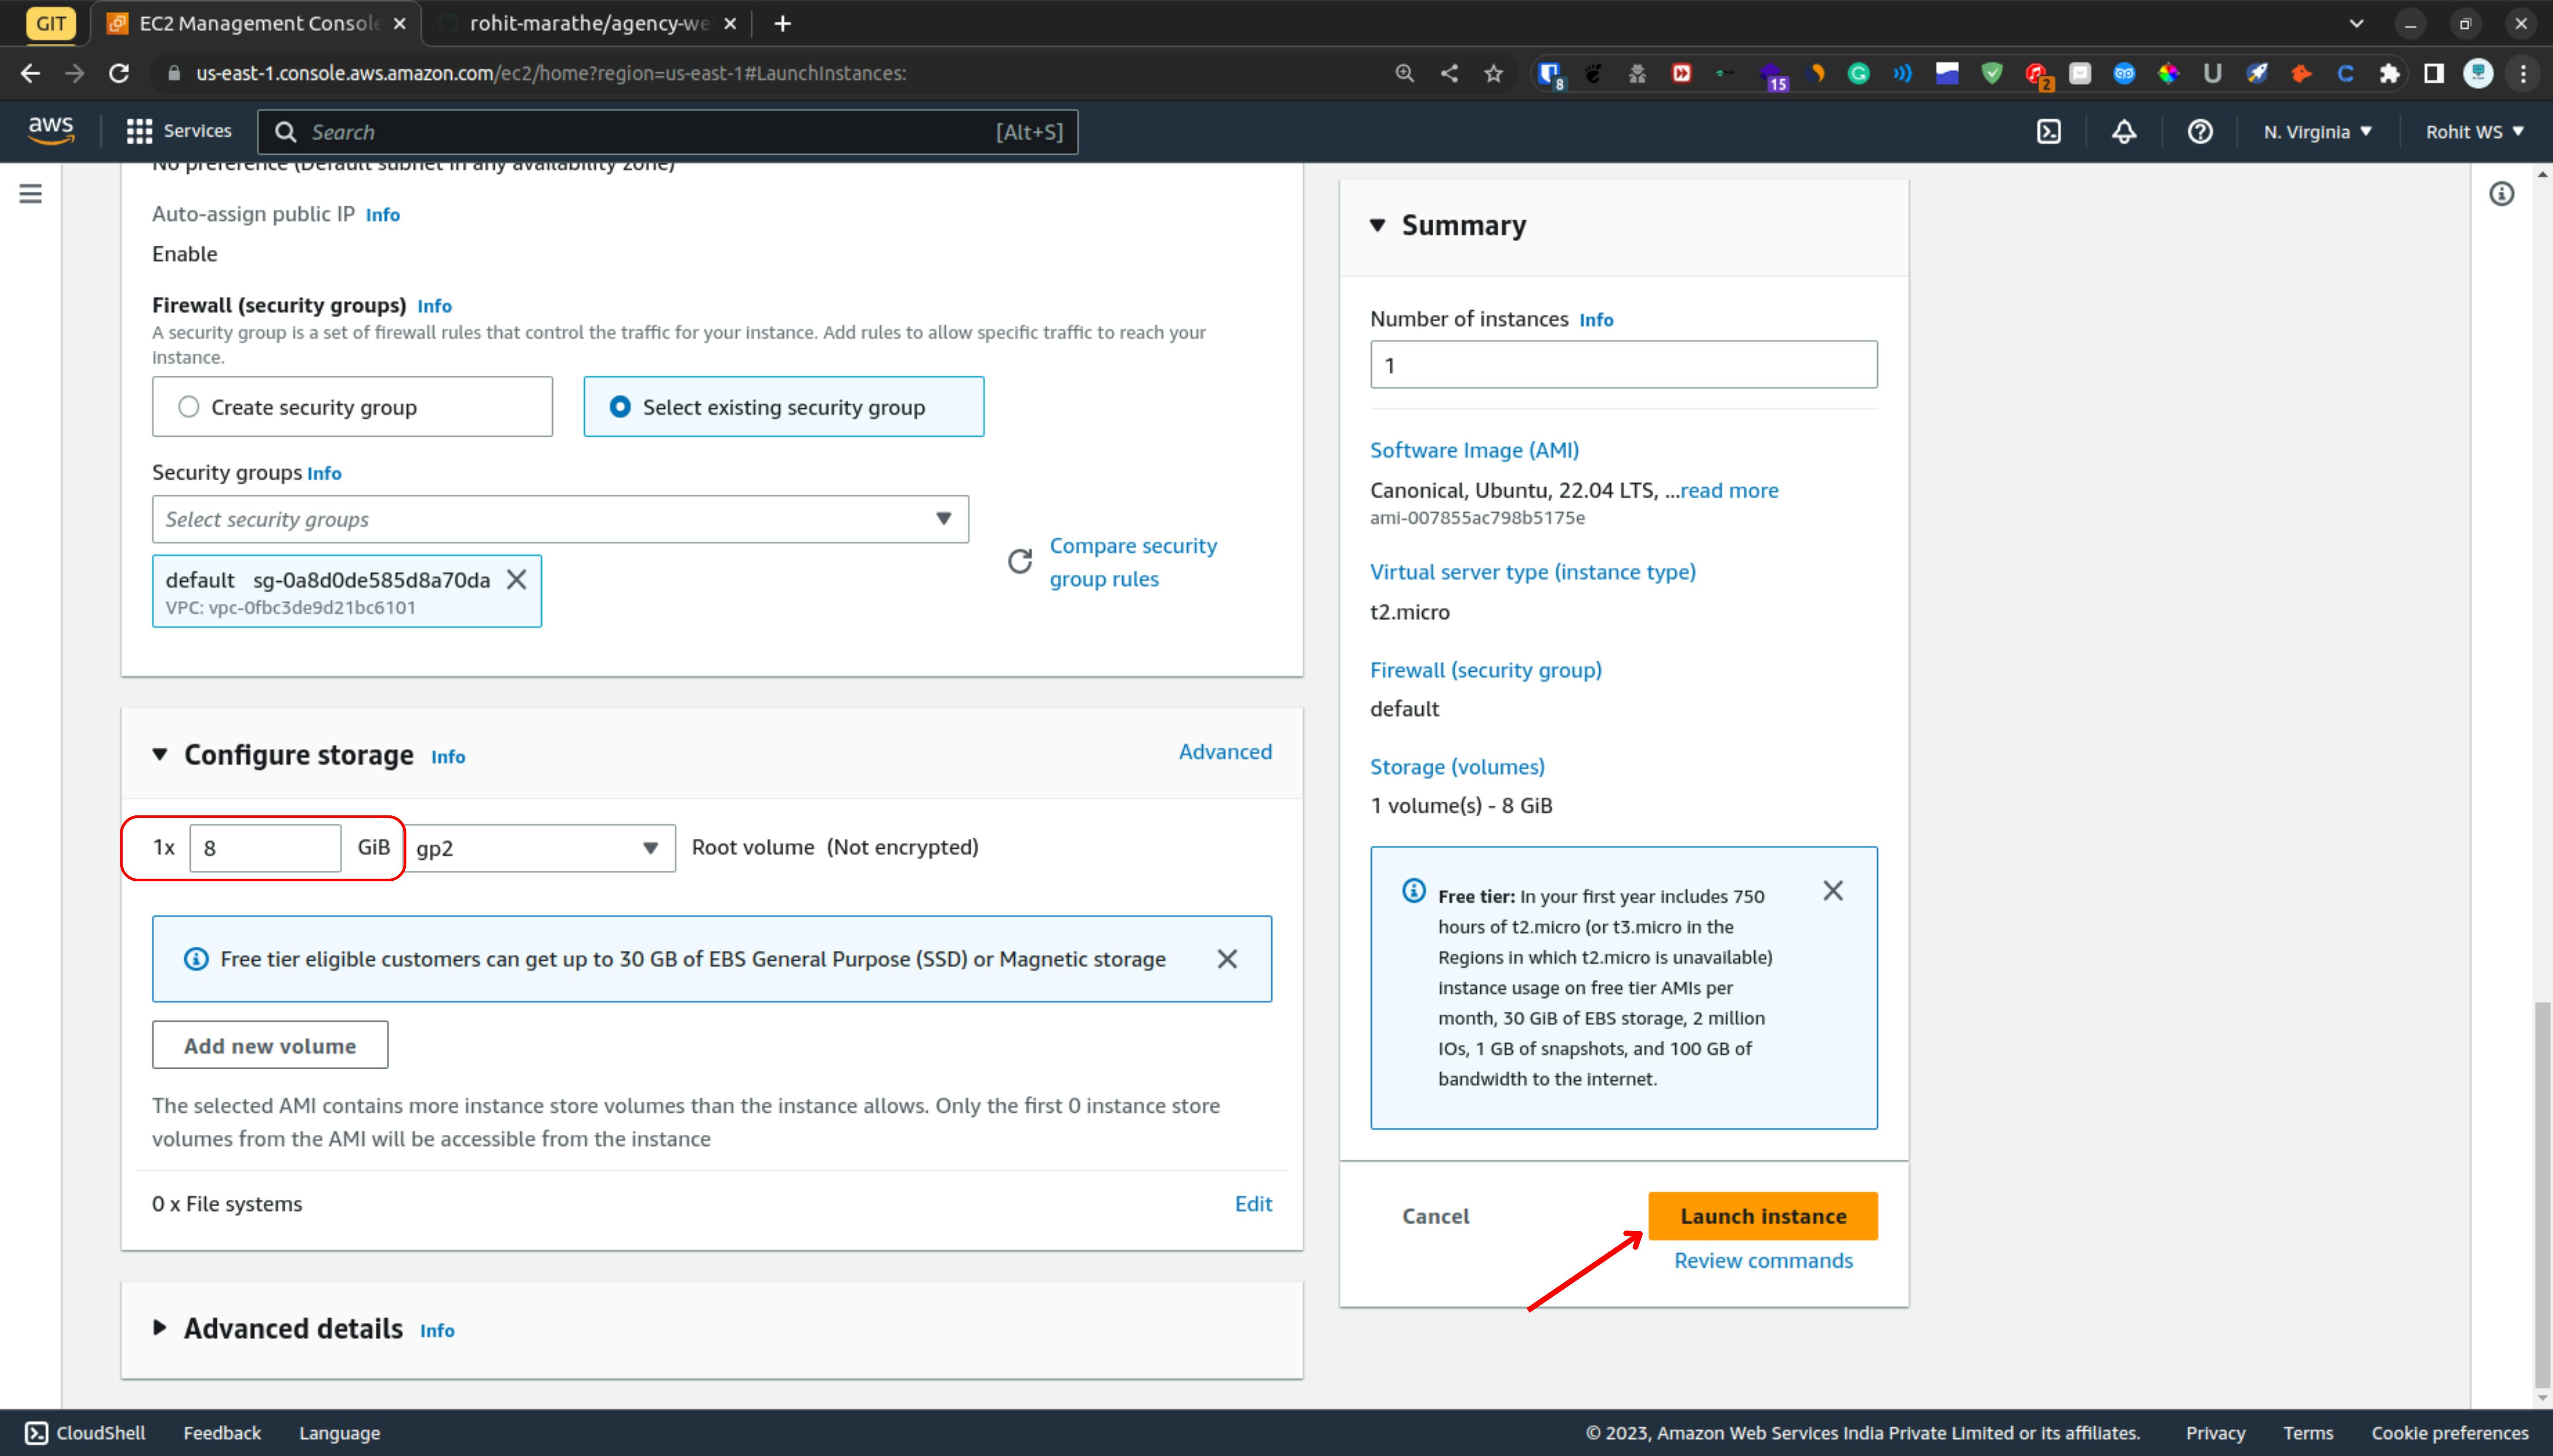
In the configuration storage, you can add the storage as you want but I gonna leave it as it
Then click on the launch instance
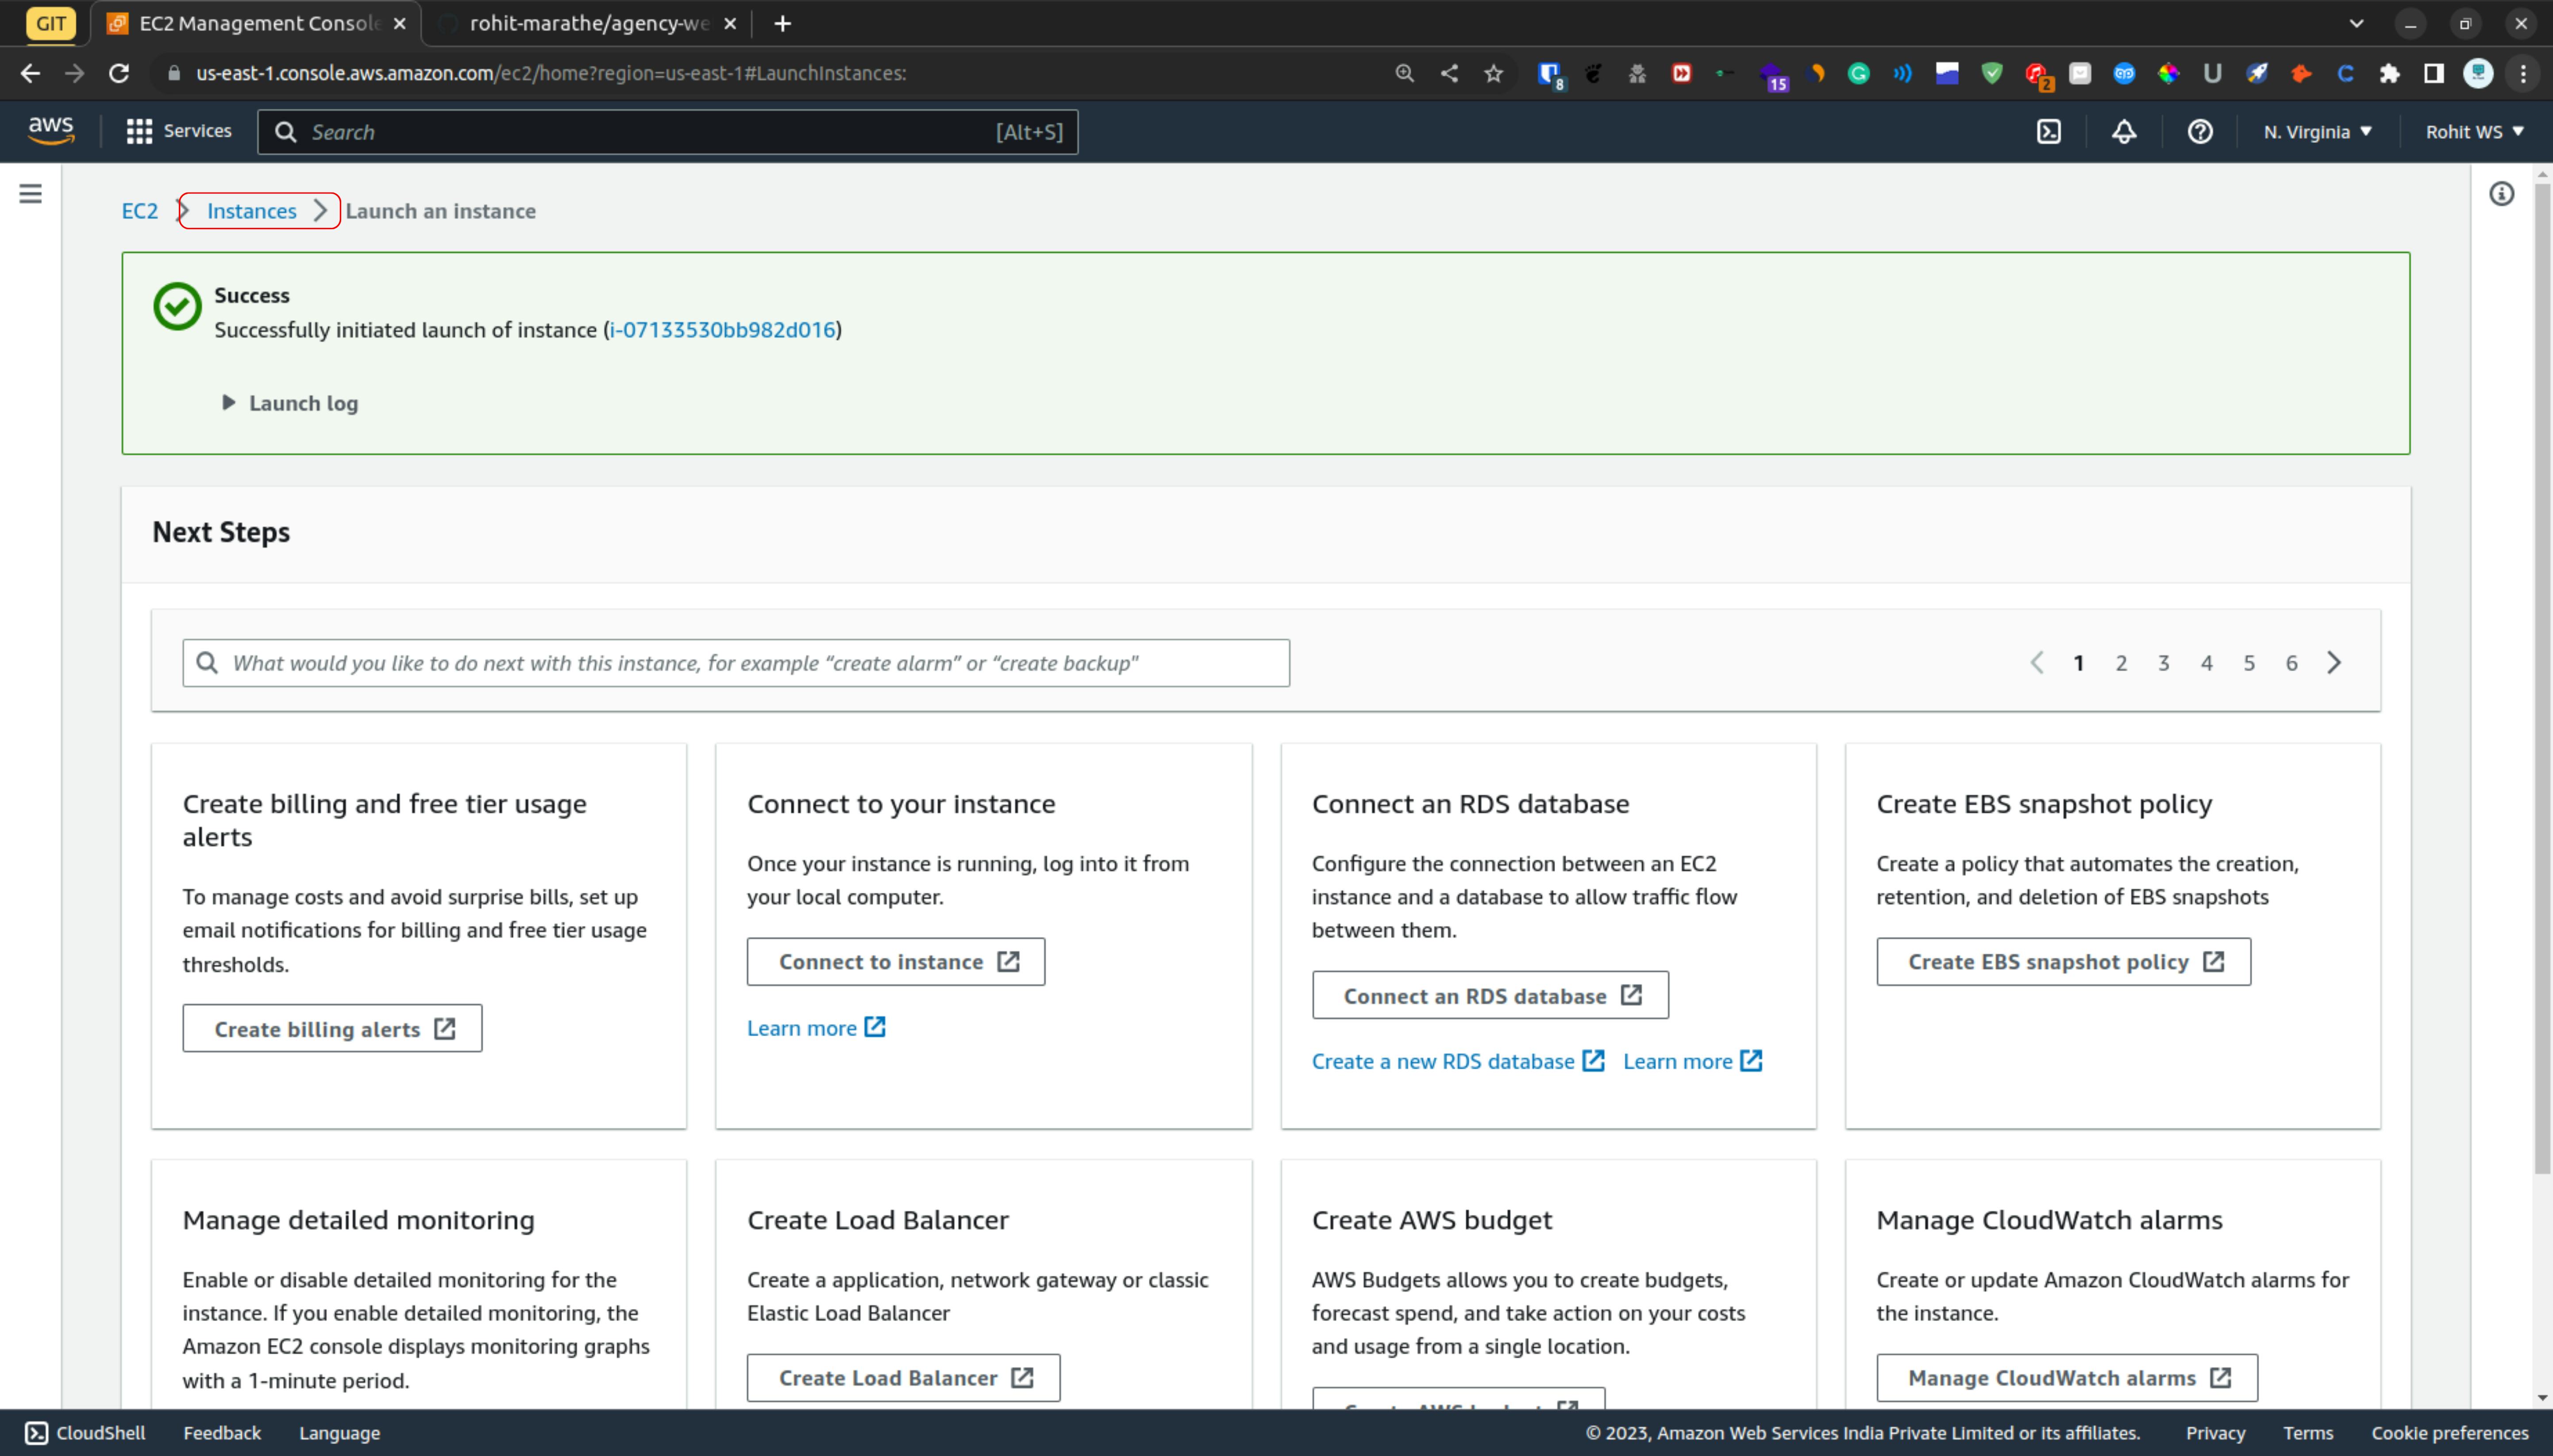
After the launch instance then click on the instance section.
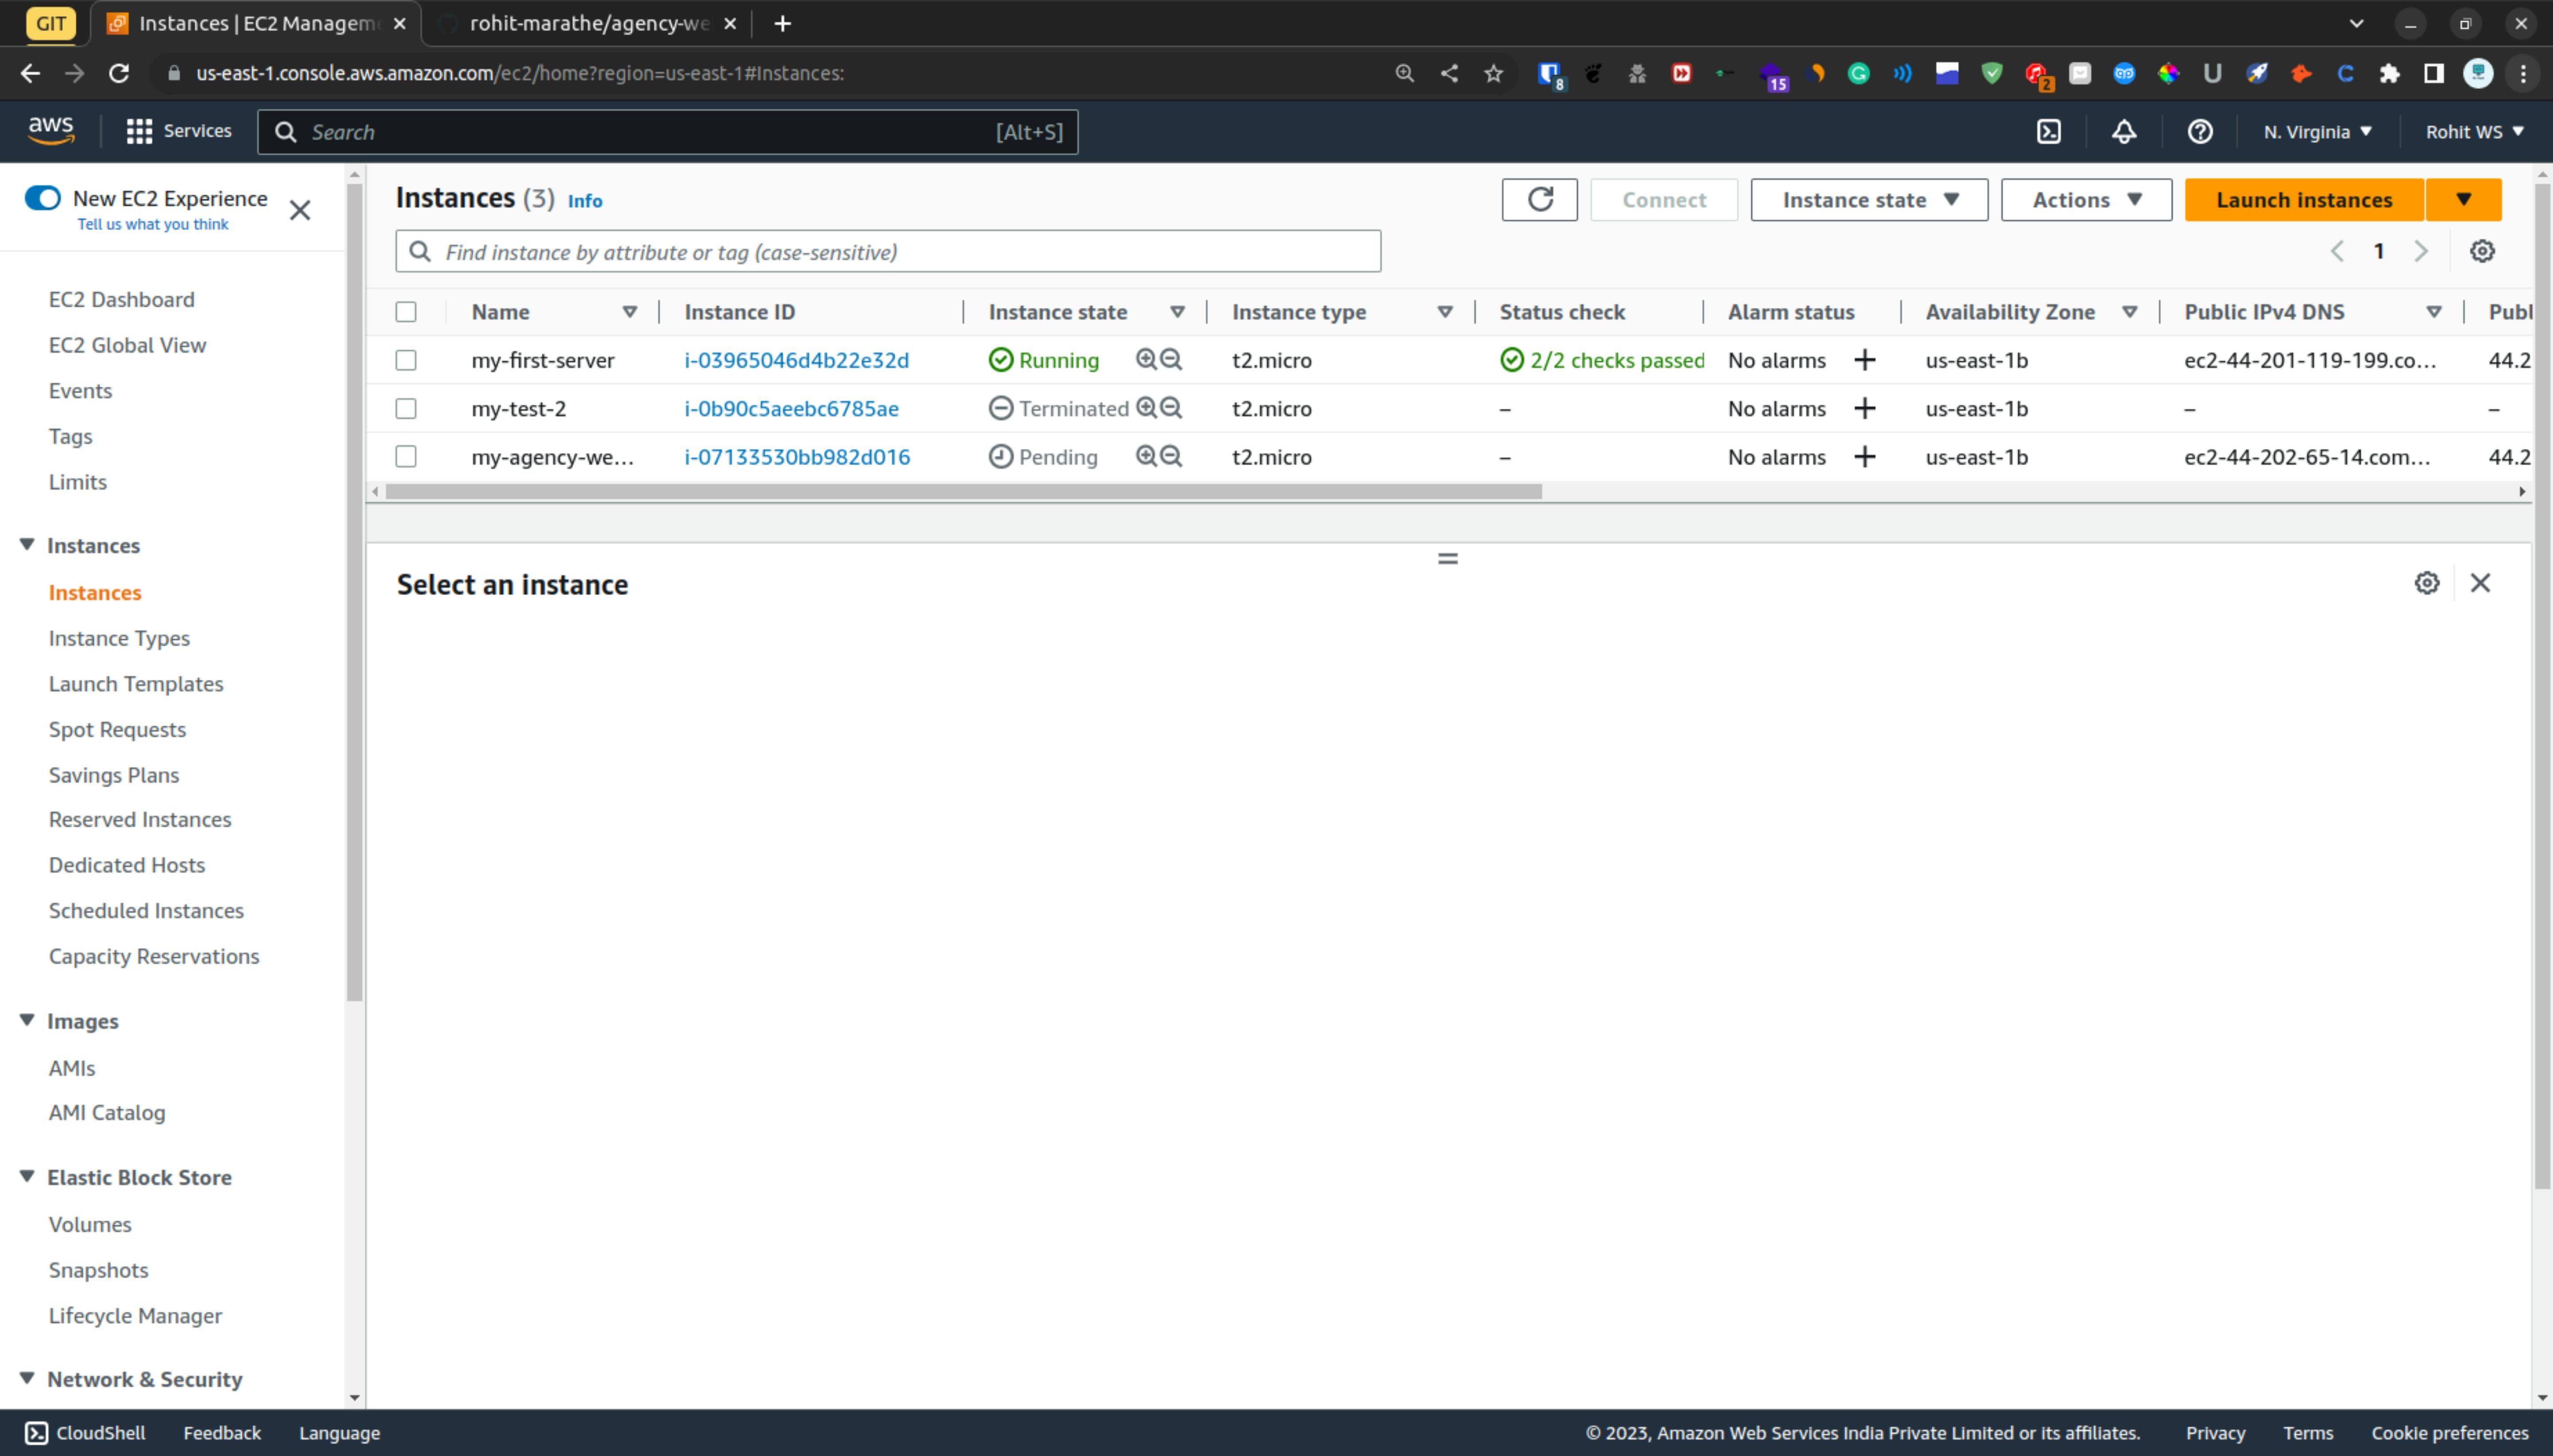
Here as you can see that we have successfully launched the instance but it is currently in a pending state wait until it's come to a running state.
Step 3
Once it comes to the running state then select the instance.
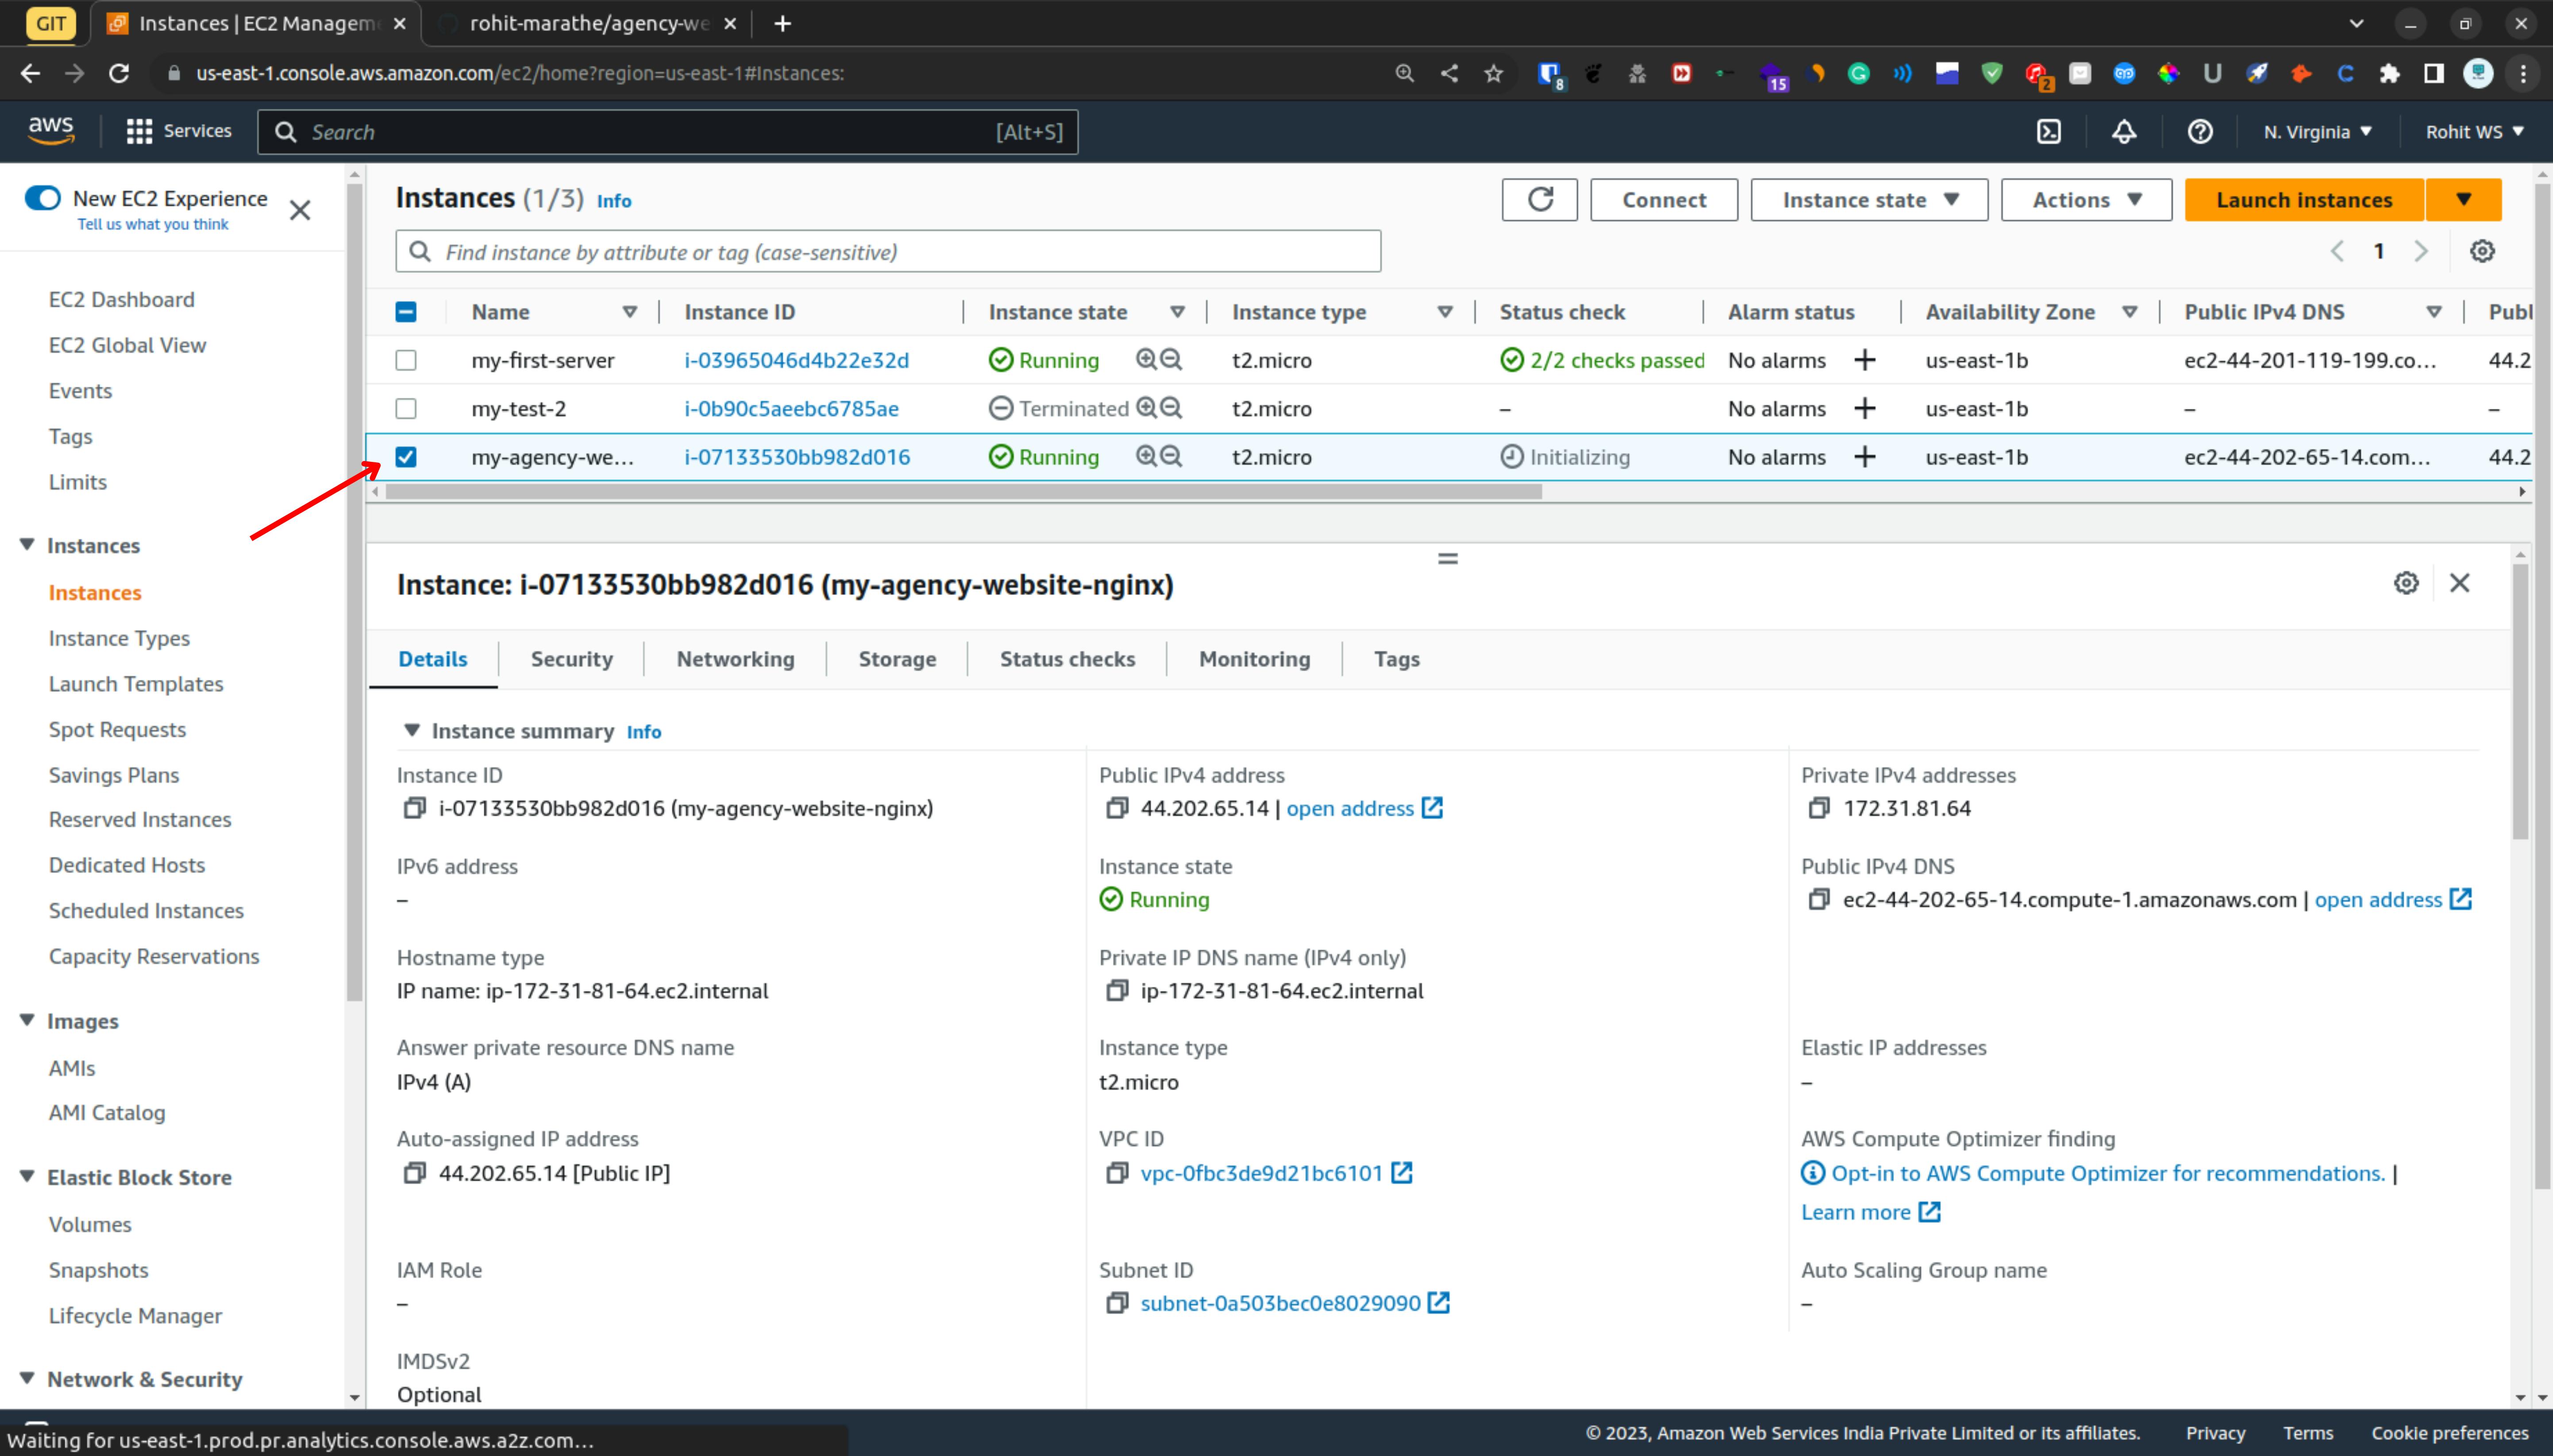
Now we are going to set up the Inbound Rules for accessing our website & also for the SSH.
So click on the security tab & then click on the security group.
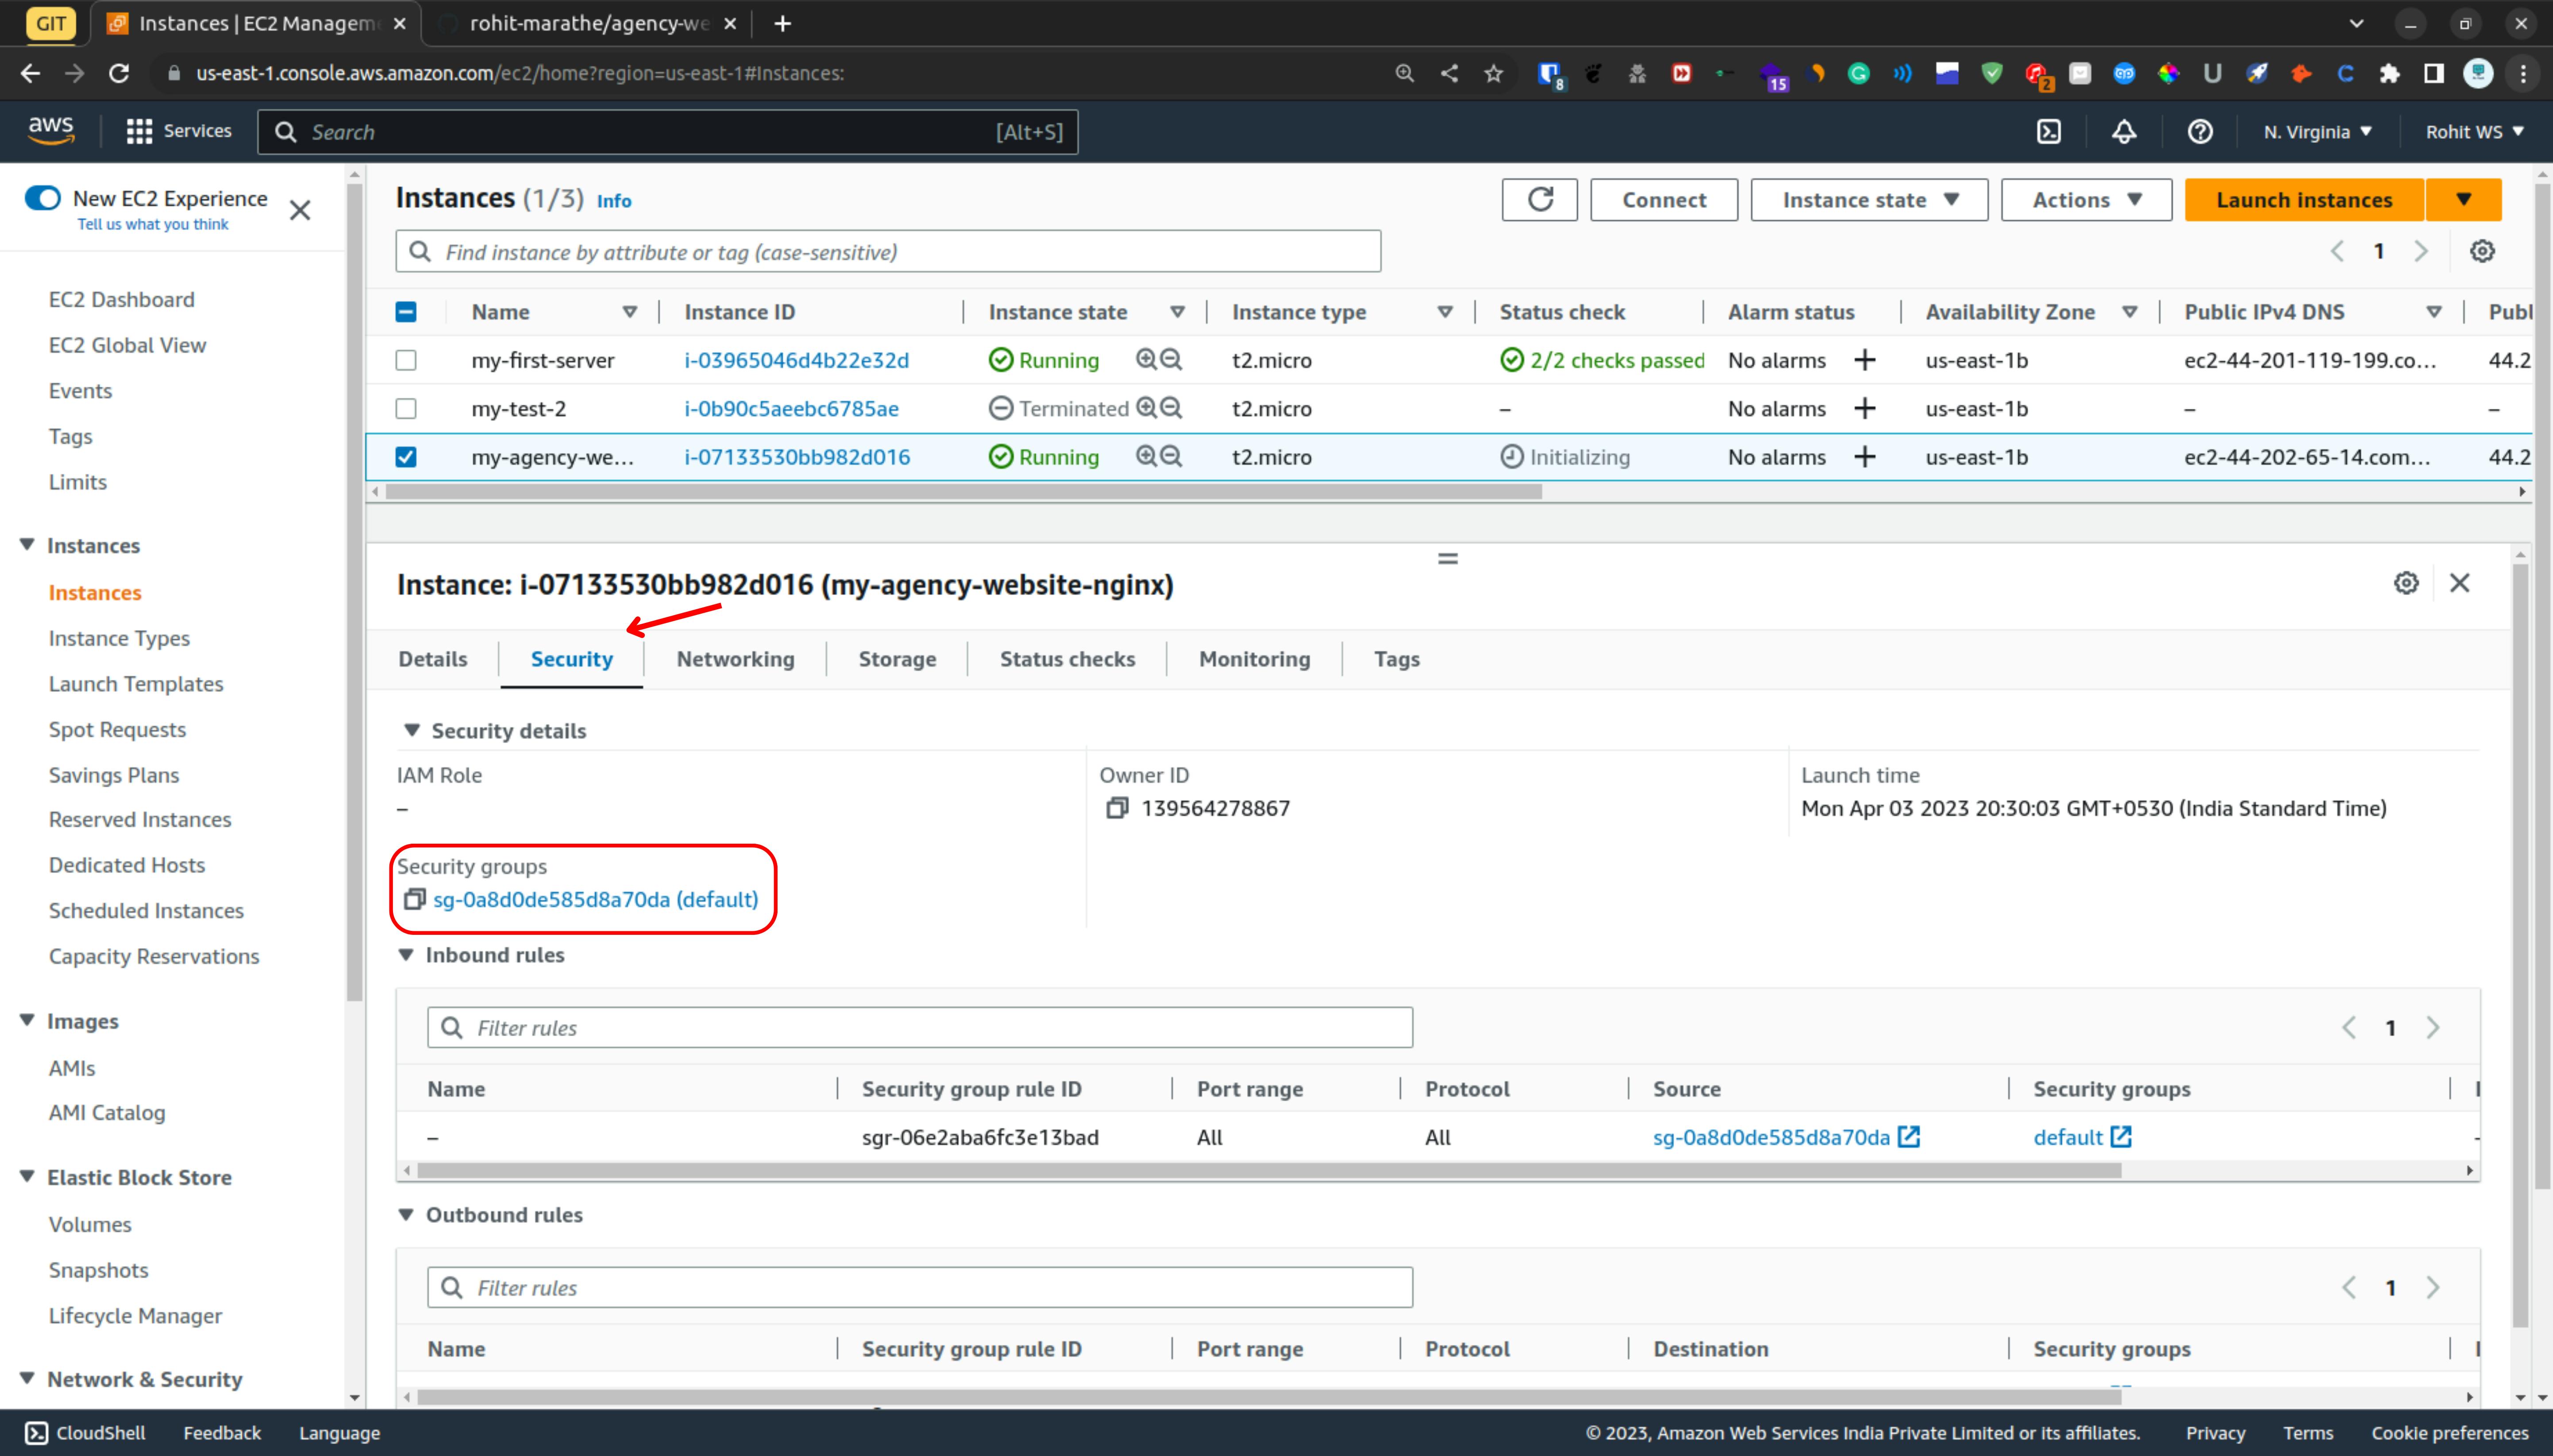
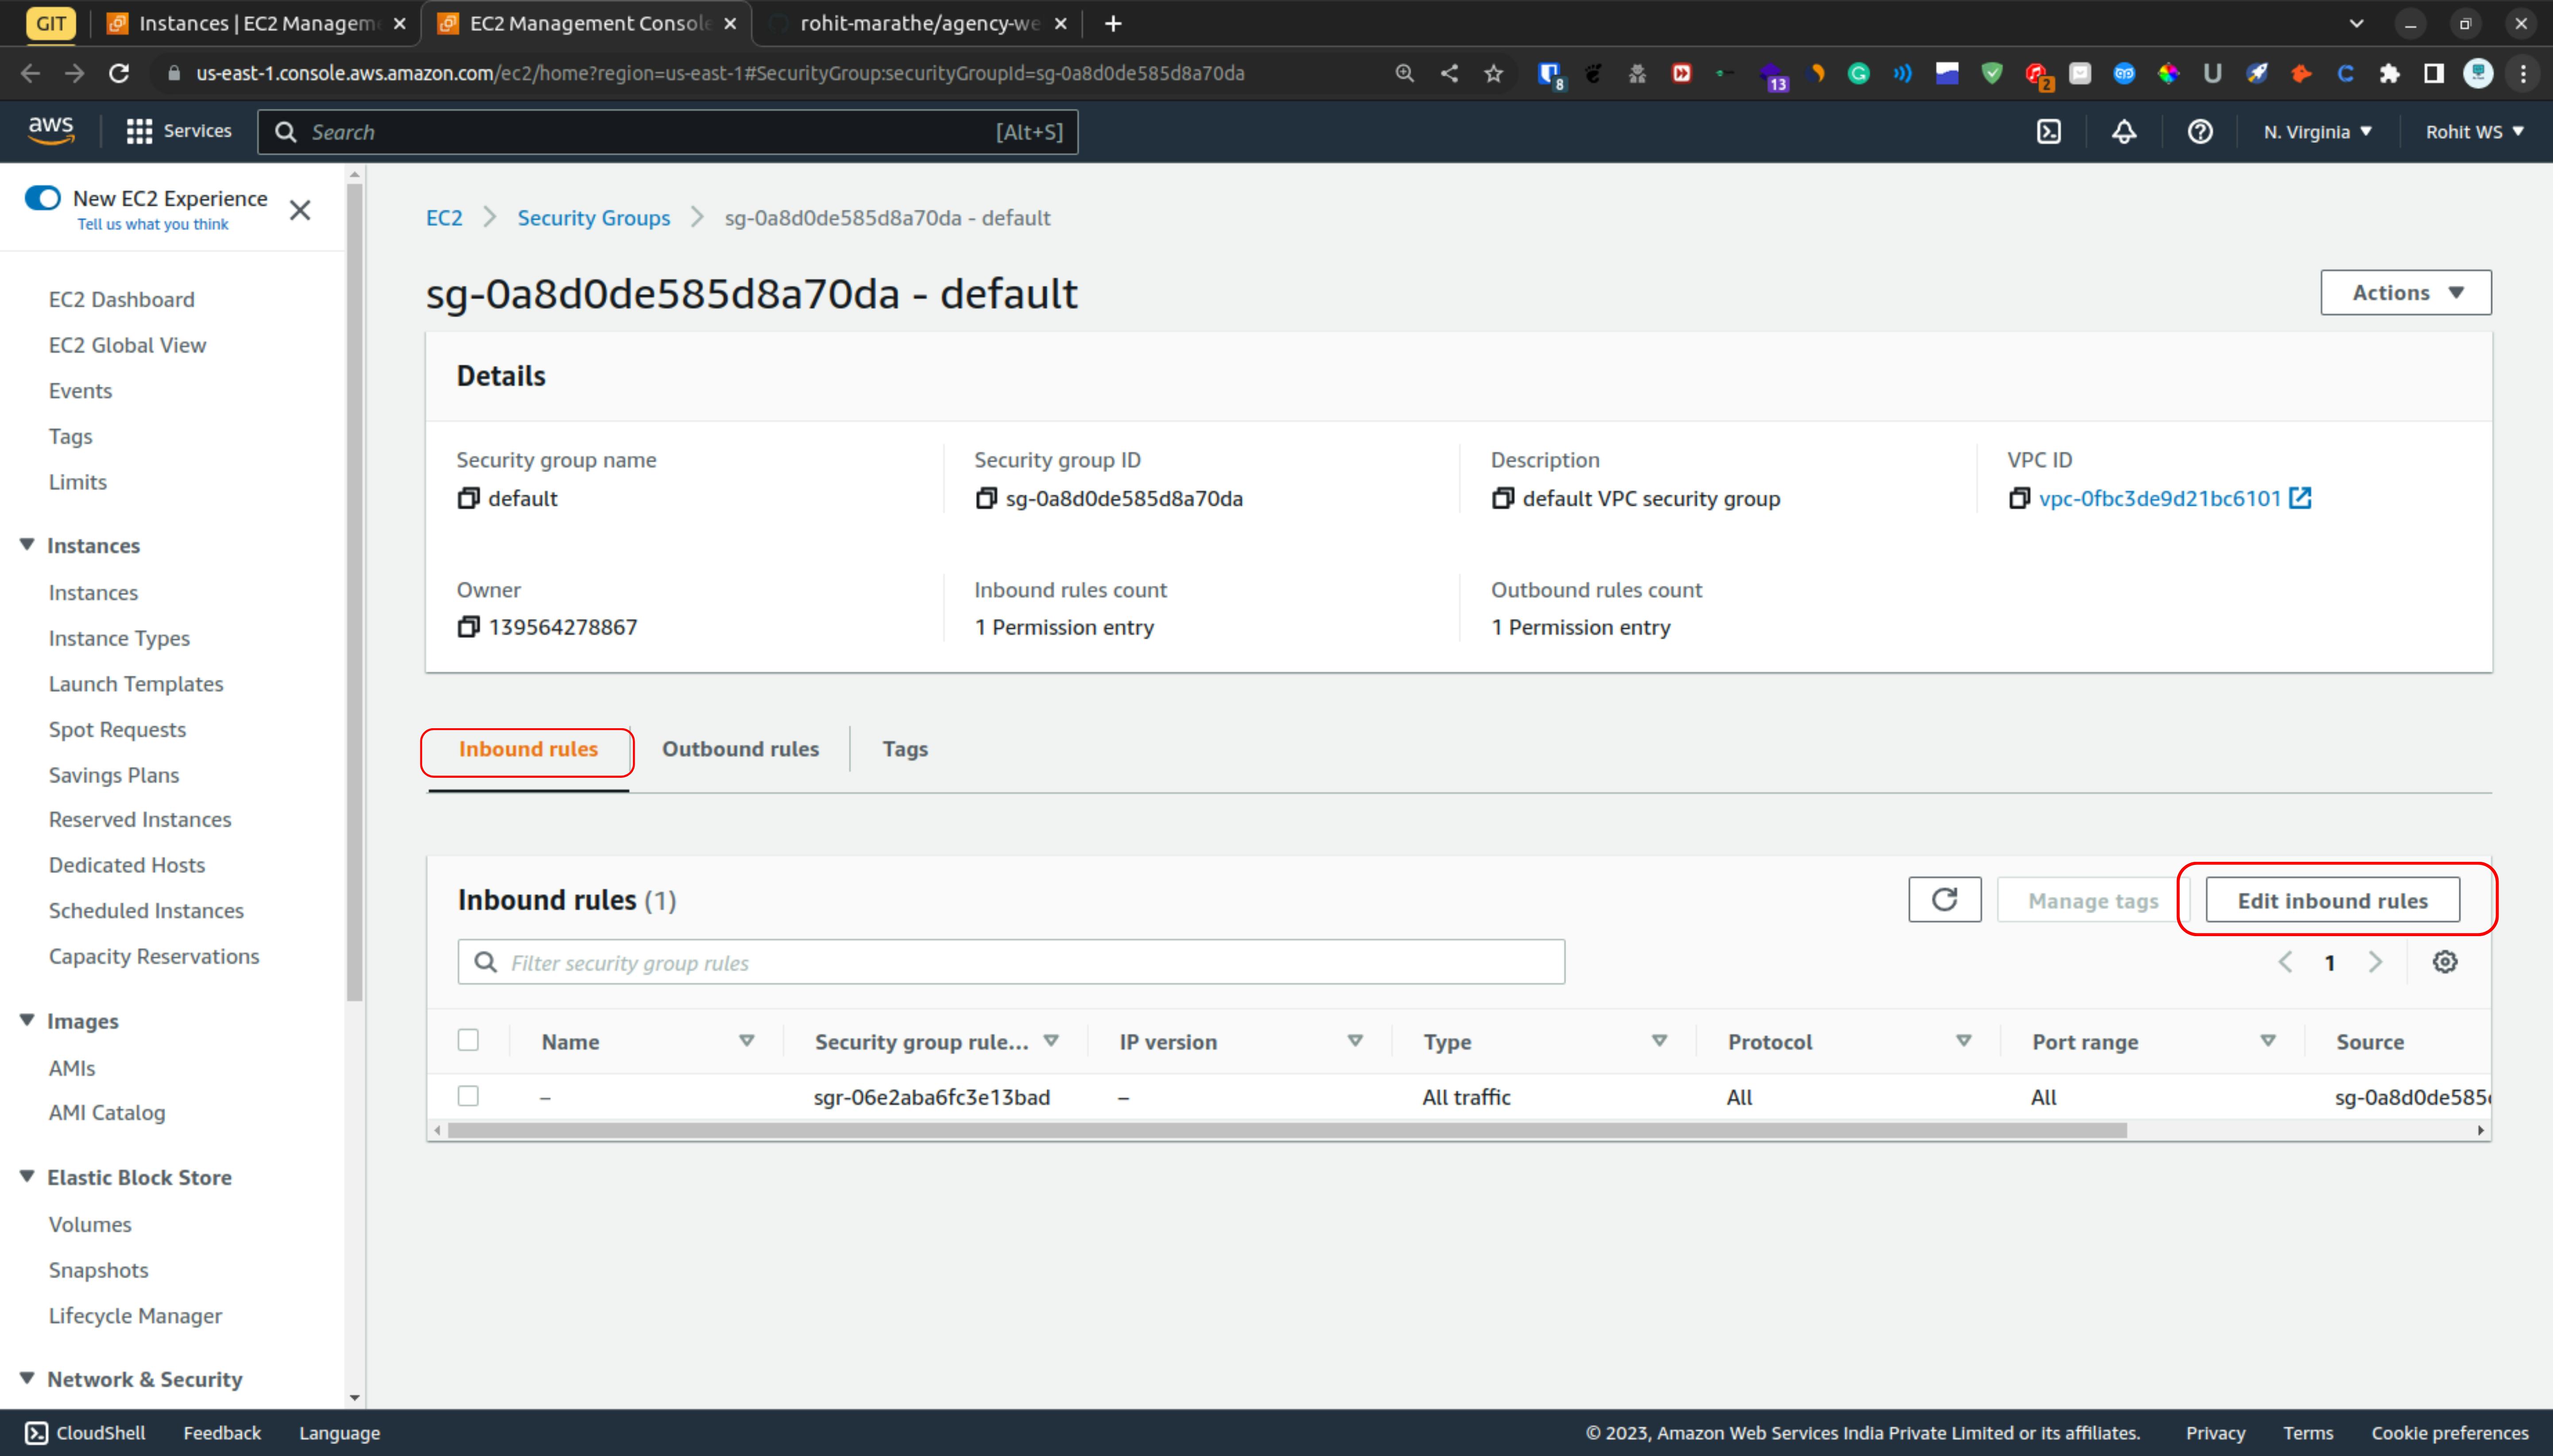
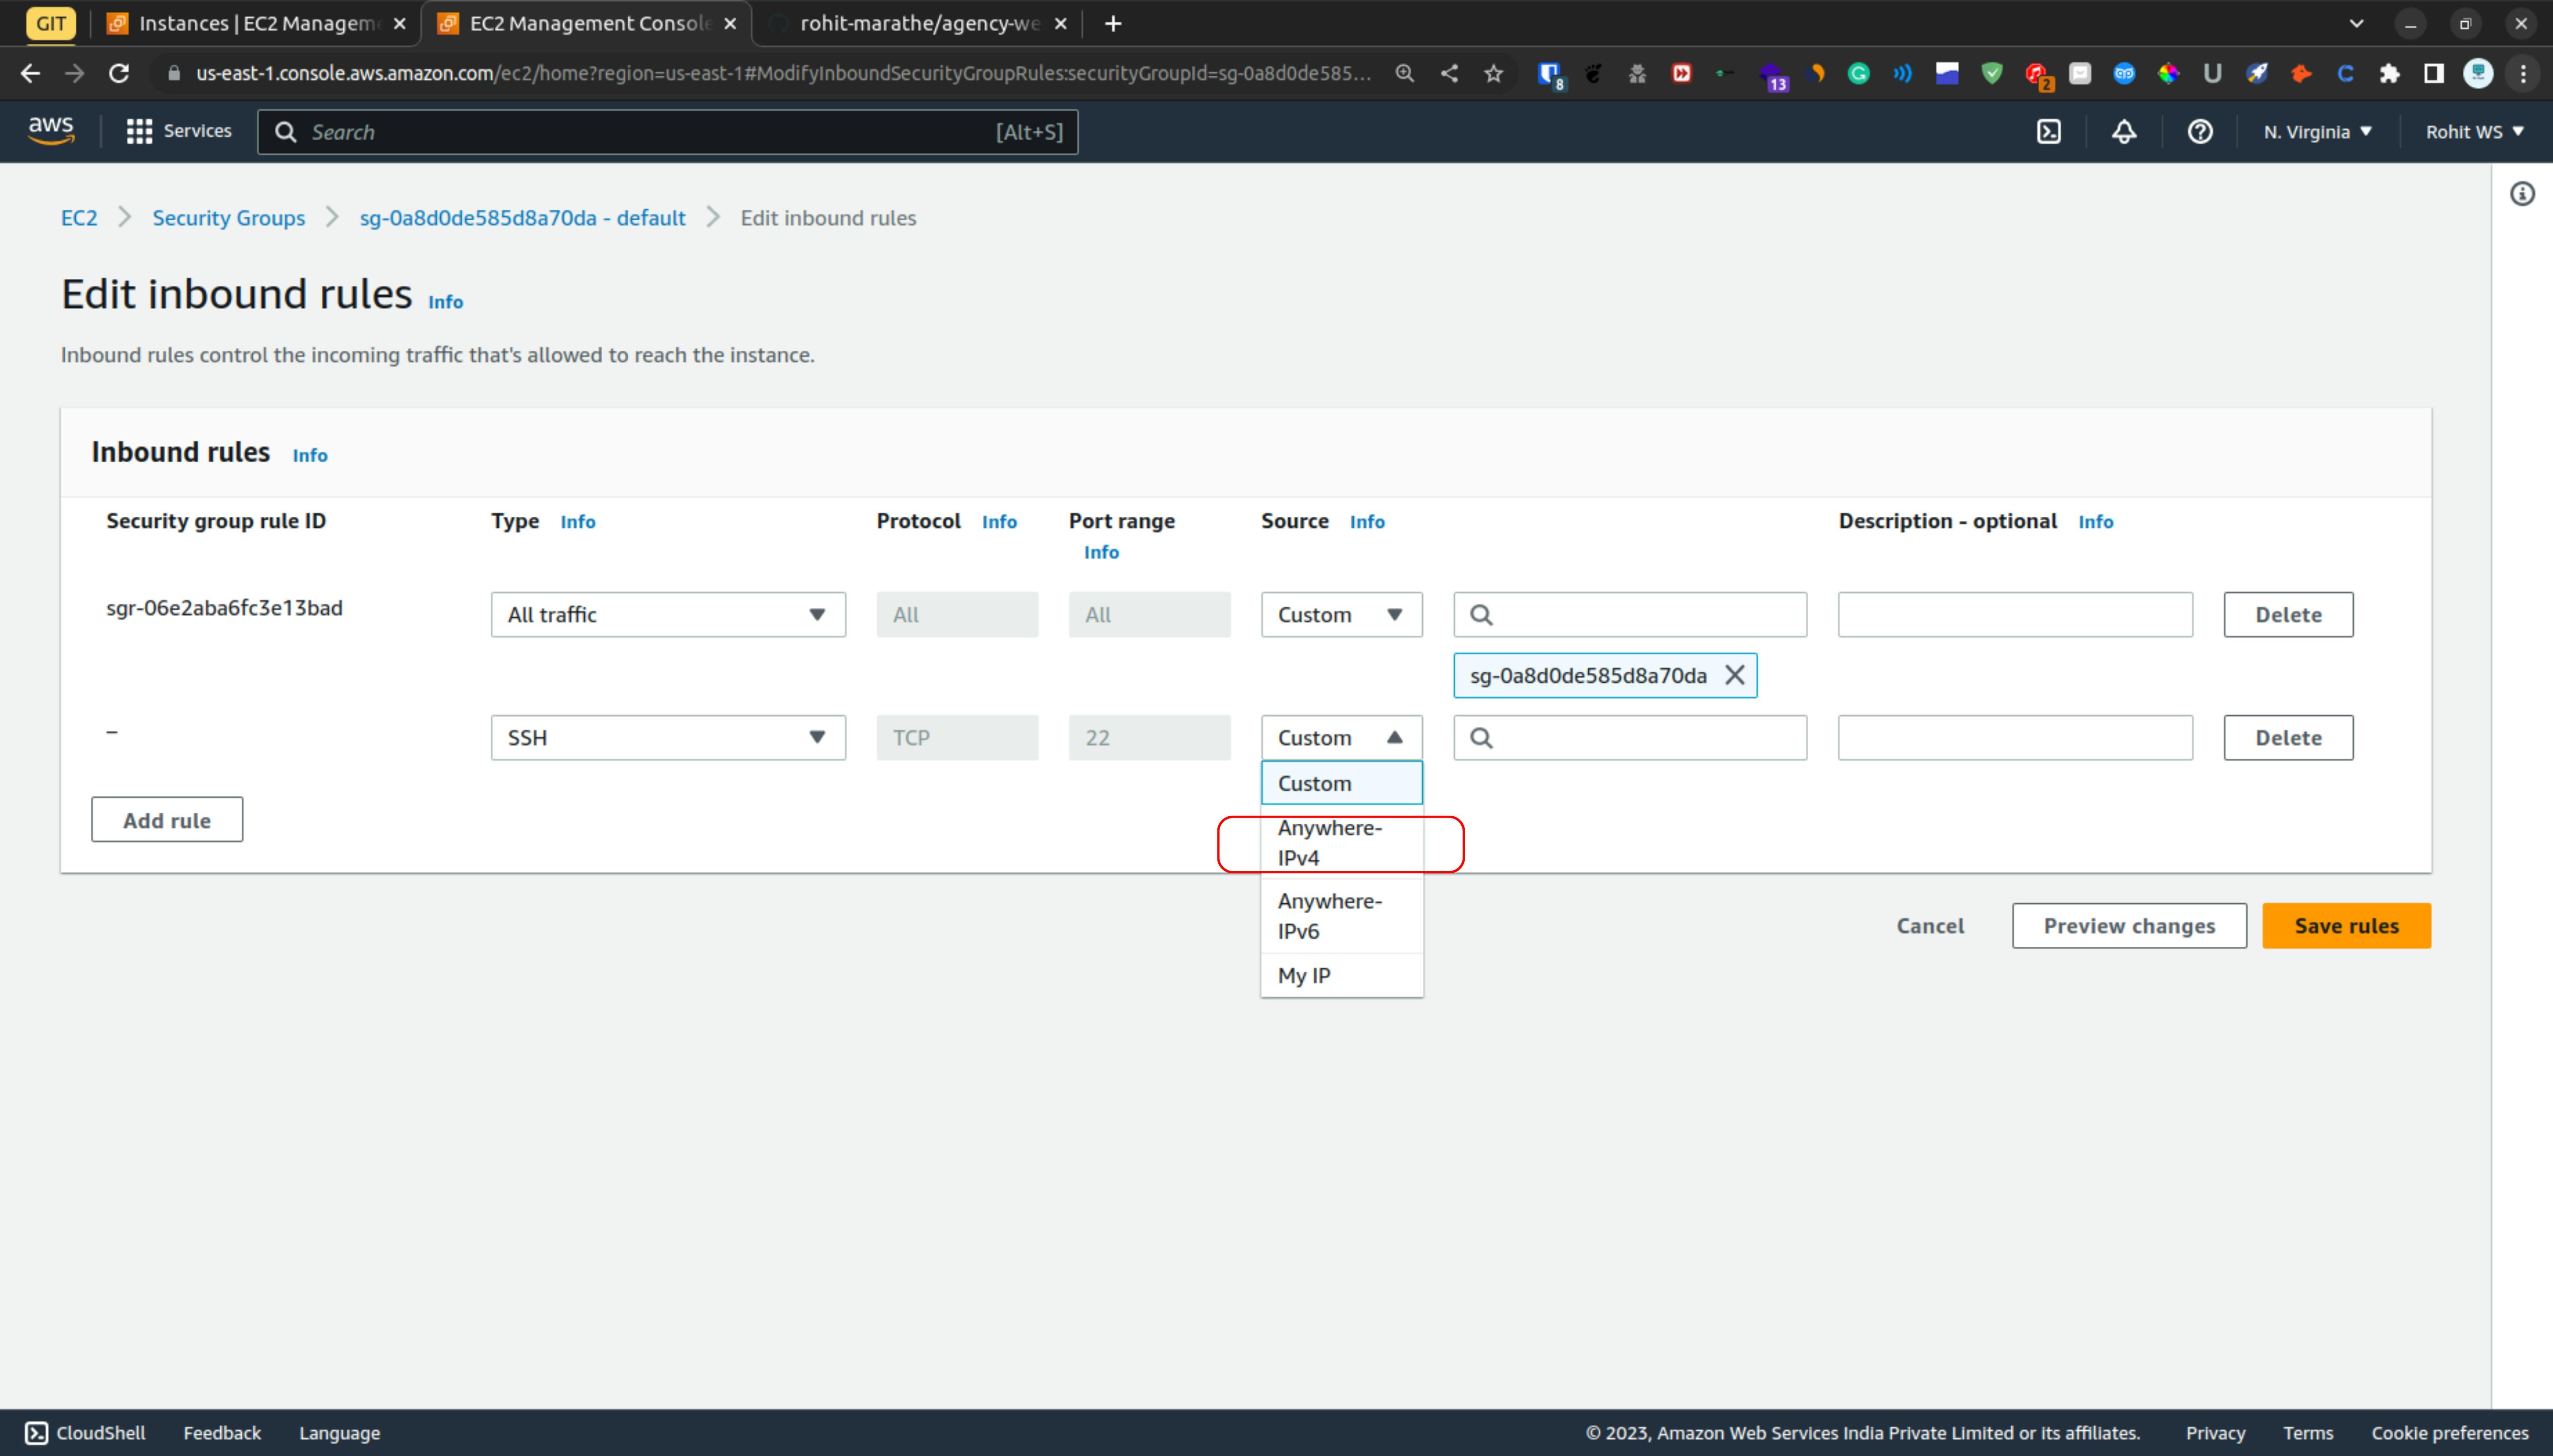
Select the Inbound Rules Tab and then click on edit inbound Rules
For adding the rule first Click on add rule & from the type we are going to select the SSH
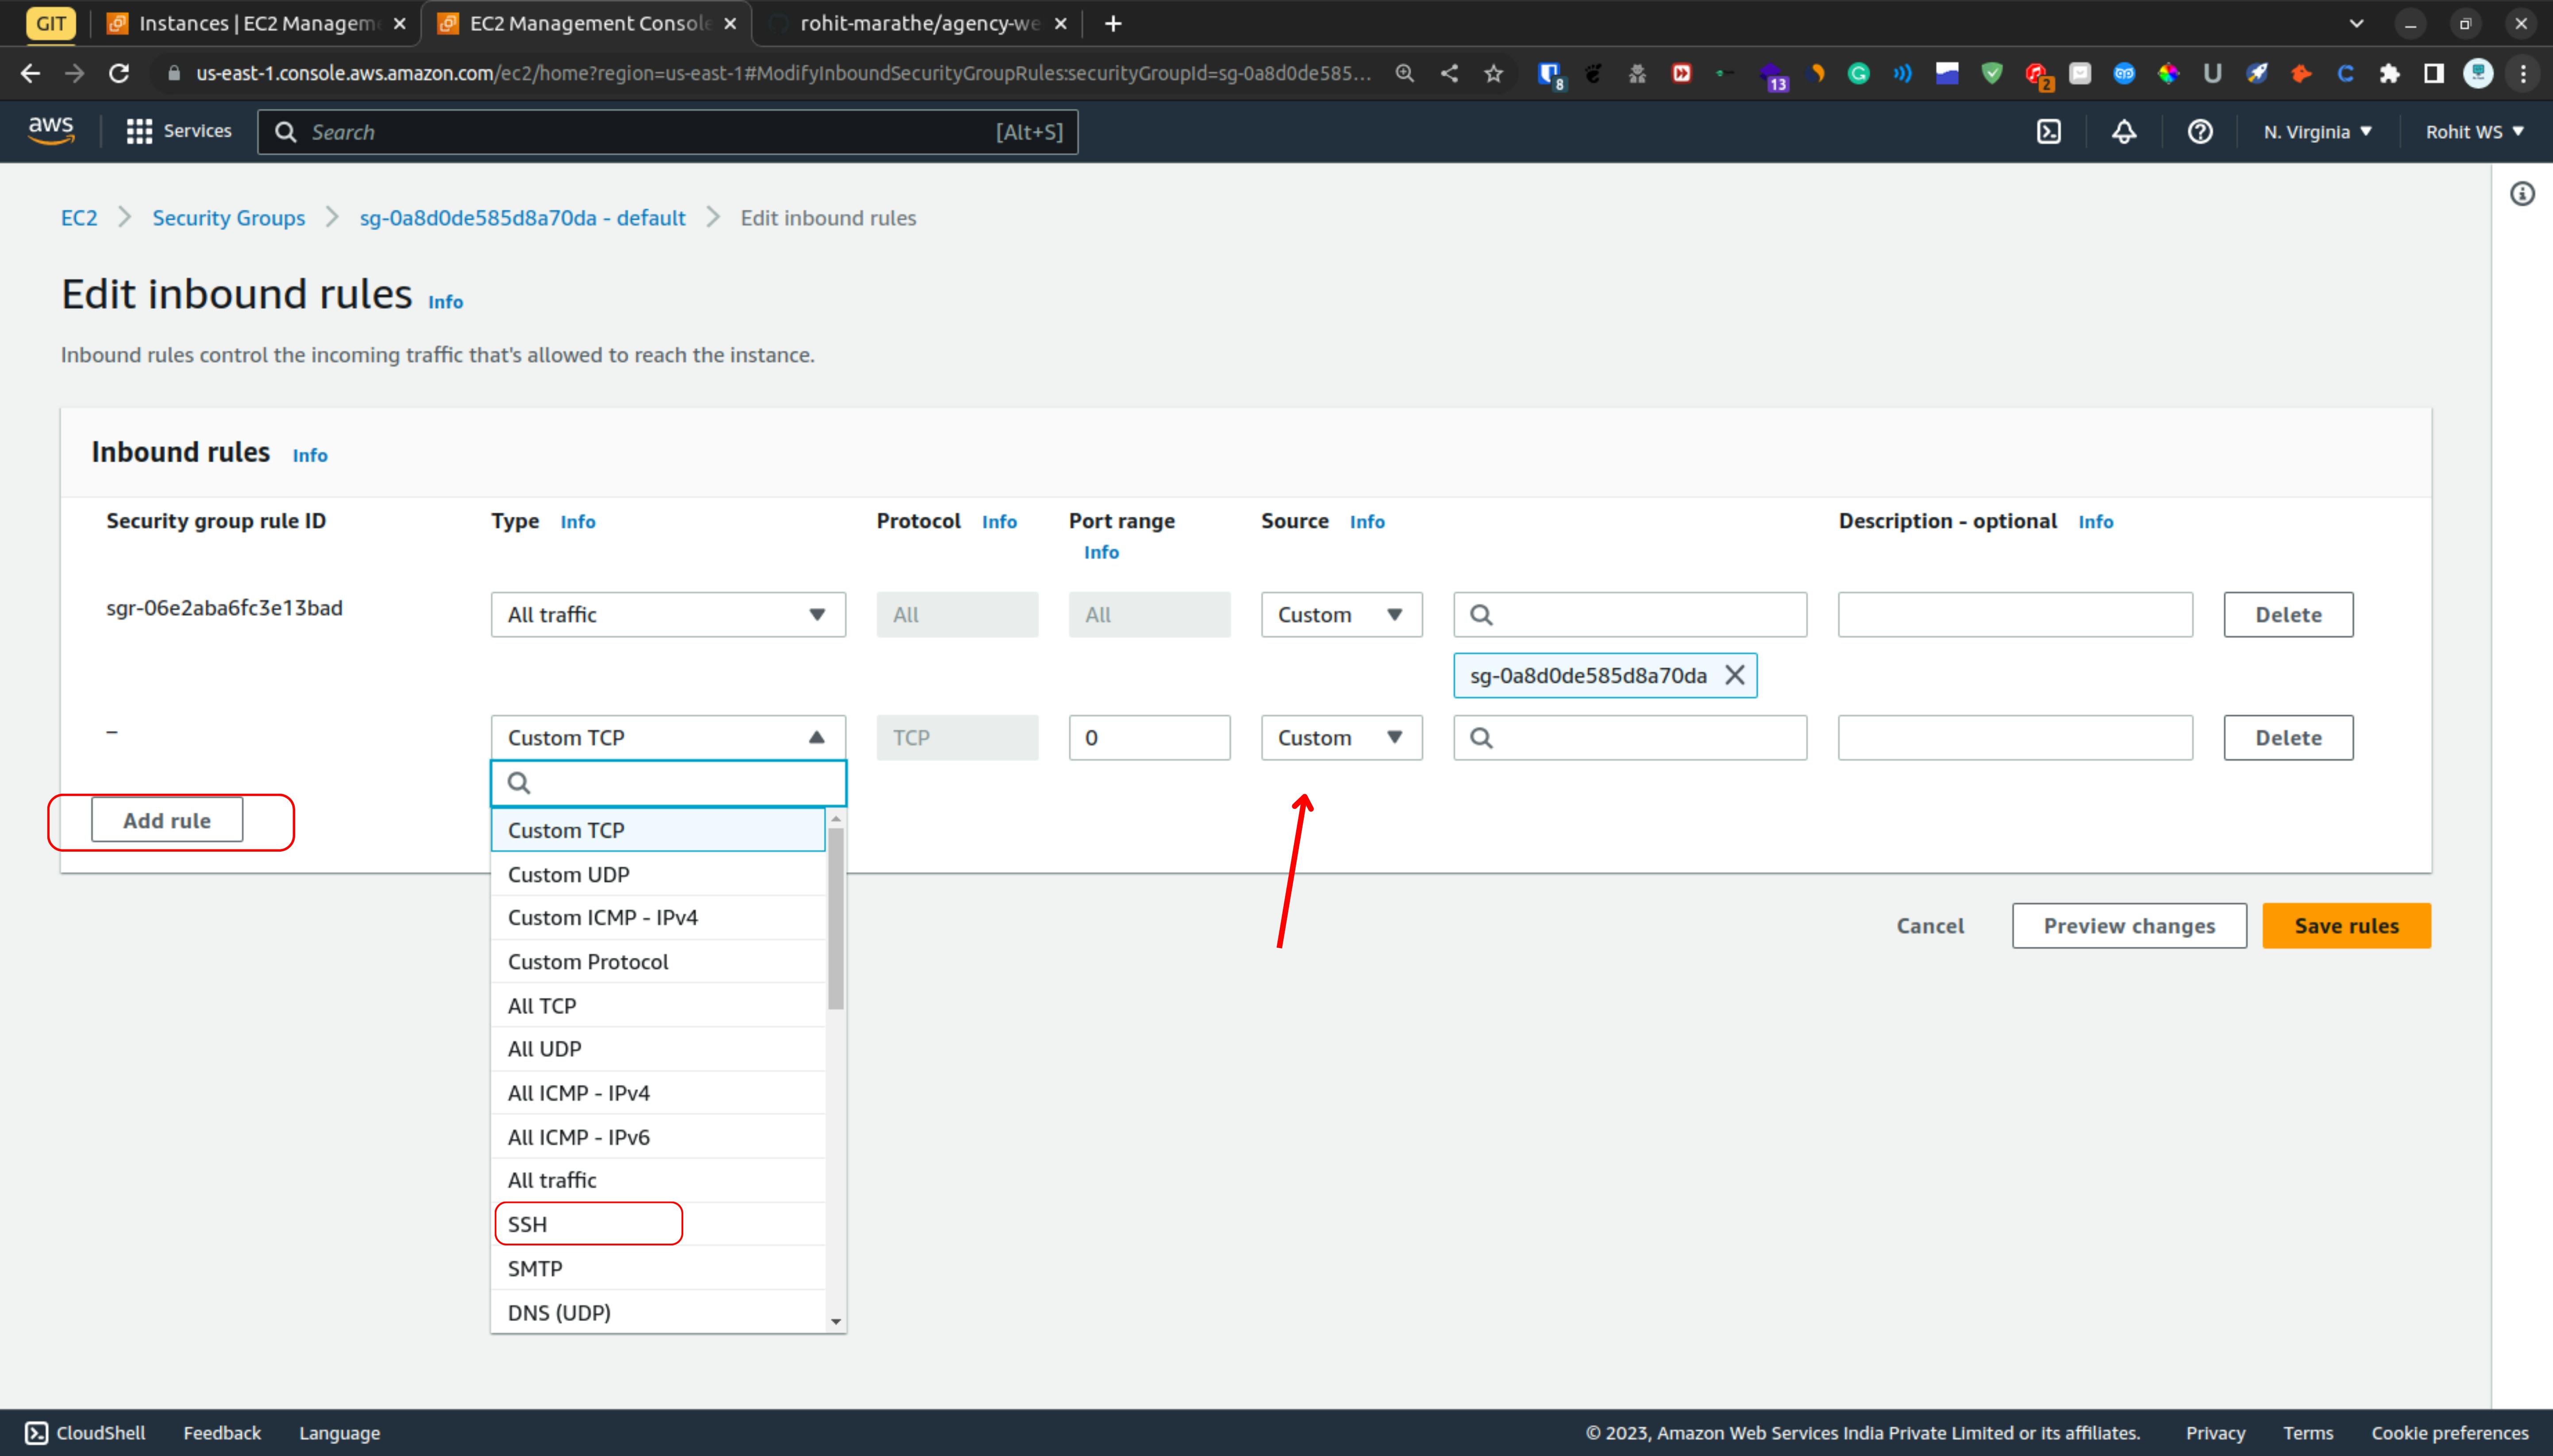
Then from the source section choose " Anywhere IPv4 "
Then do the same process for adding rules HTTP & HTTPS & click on save rules
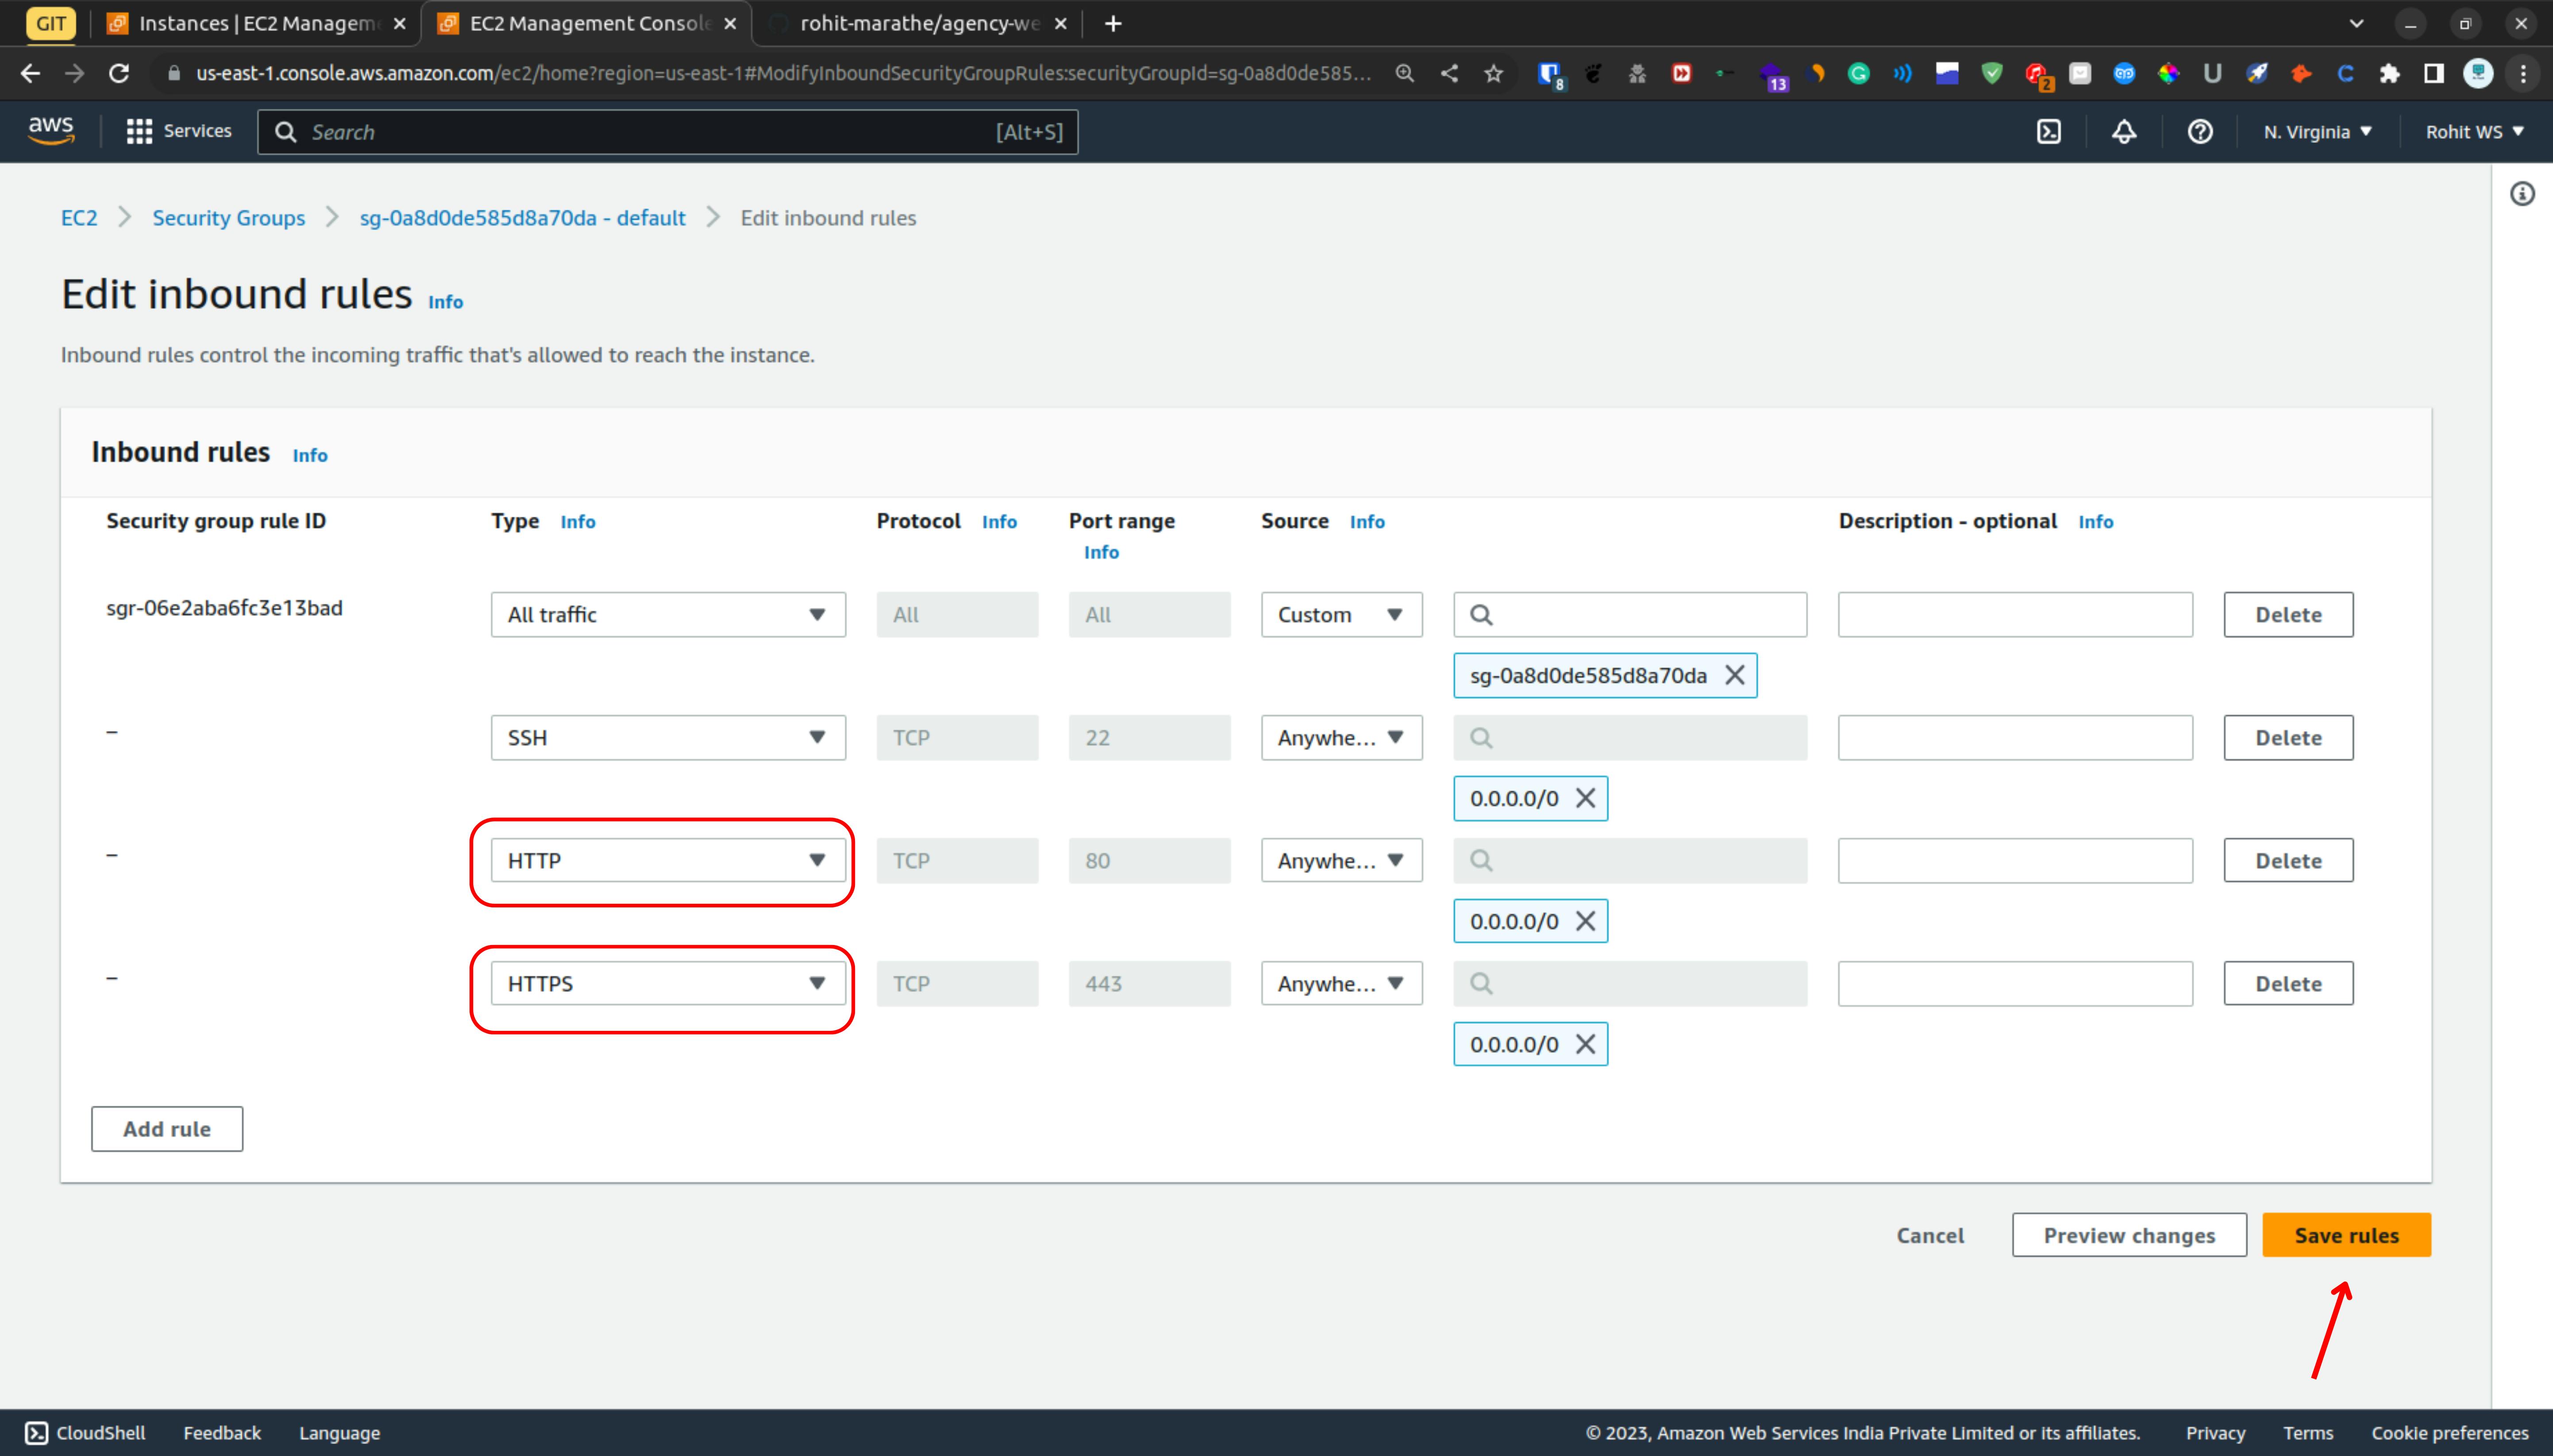
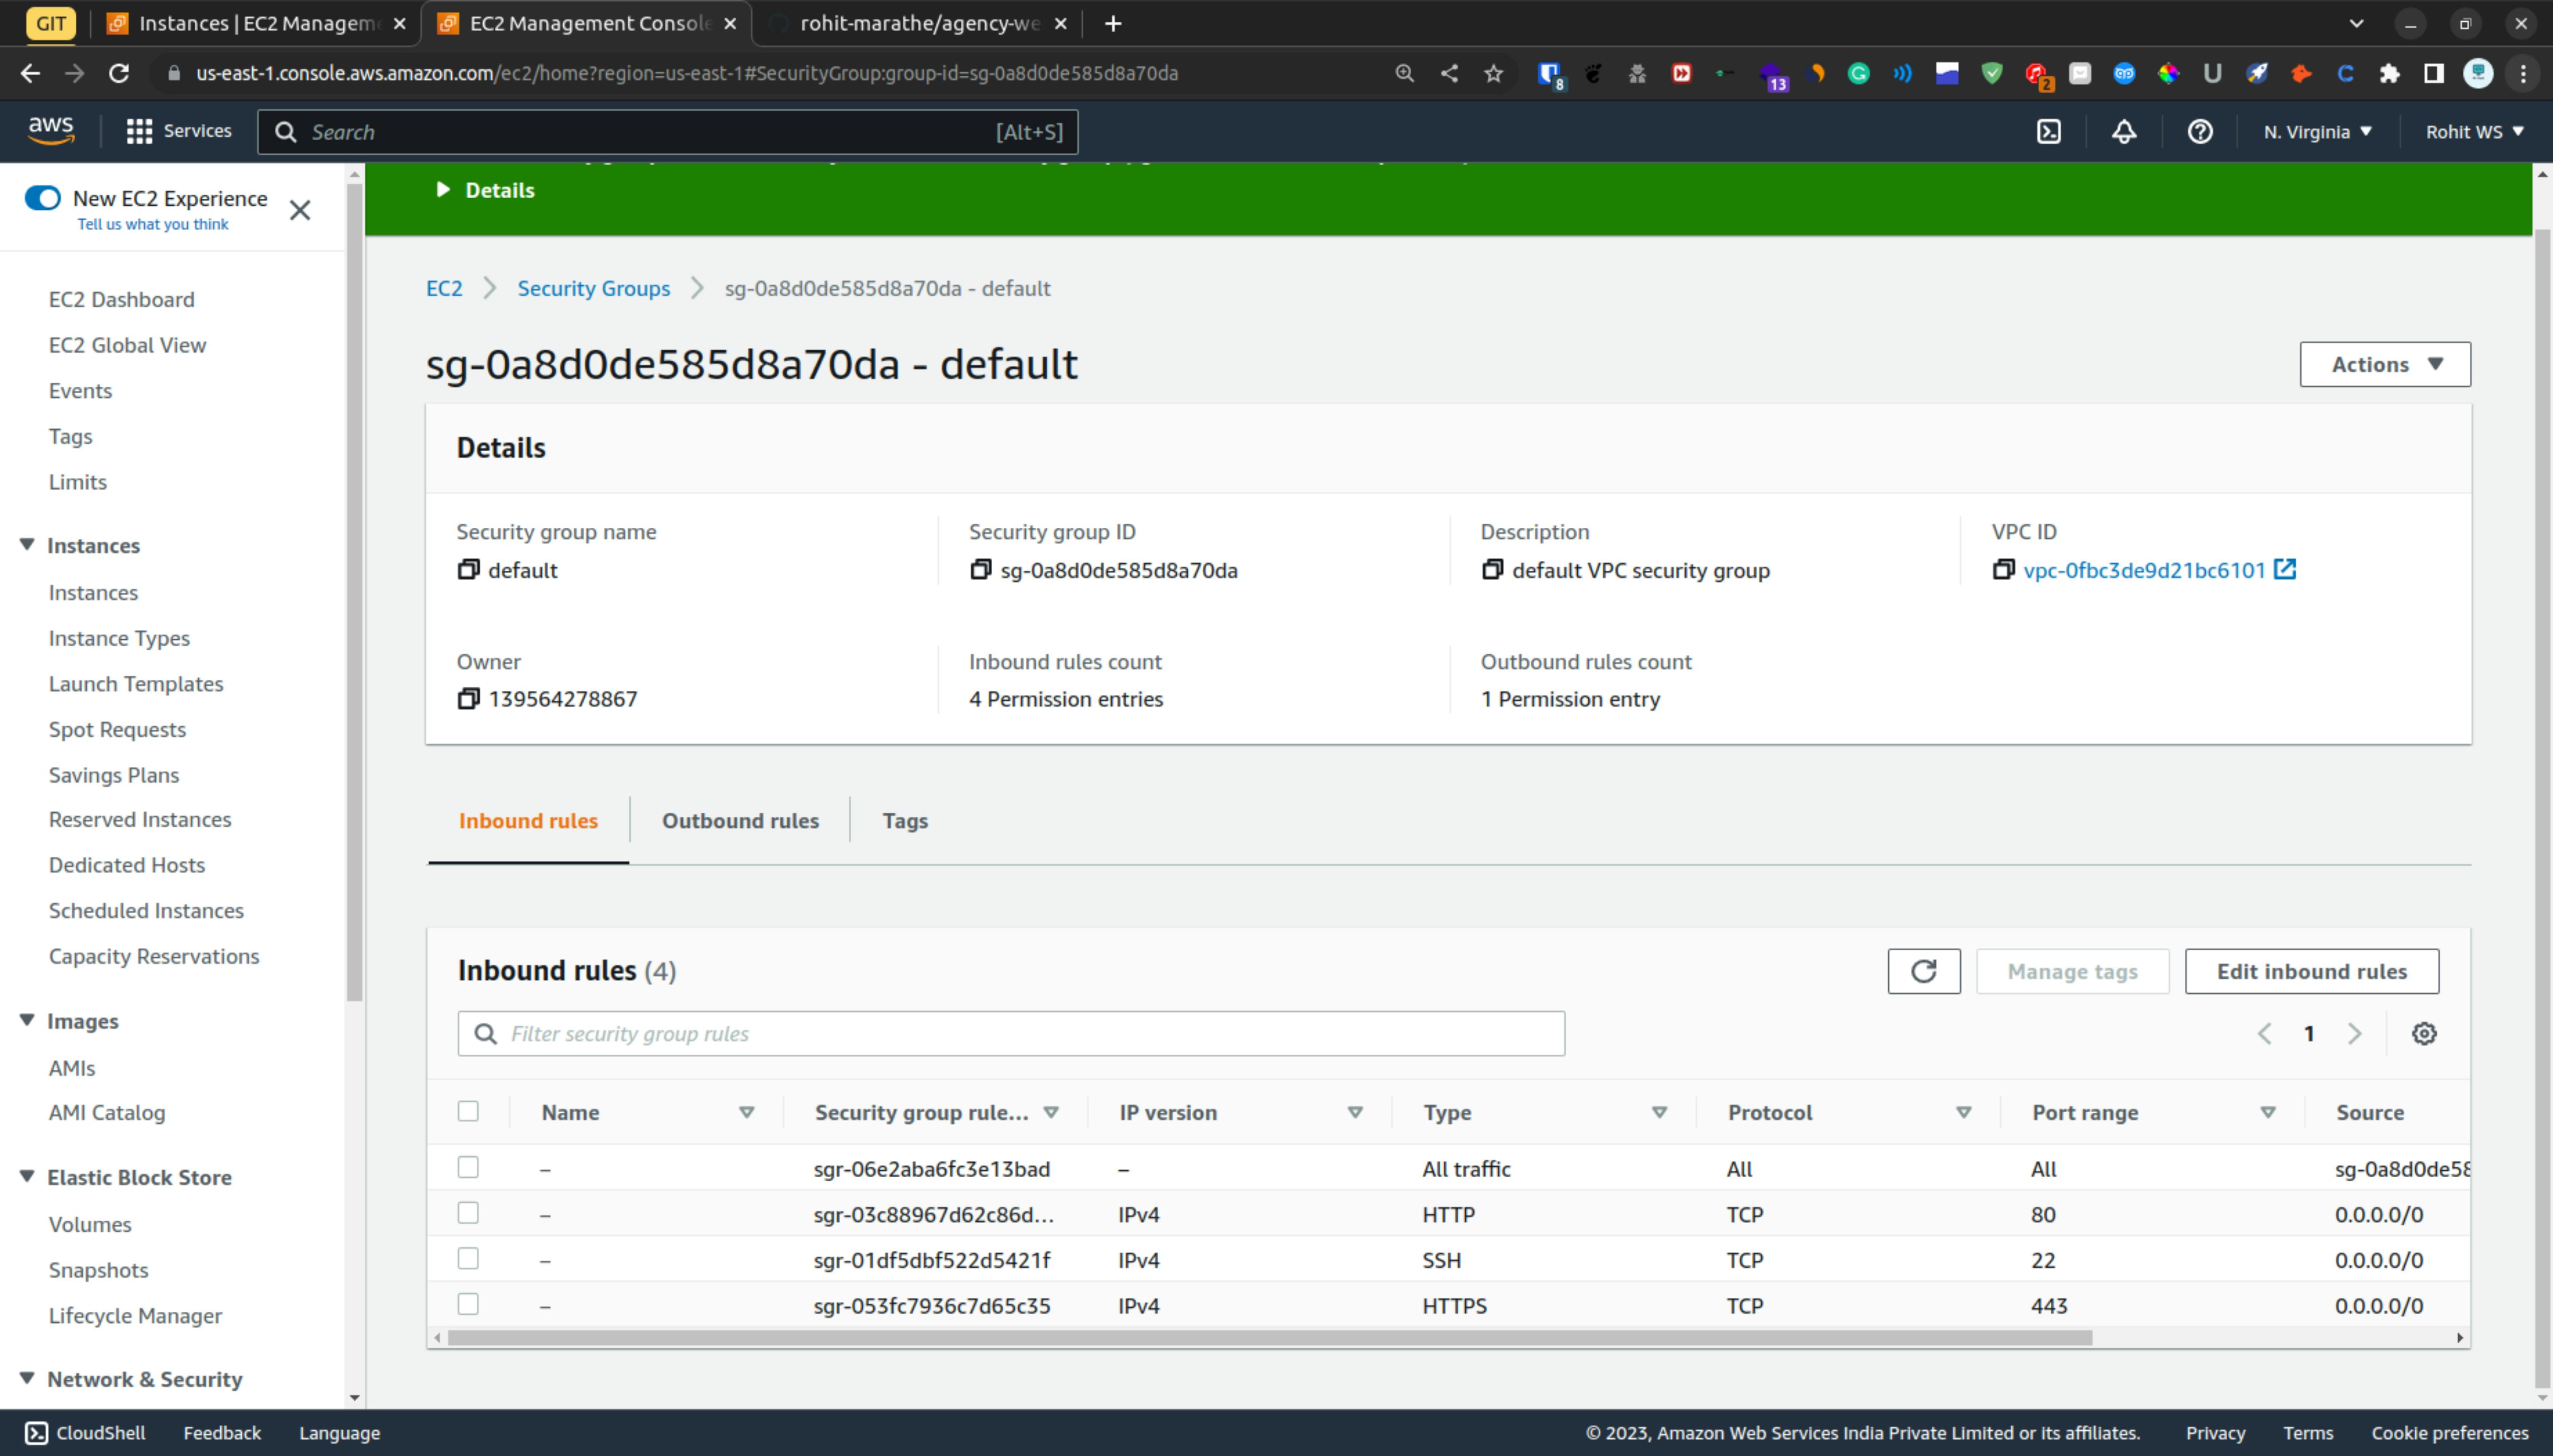
We successfully set the inbound rules
Step 4
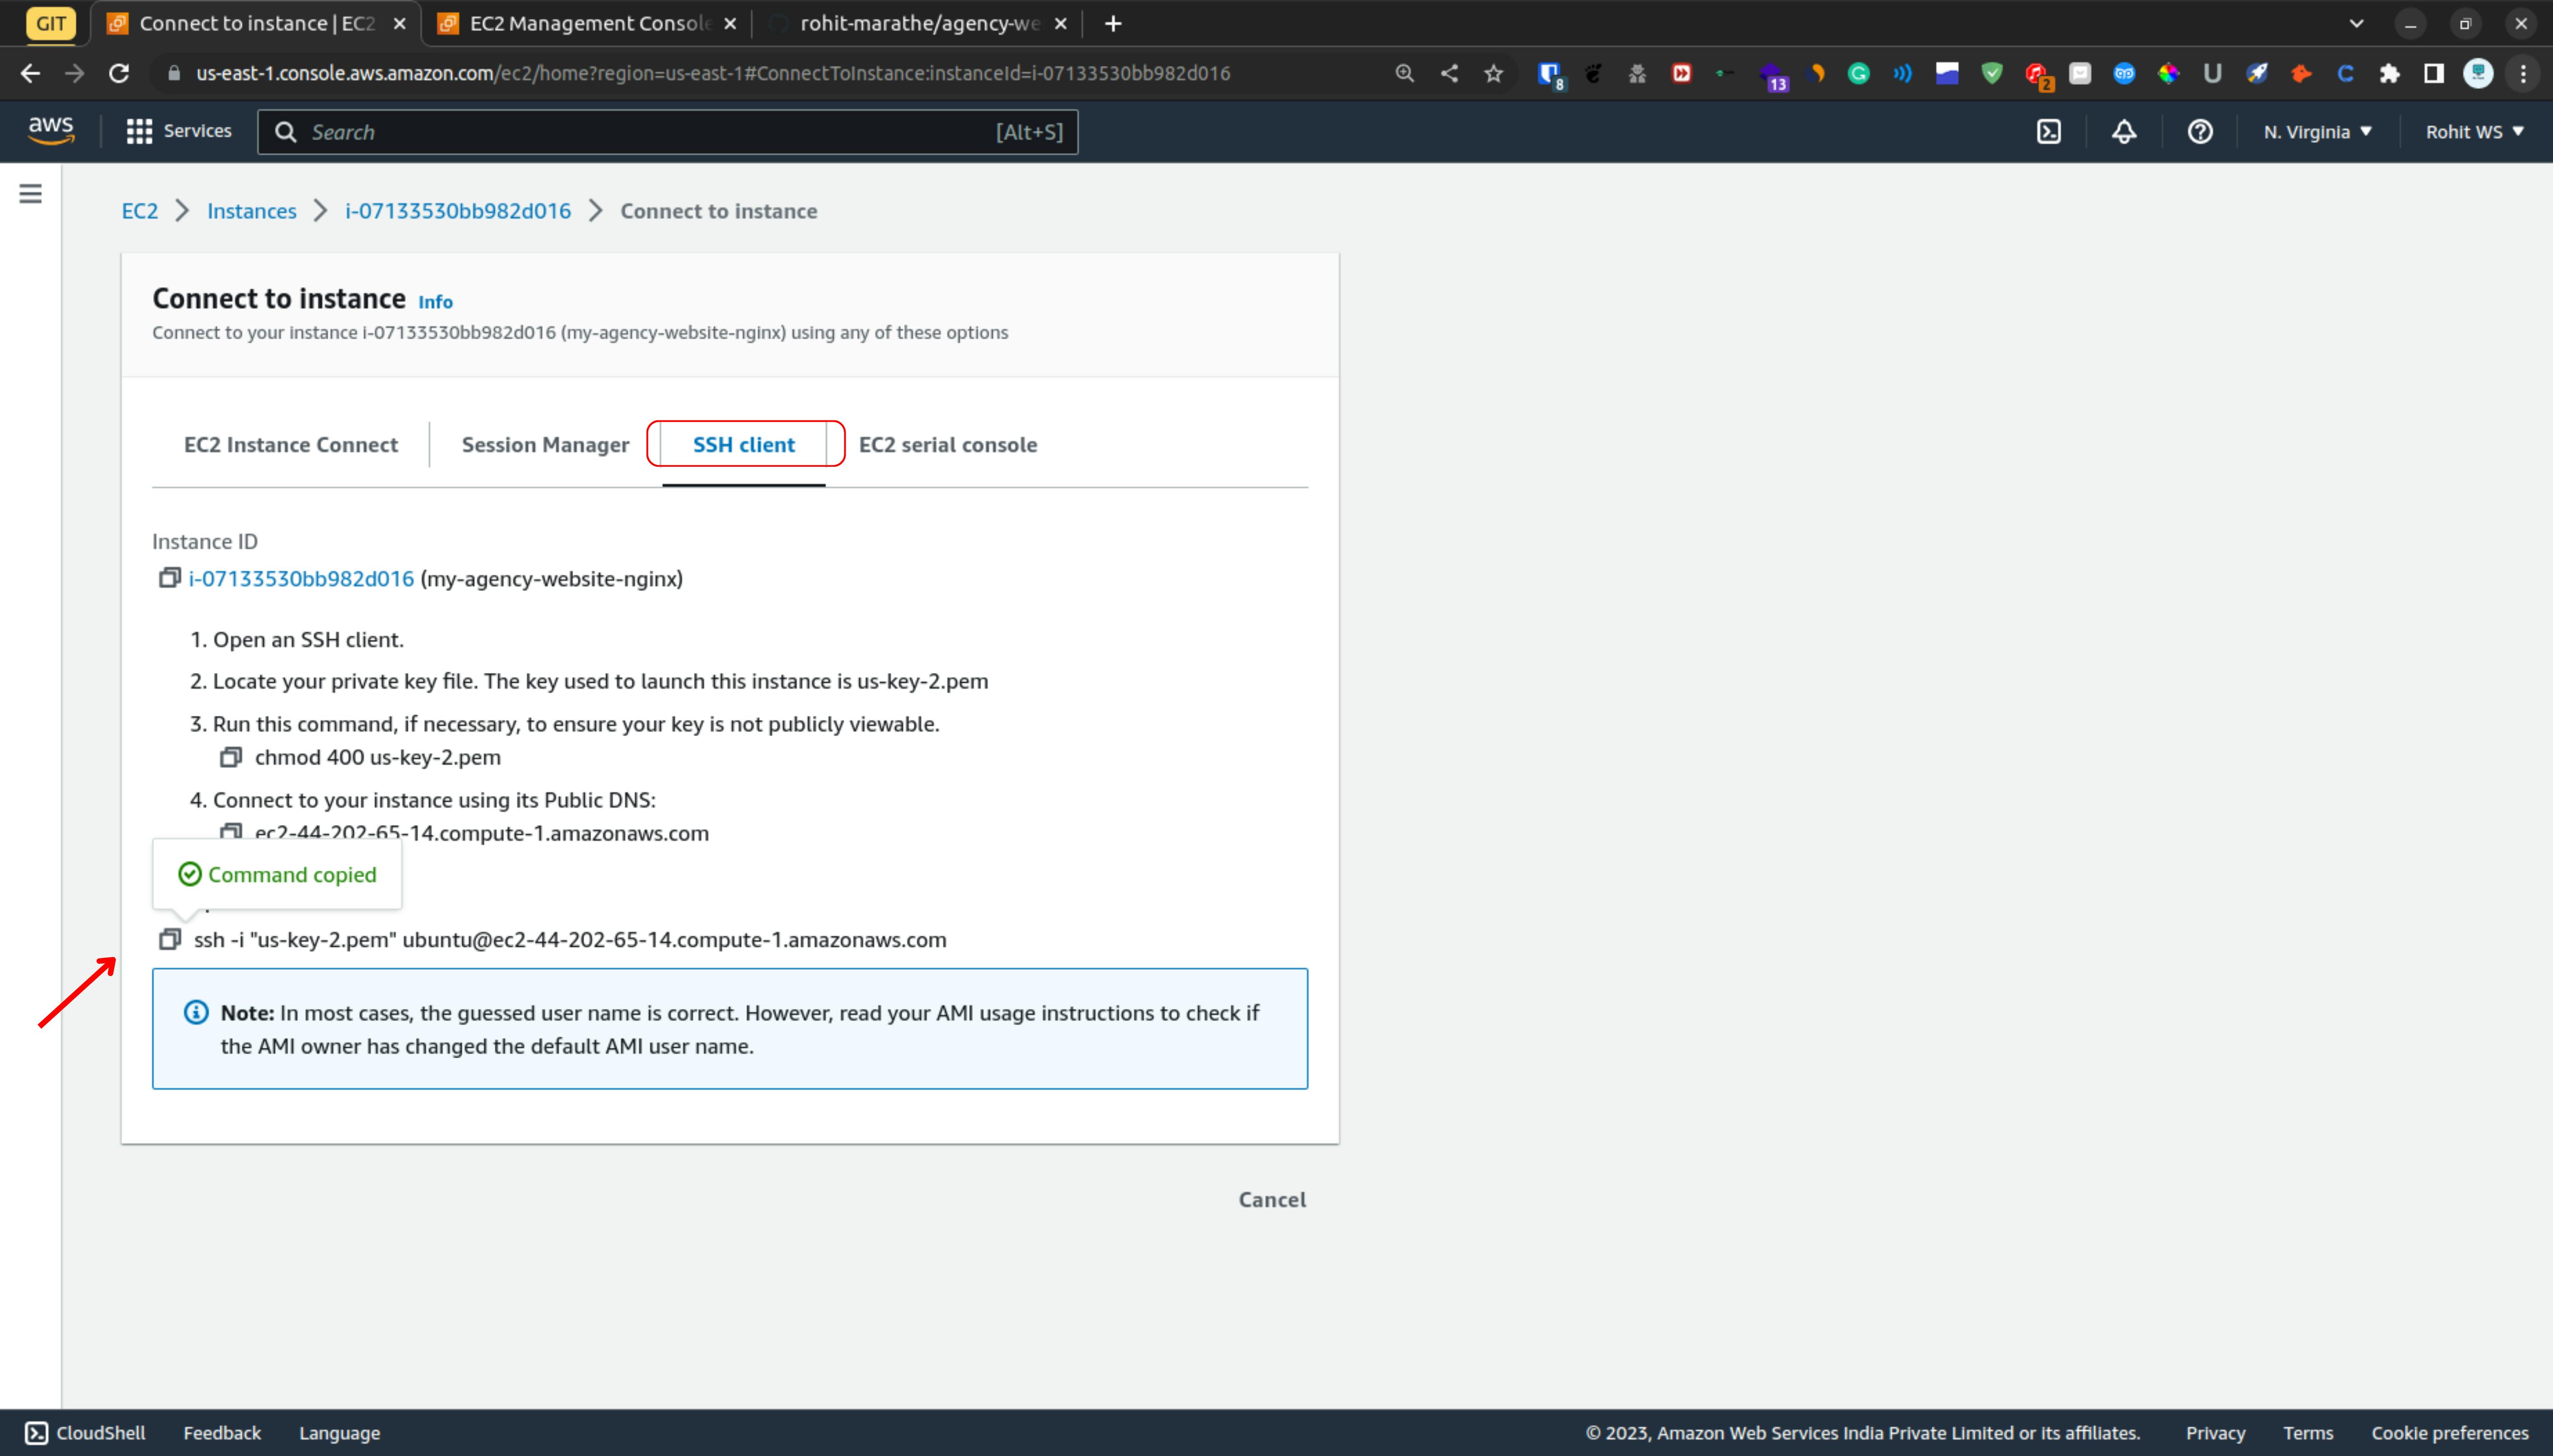
So head back to the instance section & select the instance and click on the connect
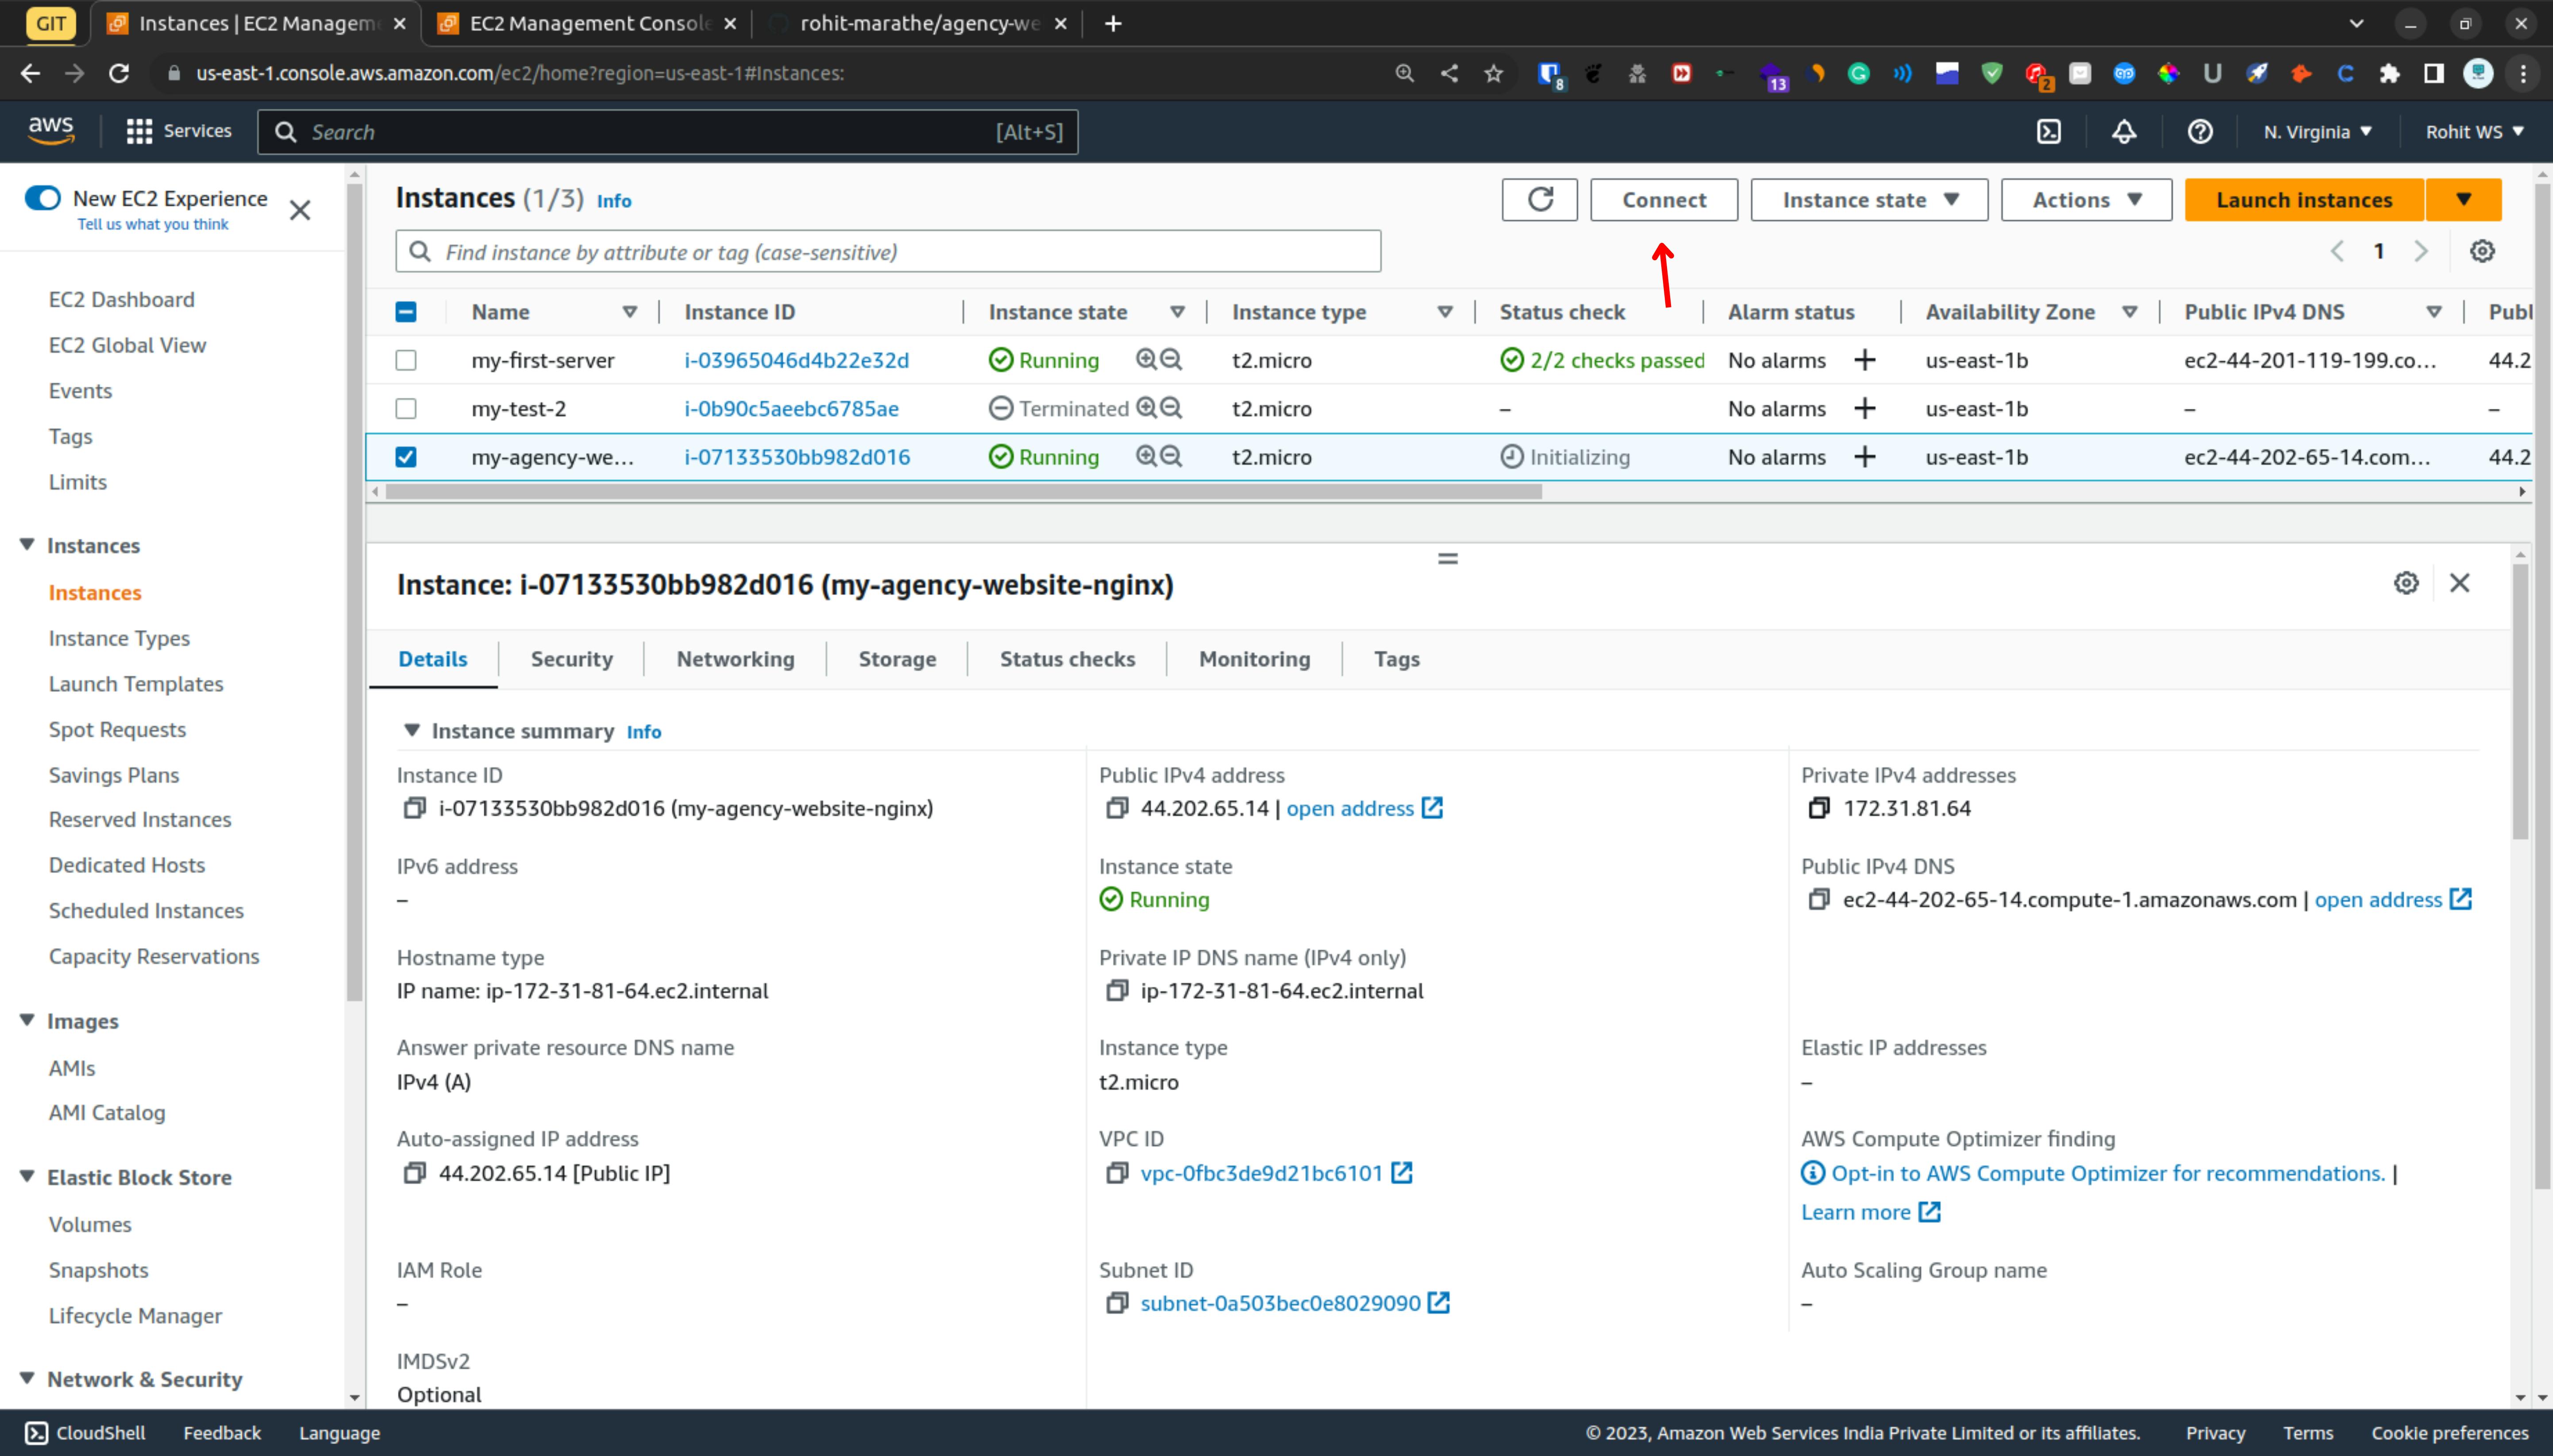
Then select the SSH Client & copy the ssh command
Step 5
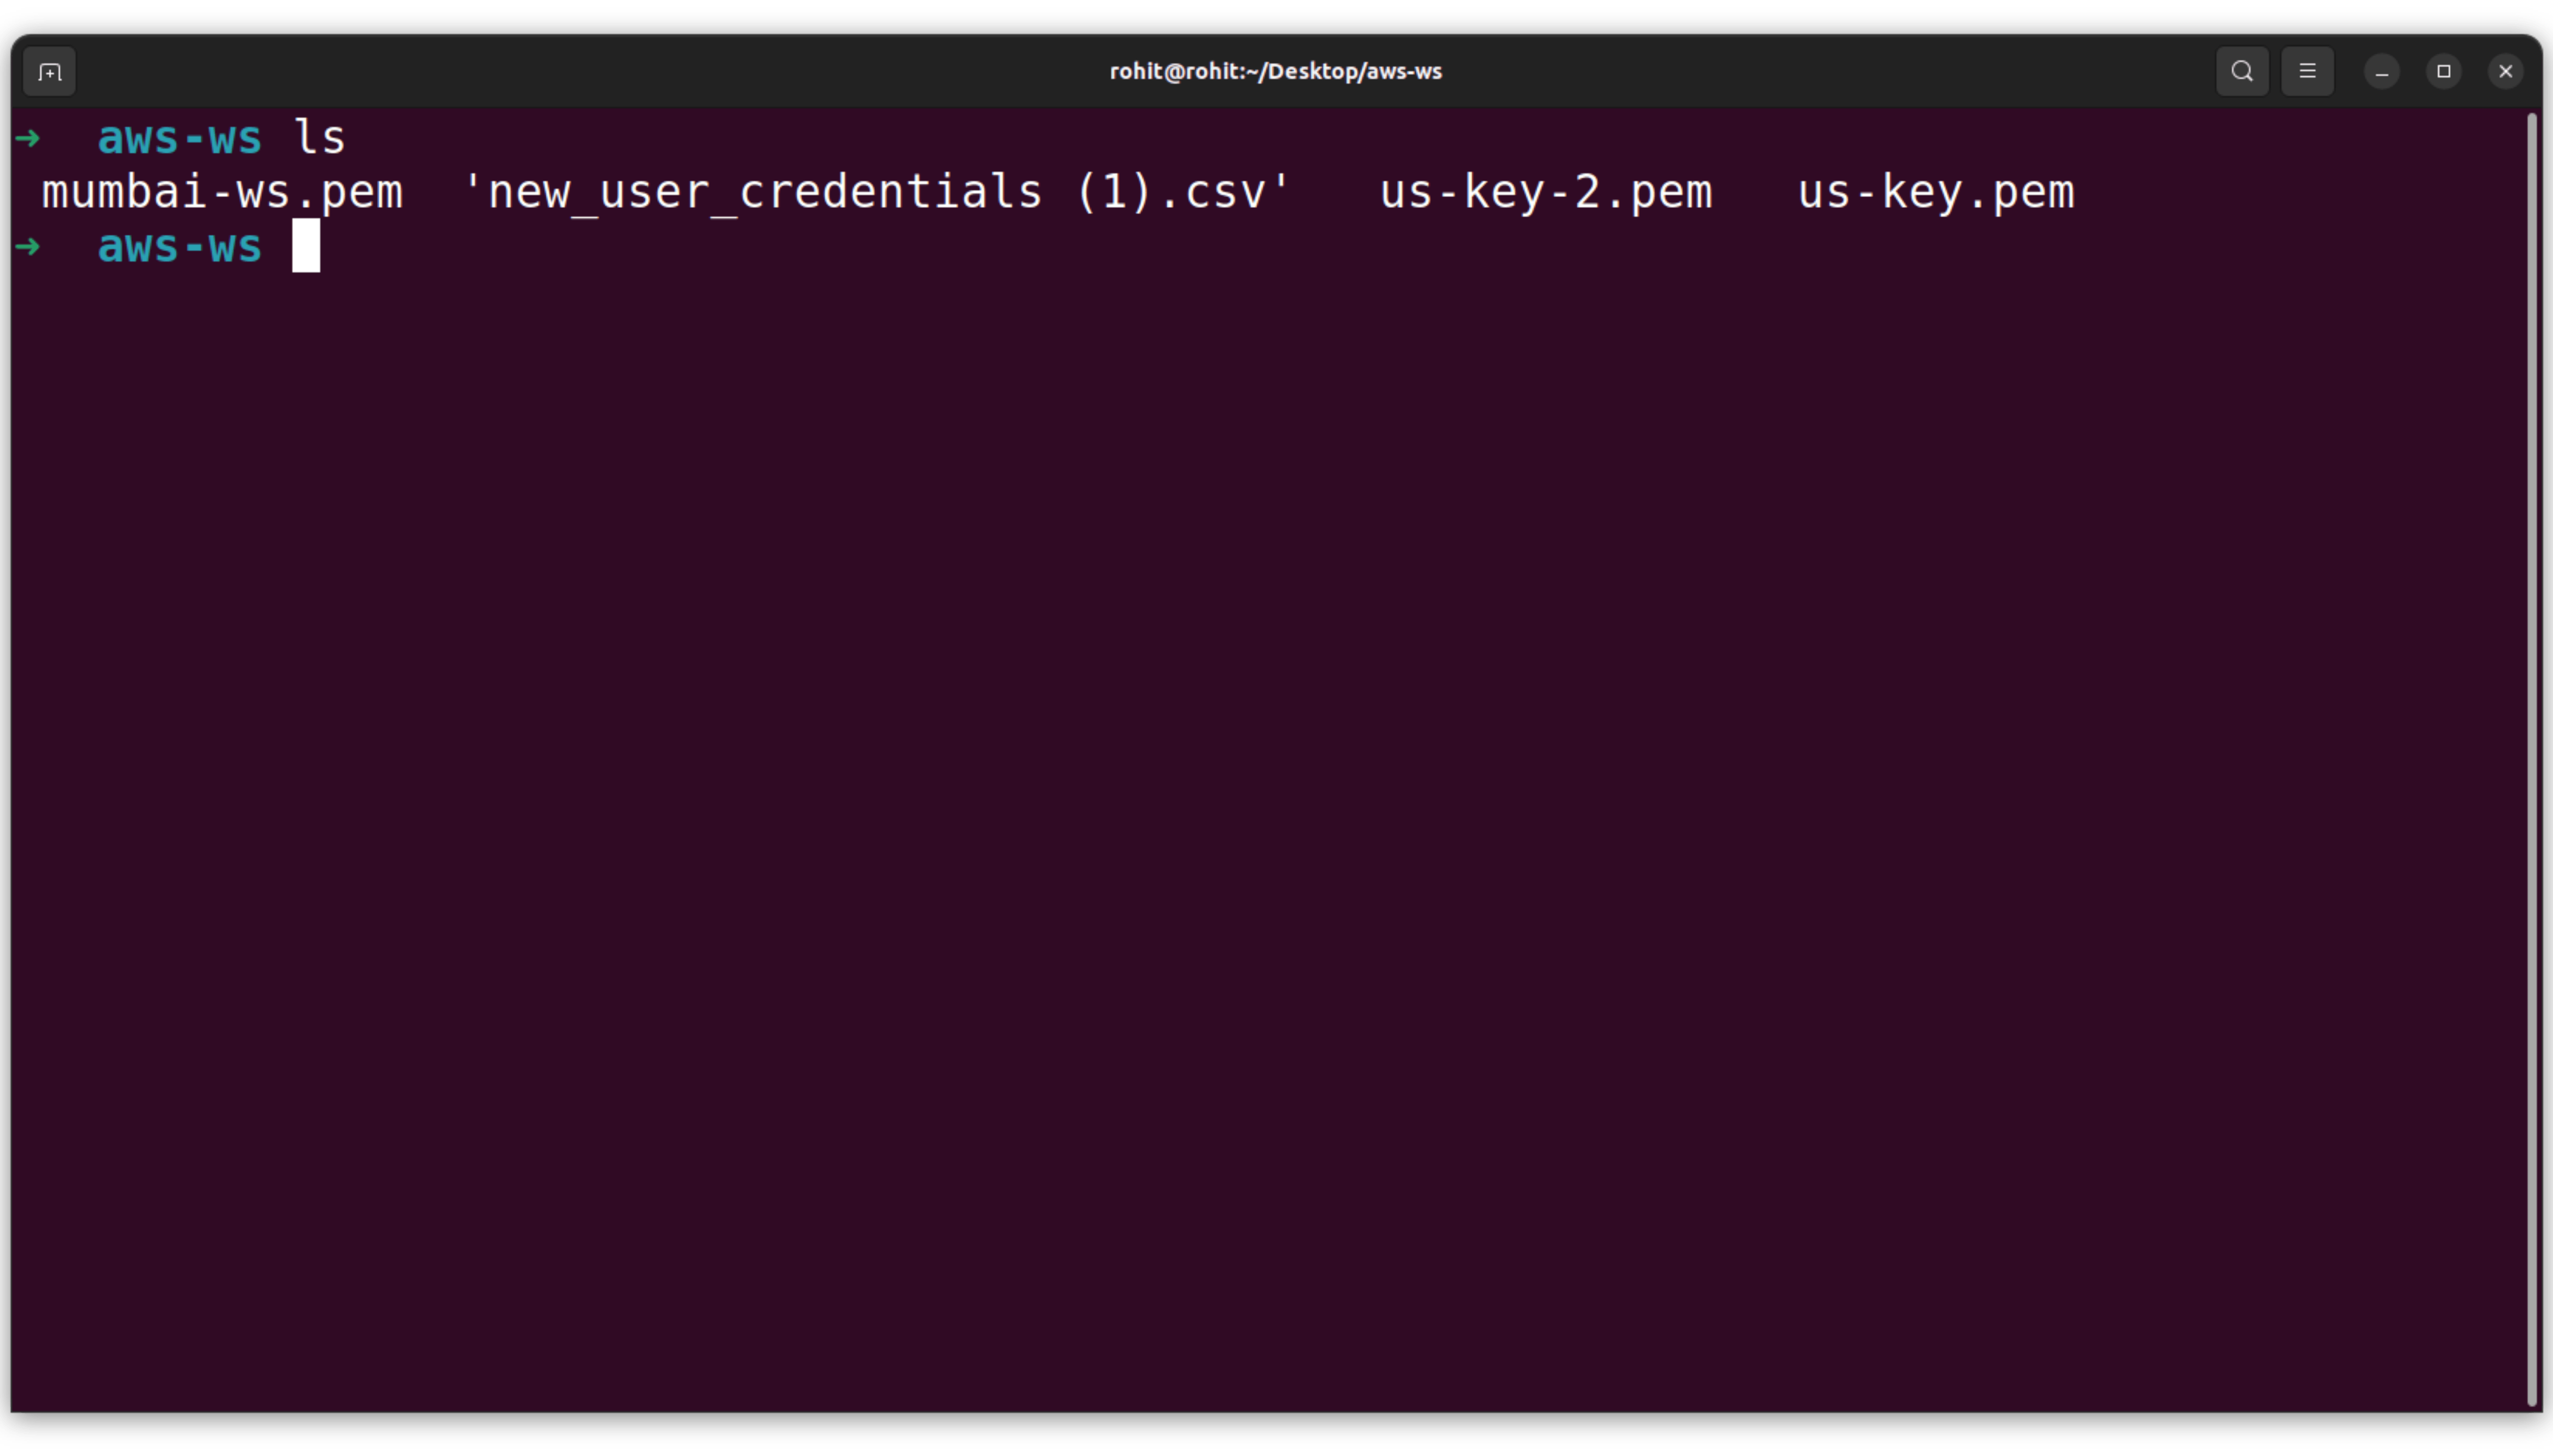
Now open the terminal & you must have to same directory where you have your key pair. As you can see it
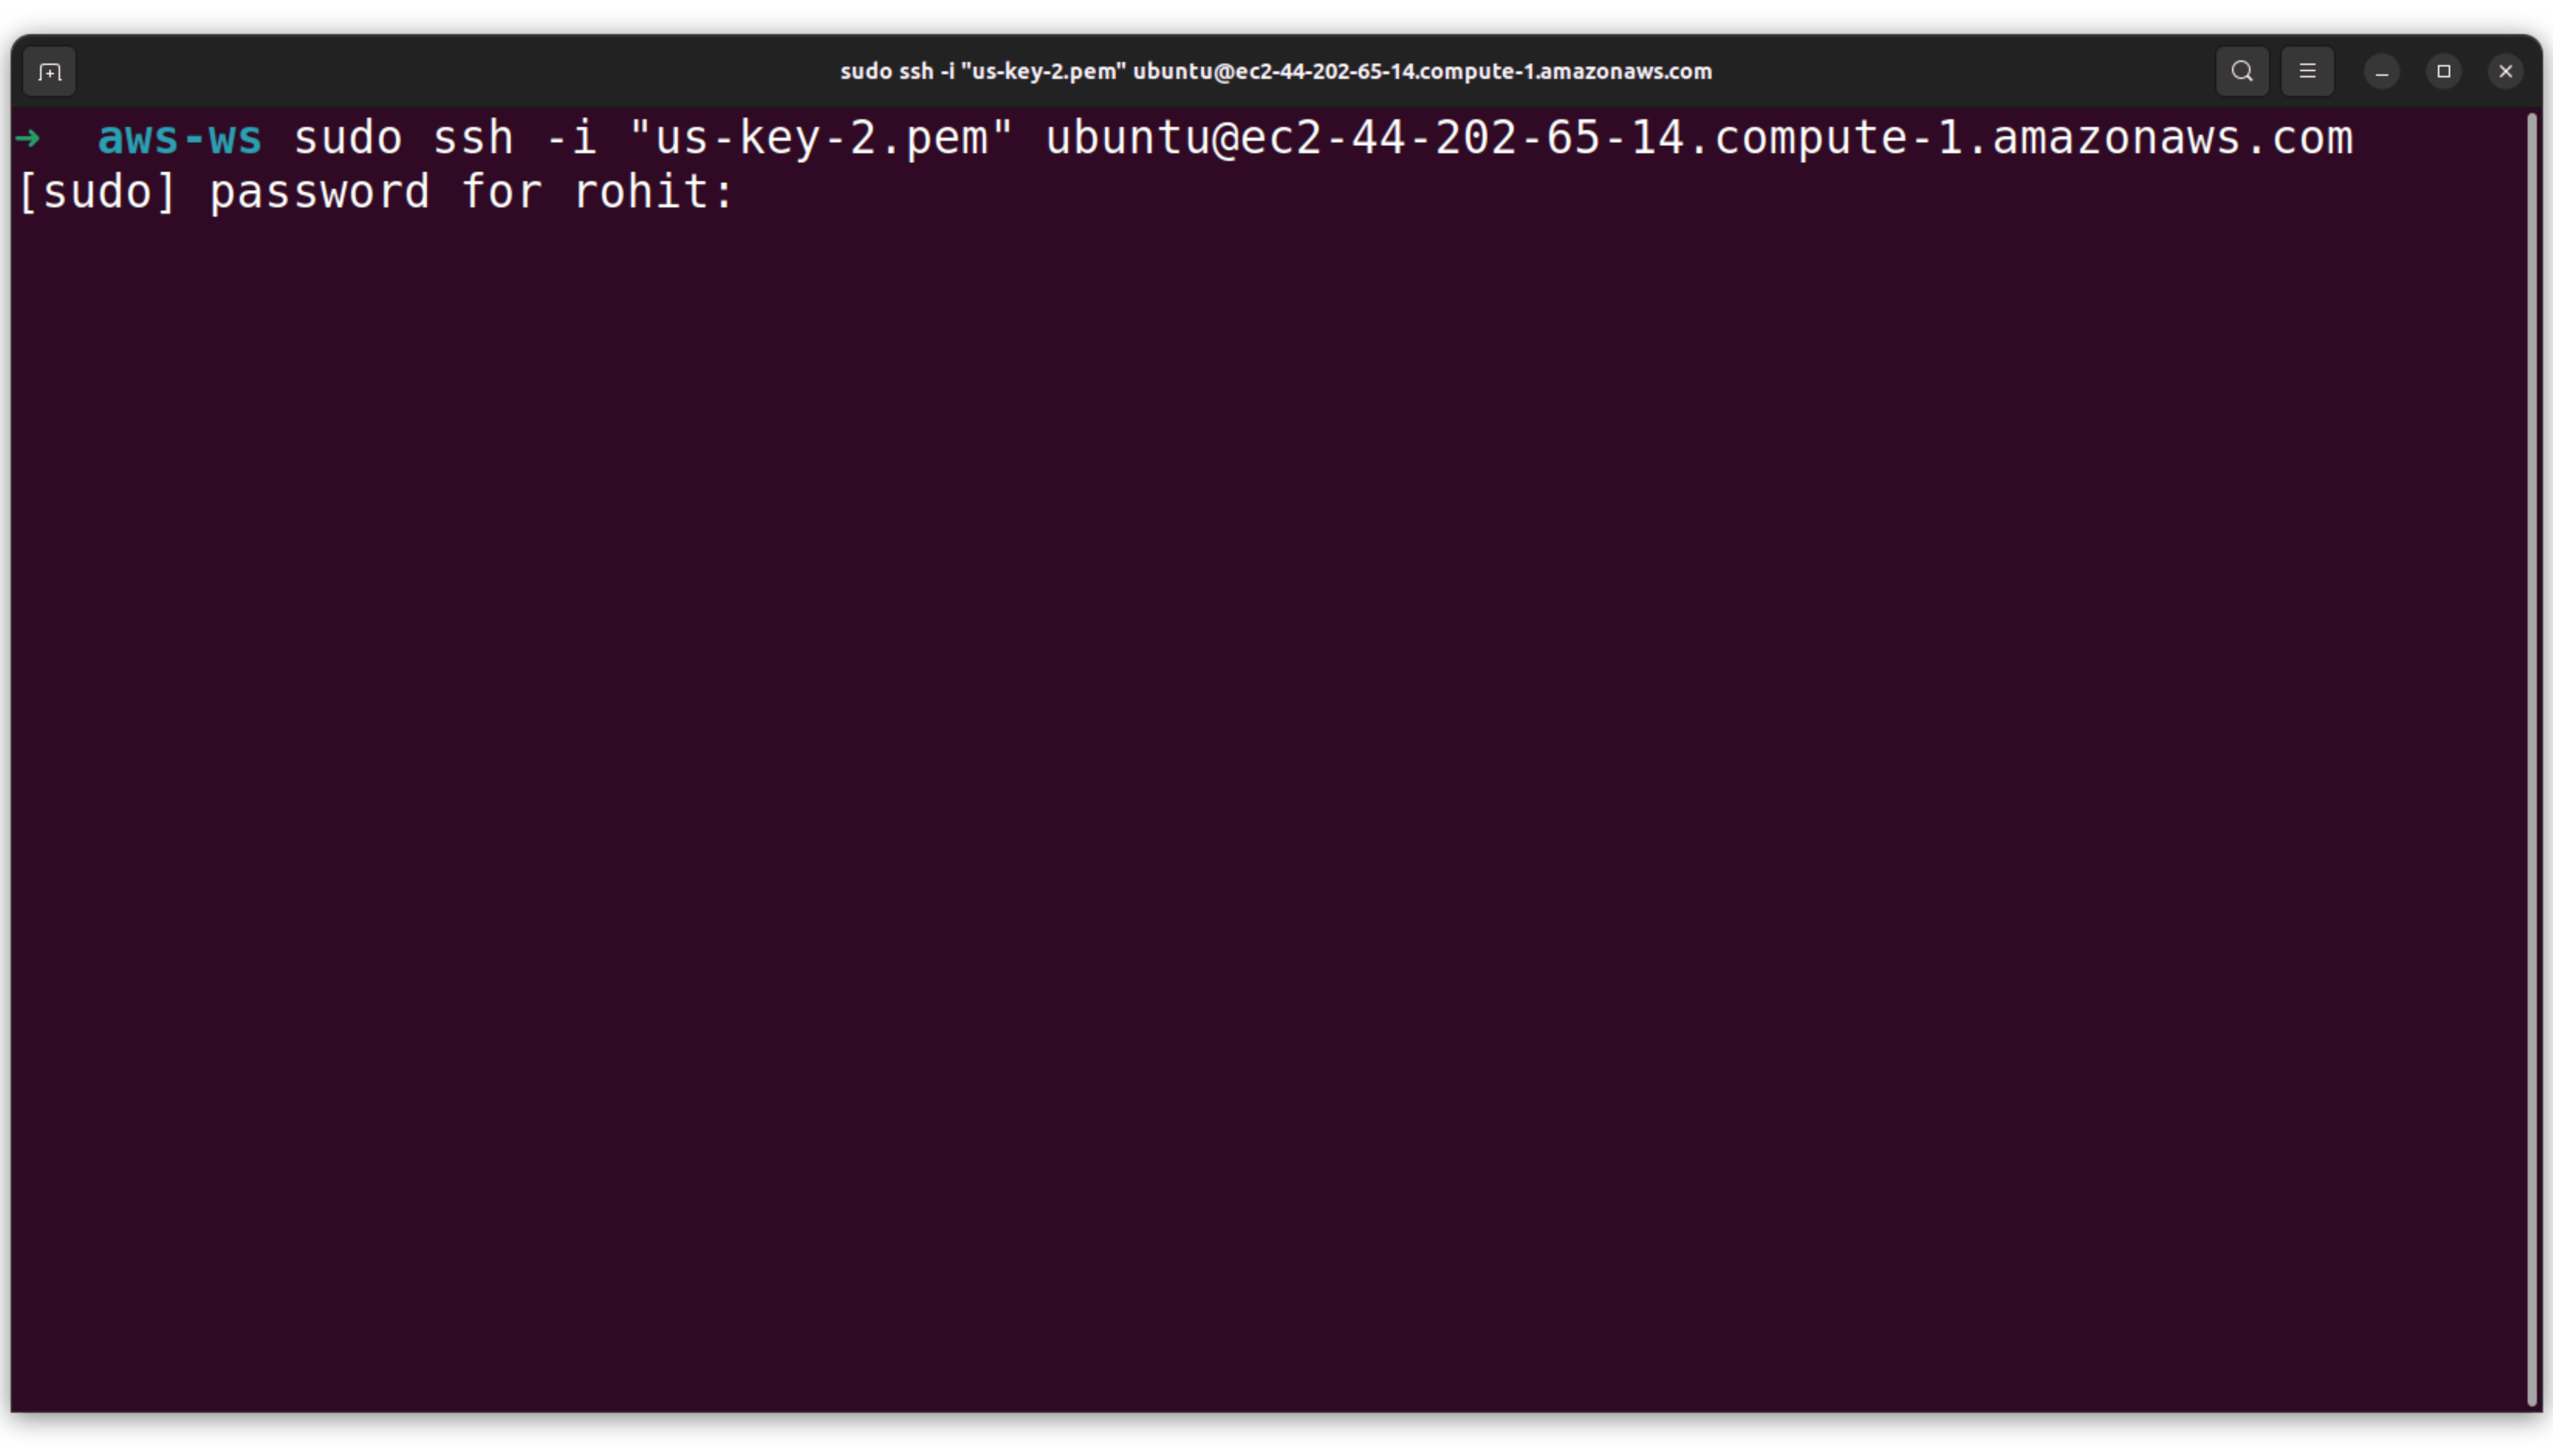
Use sudo if you are not the root user & then paste the command.
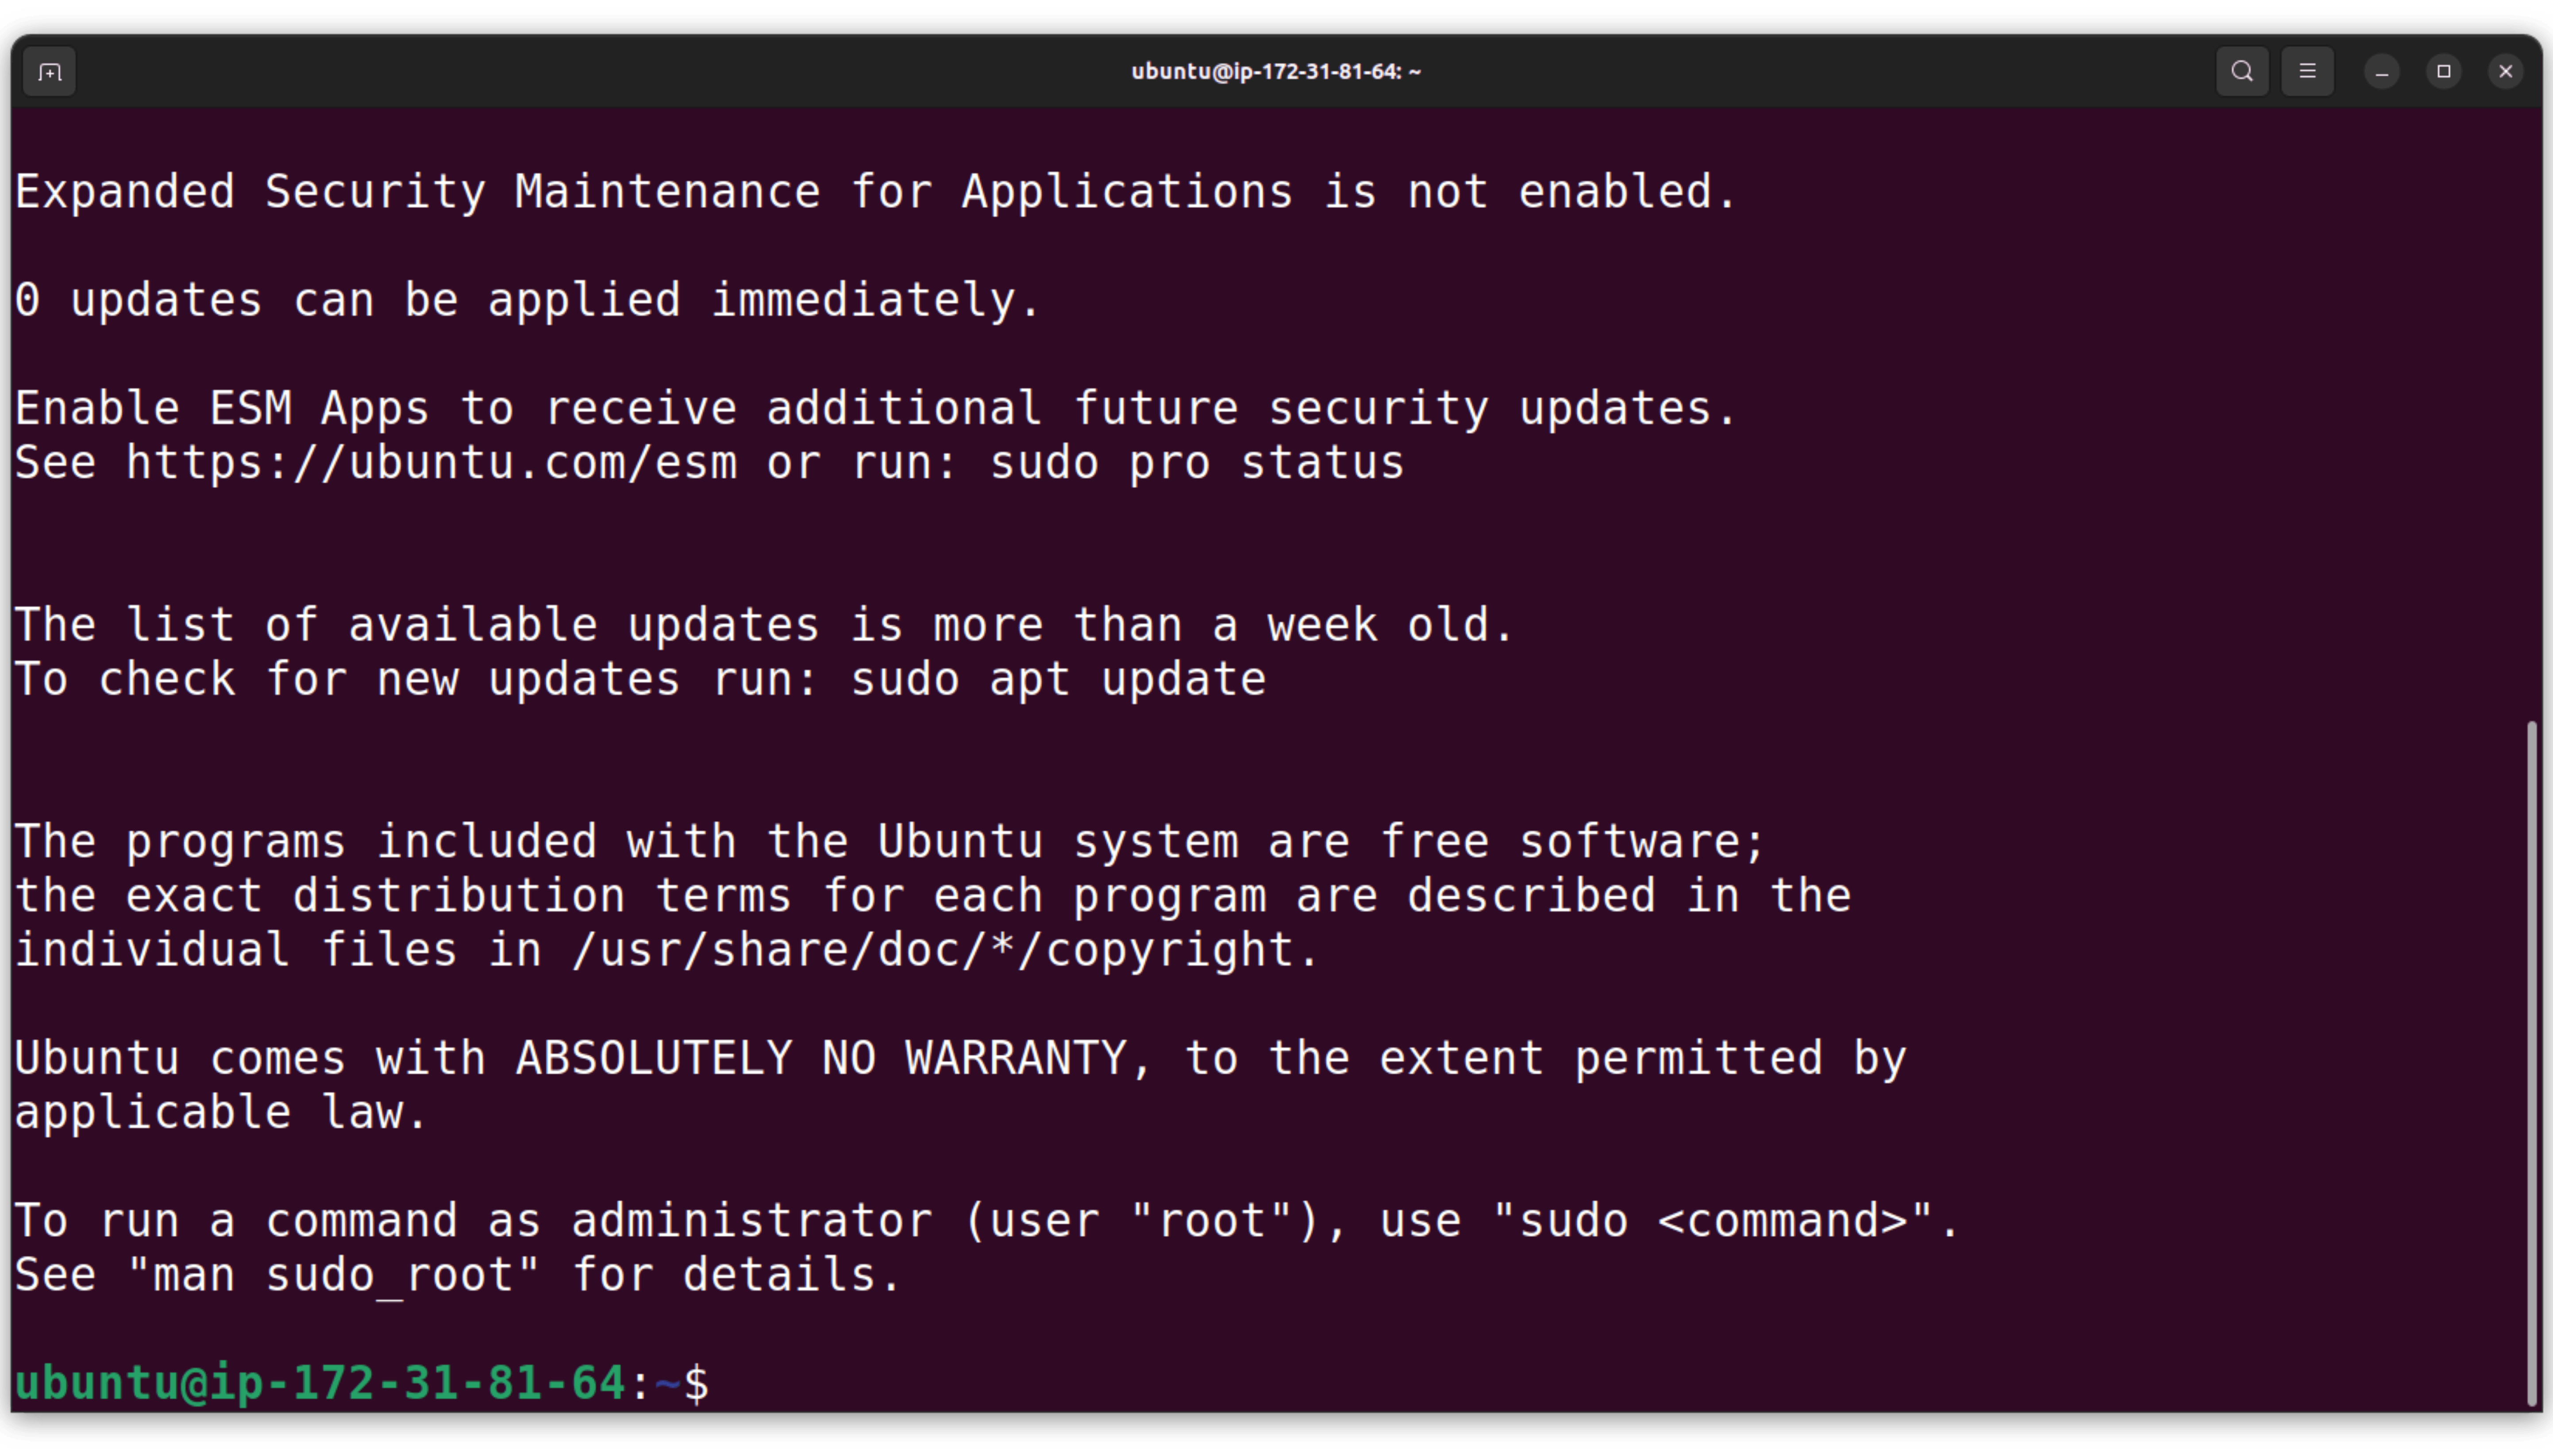
As you can see that we are successfully connected with the instance
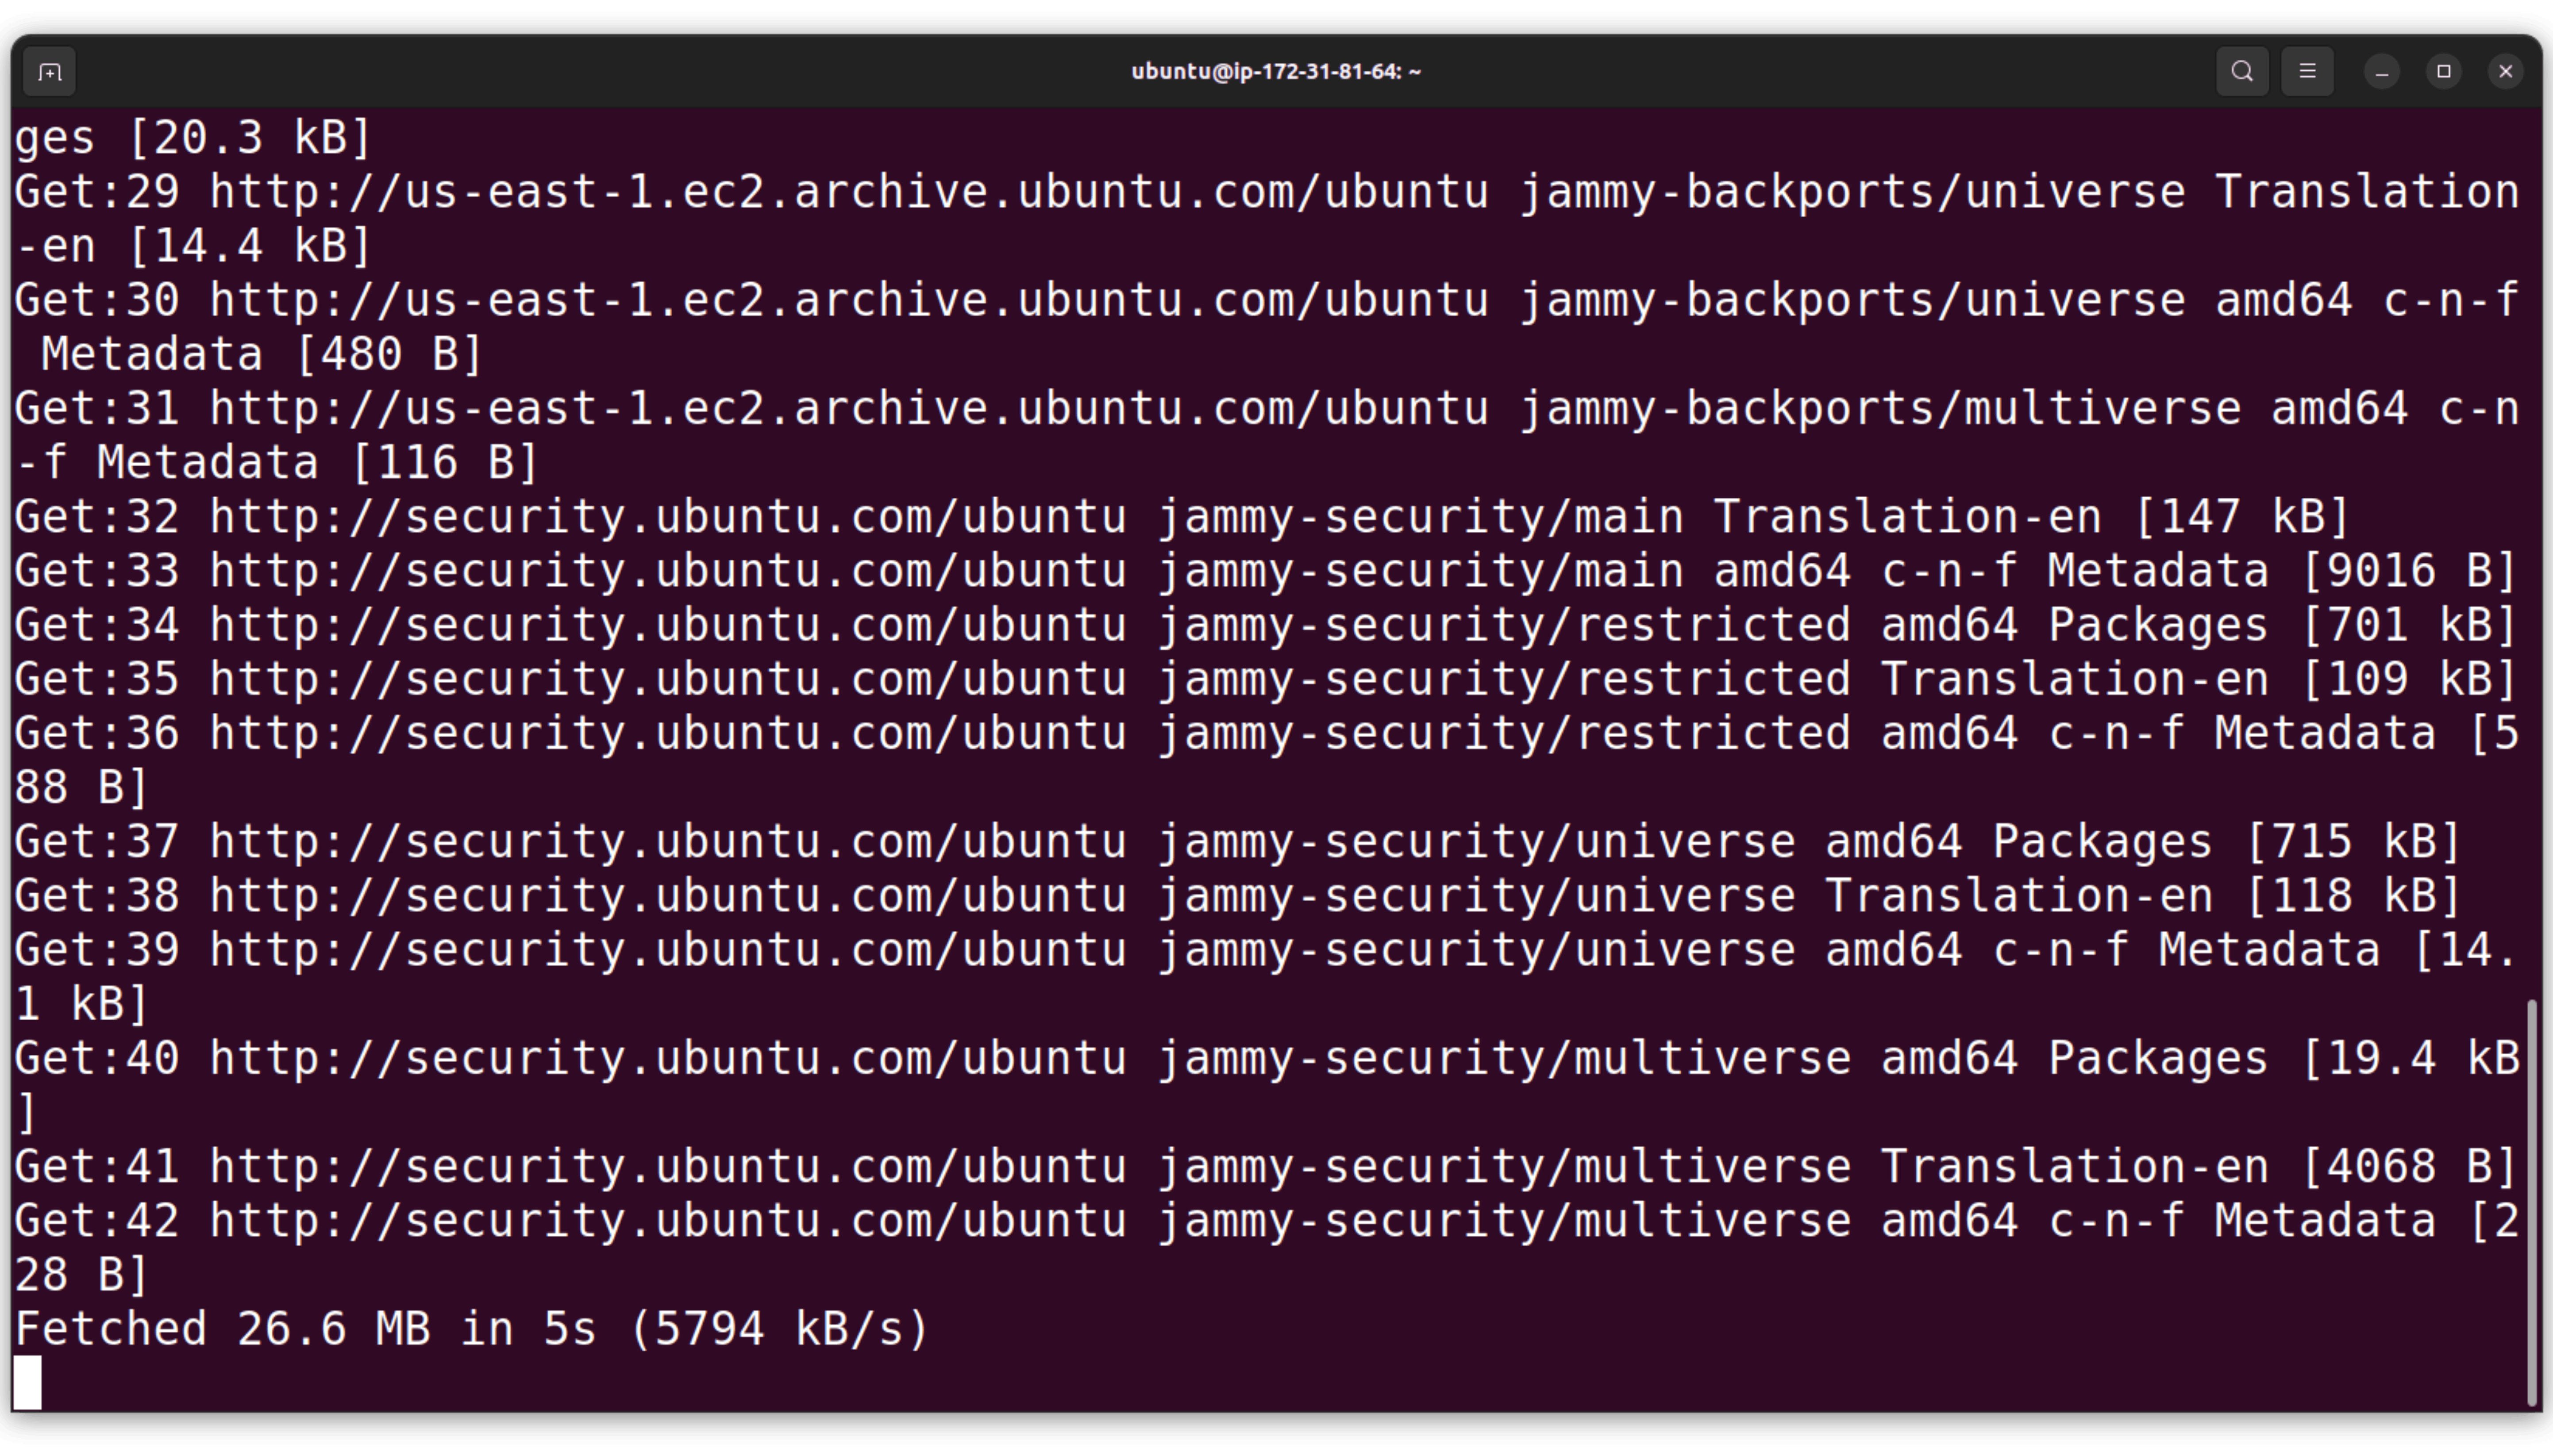
Then we are going to update the packages.
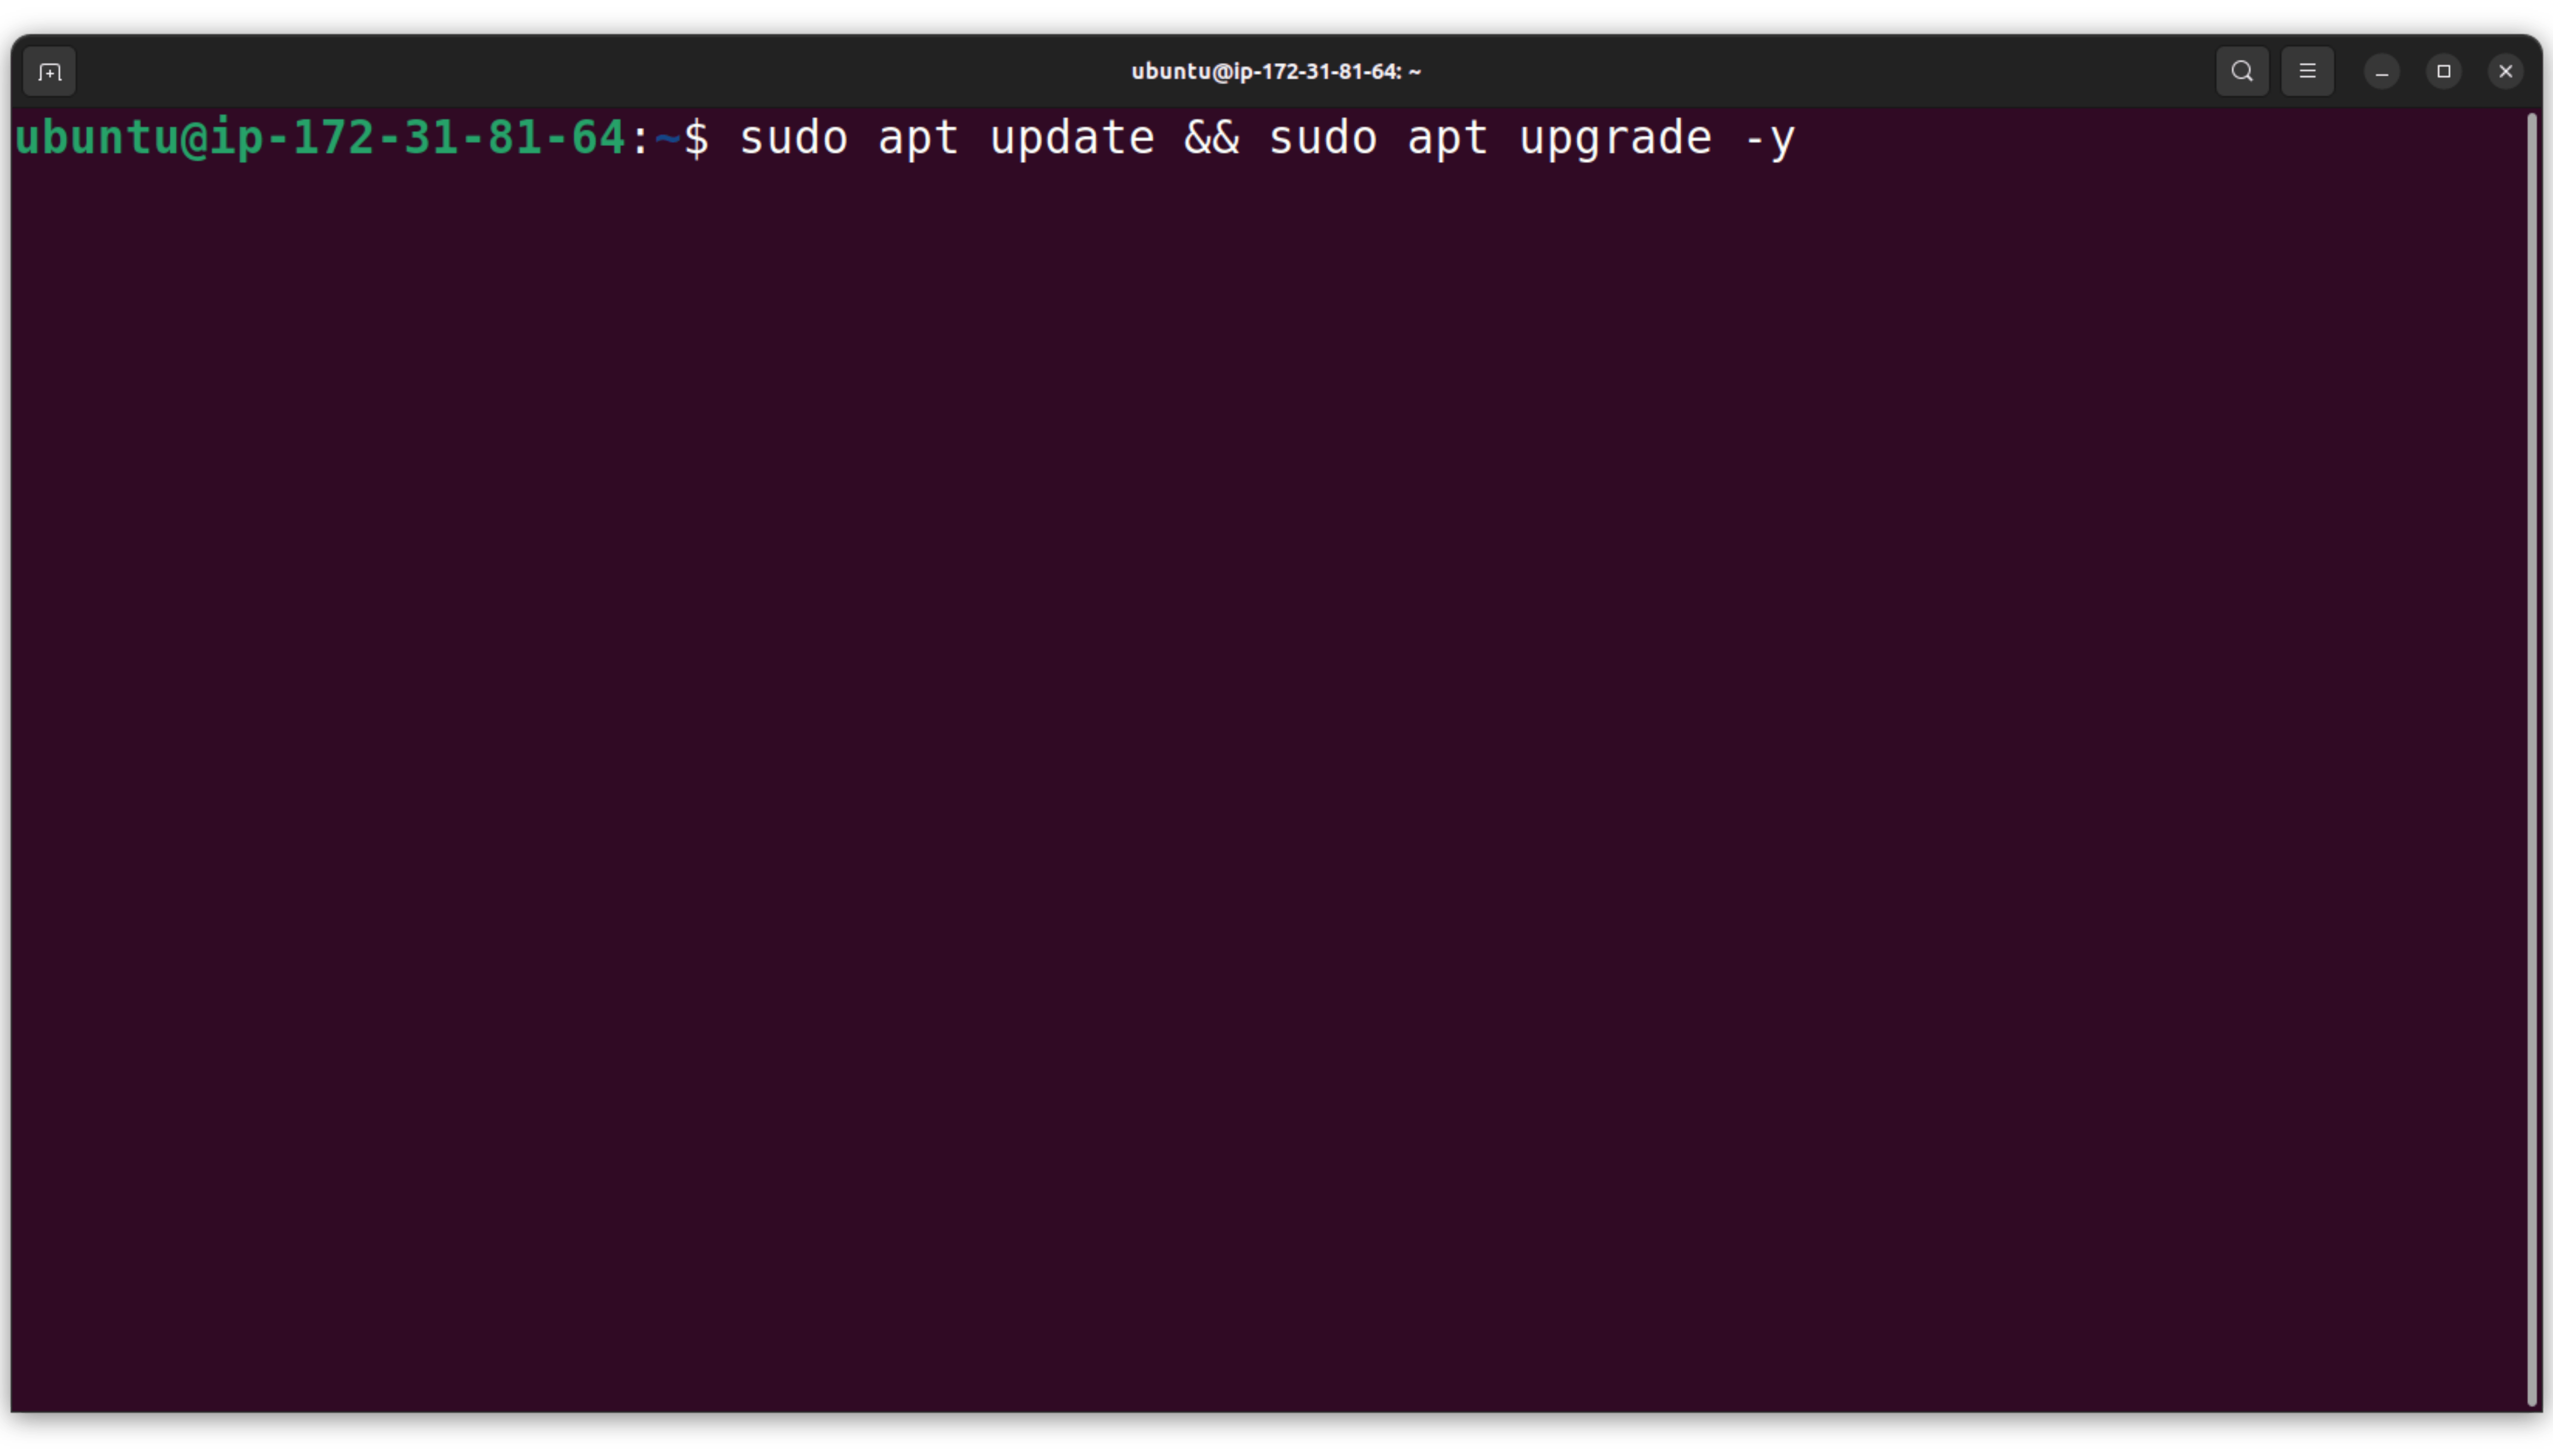
As you can see that the packages are updating
Now copy the github repo
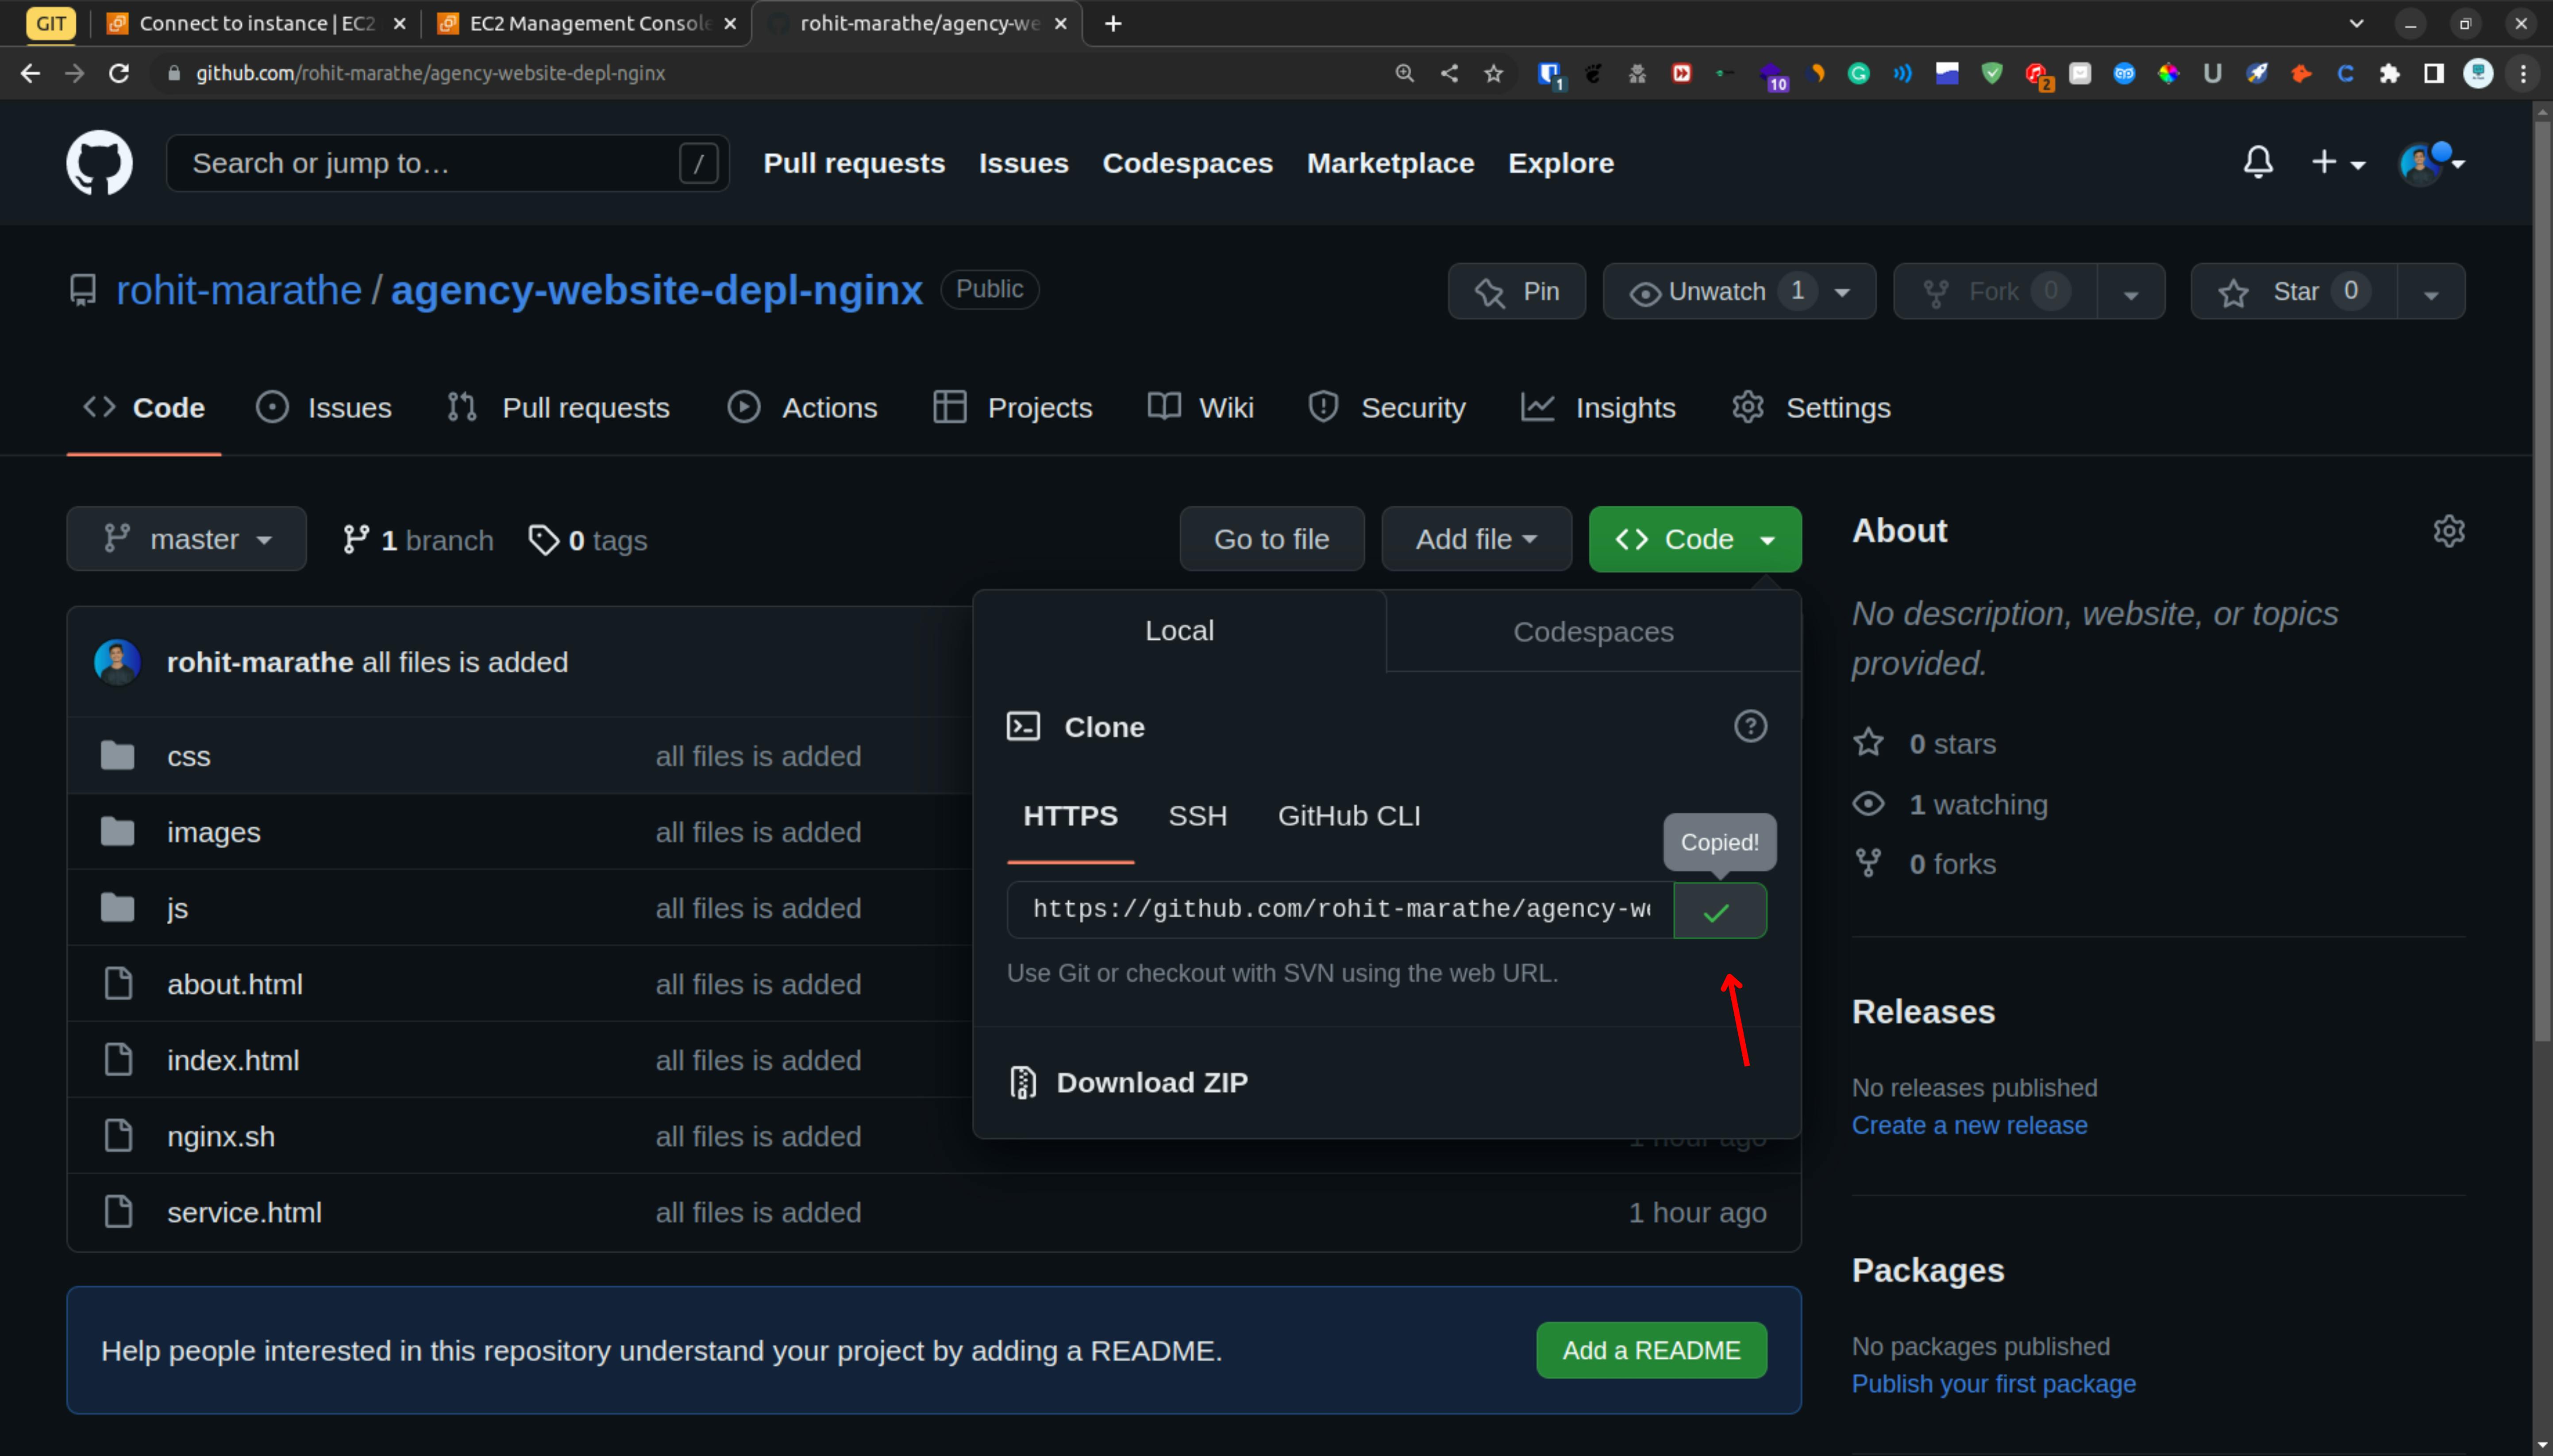
Now clone the repo in the instance
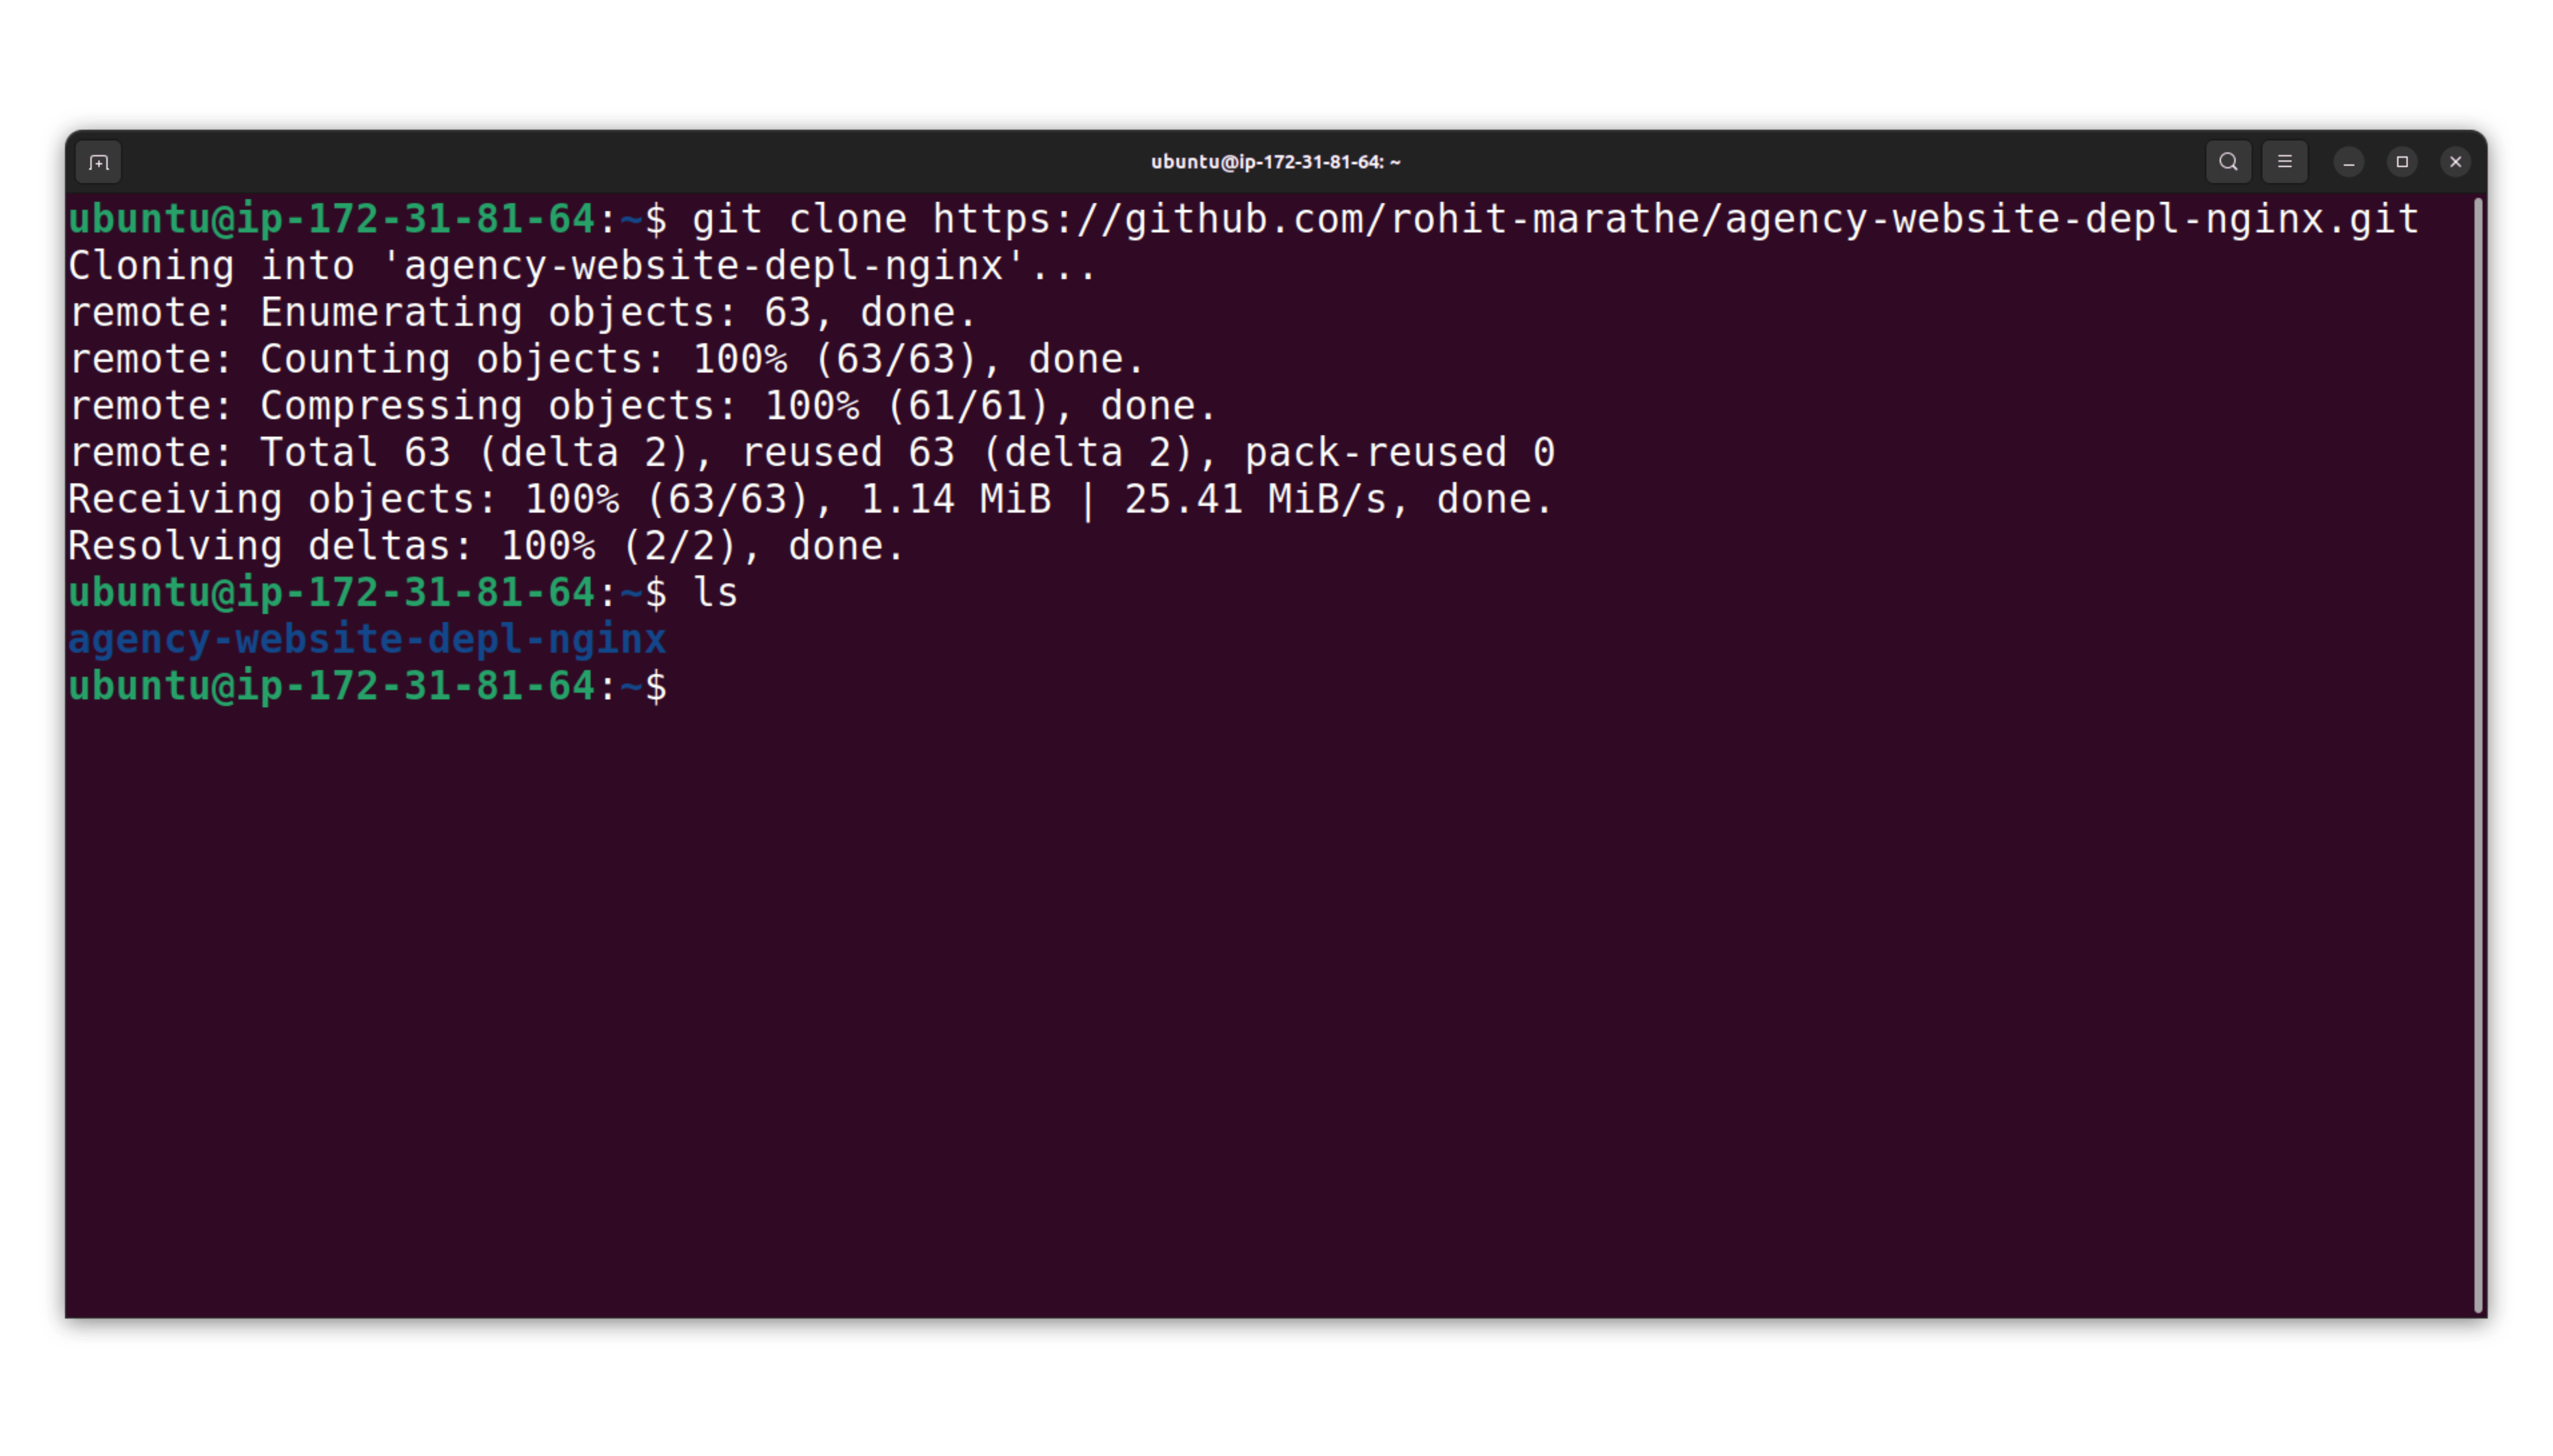
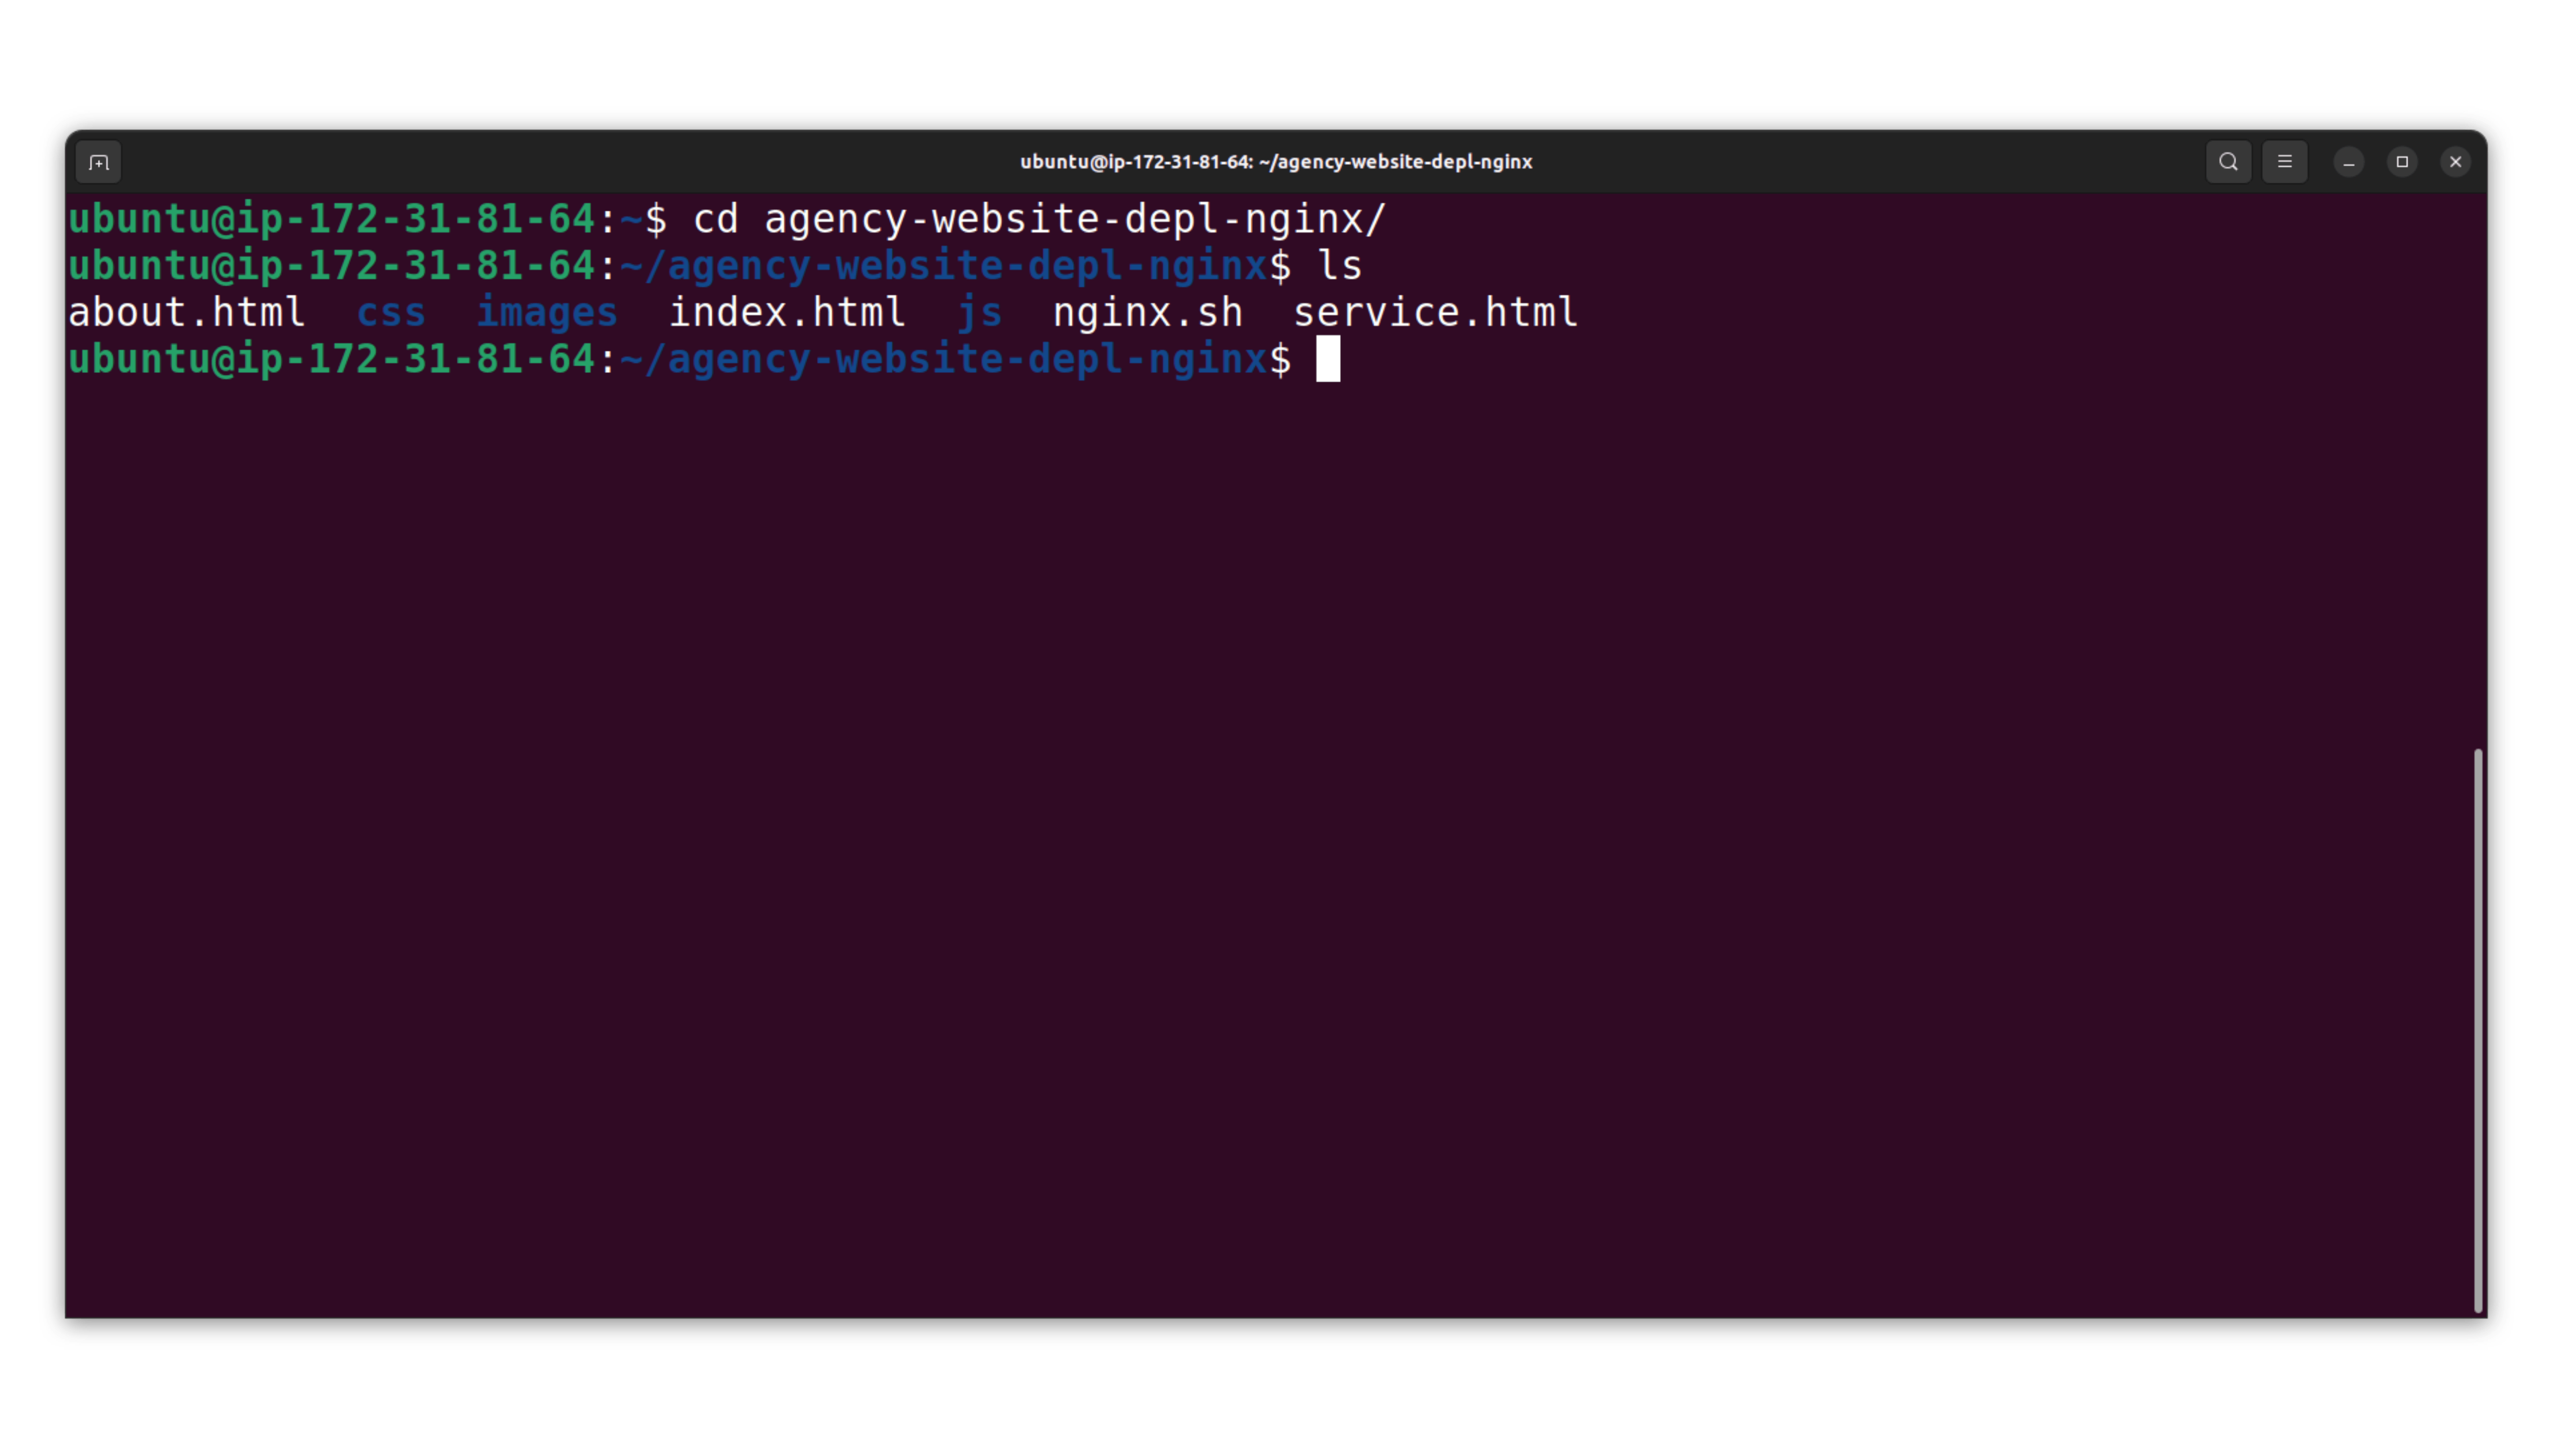
Now cd into the github repo, as you can see that we have all the files and among them, we have the shell script file of nginx installation
Now we are going to run the shell script using this command " bash nginx.sh "
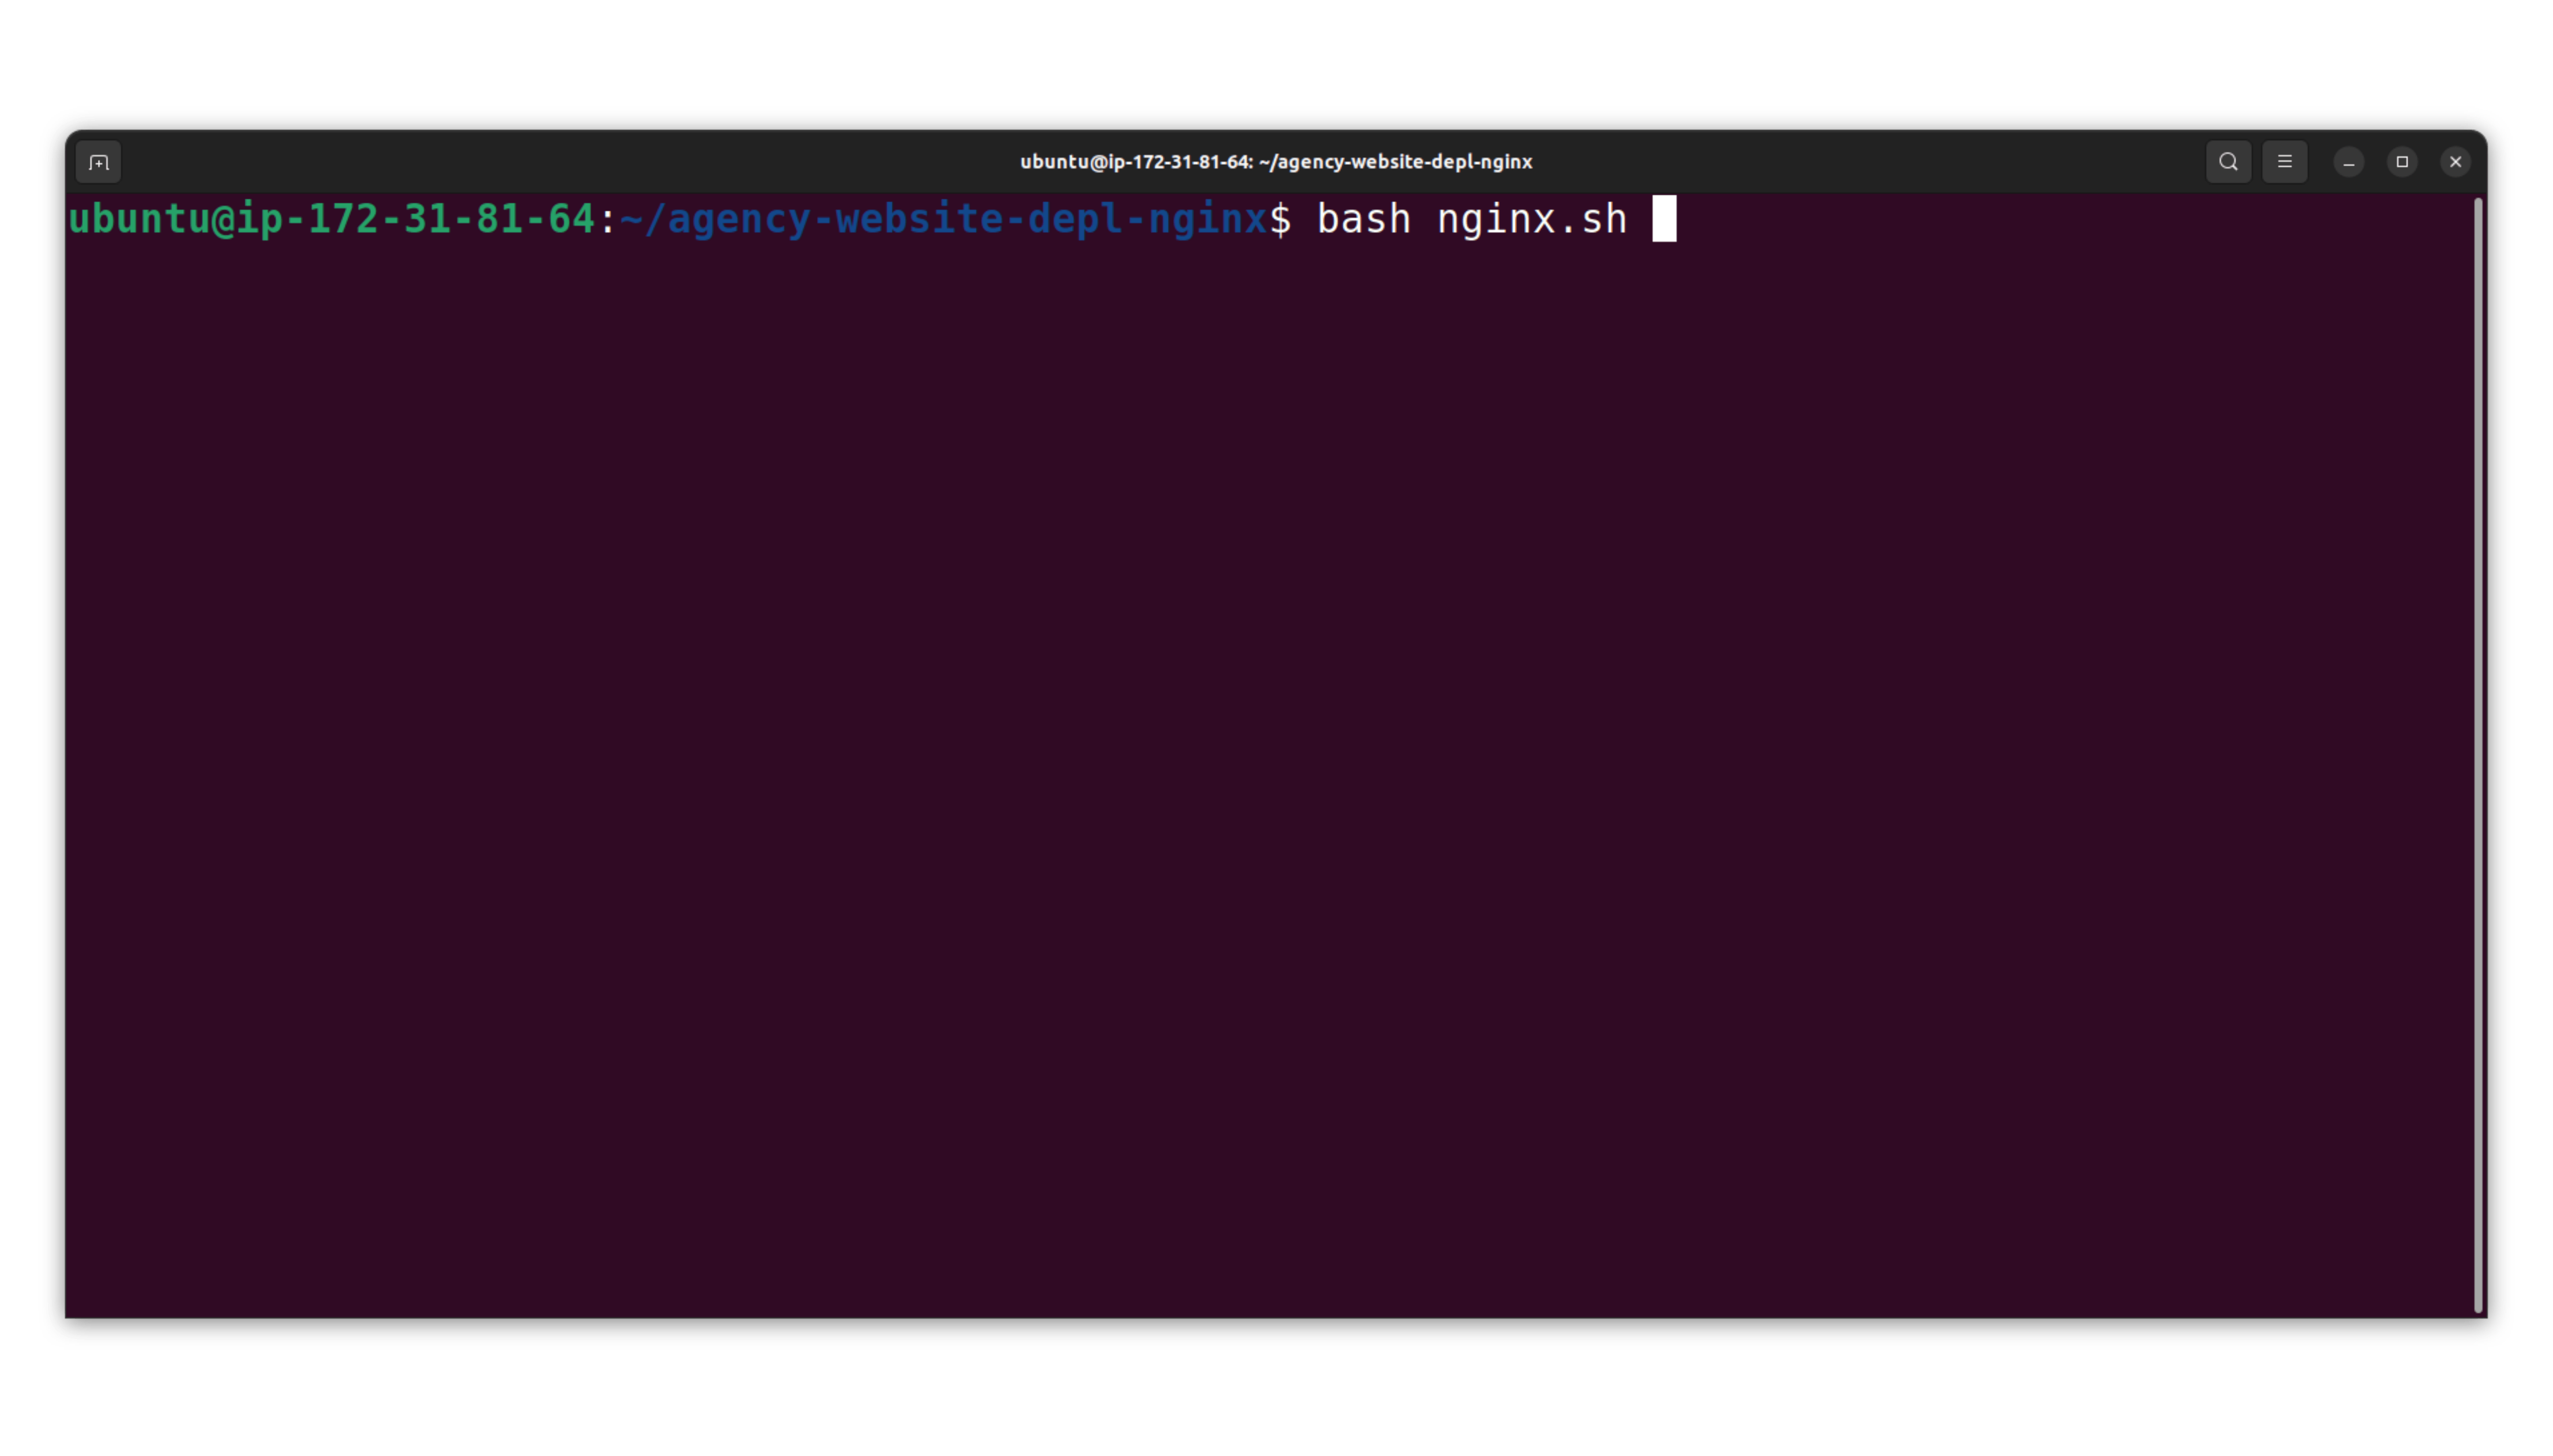
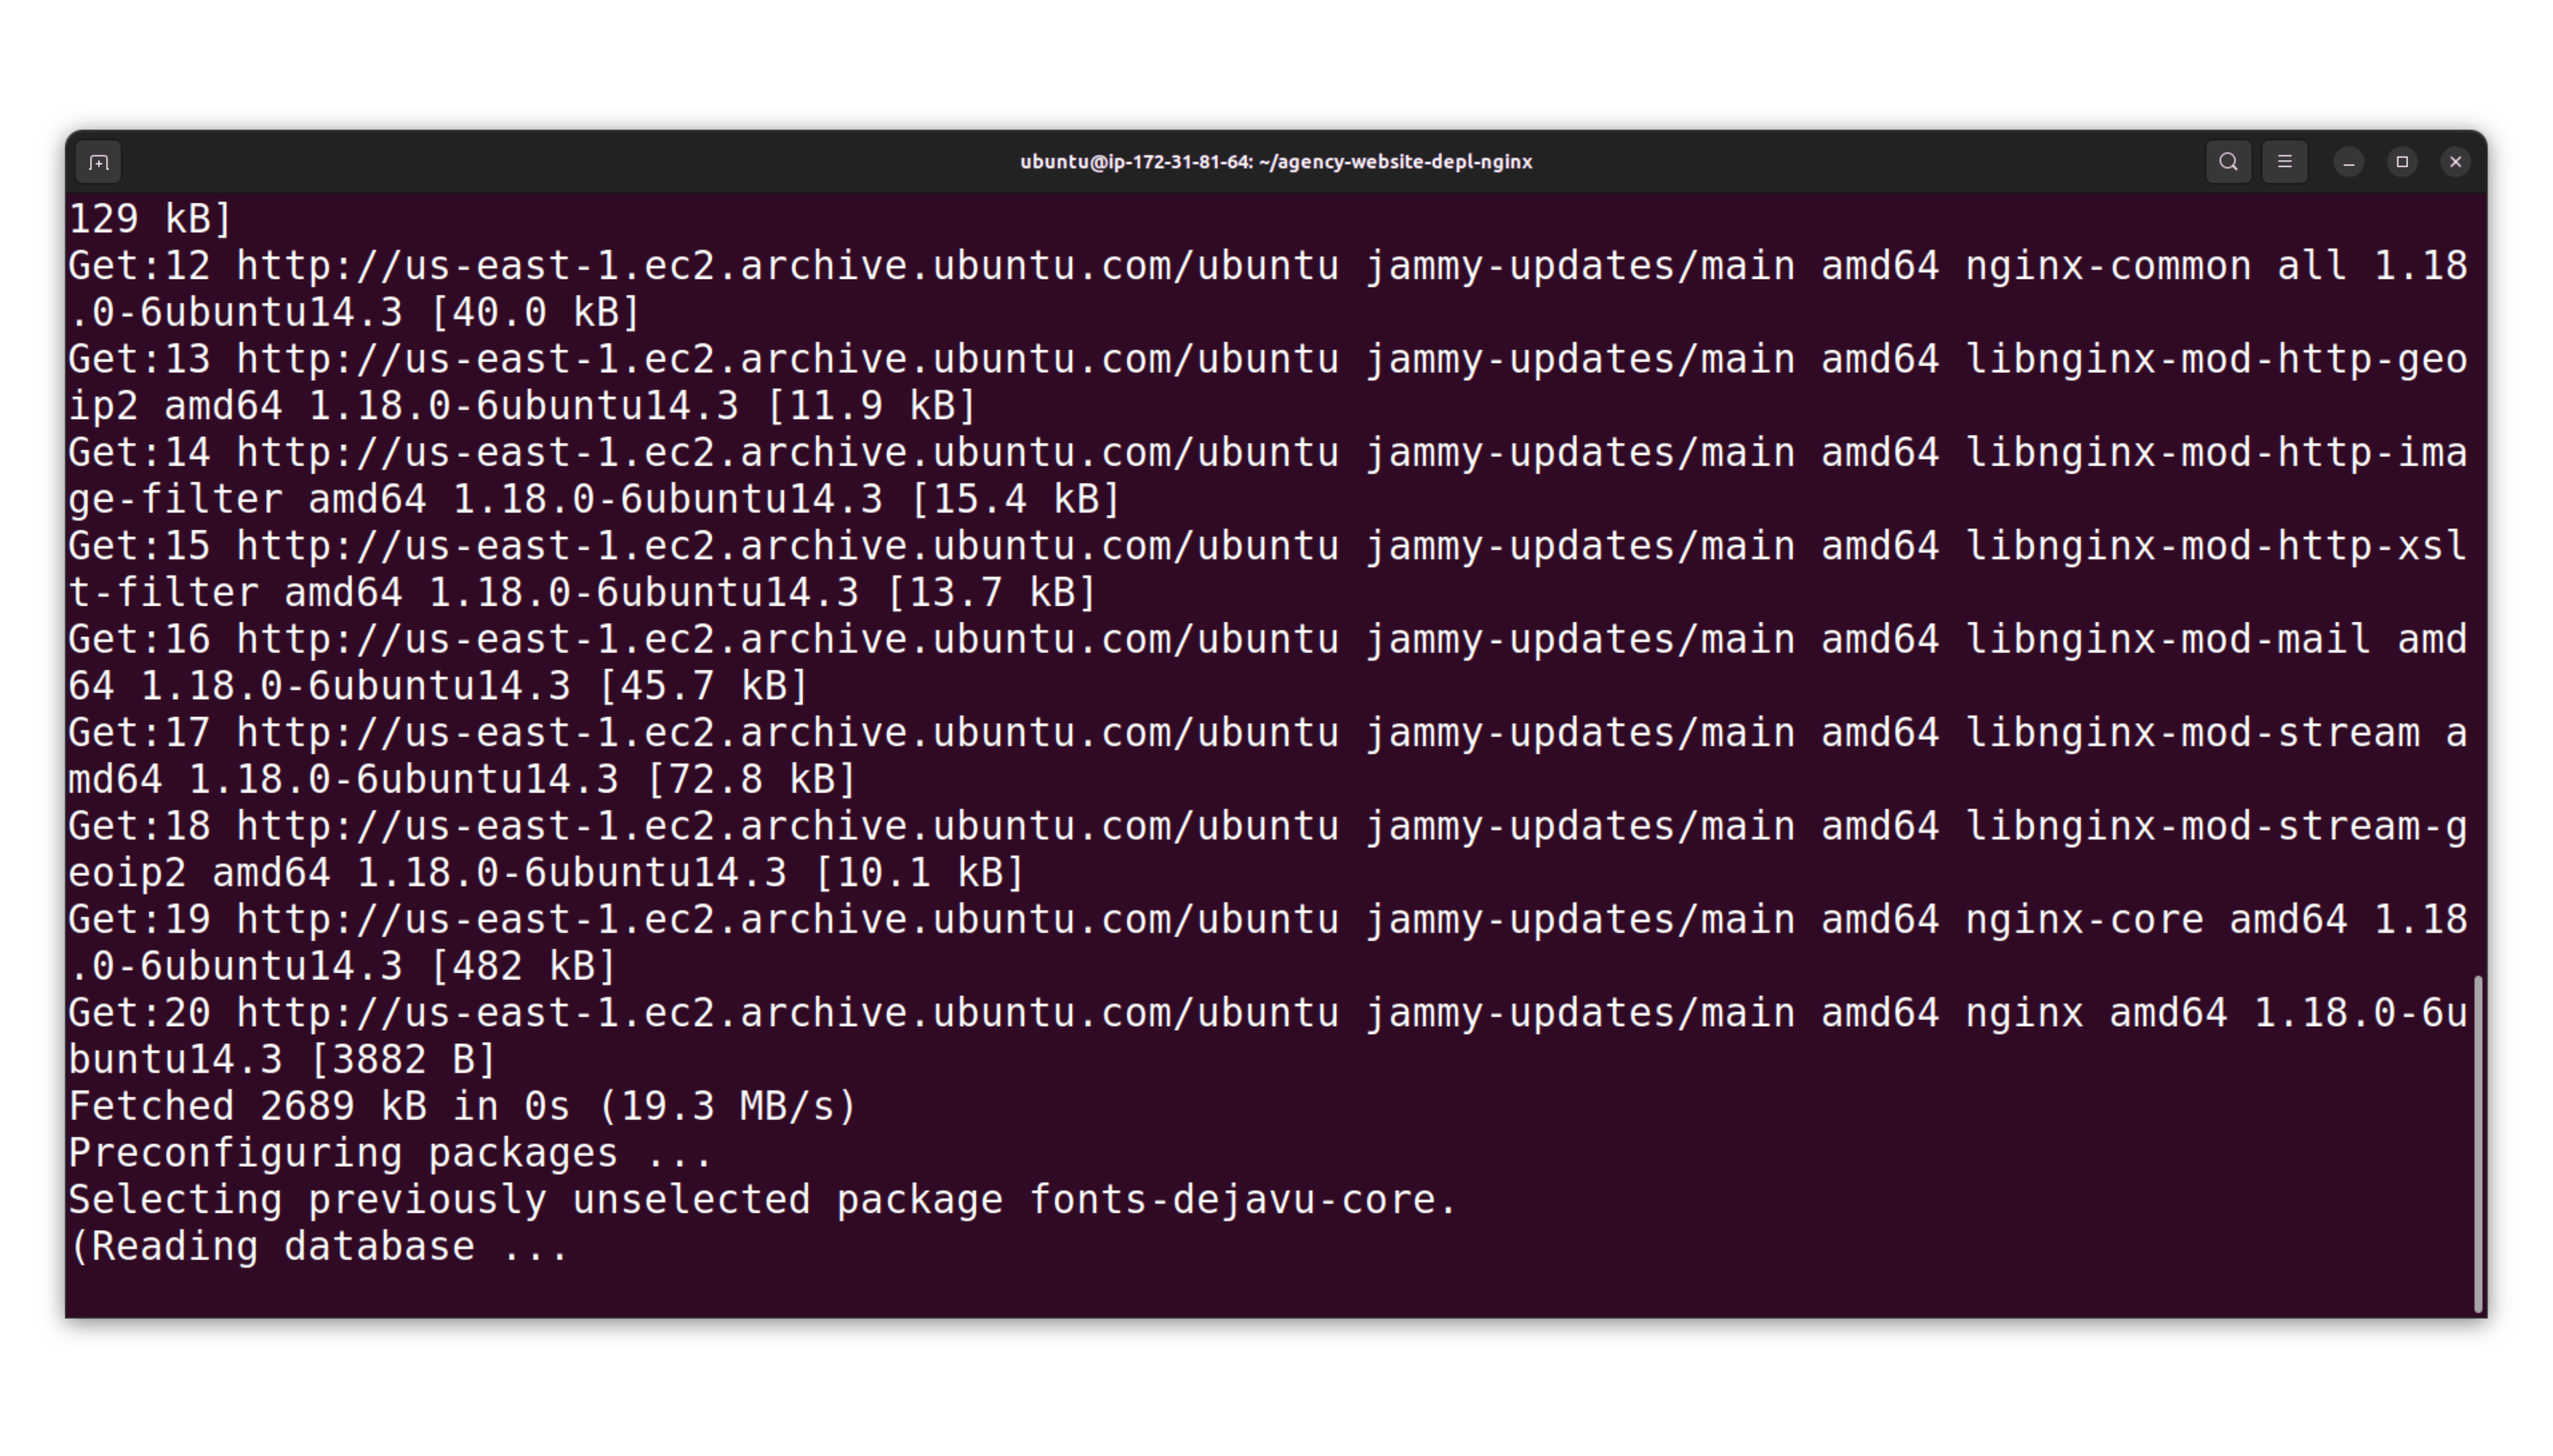
As you can see that the shell script is running and it will install the nginx on the instance
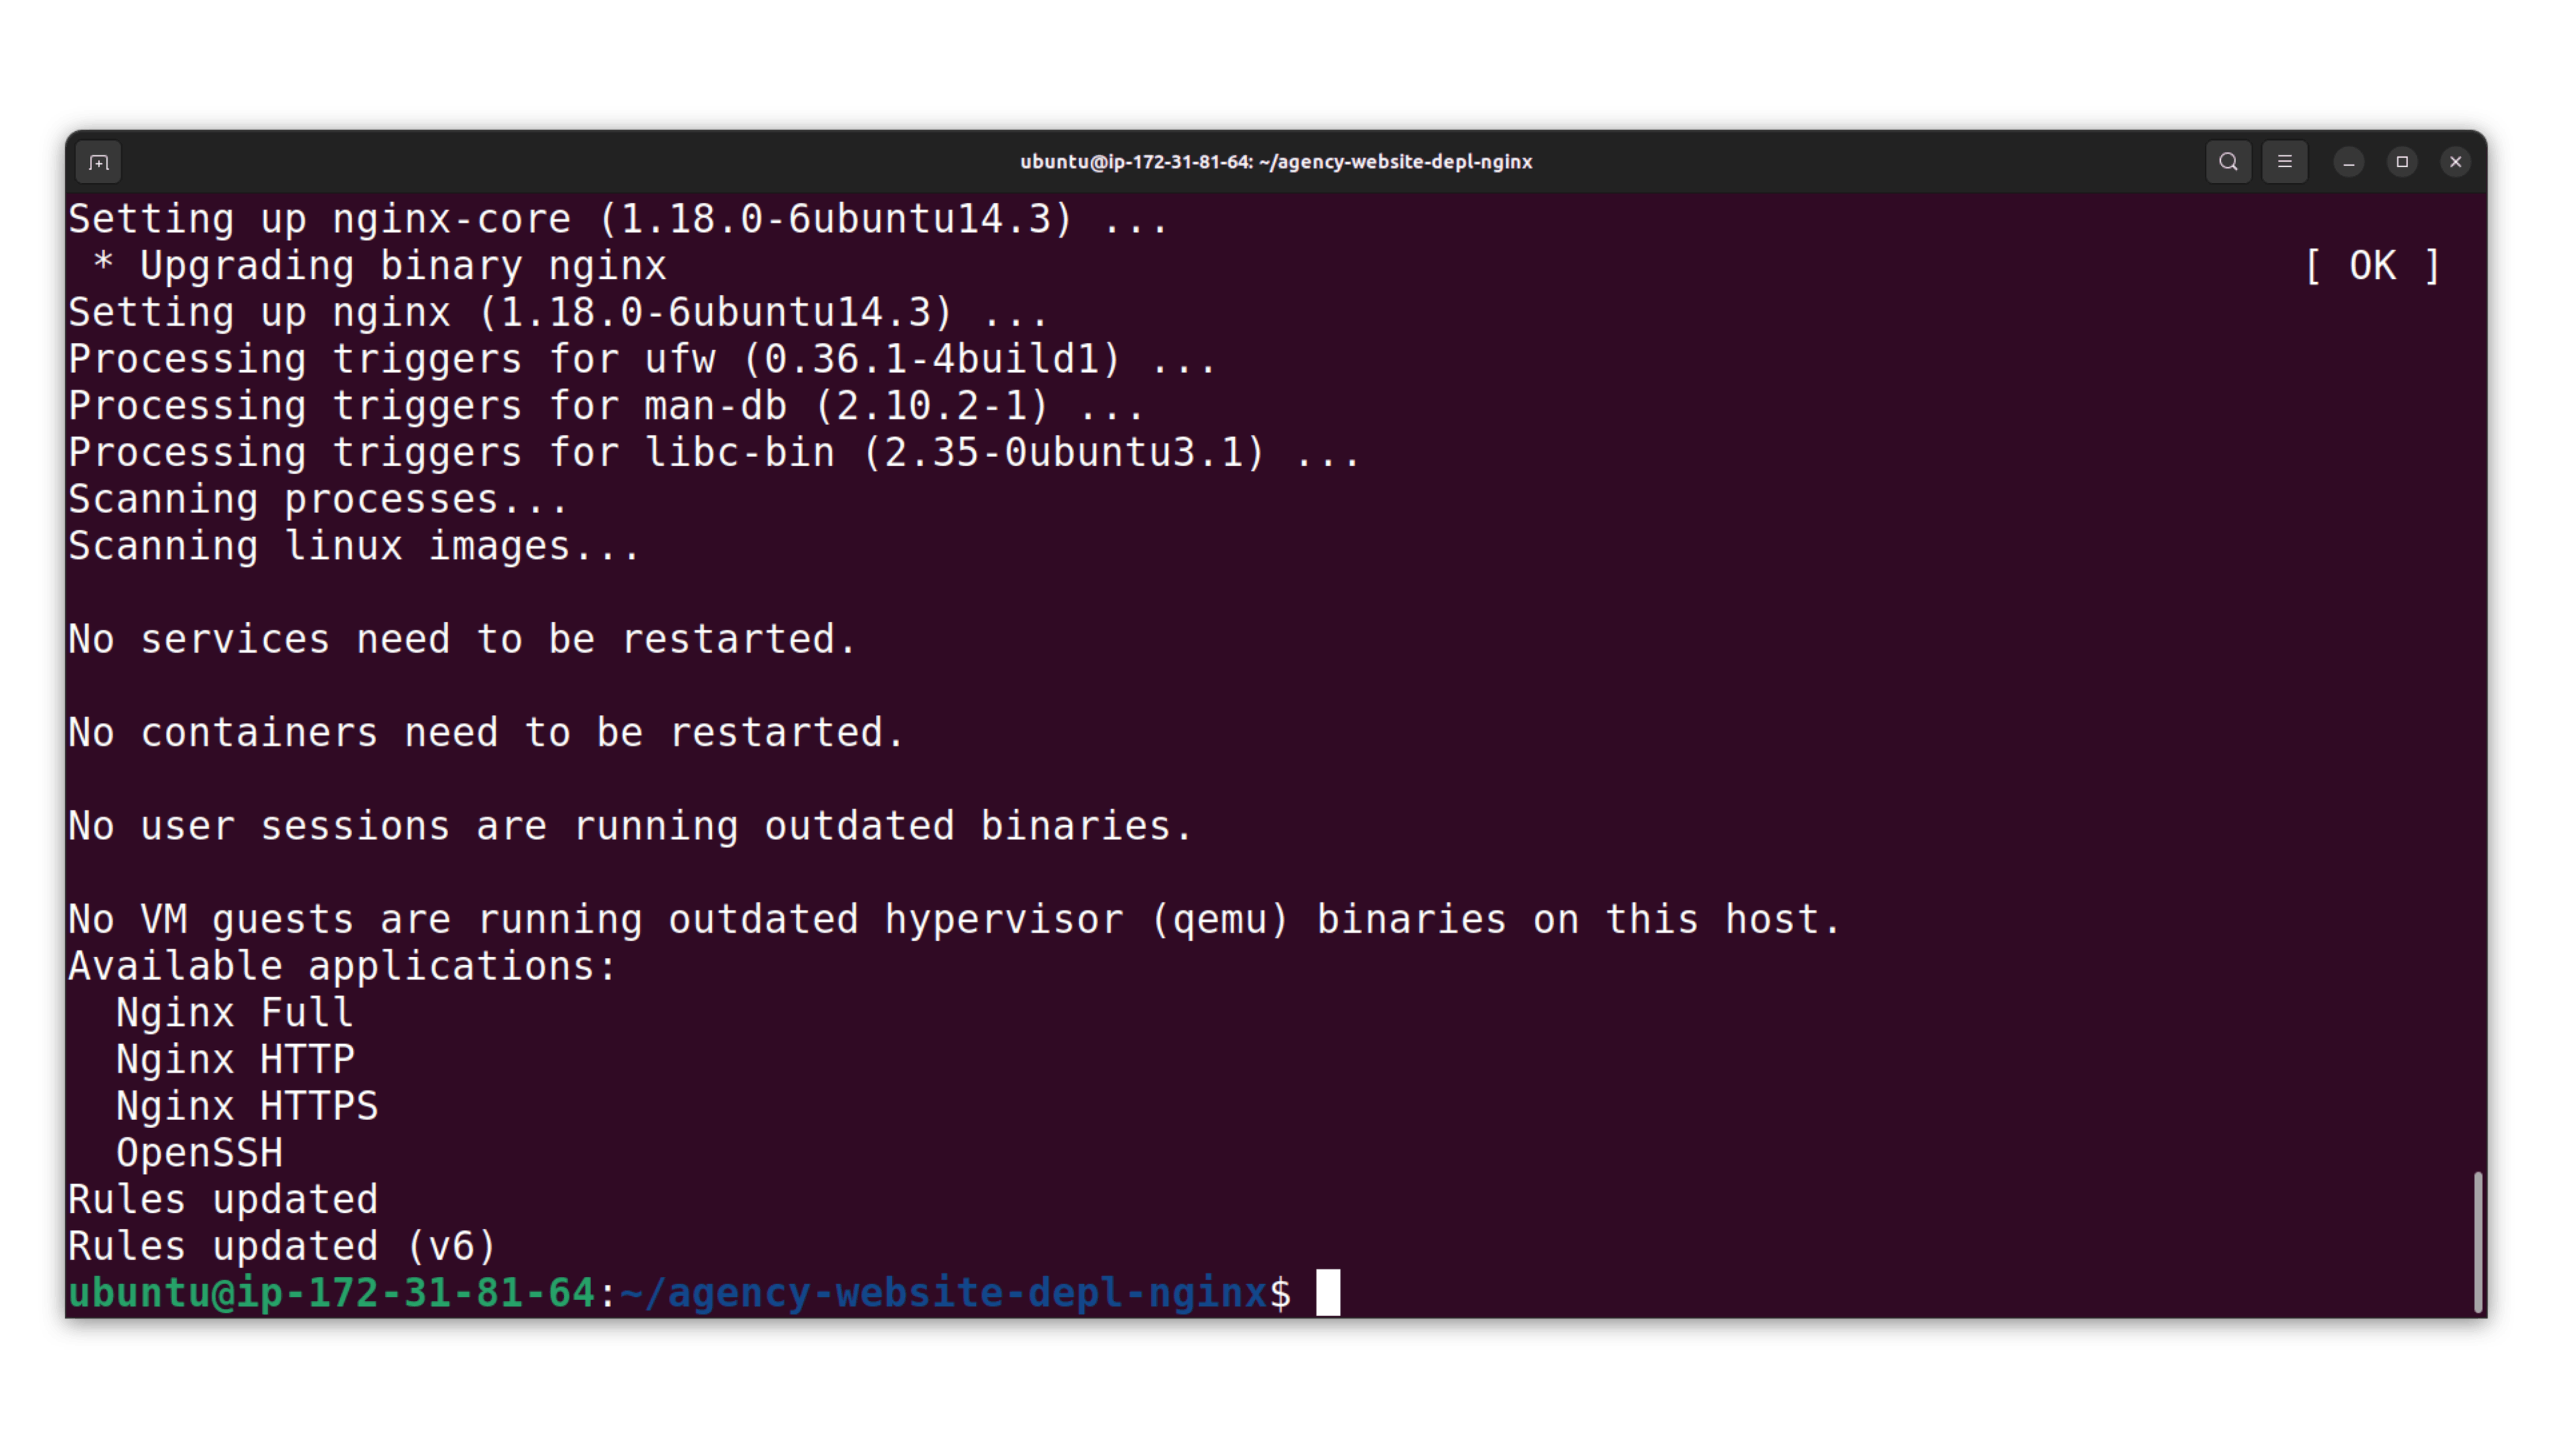
As you can see the shell is script is run successfully
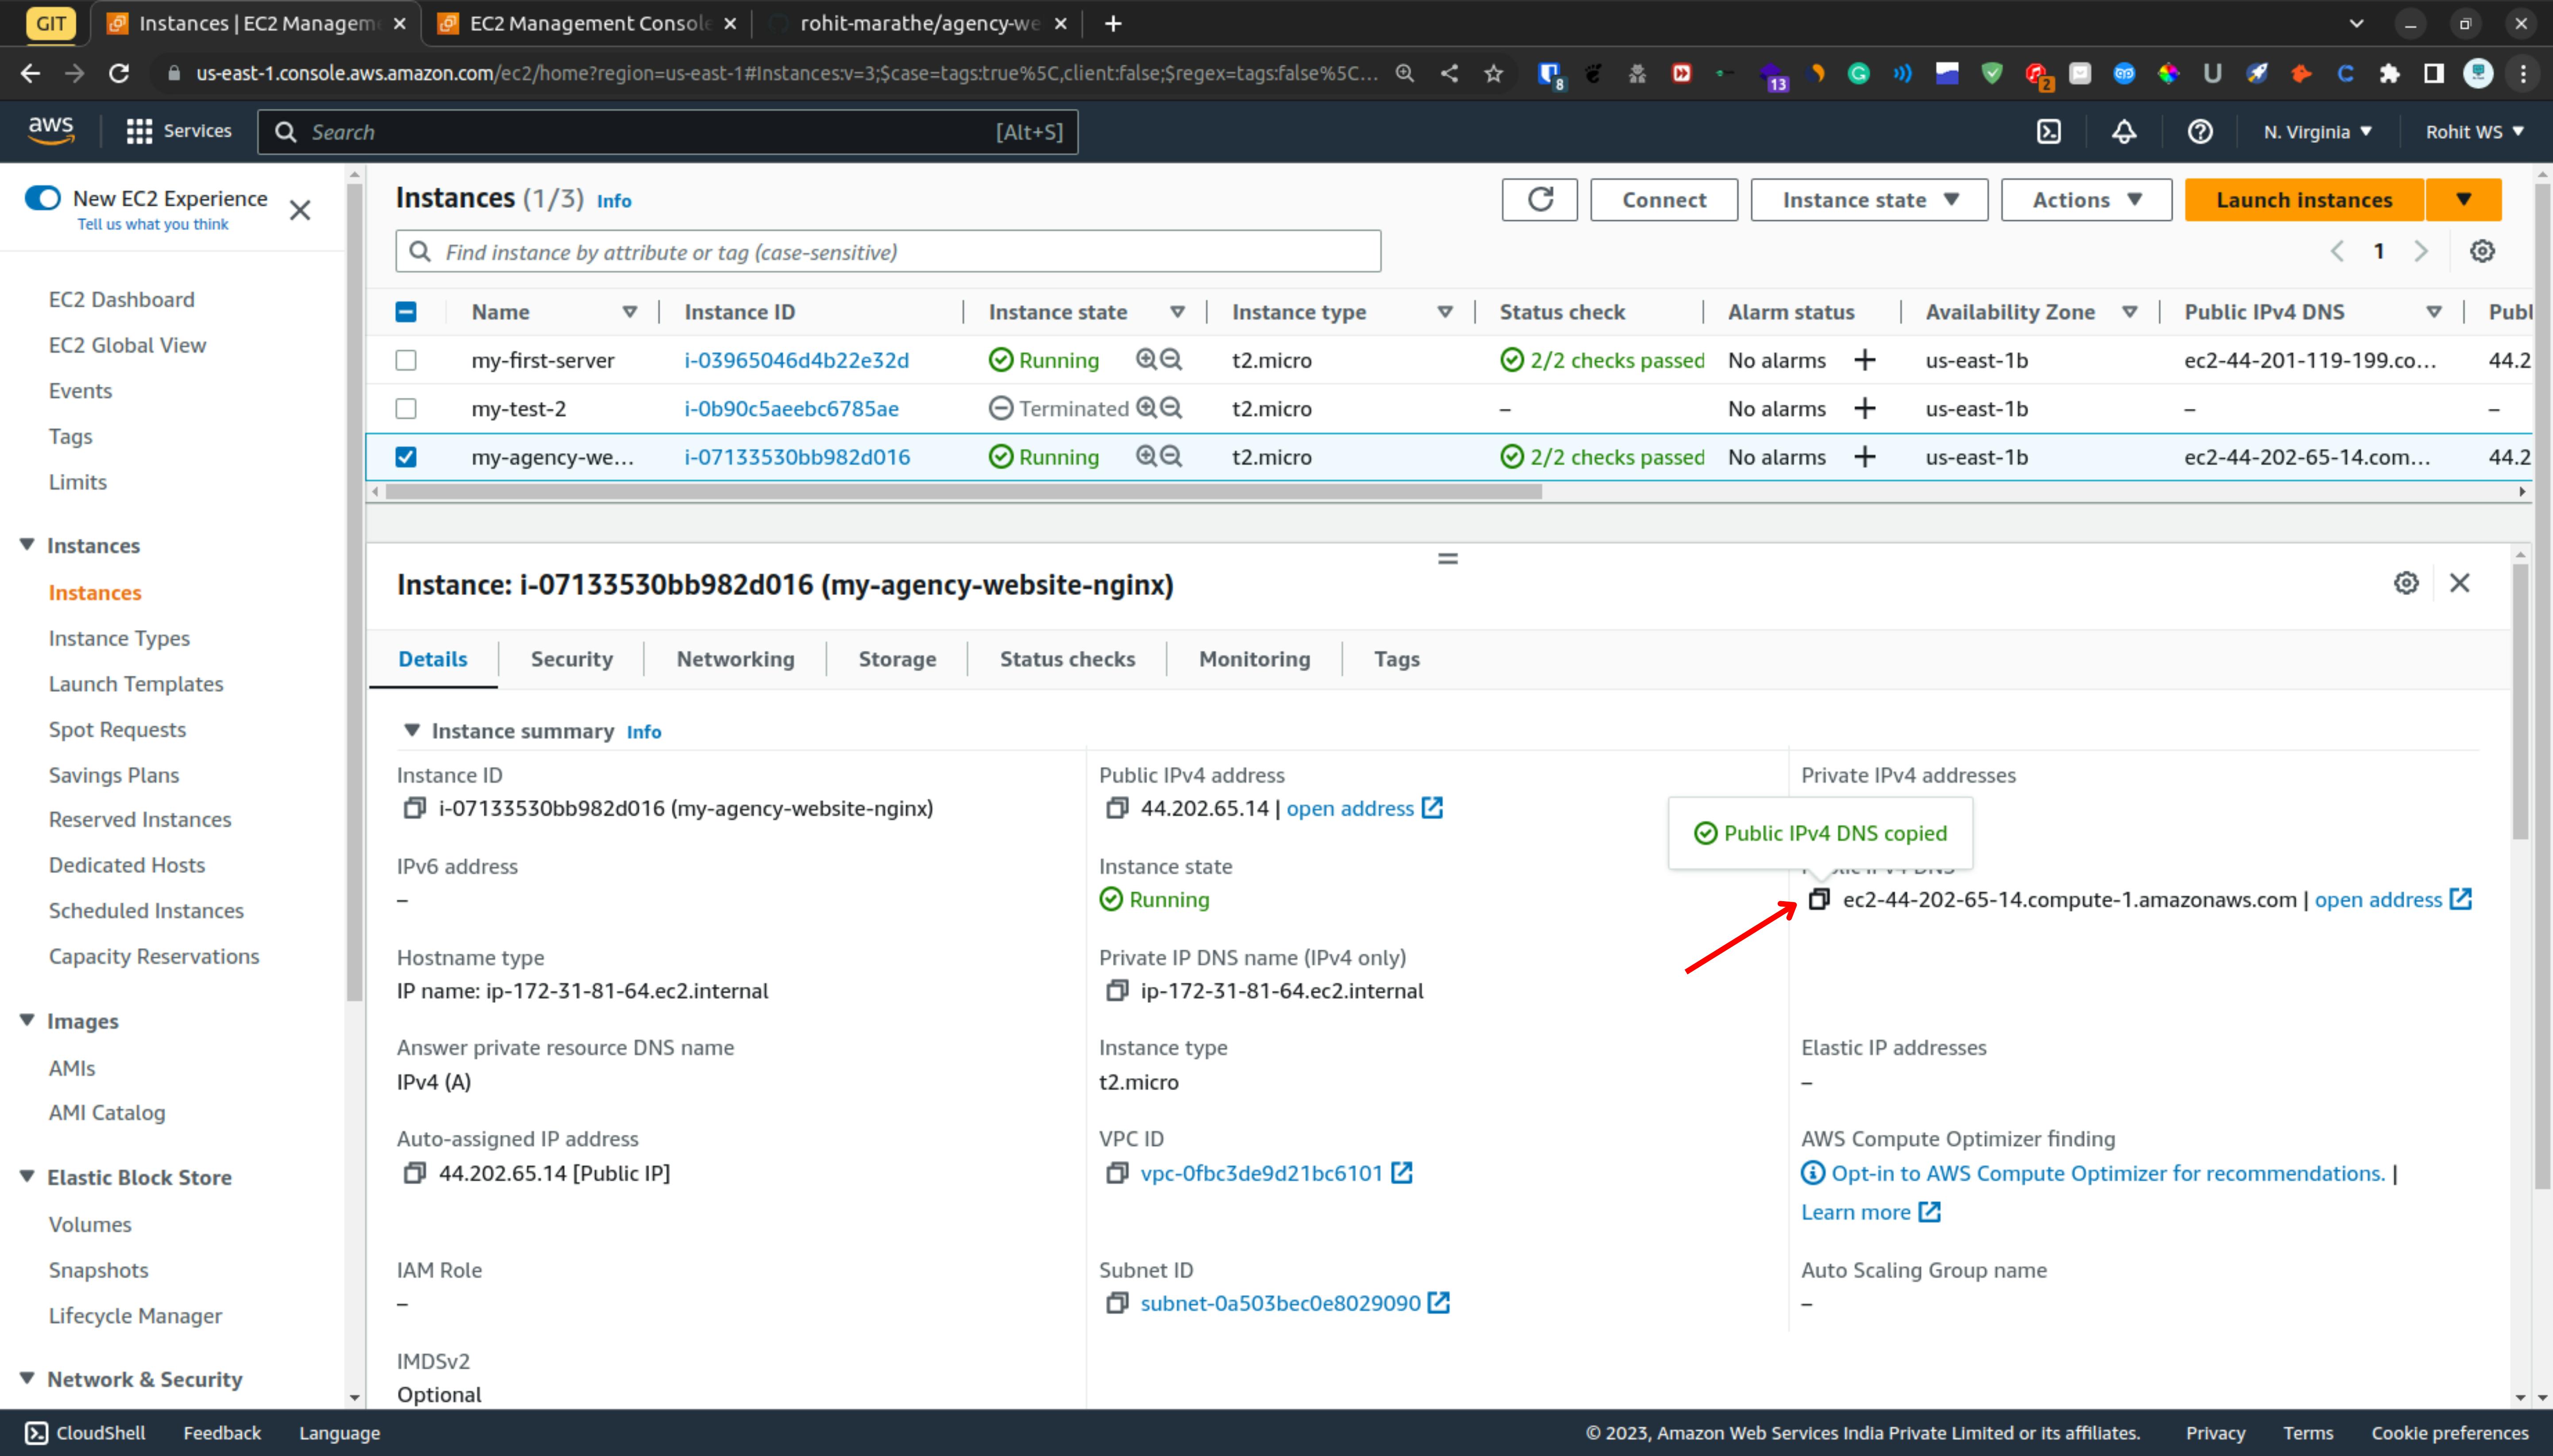
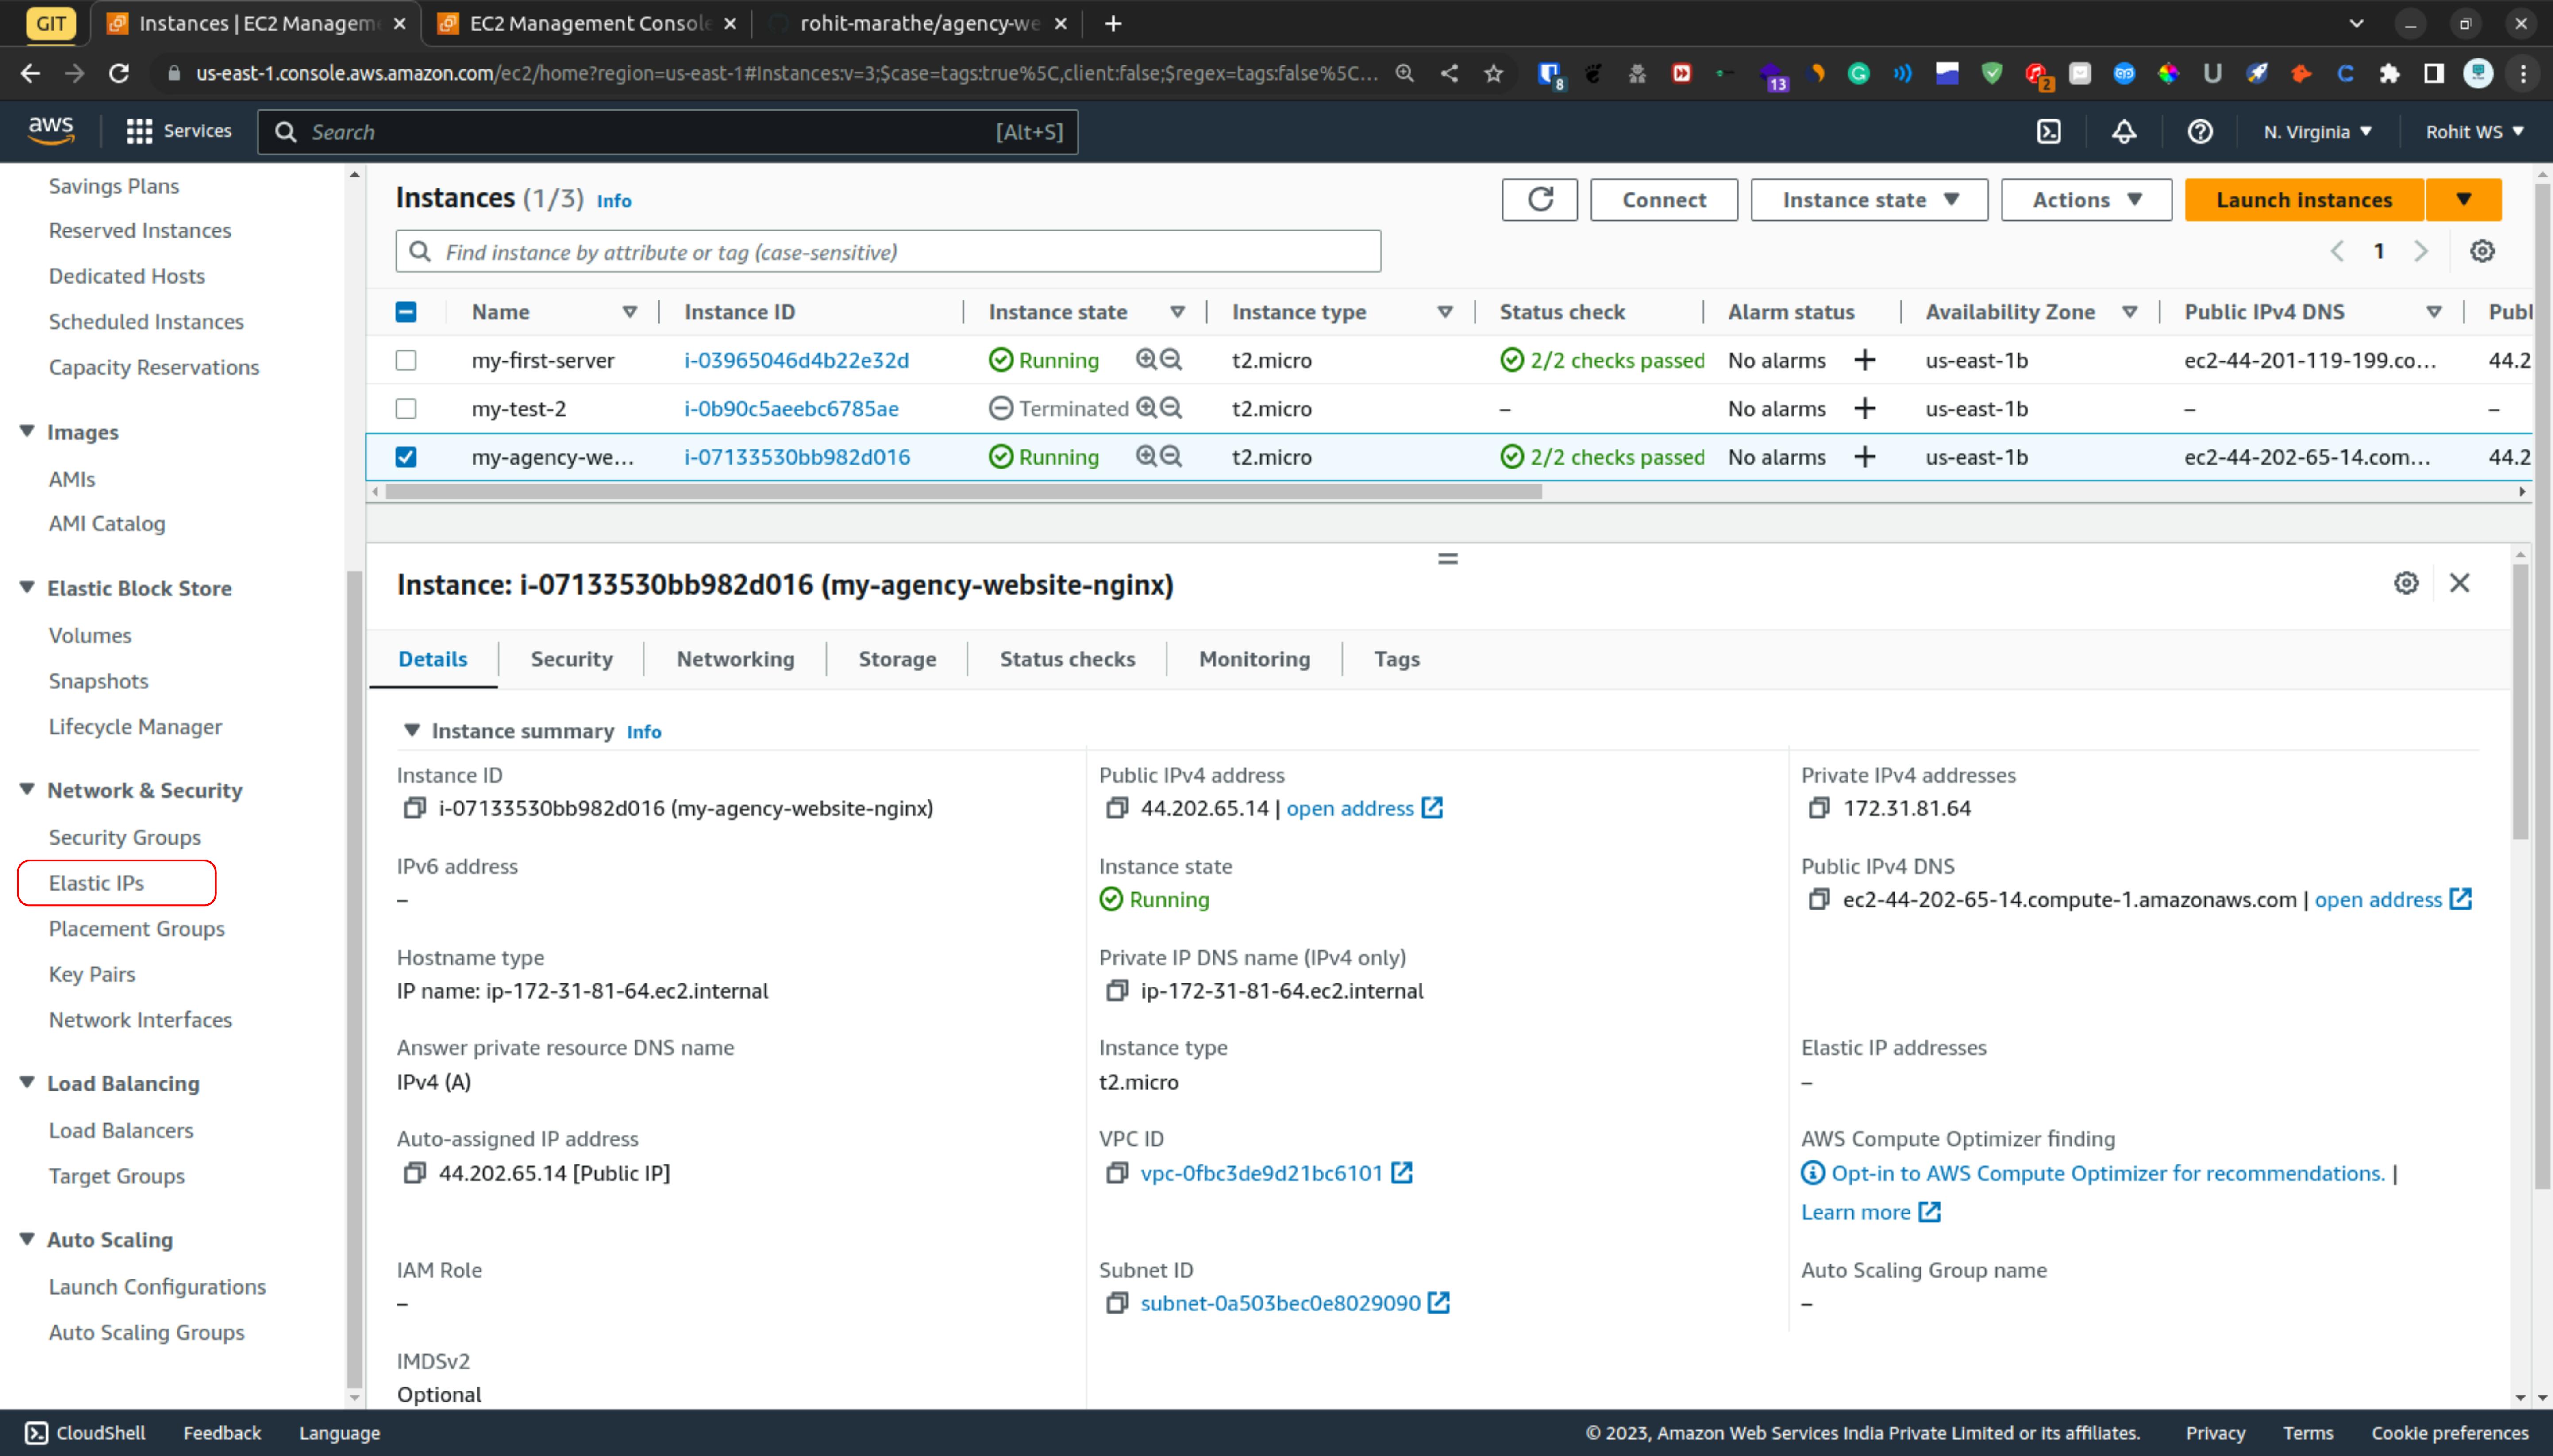
Now go the aws instance dashboard & here are two public address 1) Public IPv4 address 2) Public IPv4 DNS
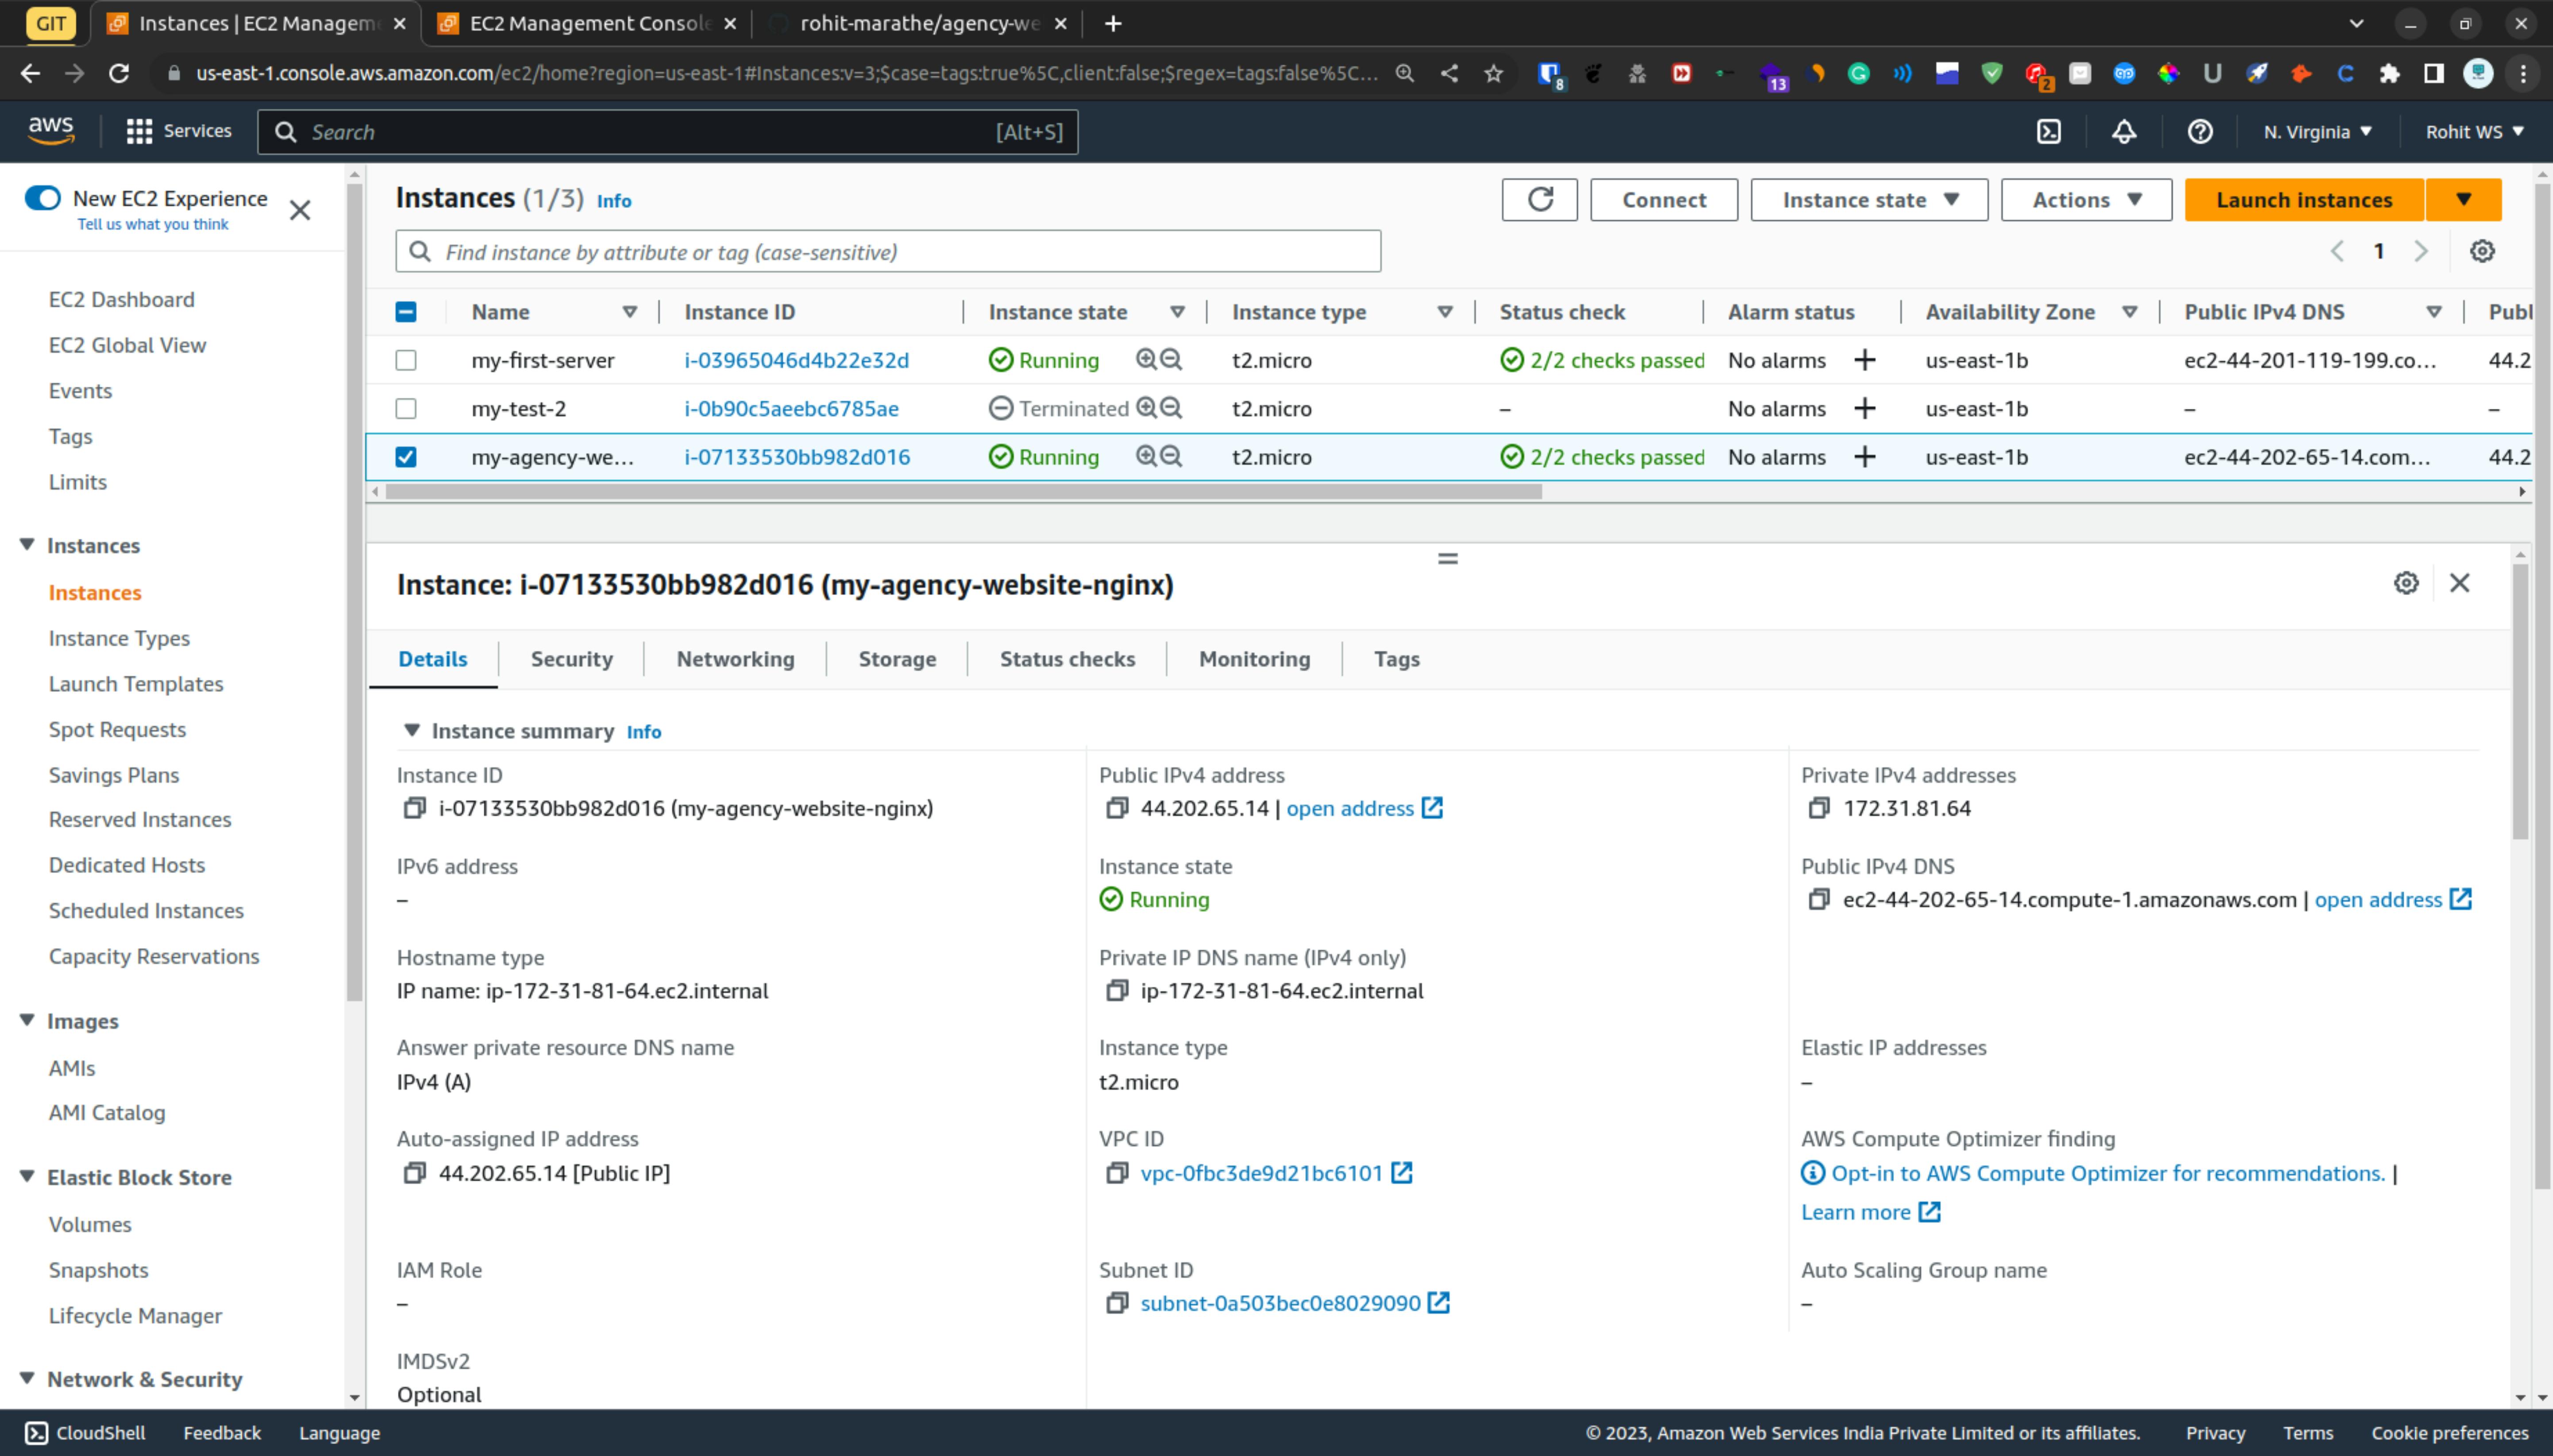
But we are going to copy the Public IPv4 DNS address
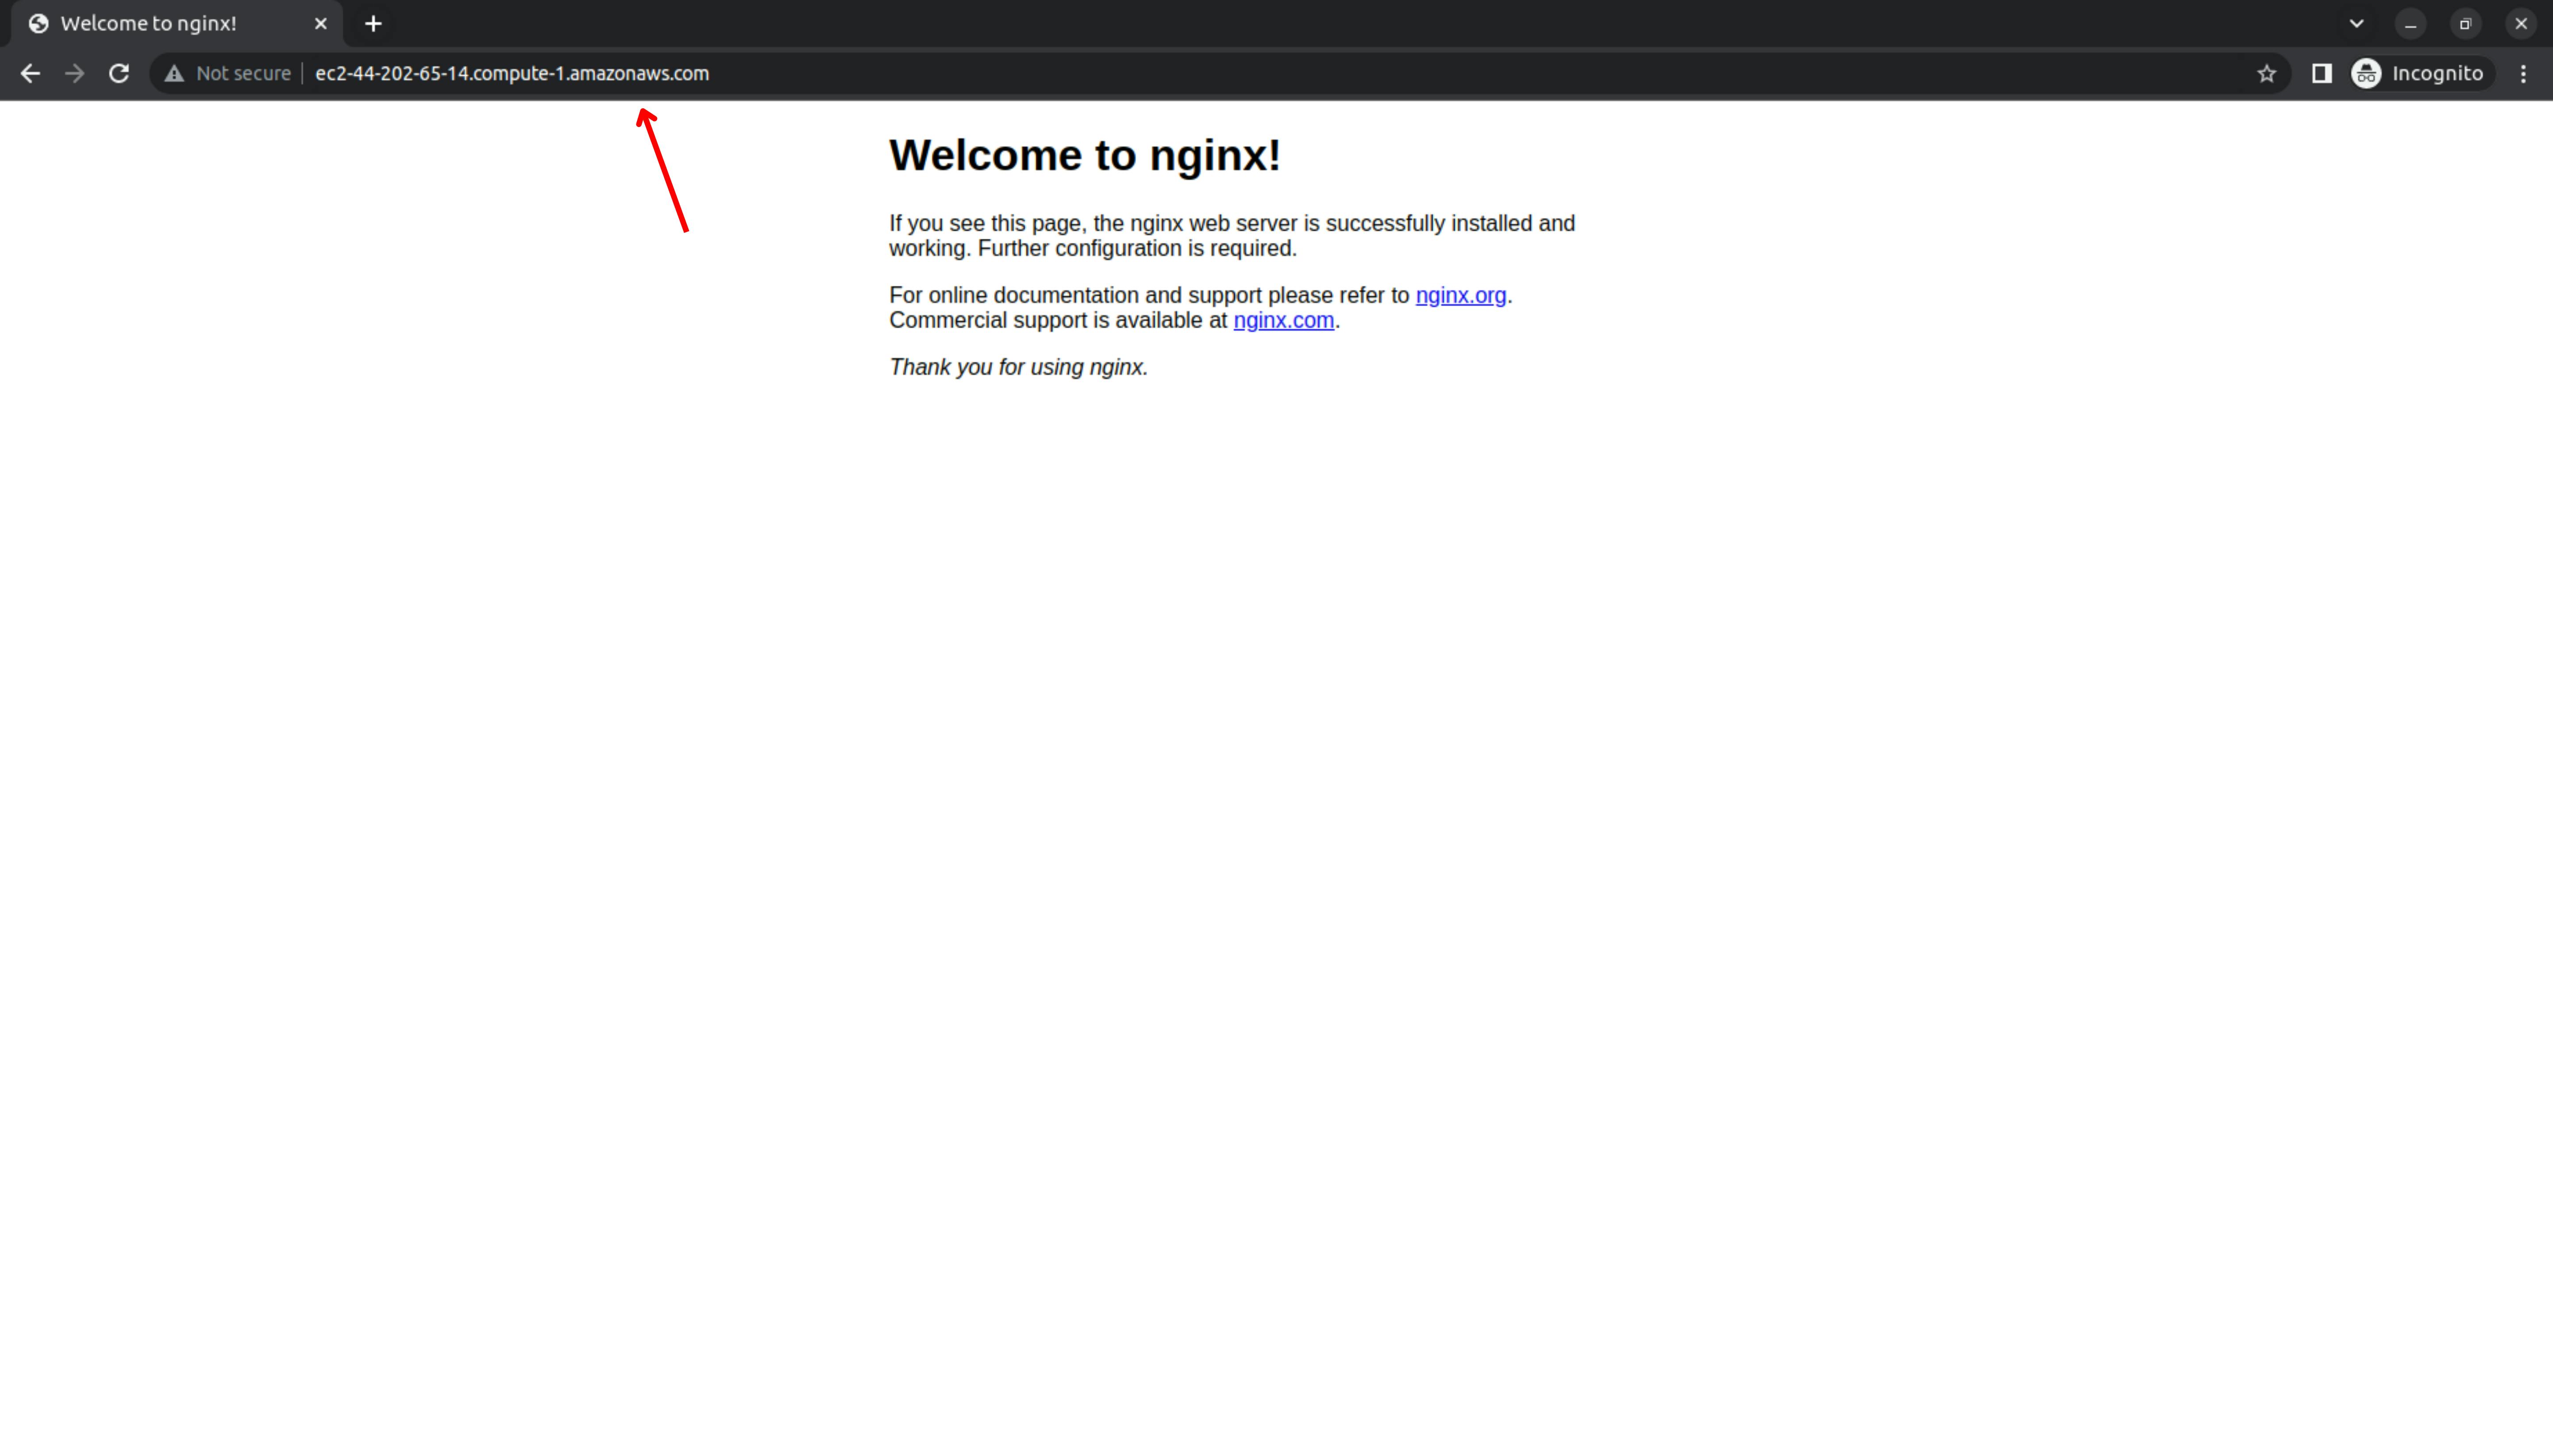
Now paste the link into your browser and as you can see that nginx is successfully installed on the instance
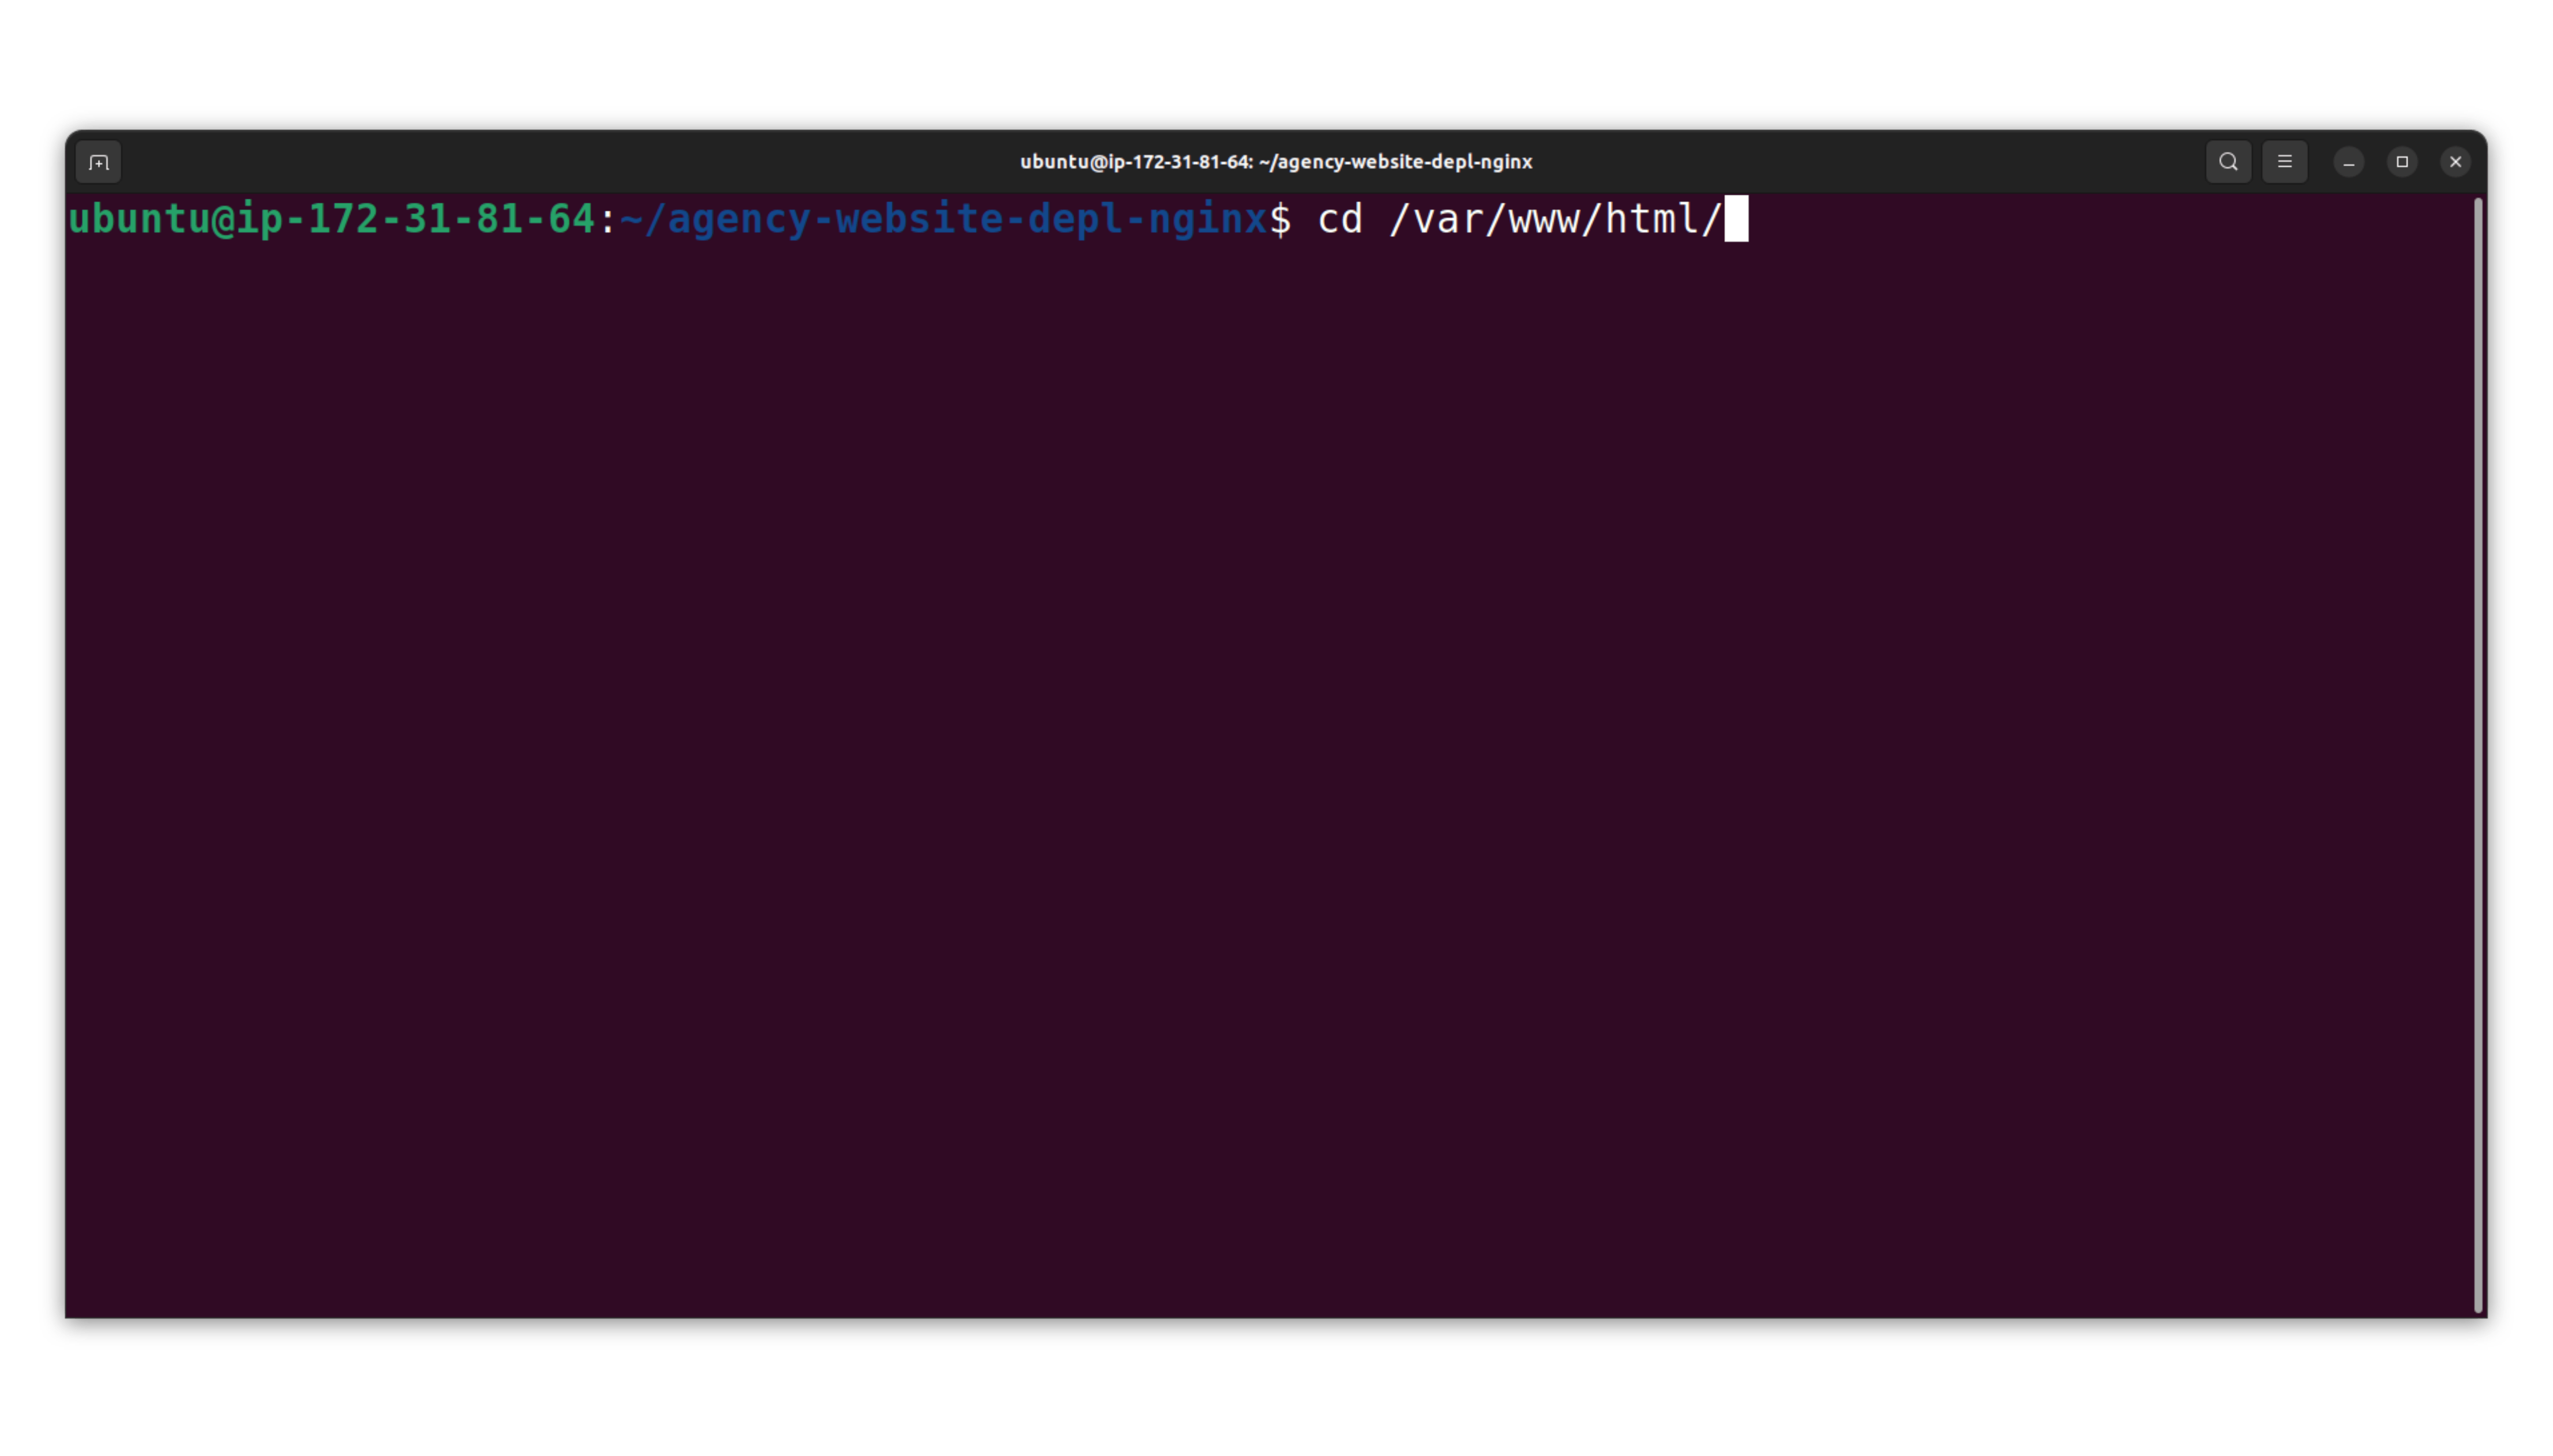
Now we are going to access the path where we can add the files of our website.
Nginx has this default path - /var/www/html/
so now we are going to change the directory to this
Now if you list the items so we have the default index file so right now we are going to remove this file because we have to add our website files in this directory.
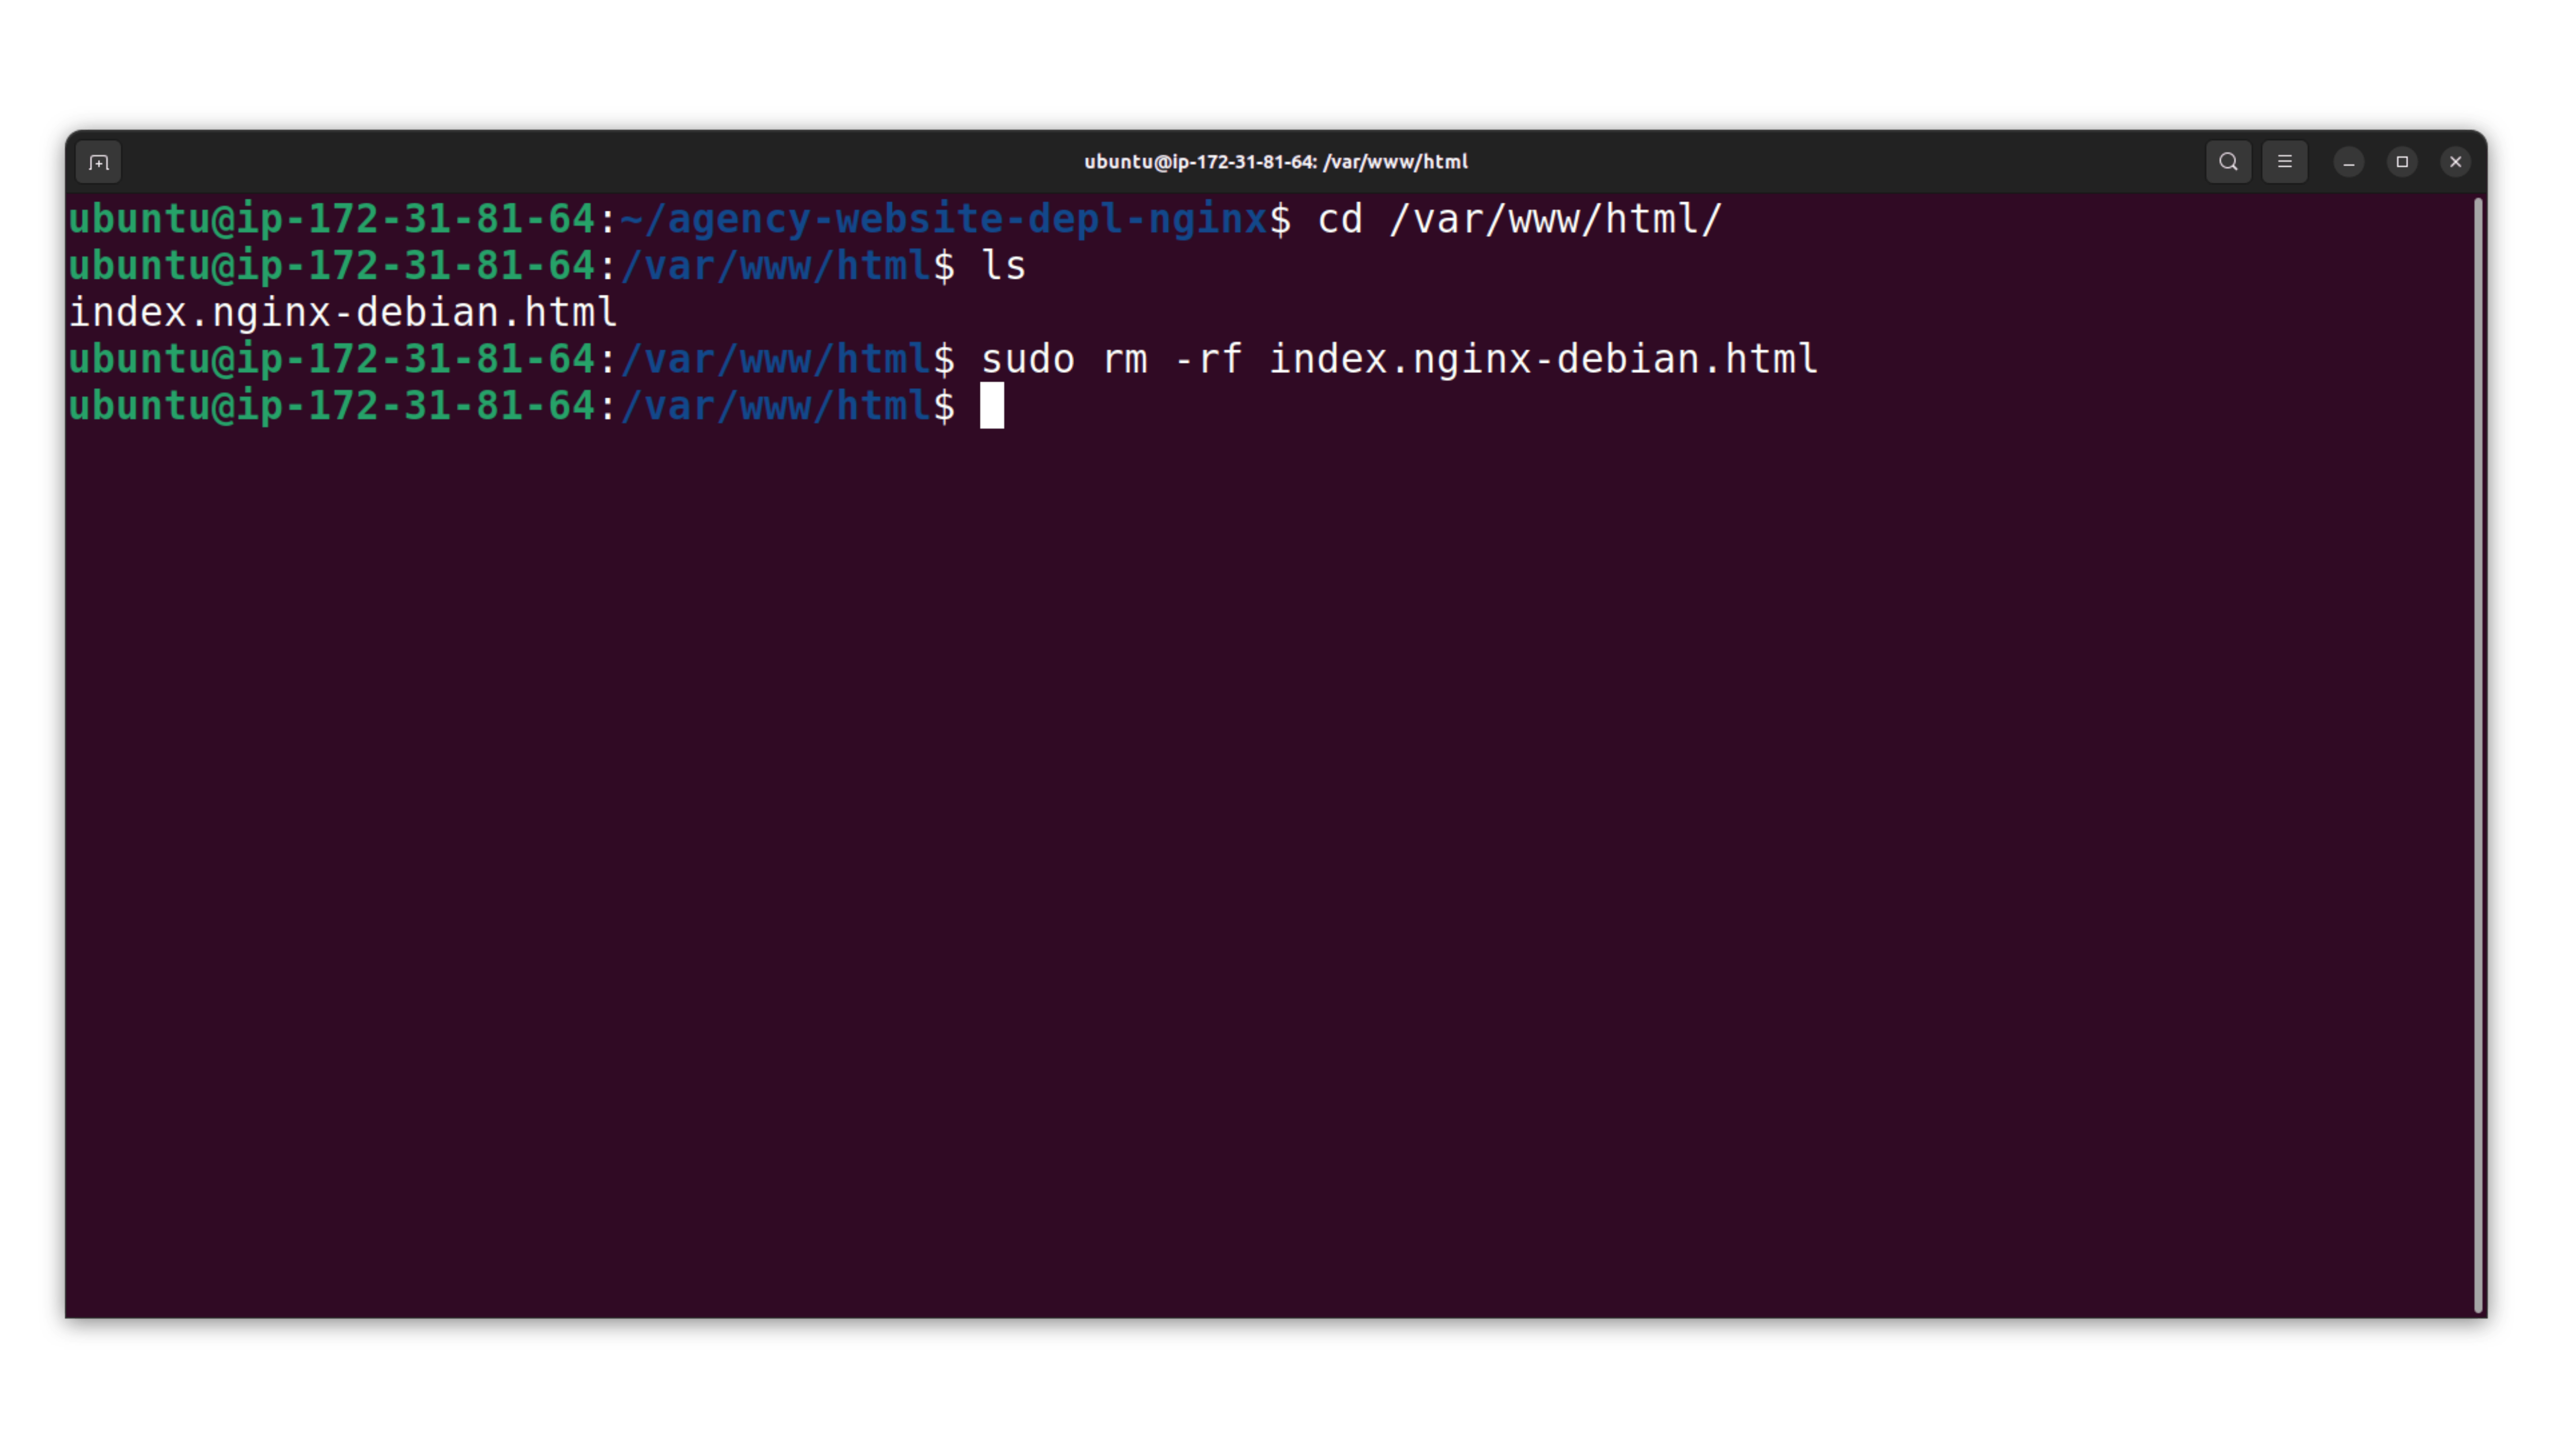
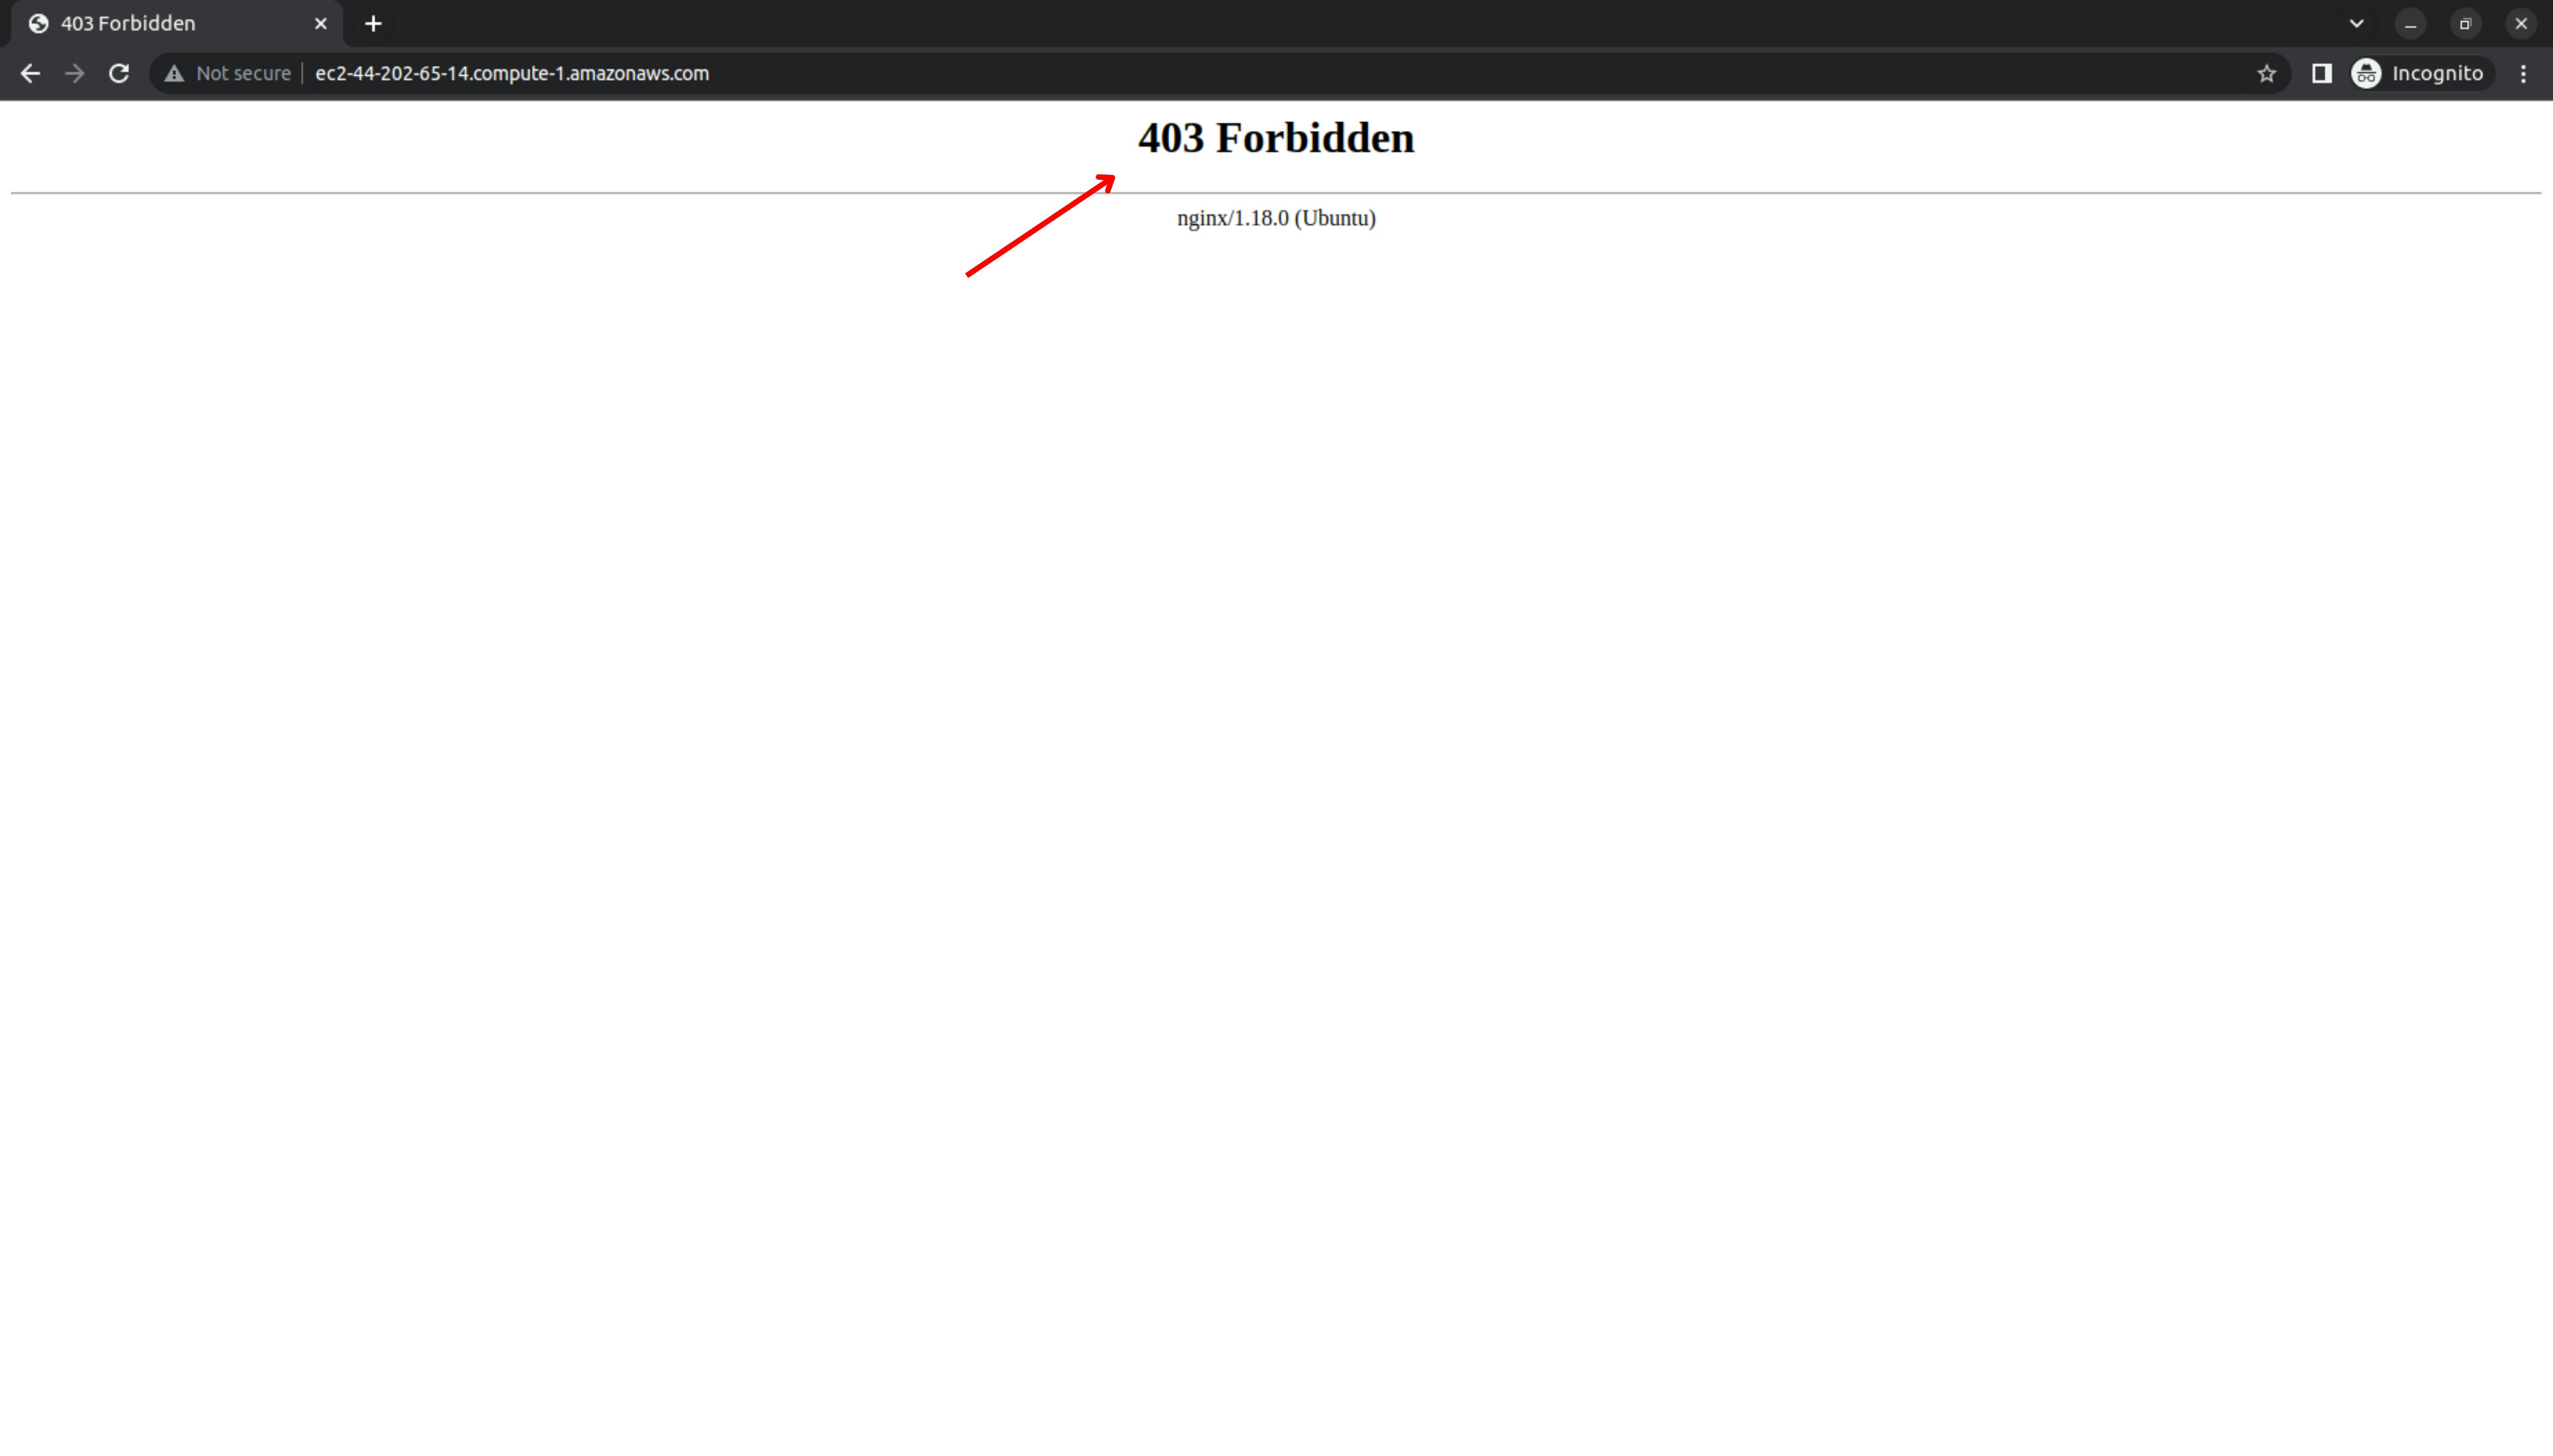
So if you refresh the window so we get the error 403
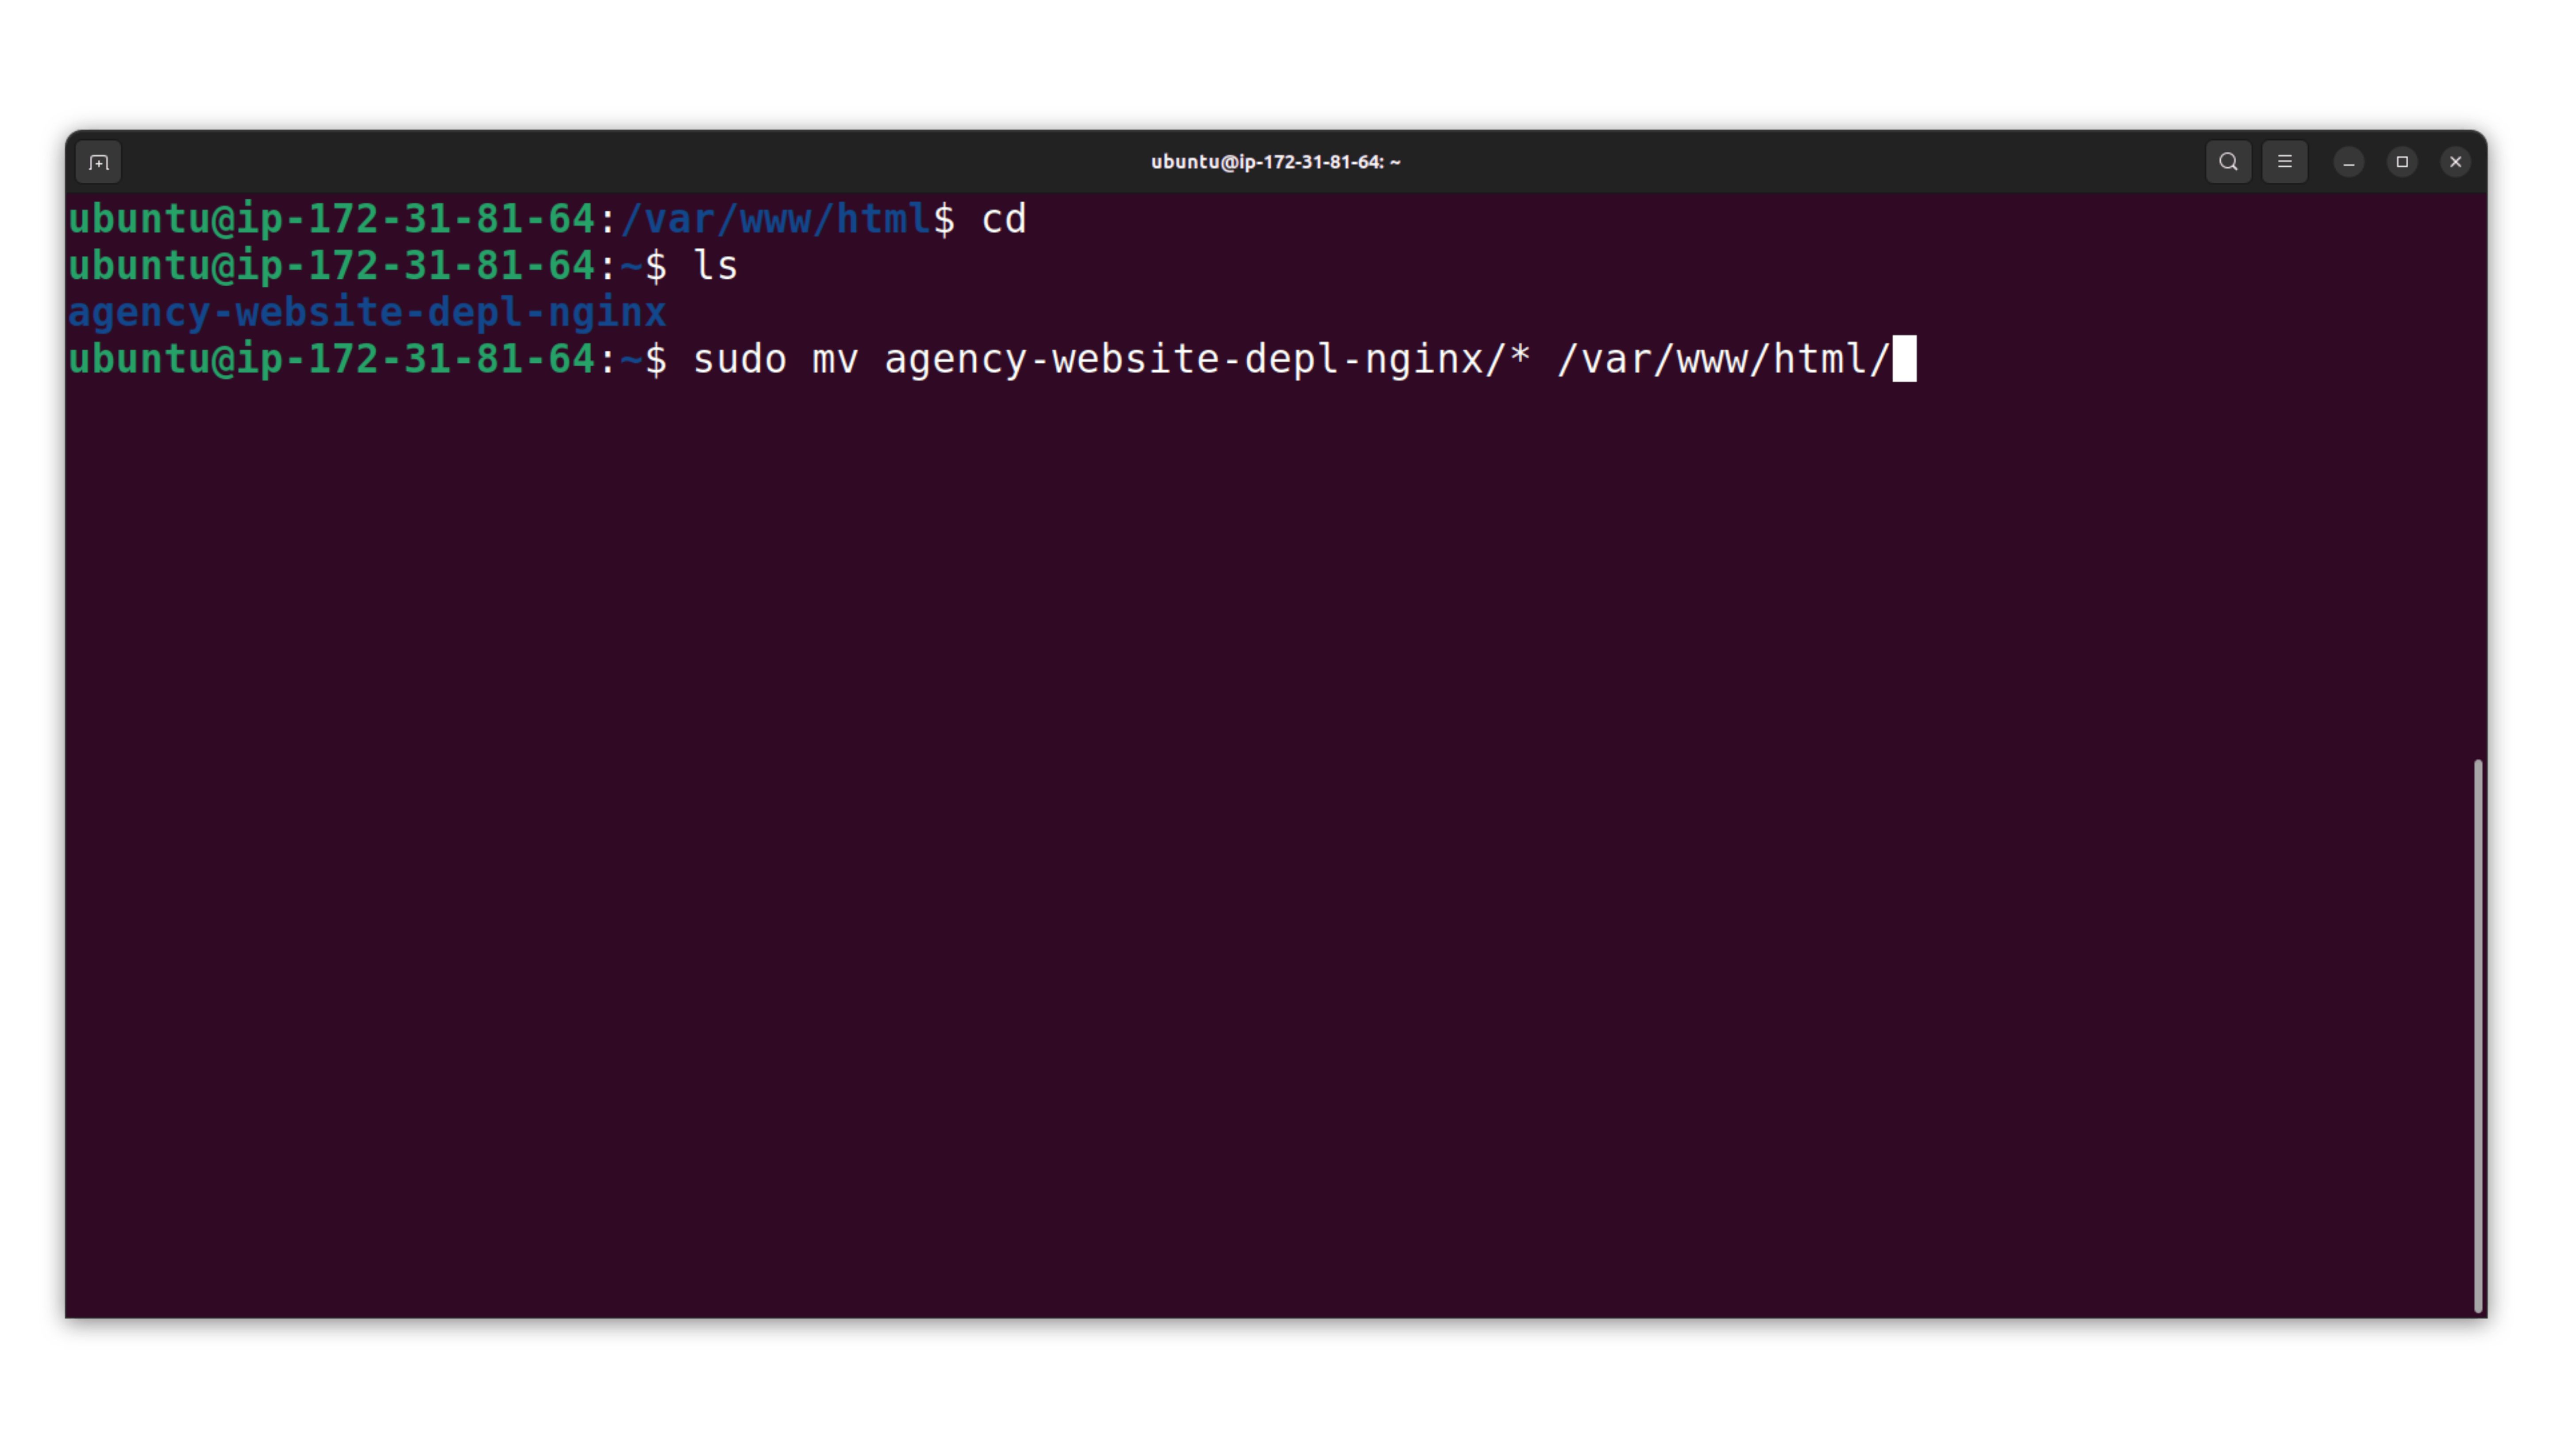
So now just type " cd " so you will be redirected to the working directory. So right now we are going to move all the files from the website directory to the " /var/www/html/ "
cd to the /var/www/html/ & as you can see that we have all the files
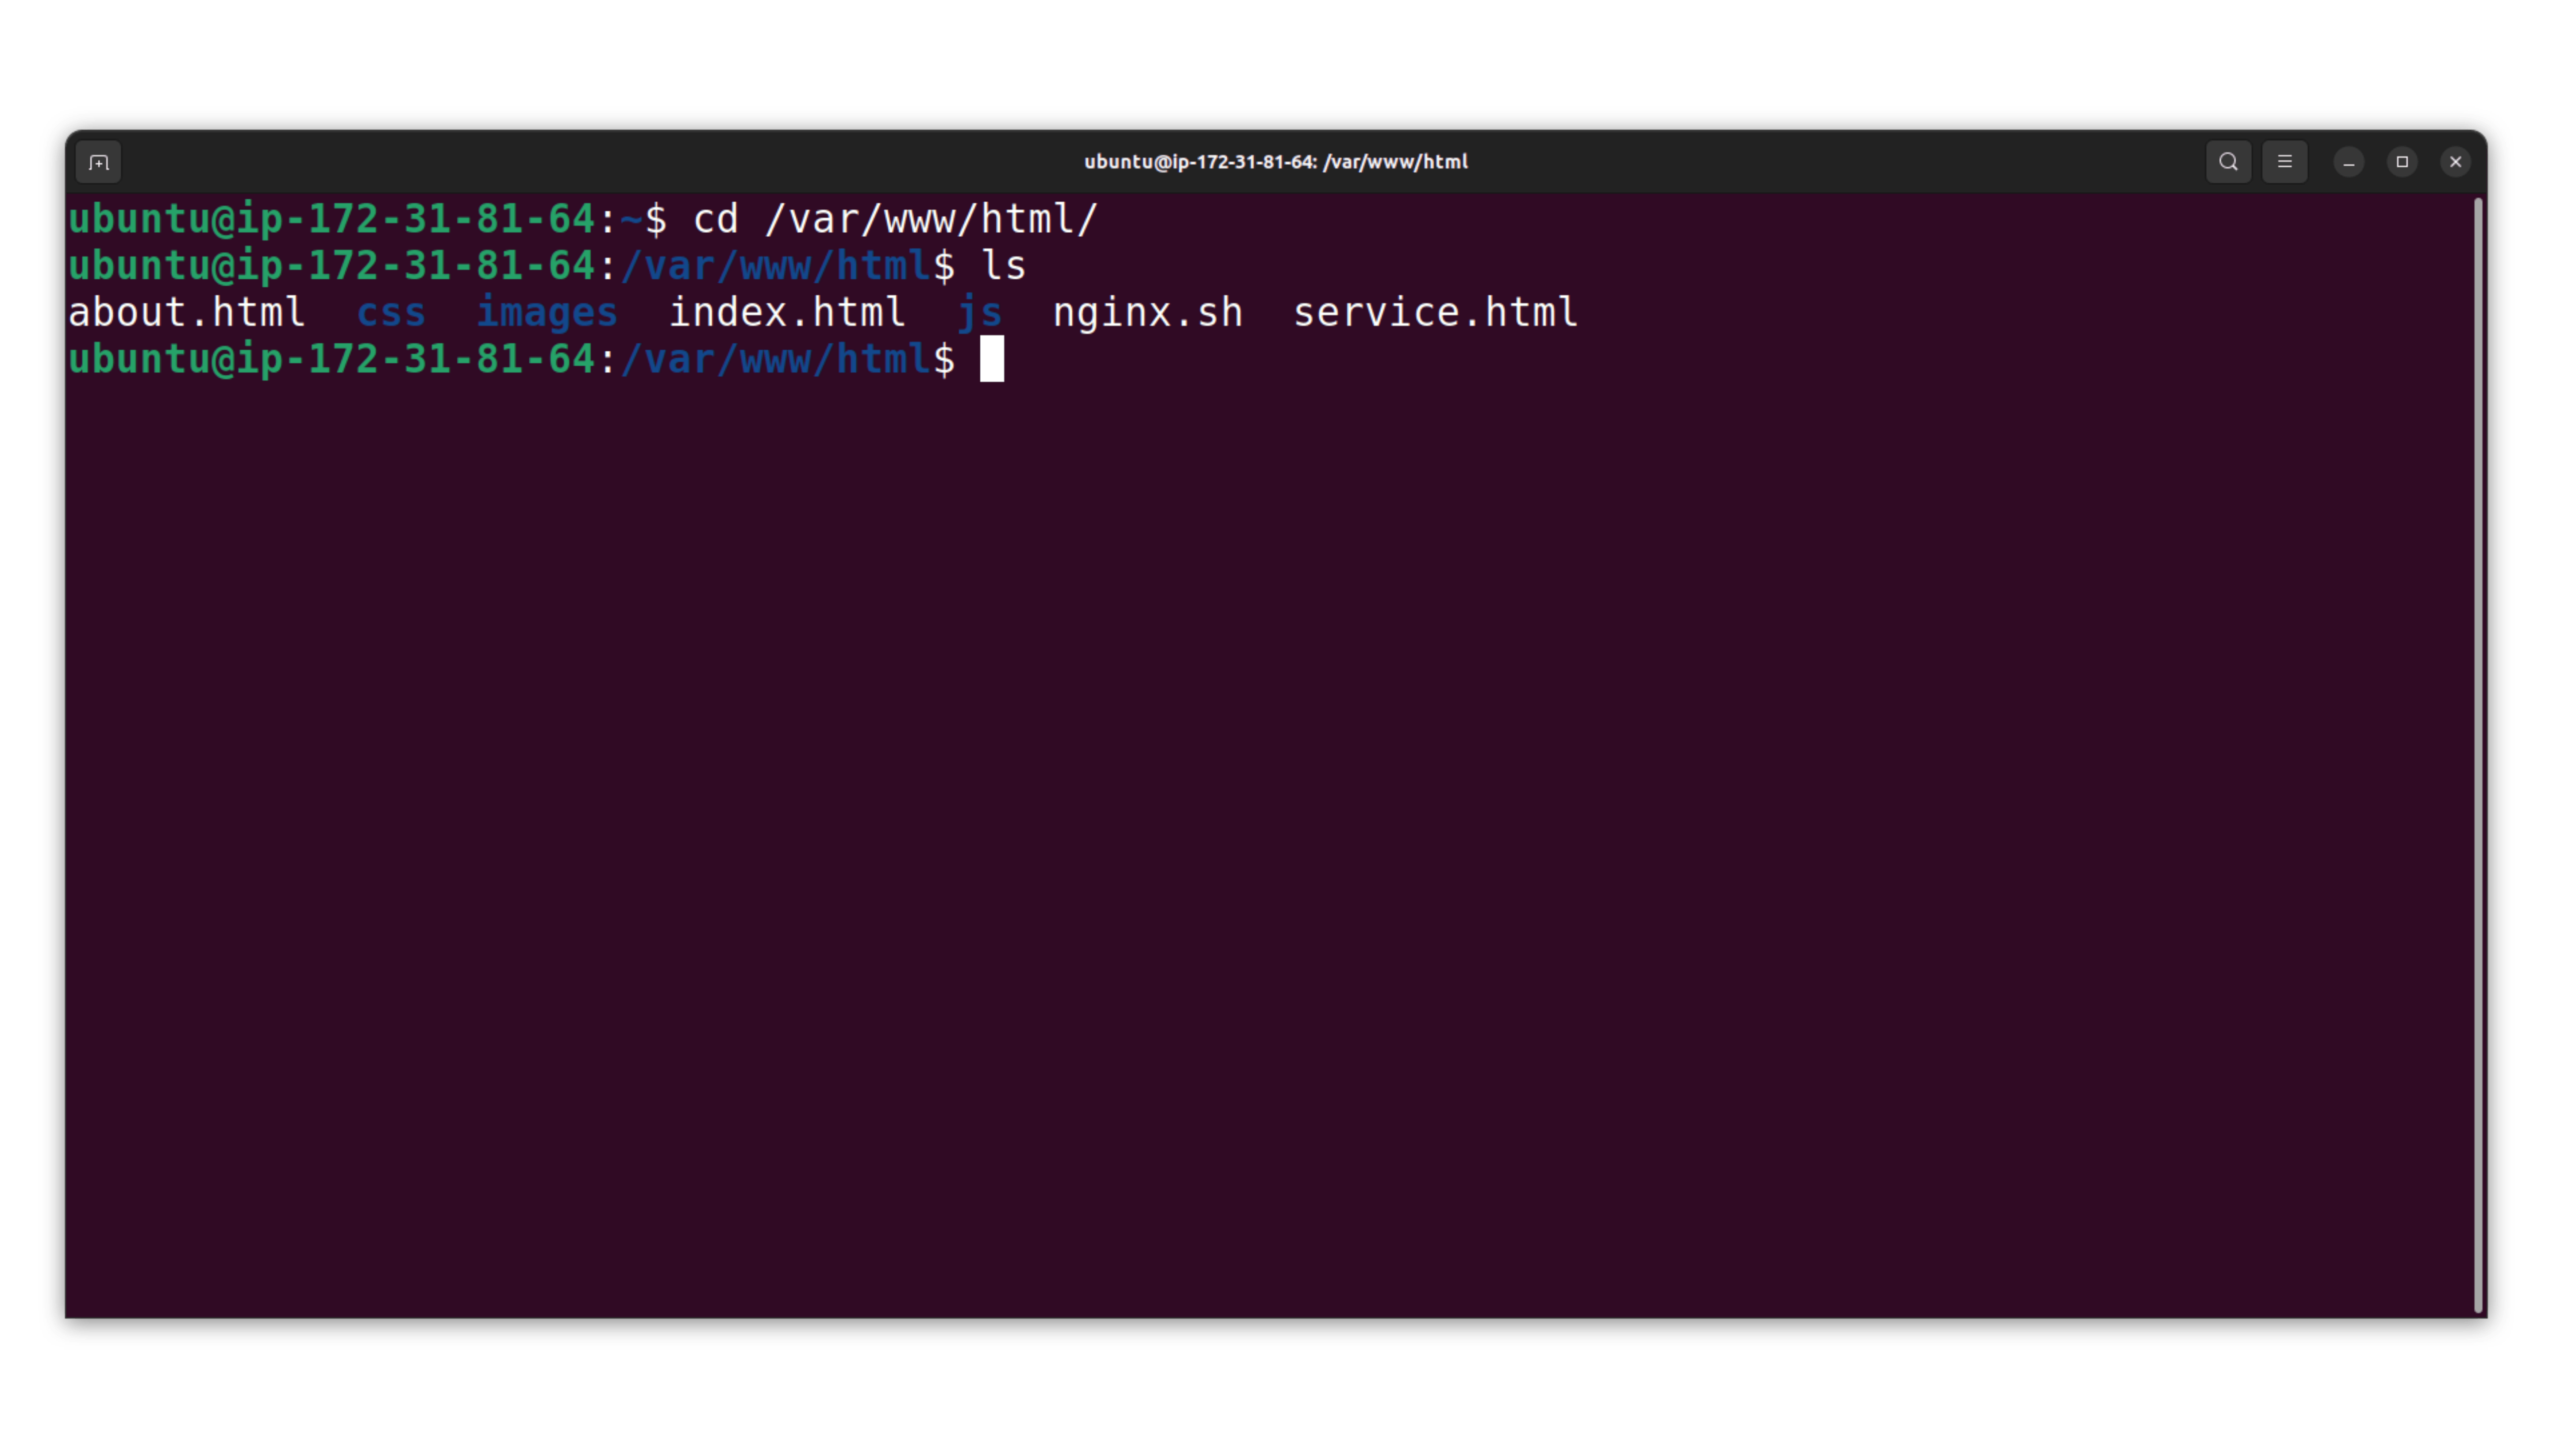
If you refresh the window, you can see that we have successfully deployed the website on aws ec2

Assign Elastic IP
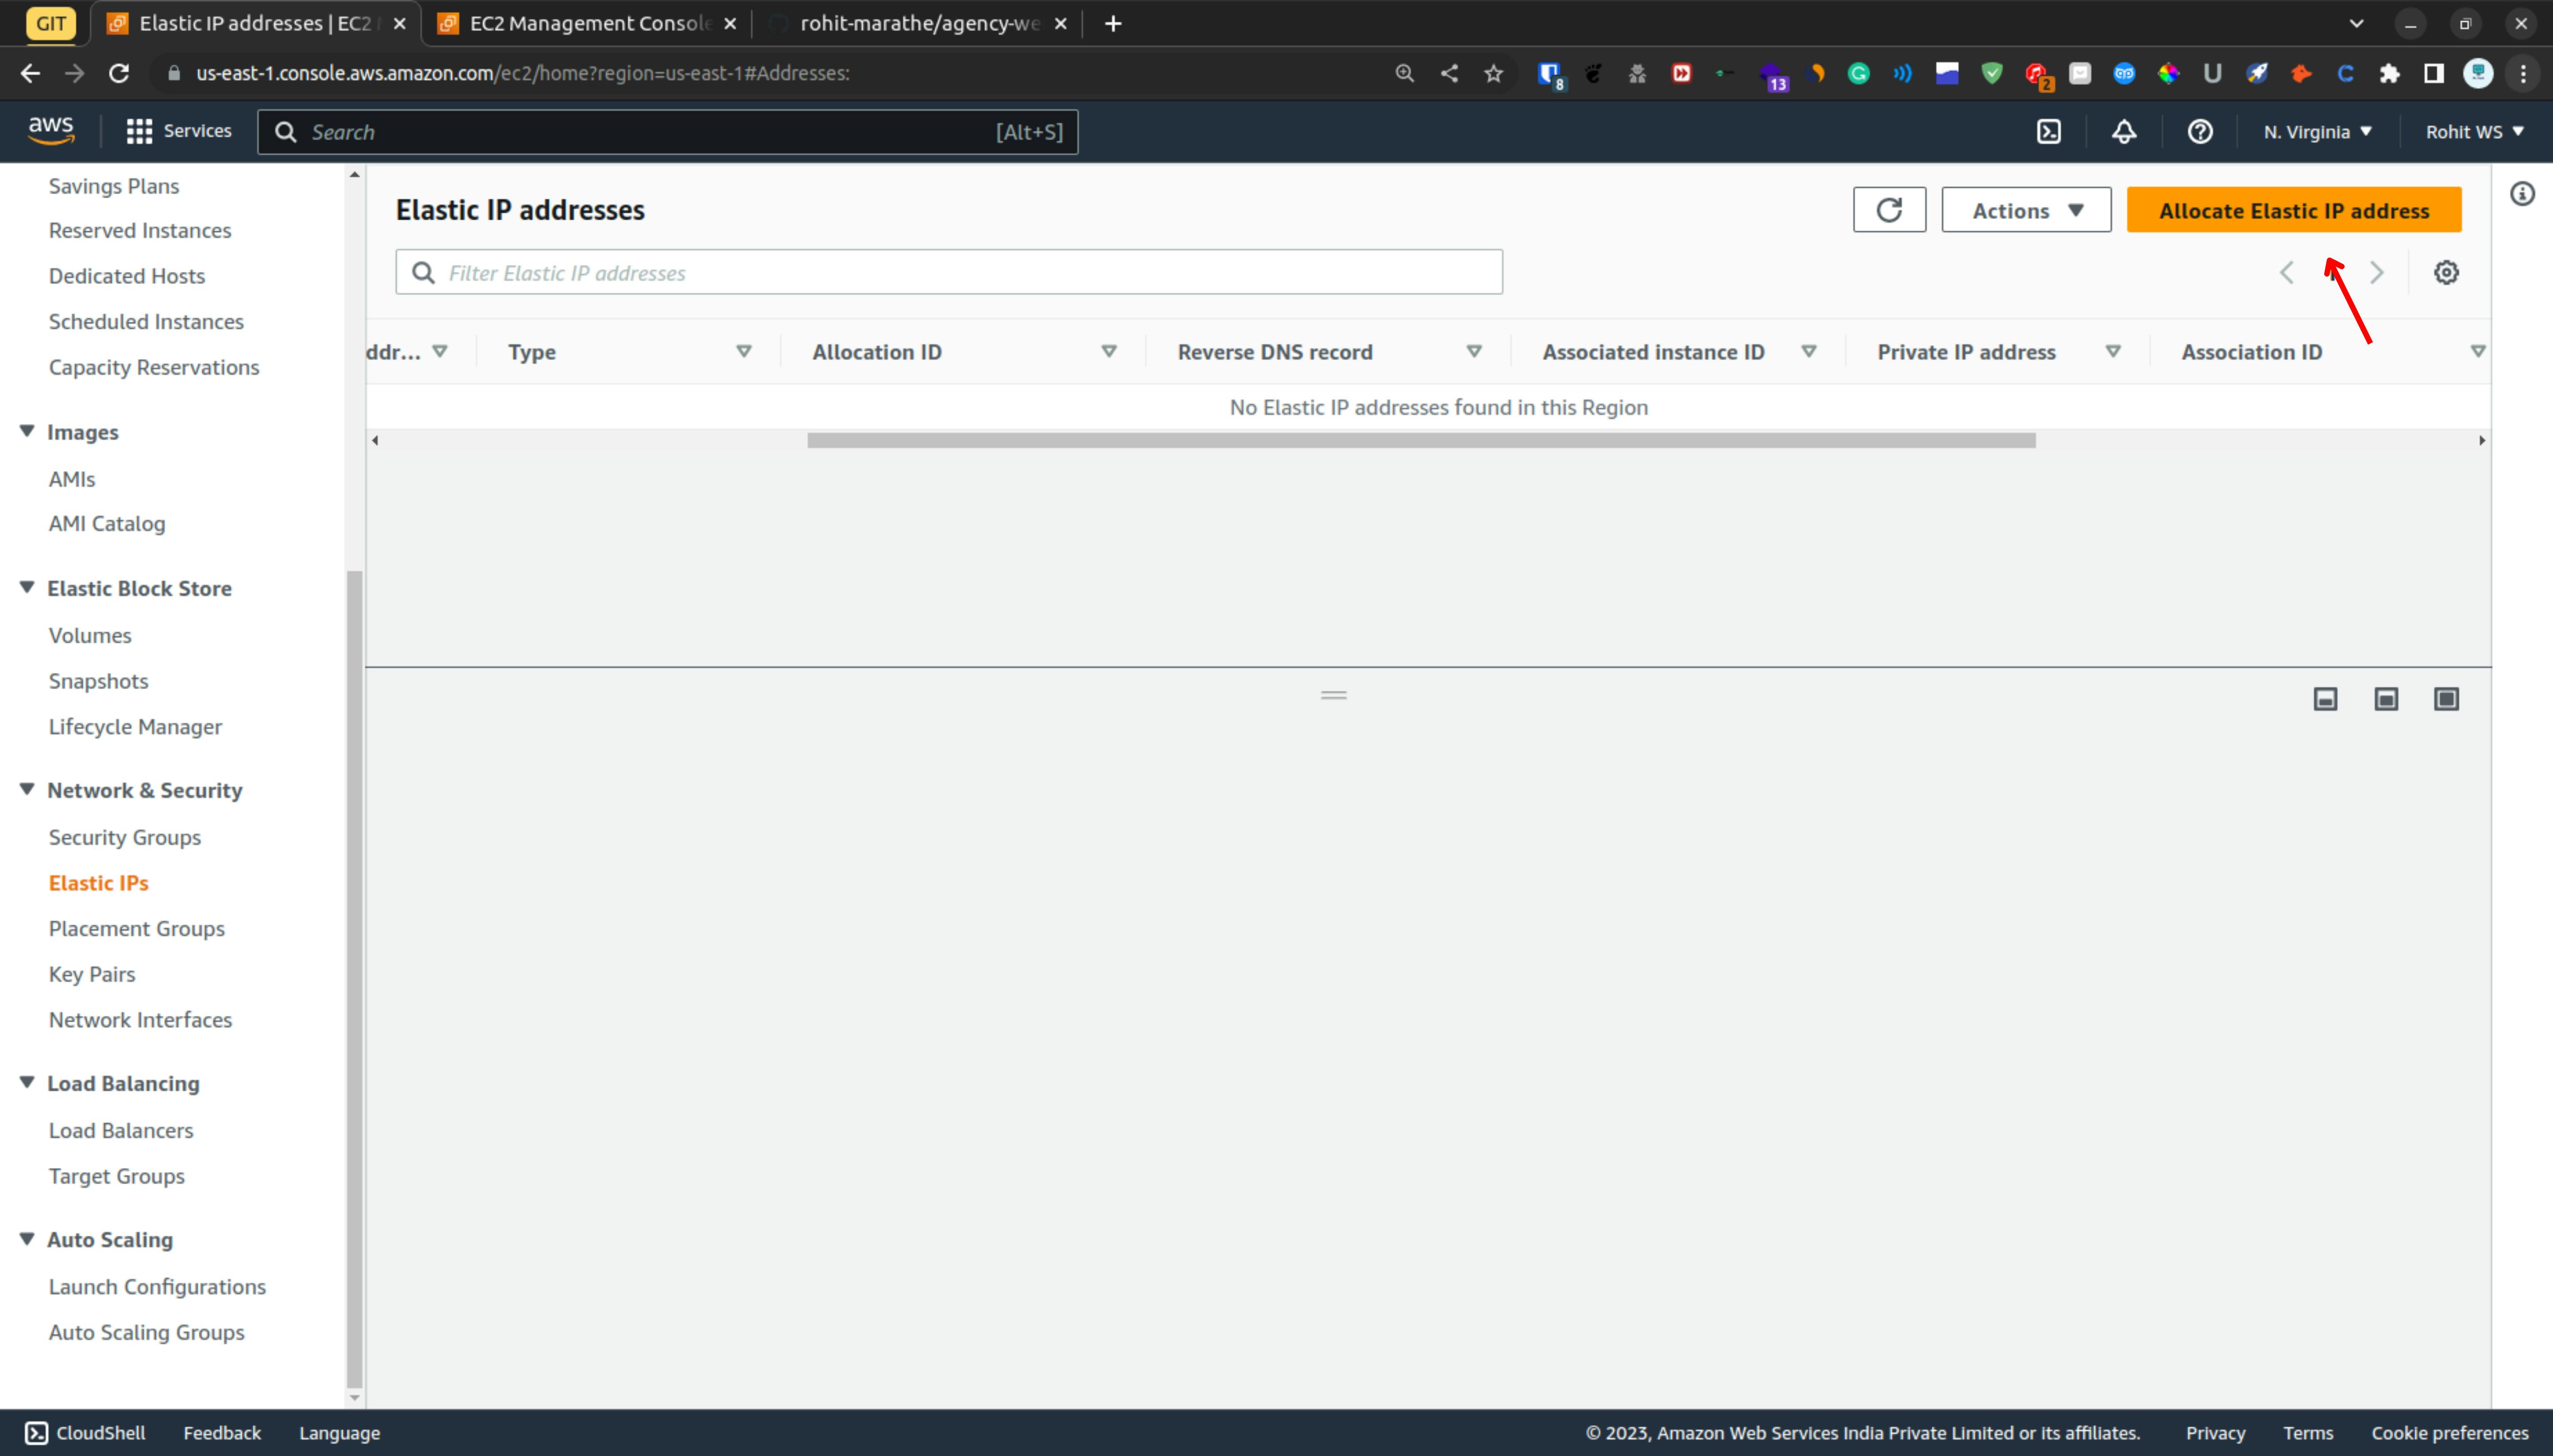
So right now we don't have elastic IP which means if you restart the instance then the IP address will change. so if you don't want that situation then we are going to assign elastic IP to the instance for that from the left-hand side in the Network & Security section click on the elastic IP.
Now click on the Allocate Elastic IP address
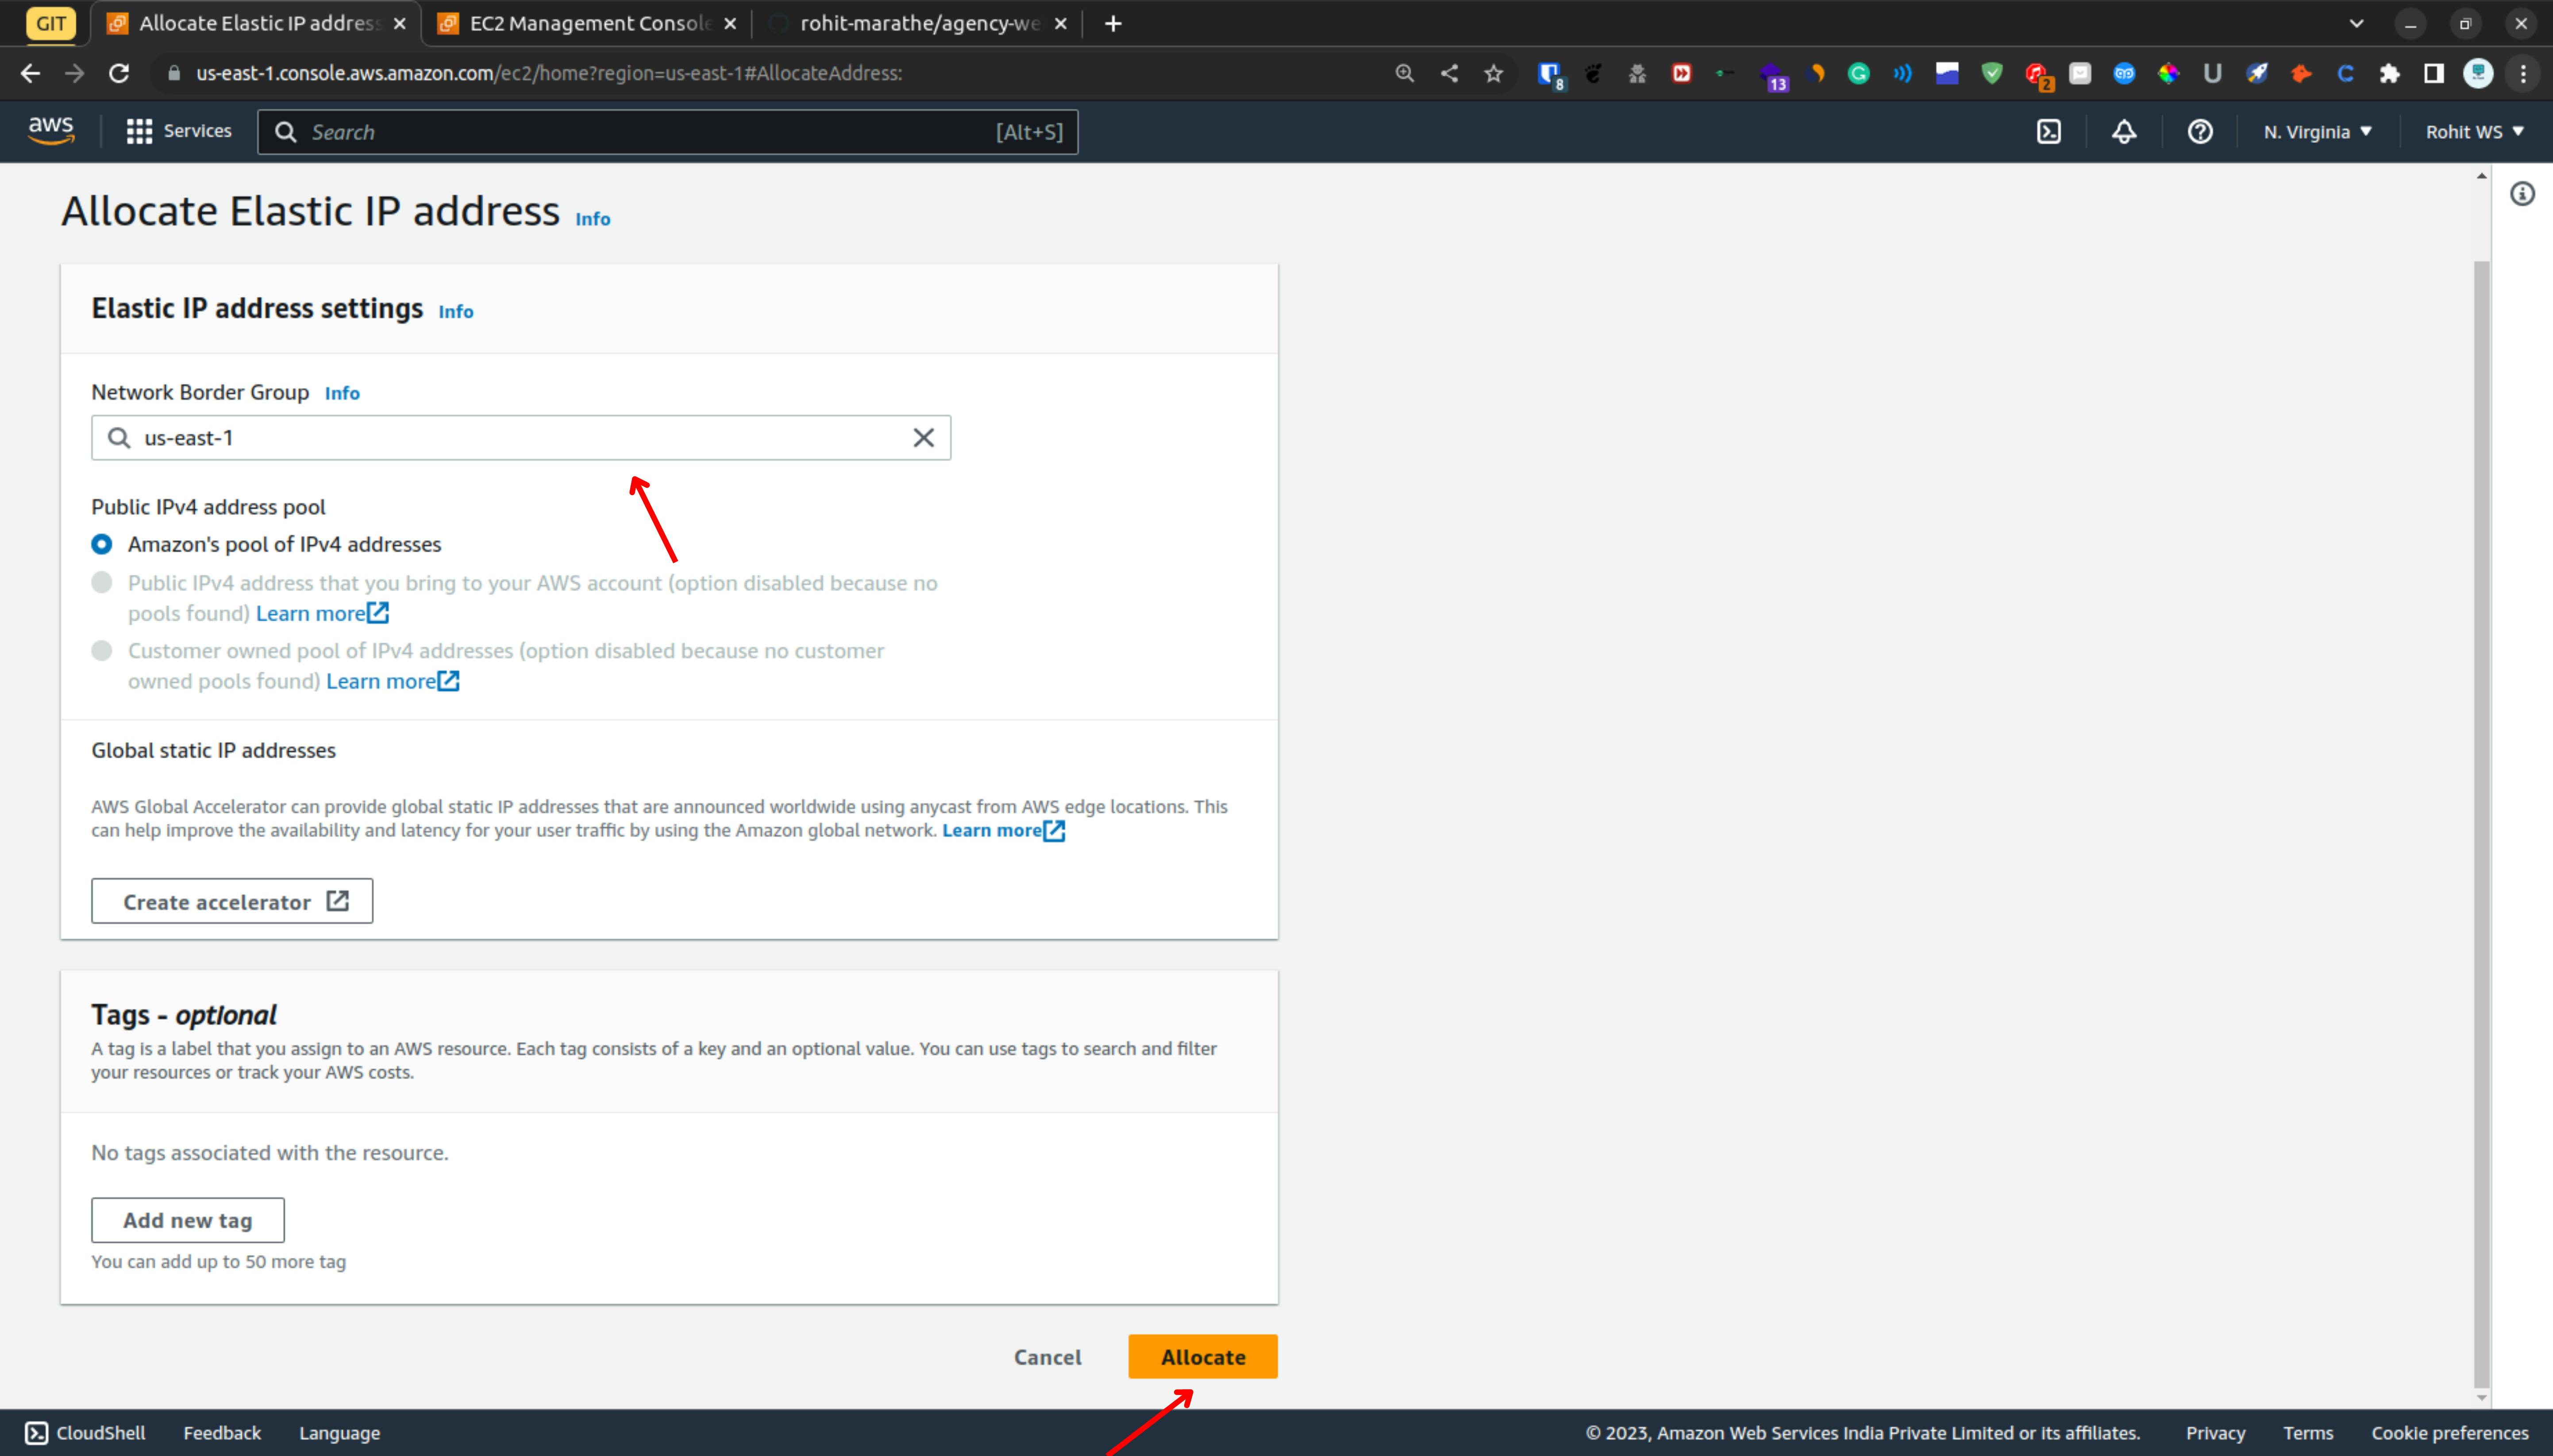
Leave the default option & click on allocate
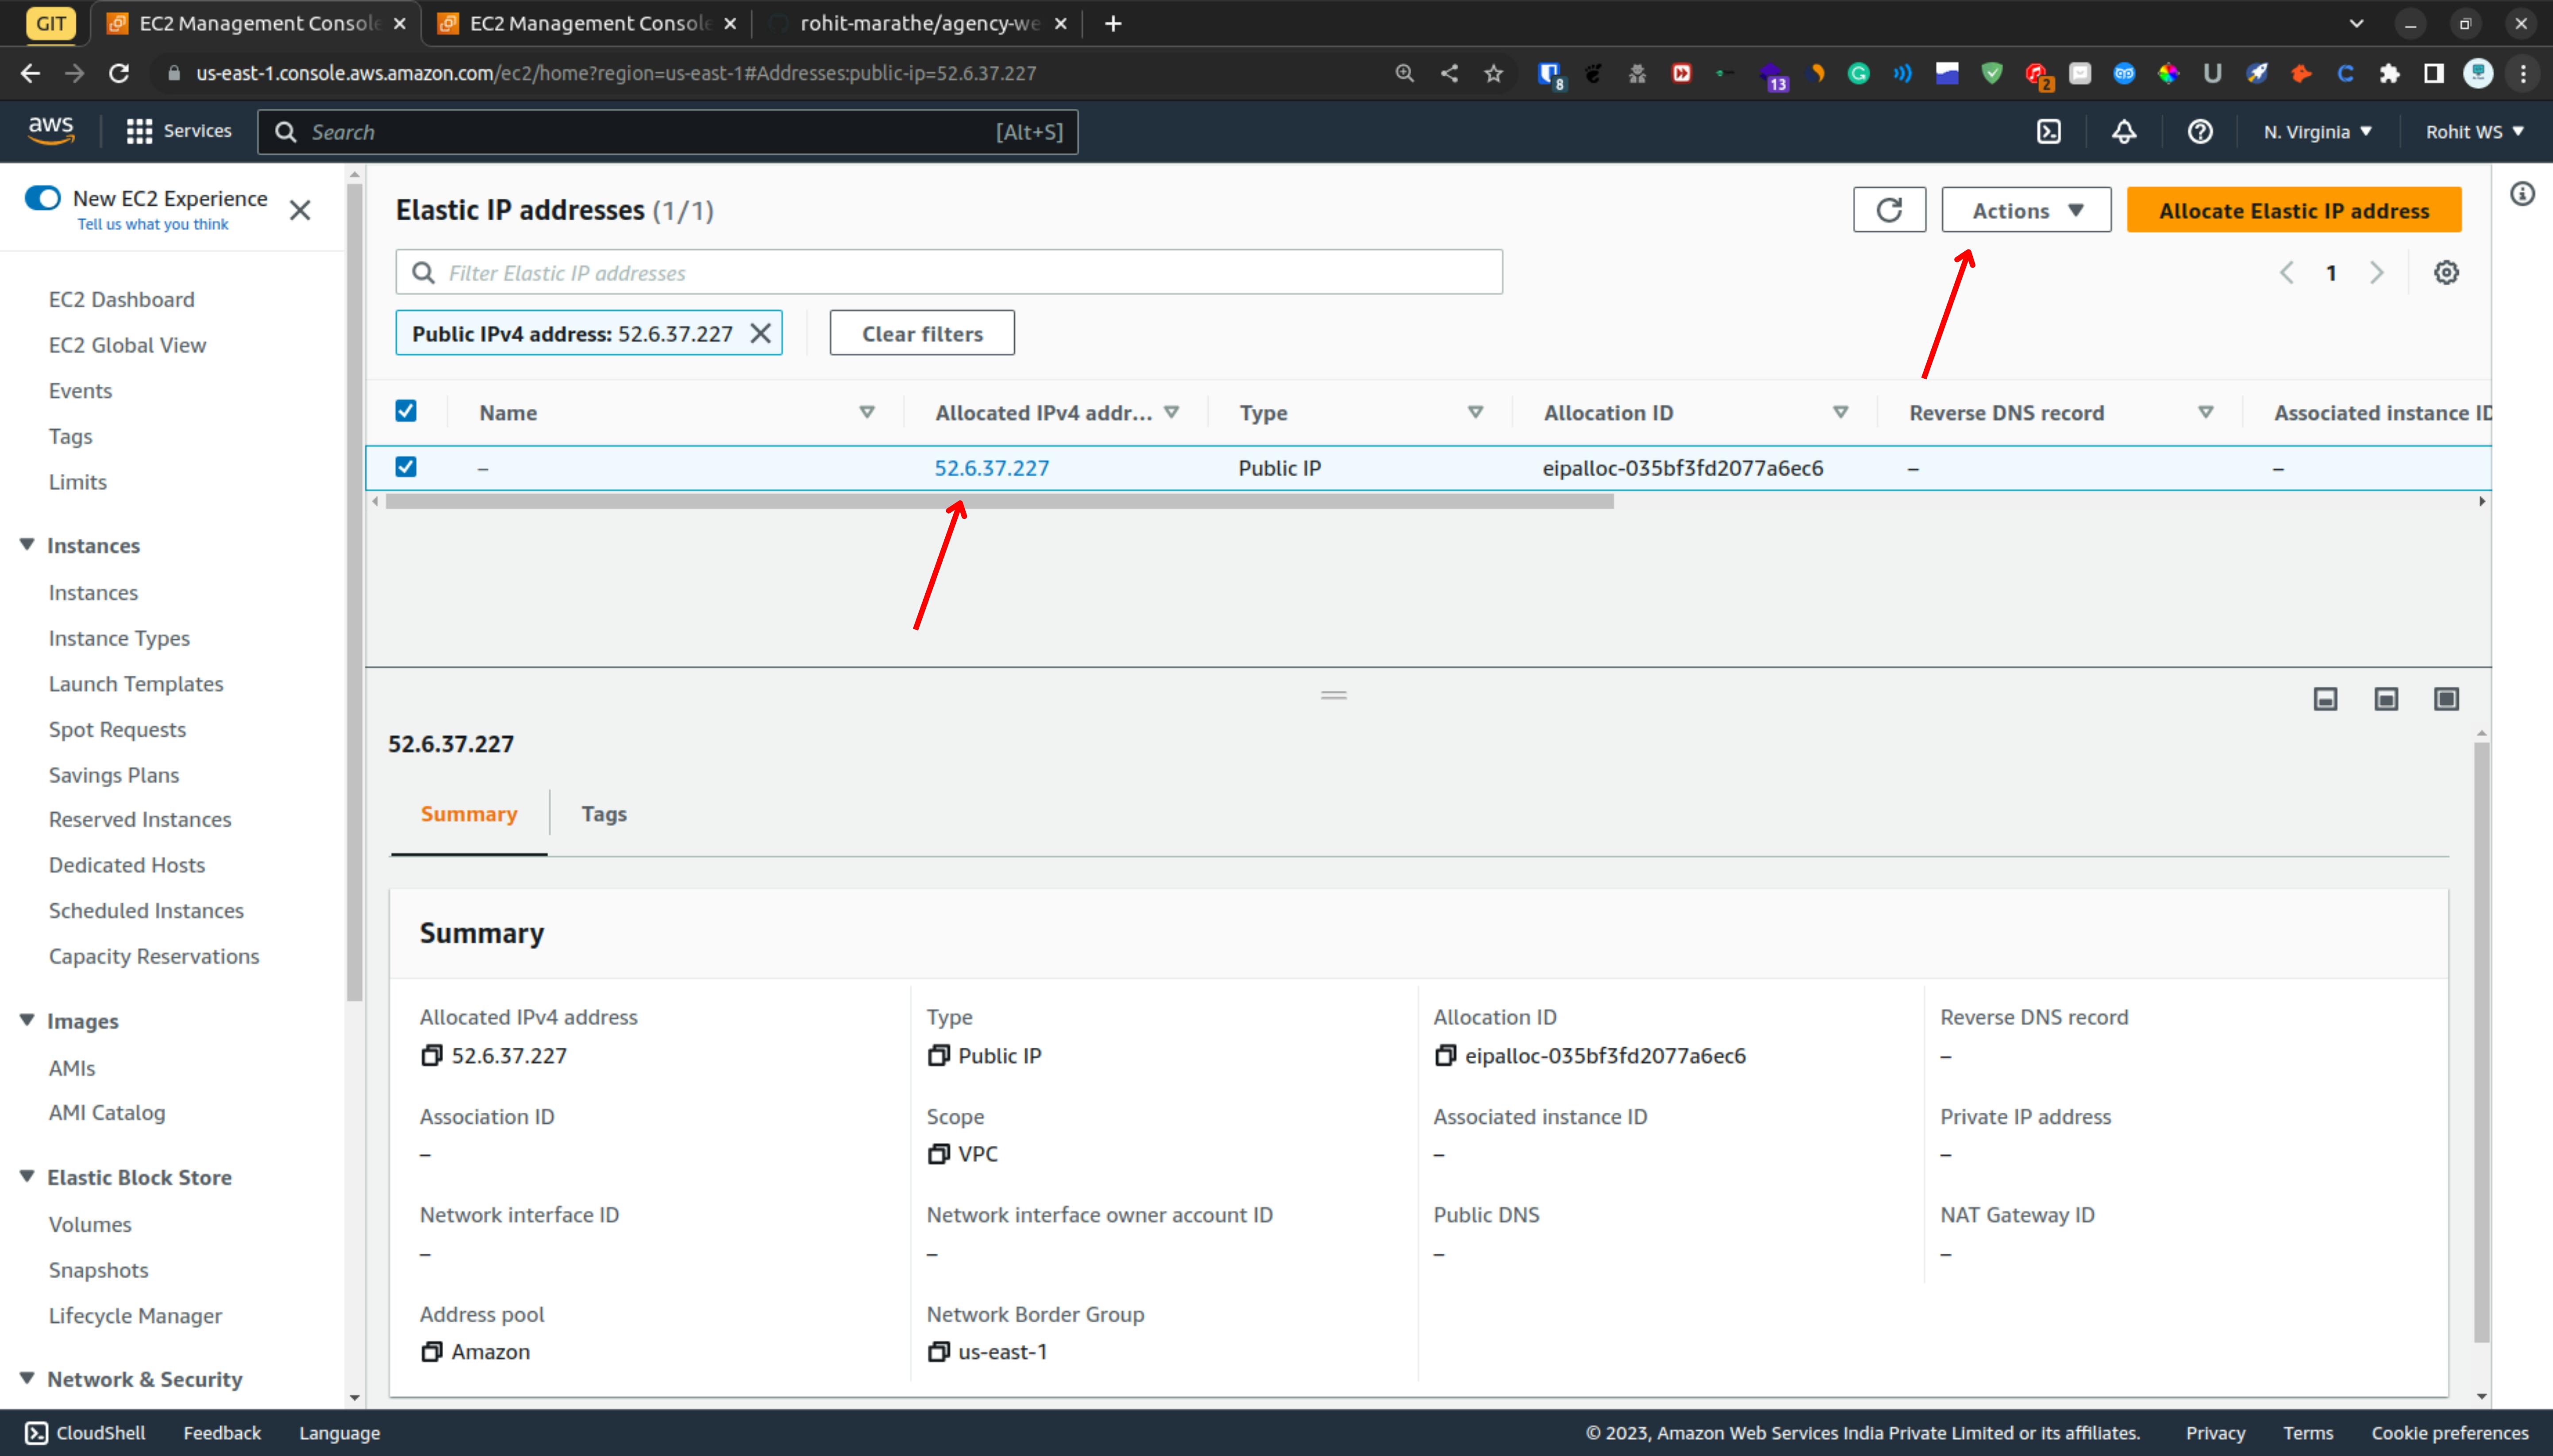
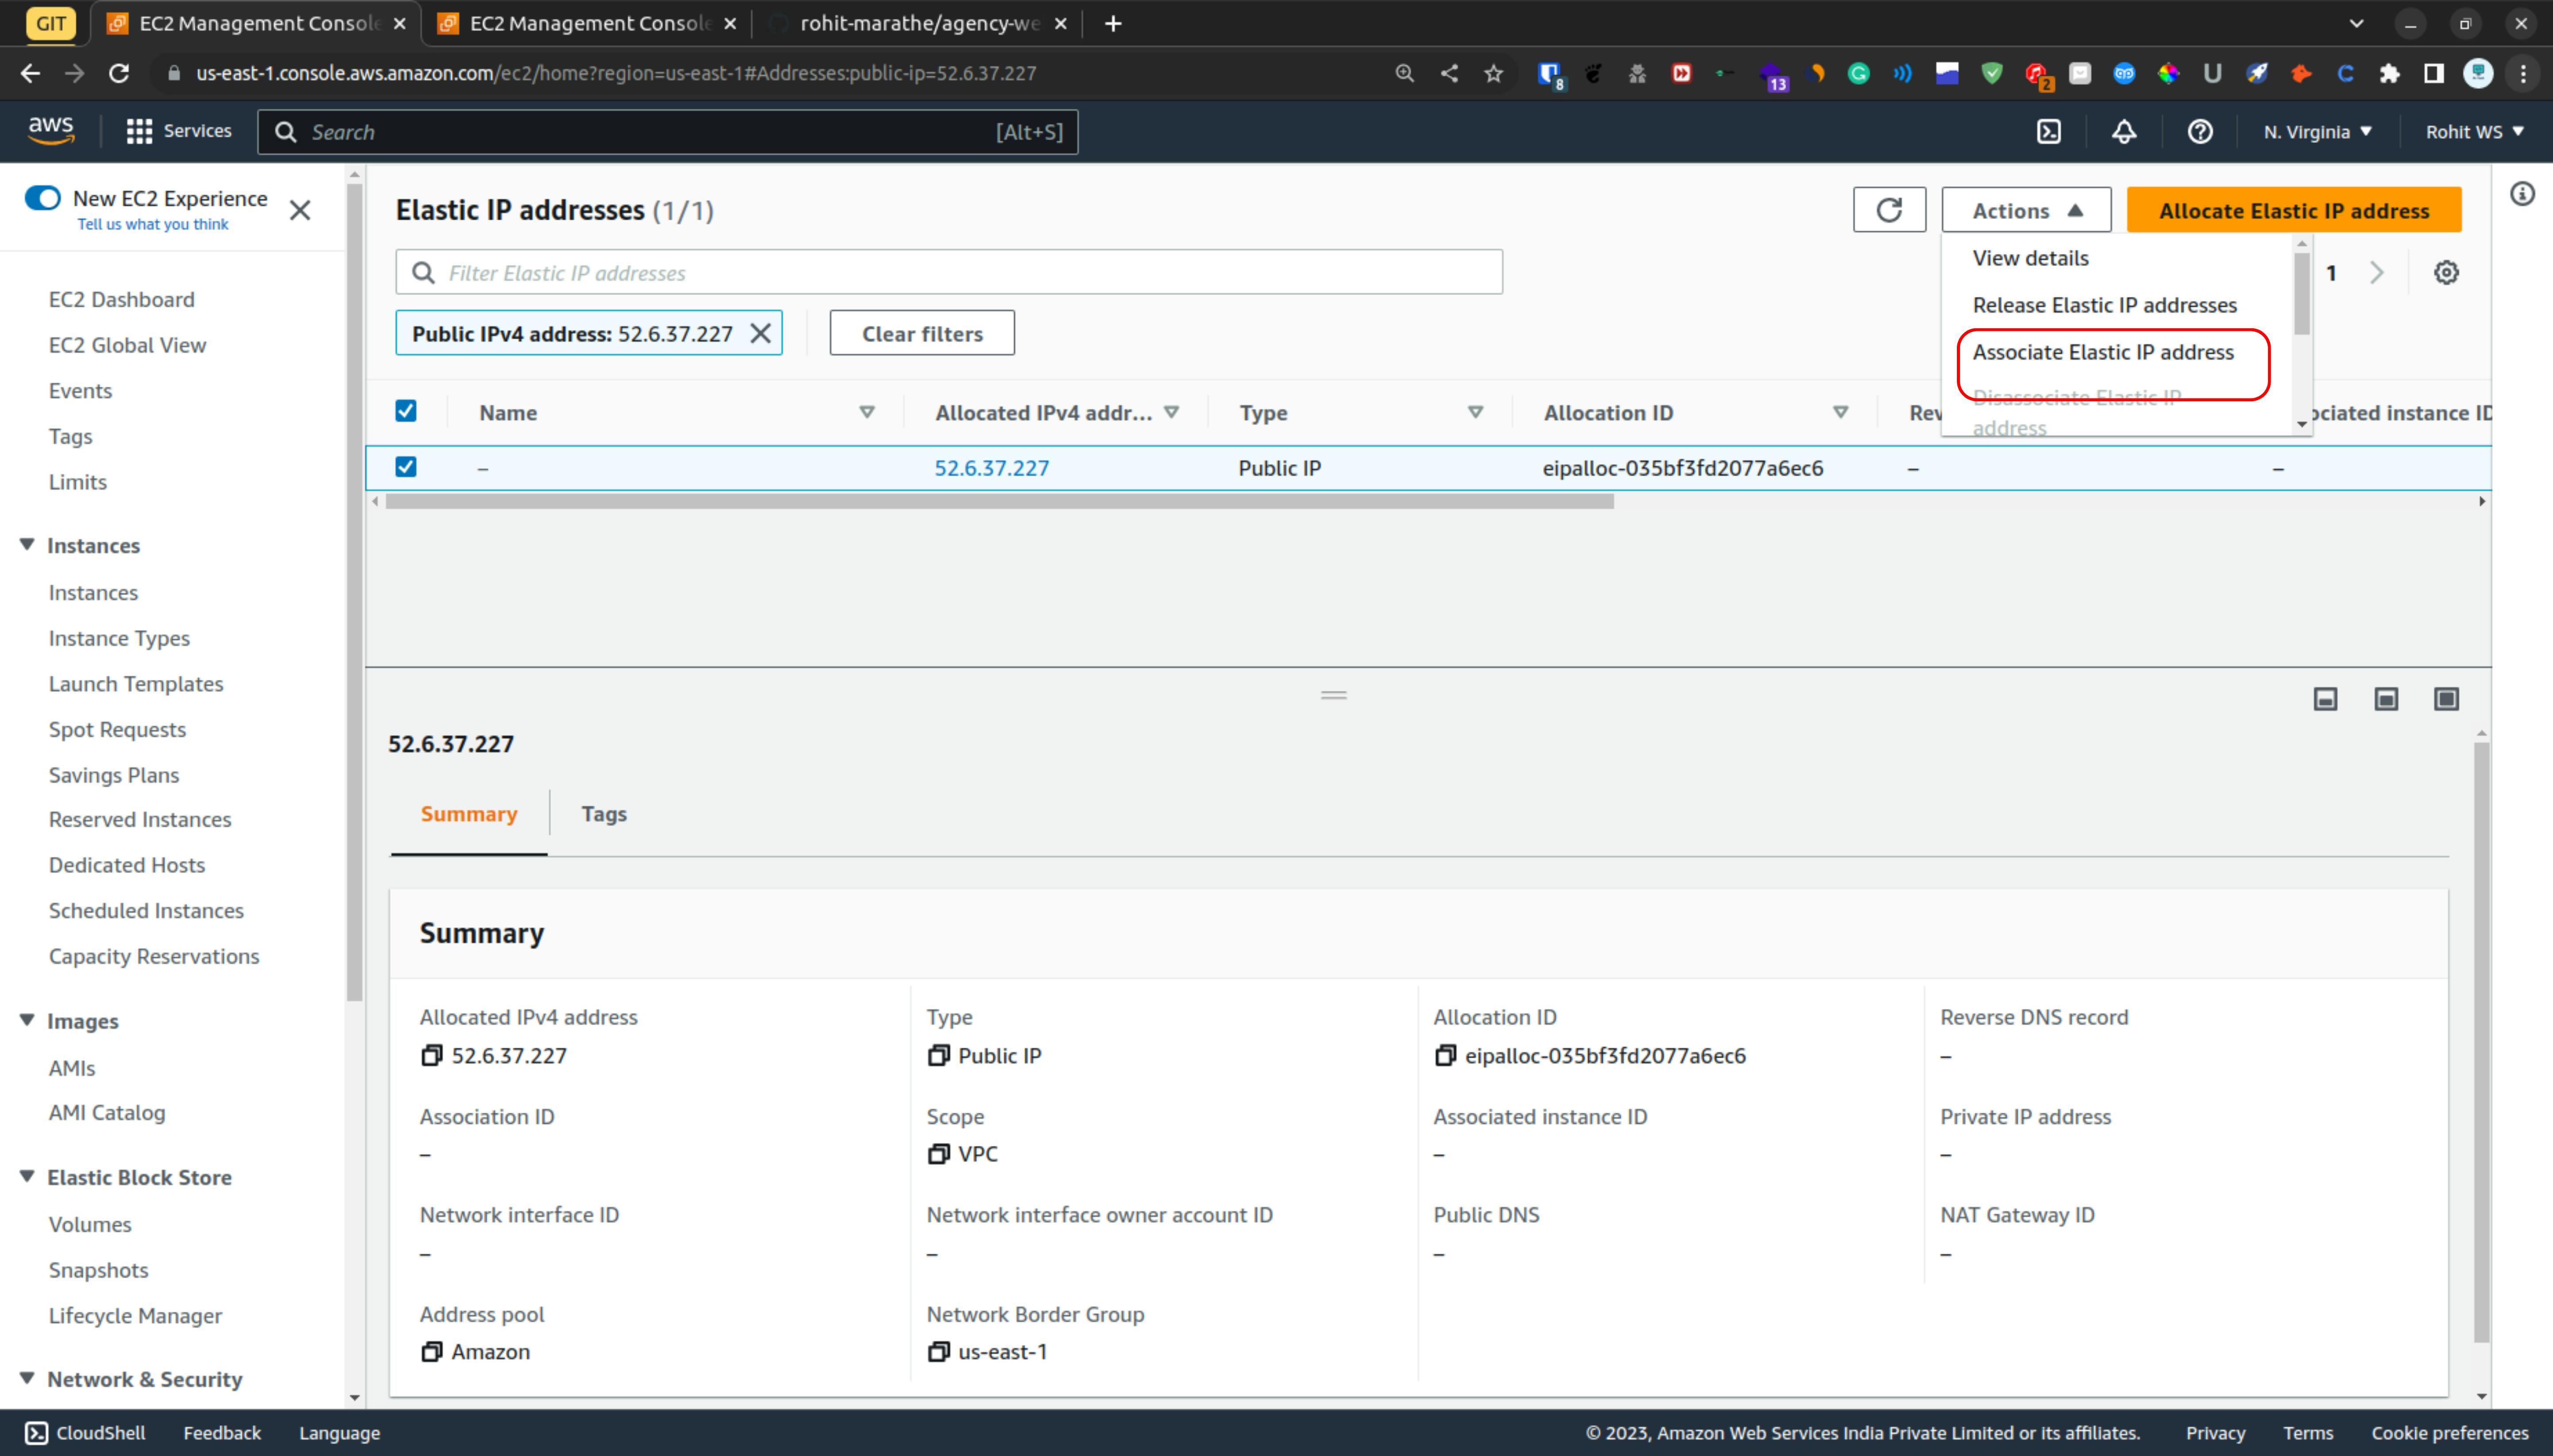
As you can see that we got the elastic IP now we are going to associate it with the instance so for that click on the action
Click on Associate Elastic IP Address
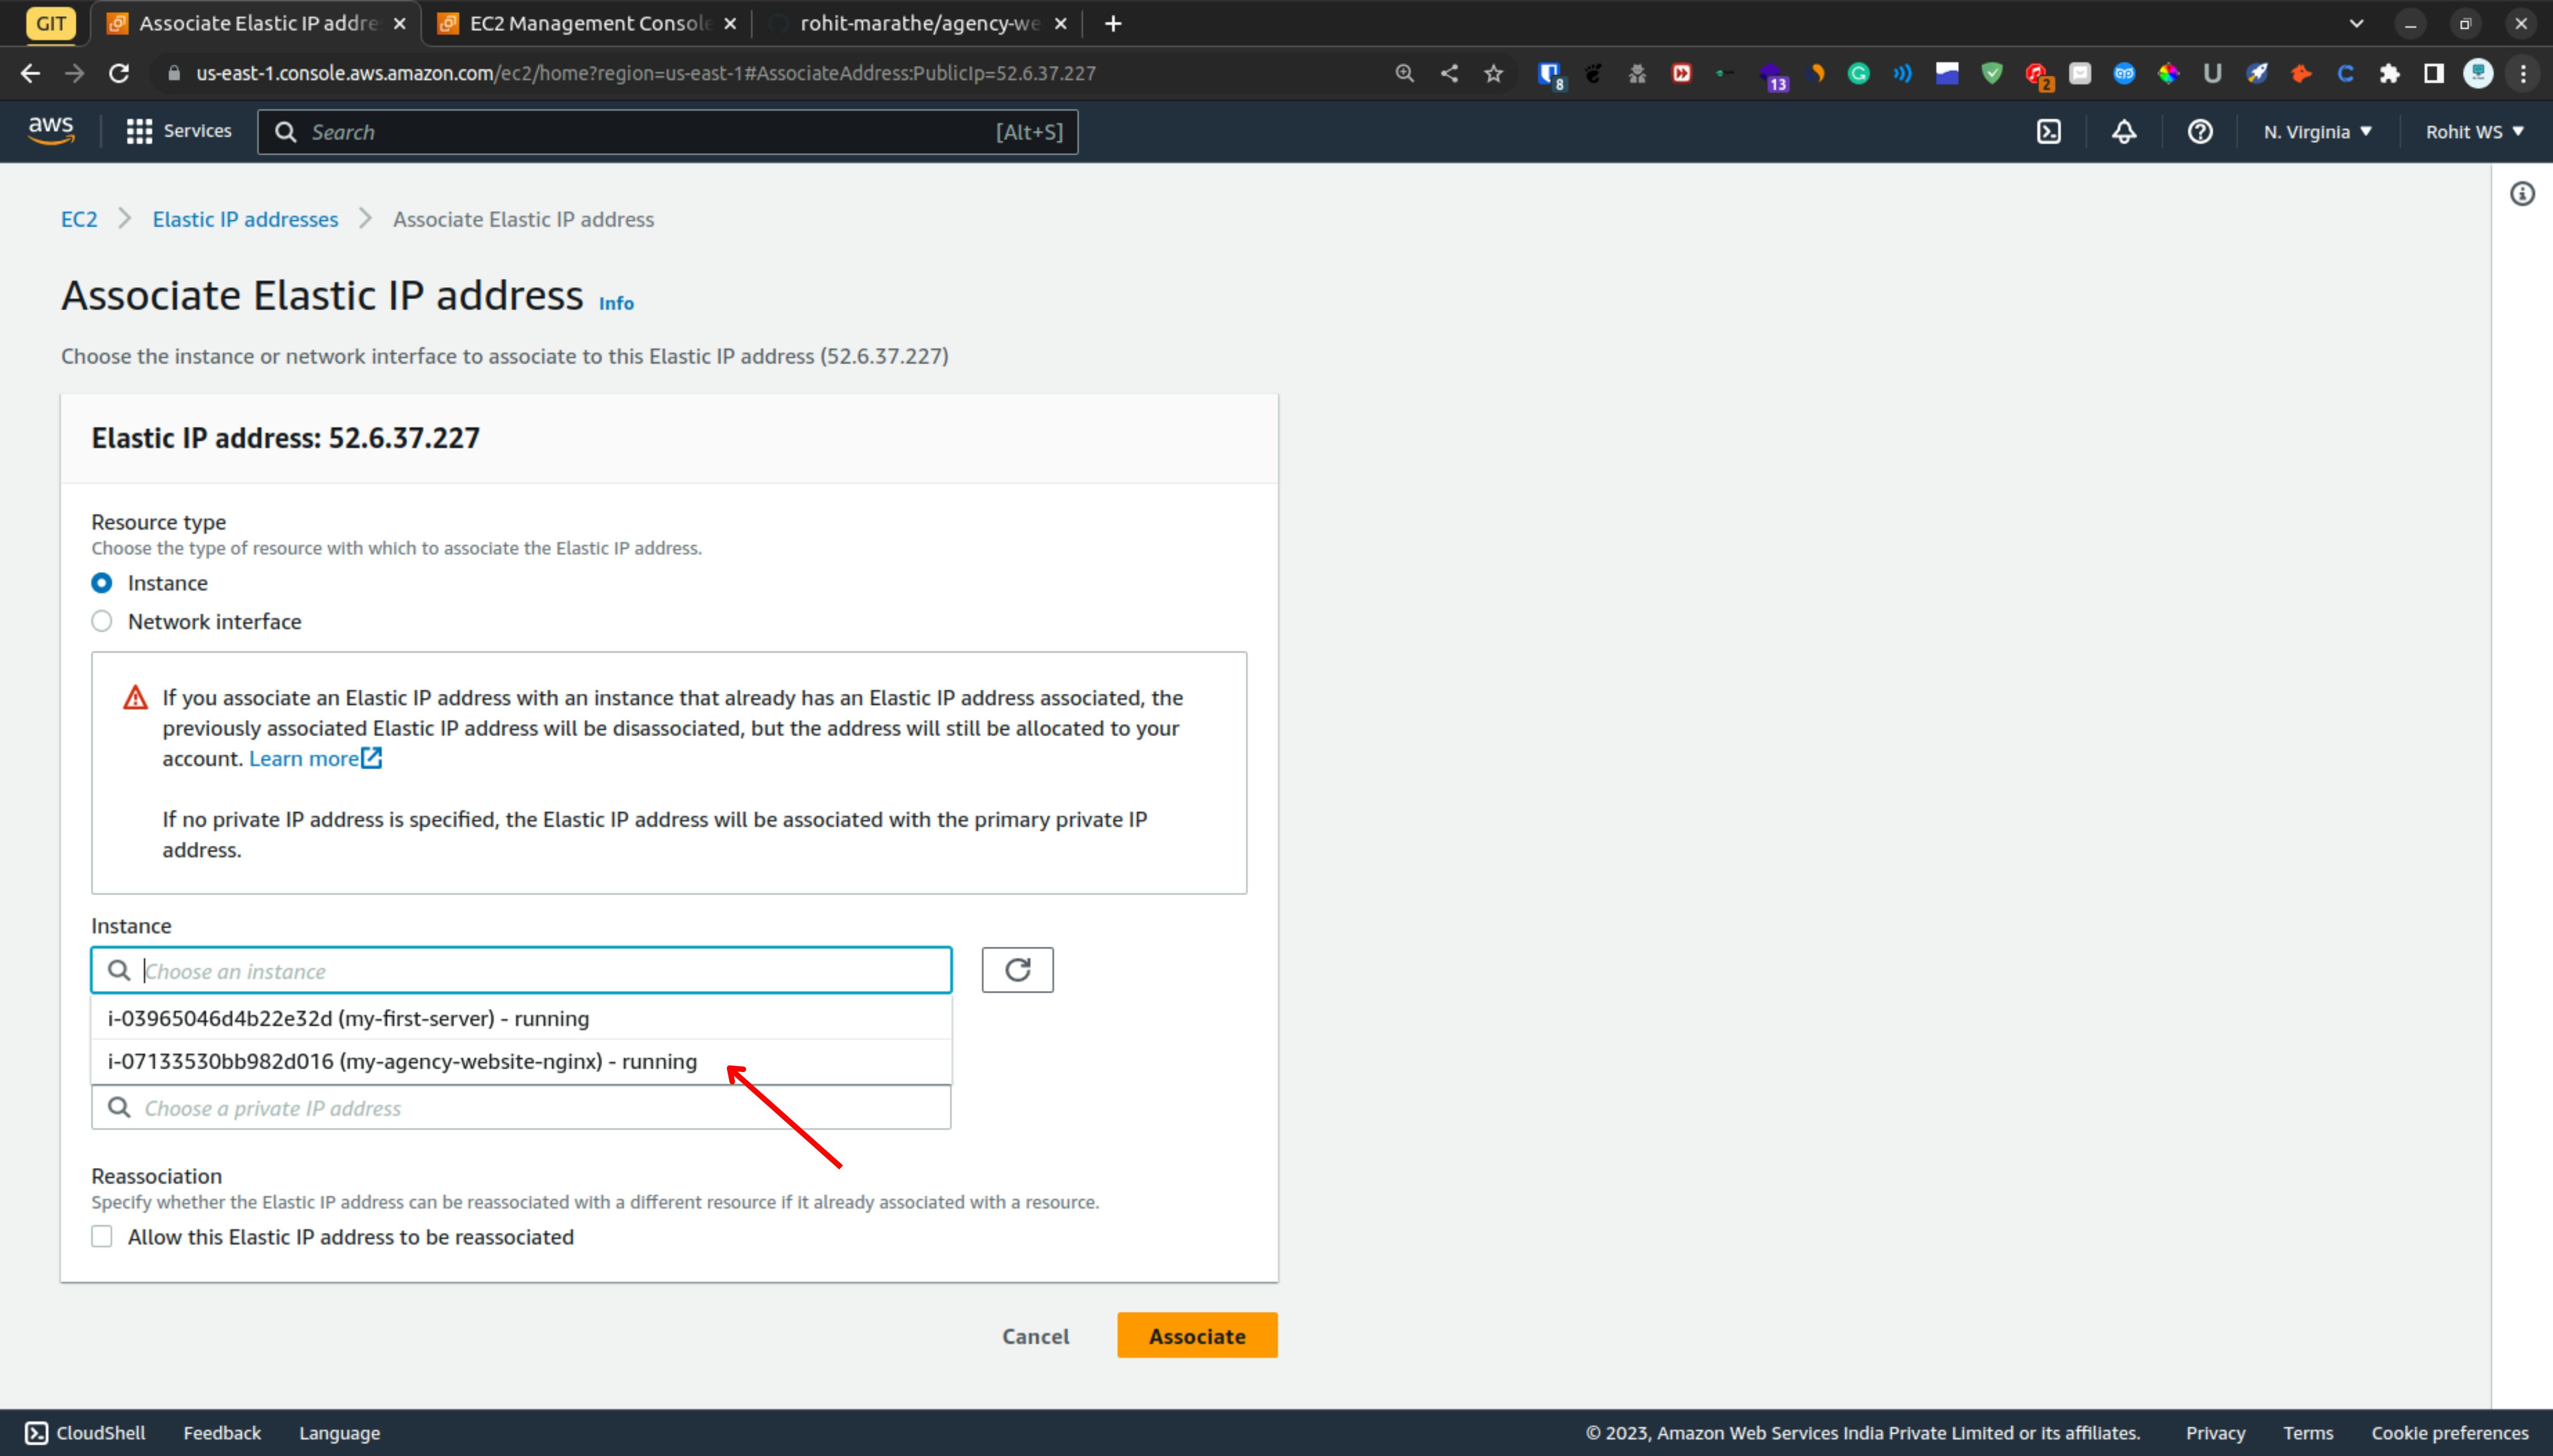
Now from the instance section choose the instance where you have to assign the elastic IP
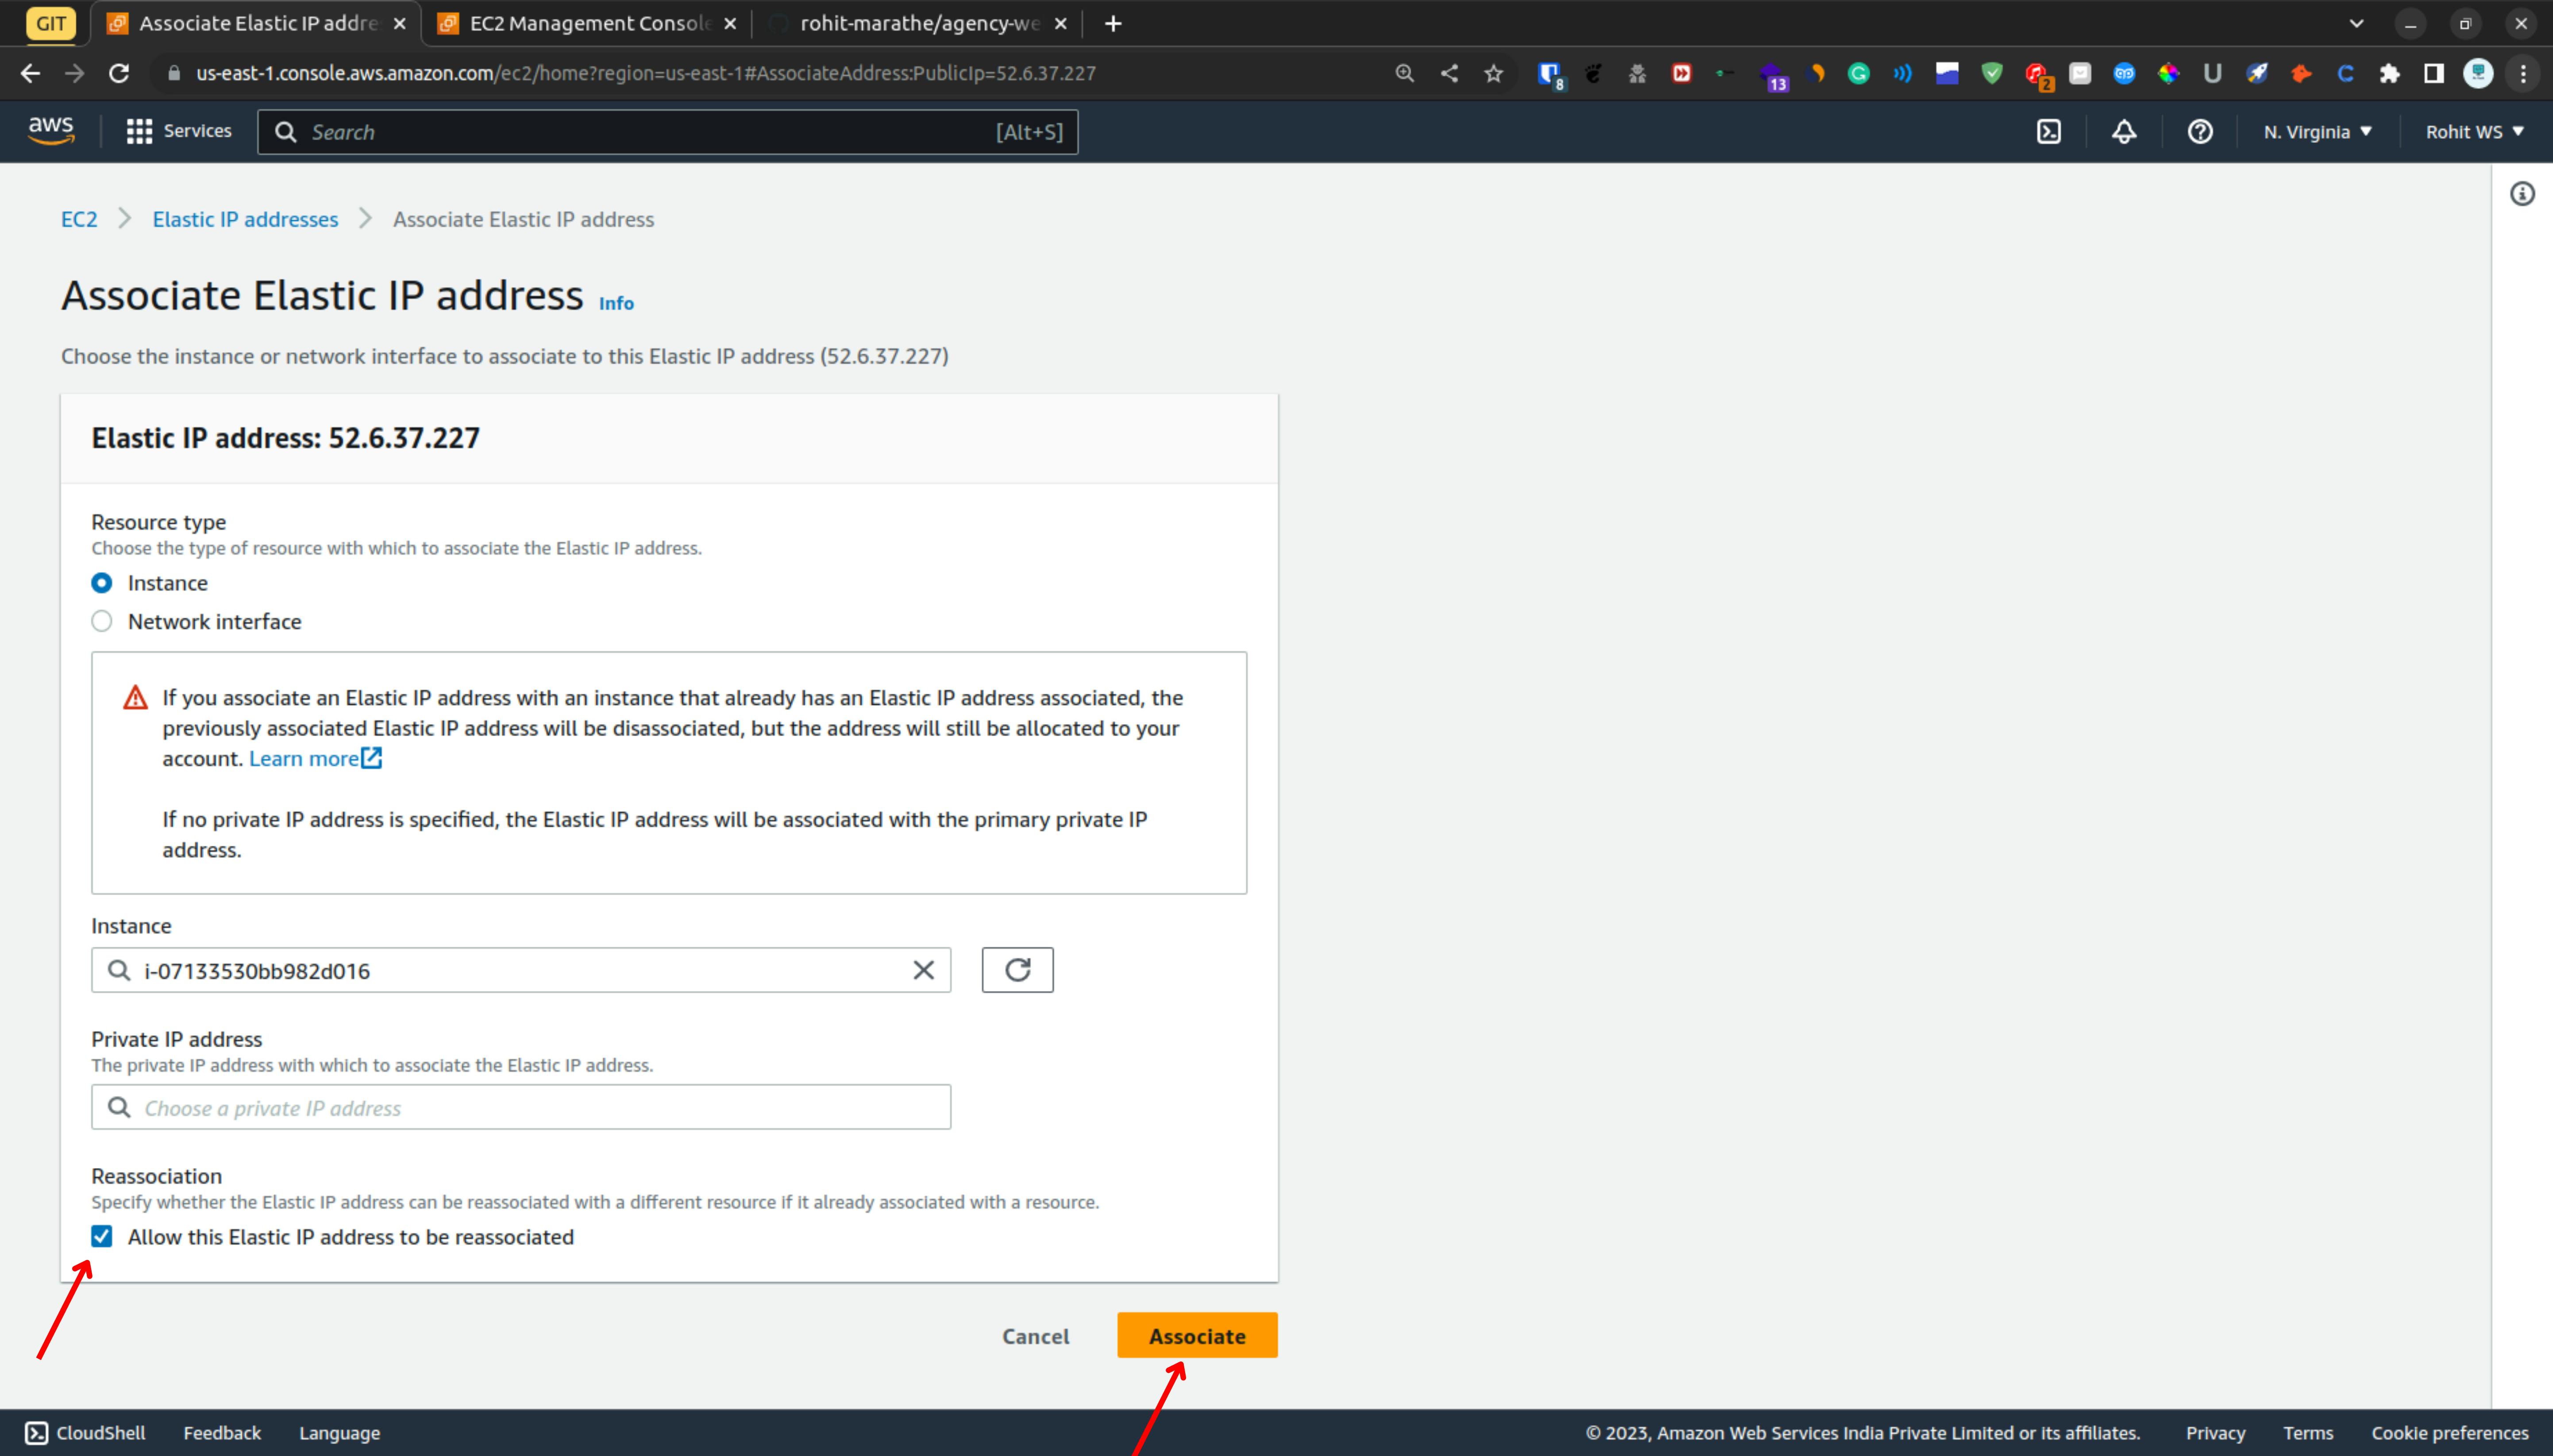
Now Click On Reassociation so later on you can reassociate to another instance as well. & then click on associate
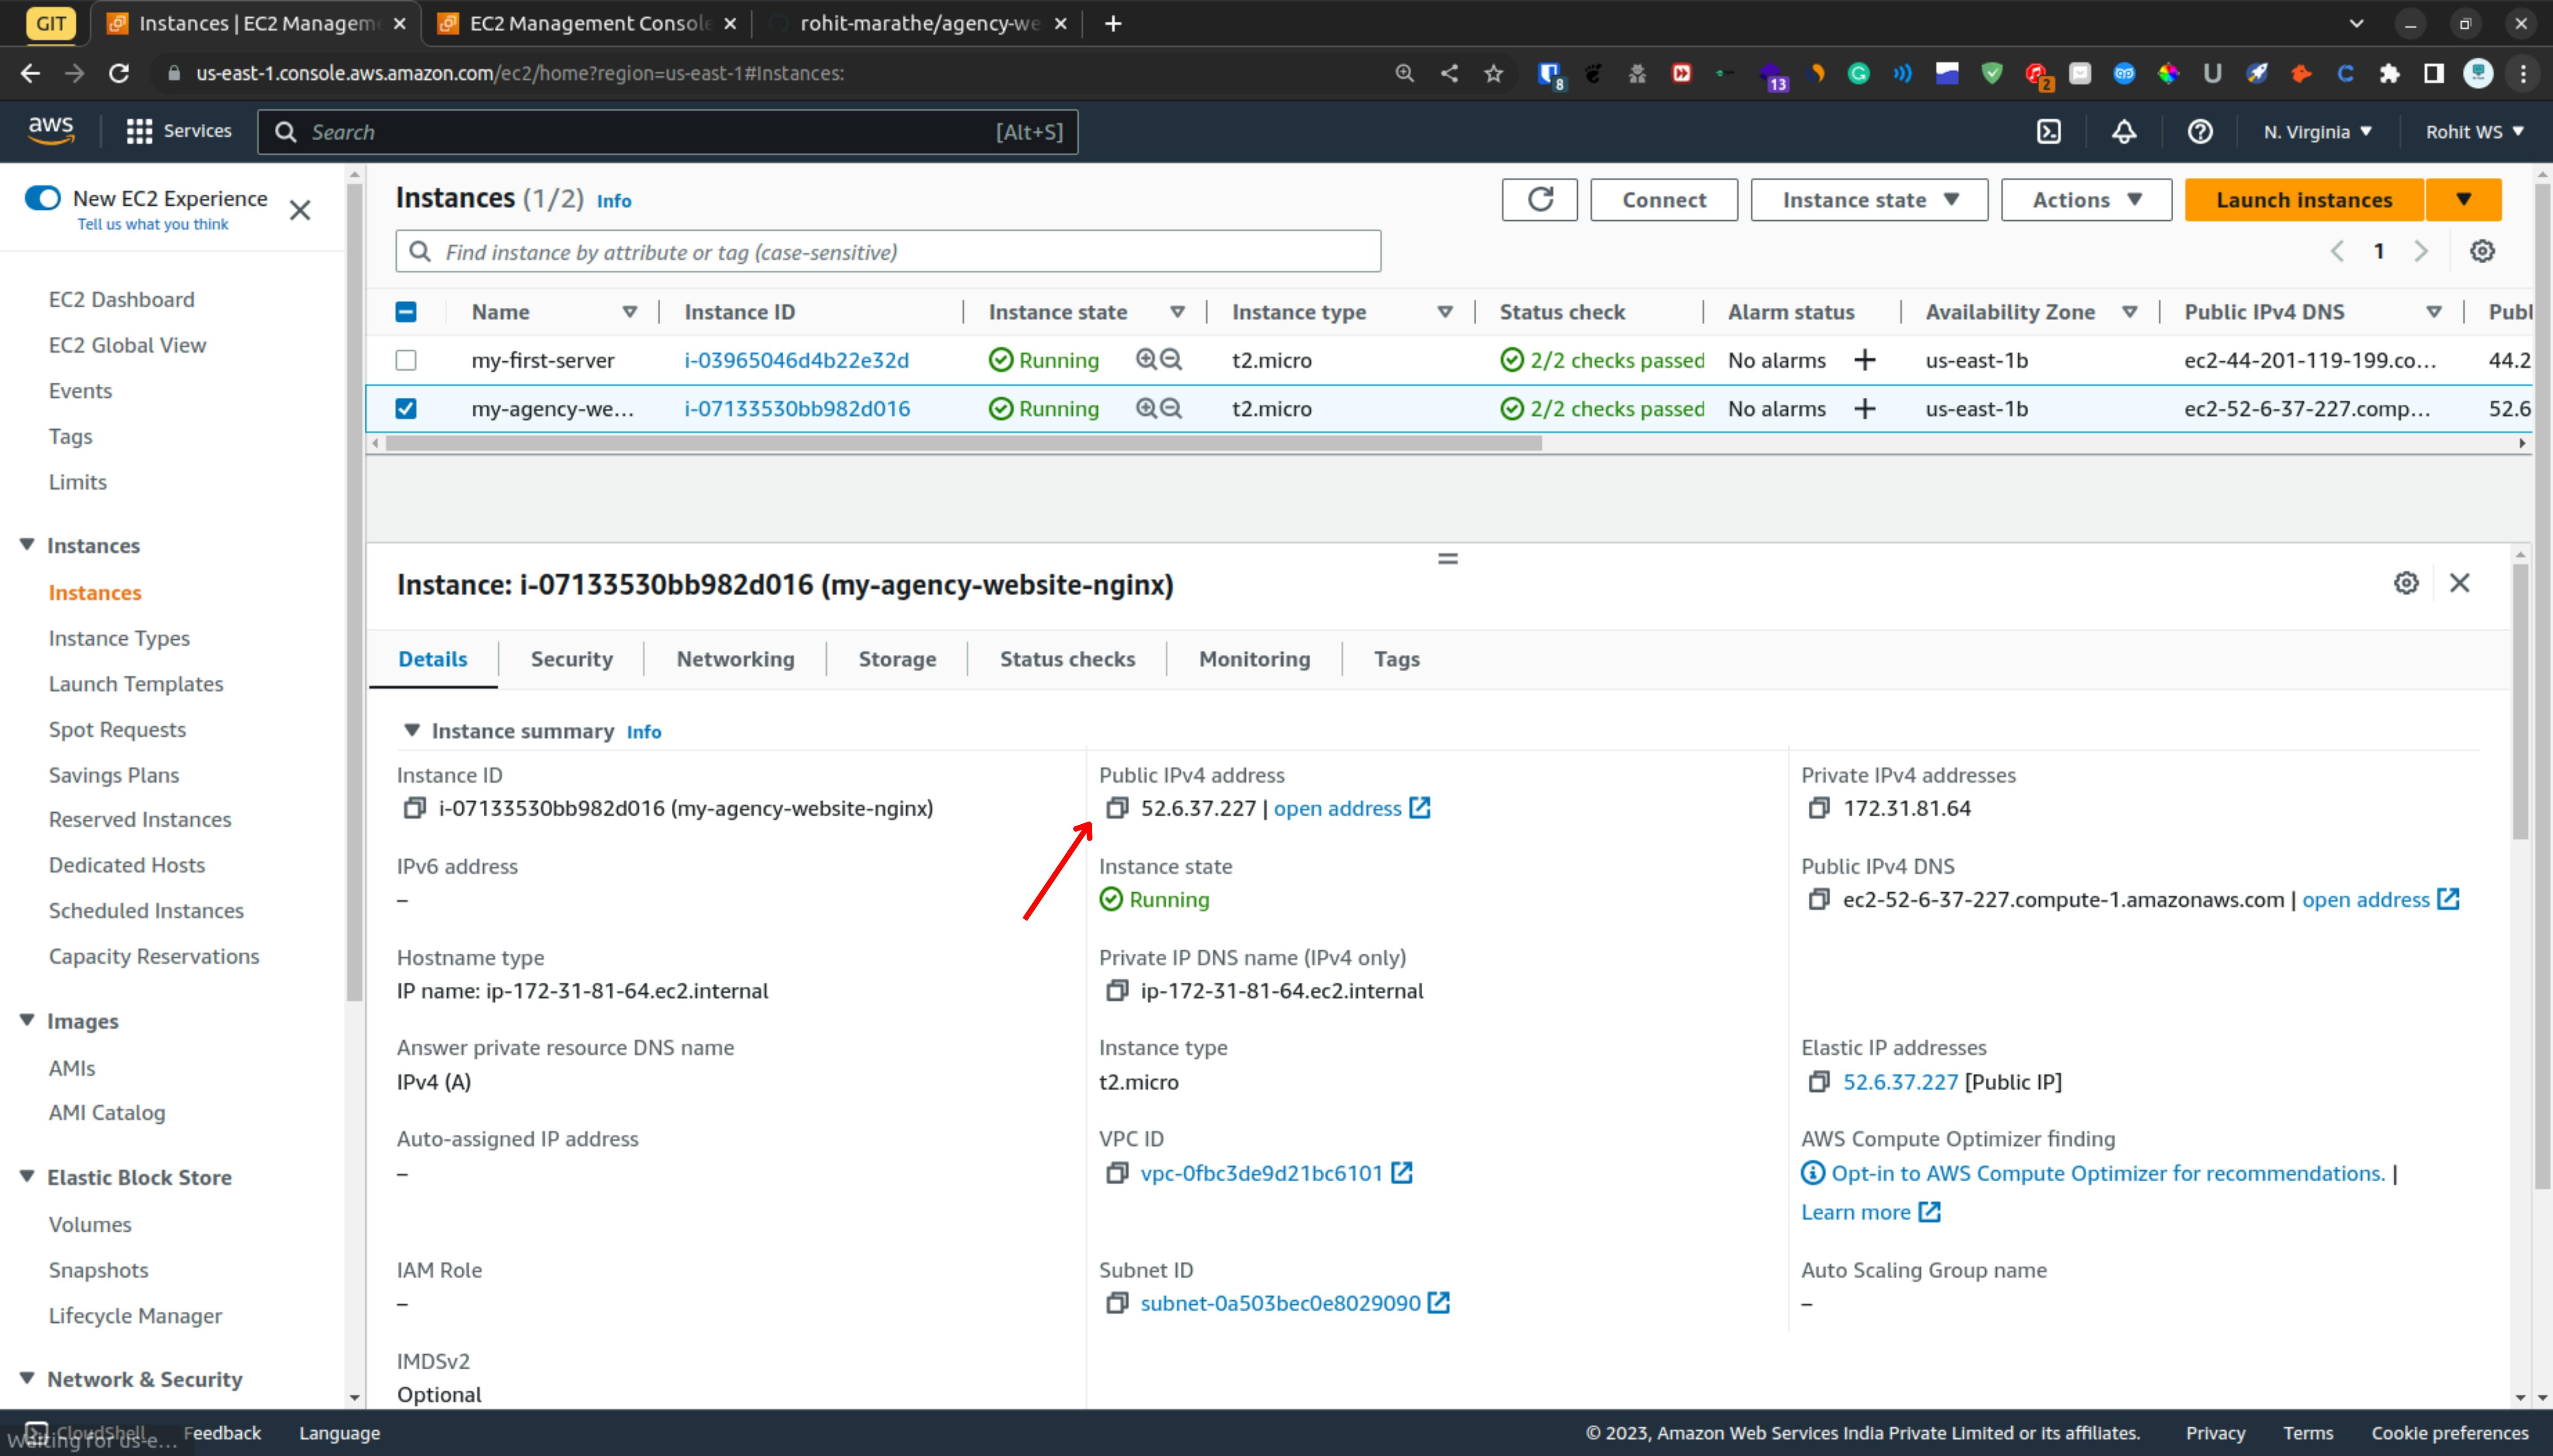
Now go to the instance dashboard and select it as you can see that elastic IP is associated with our instance.
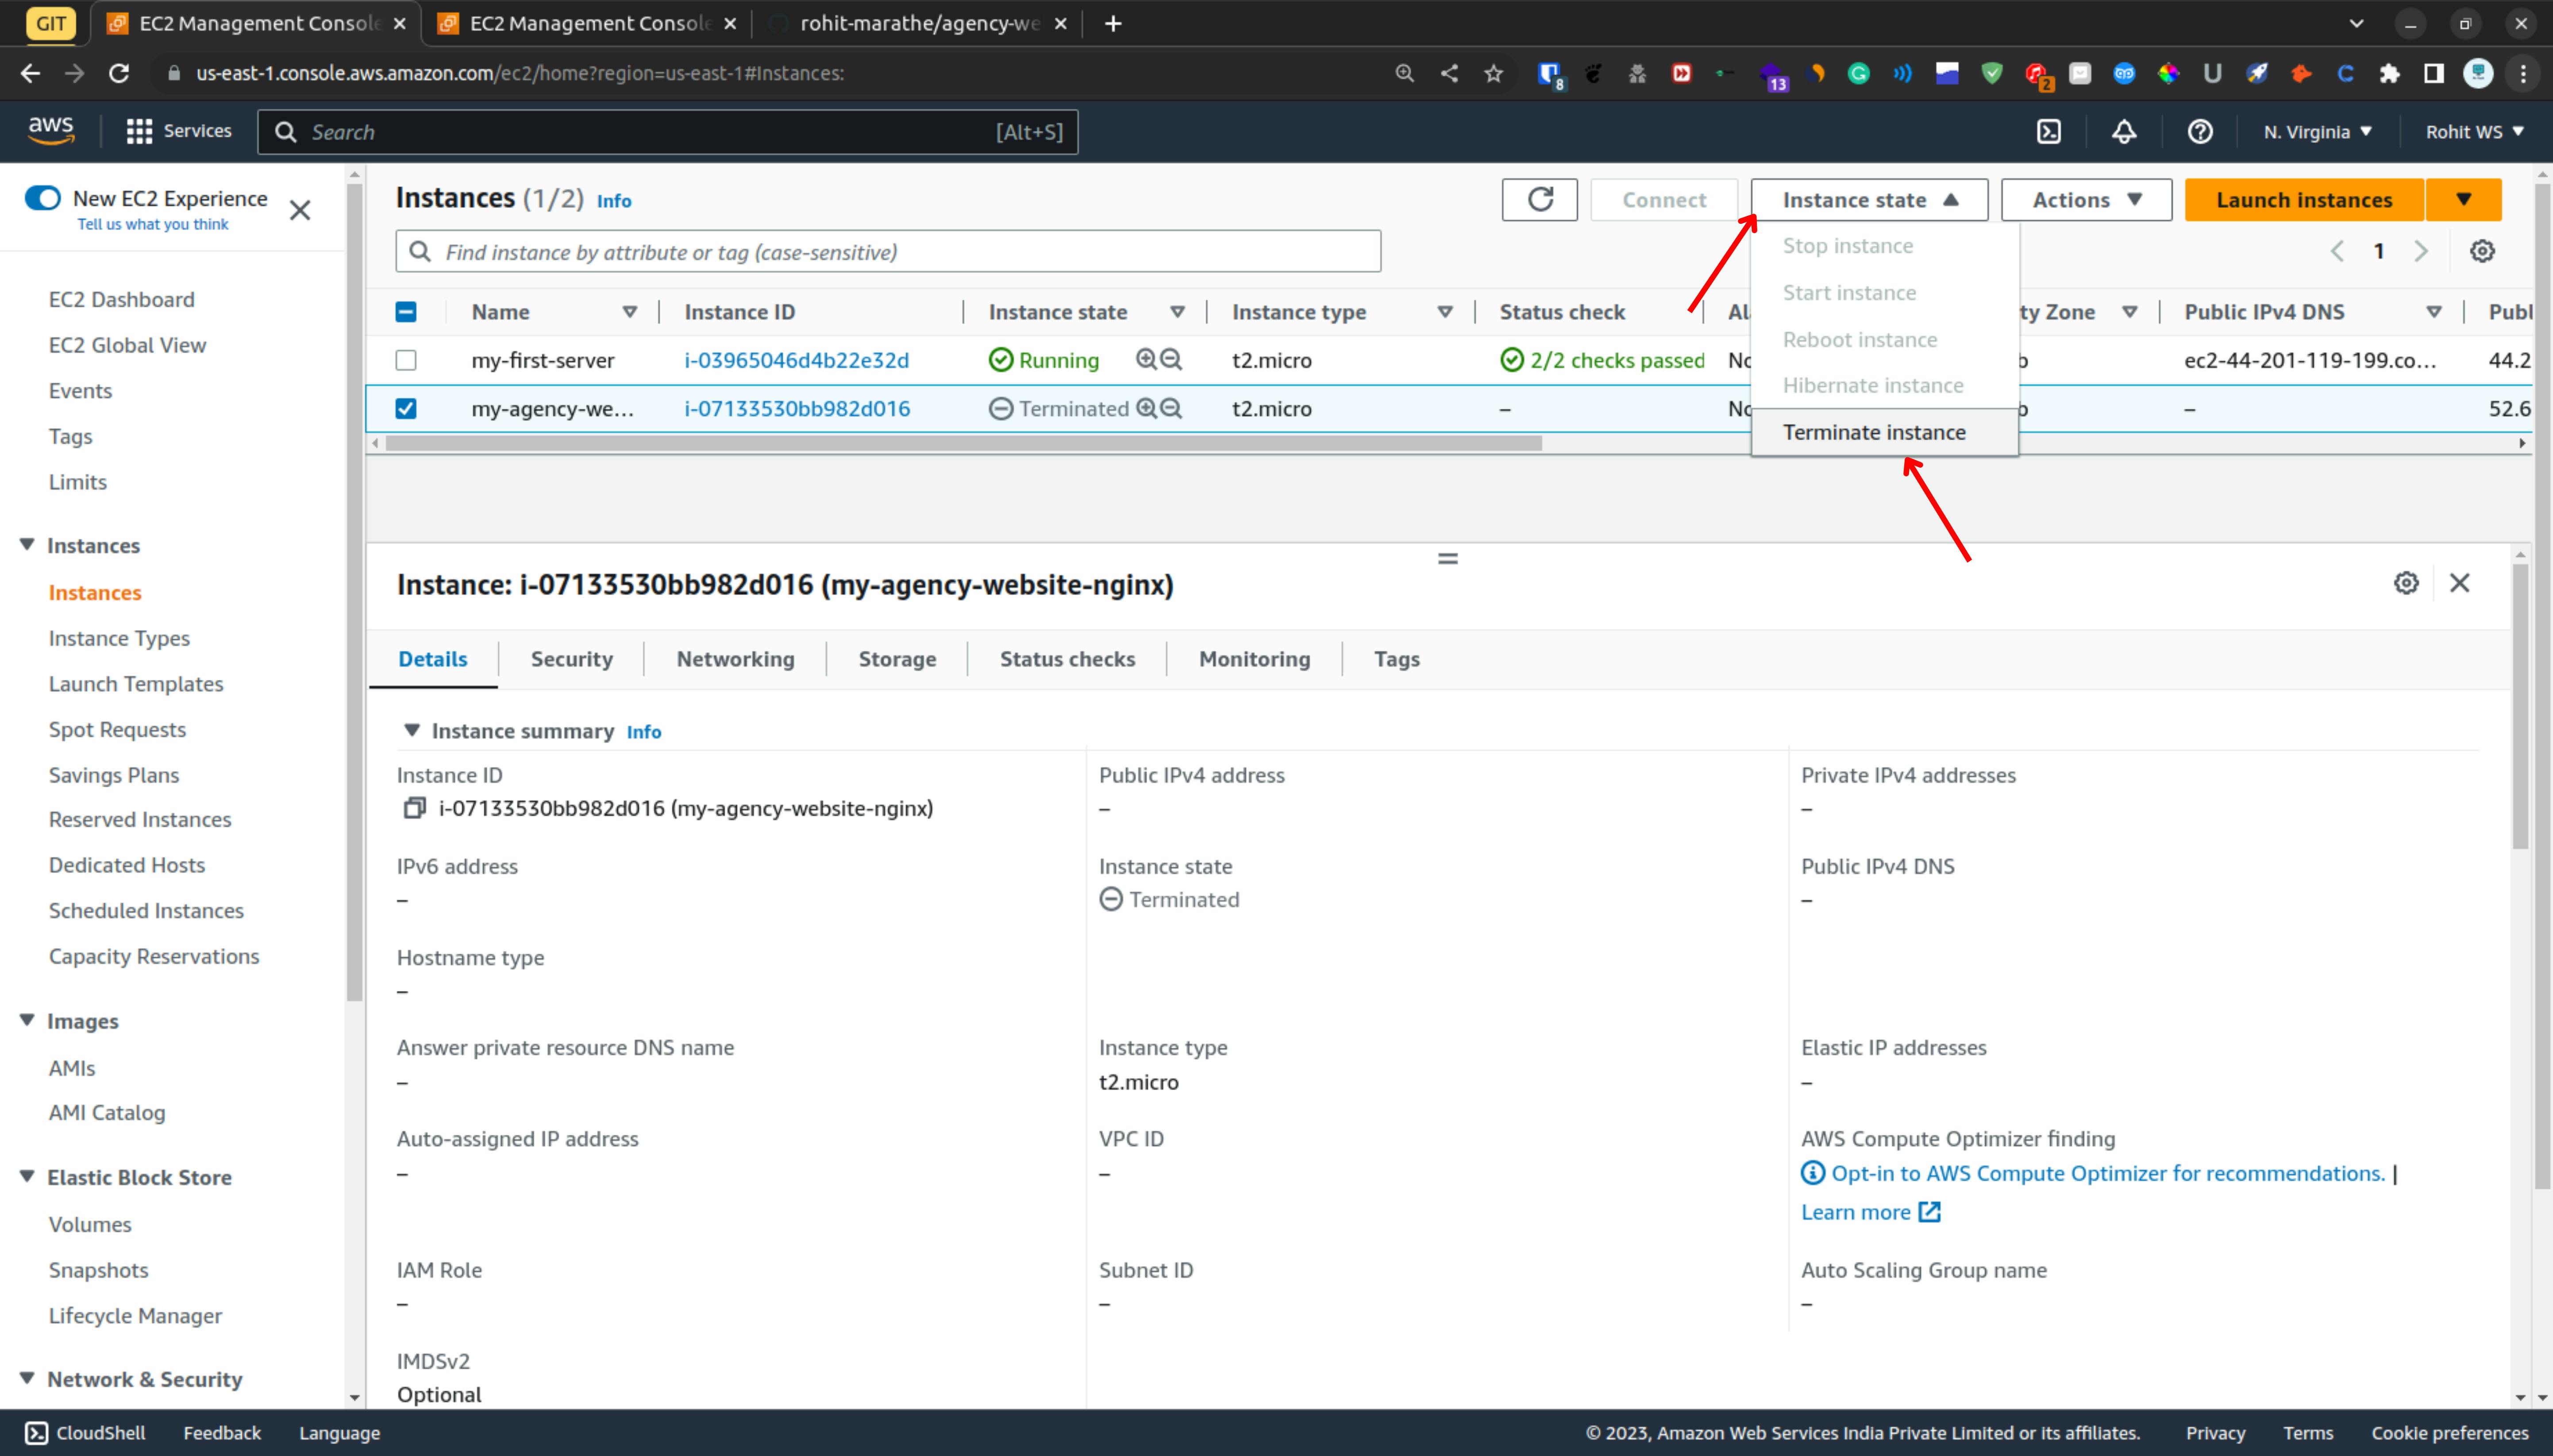
Terminate Instance & Cleaning Resources
So for terminating the instance choose the instance and click on the instance state and click on terminate instance so it will terminate the instance
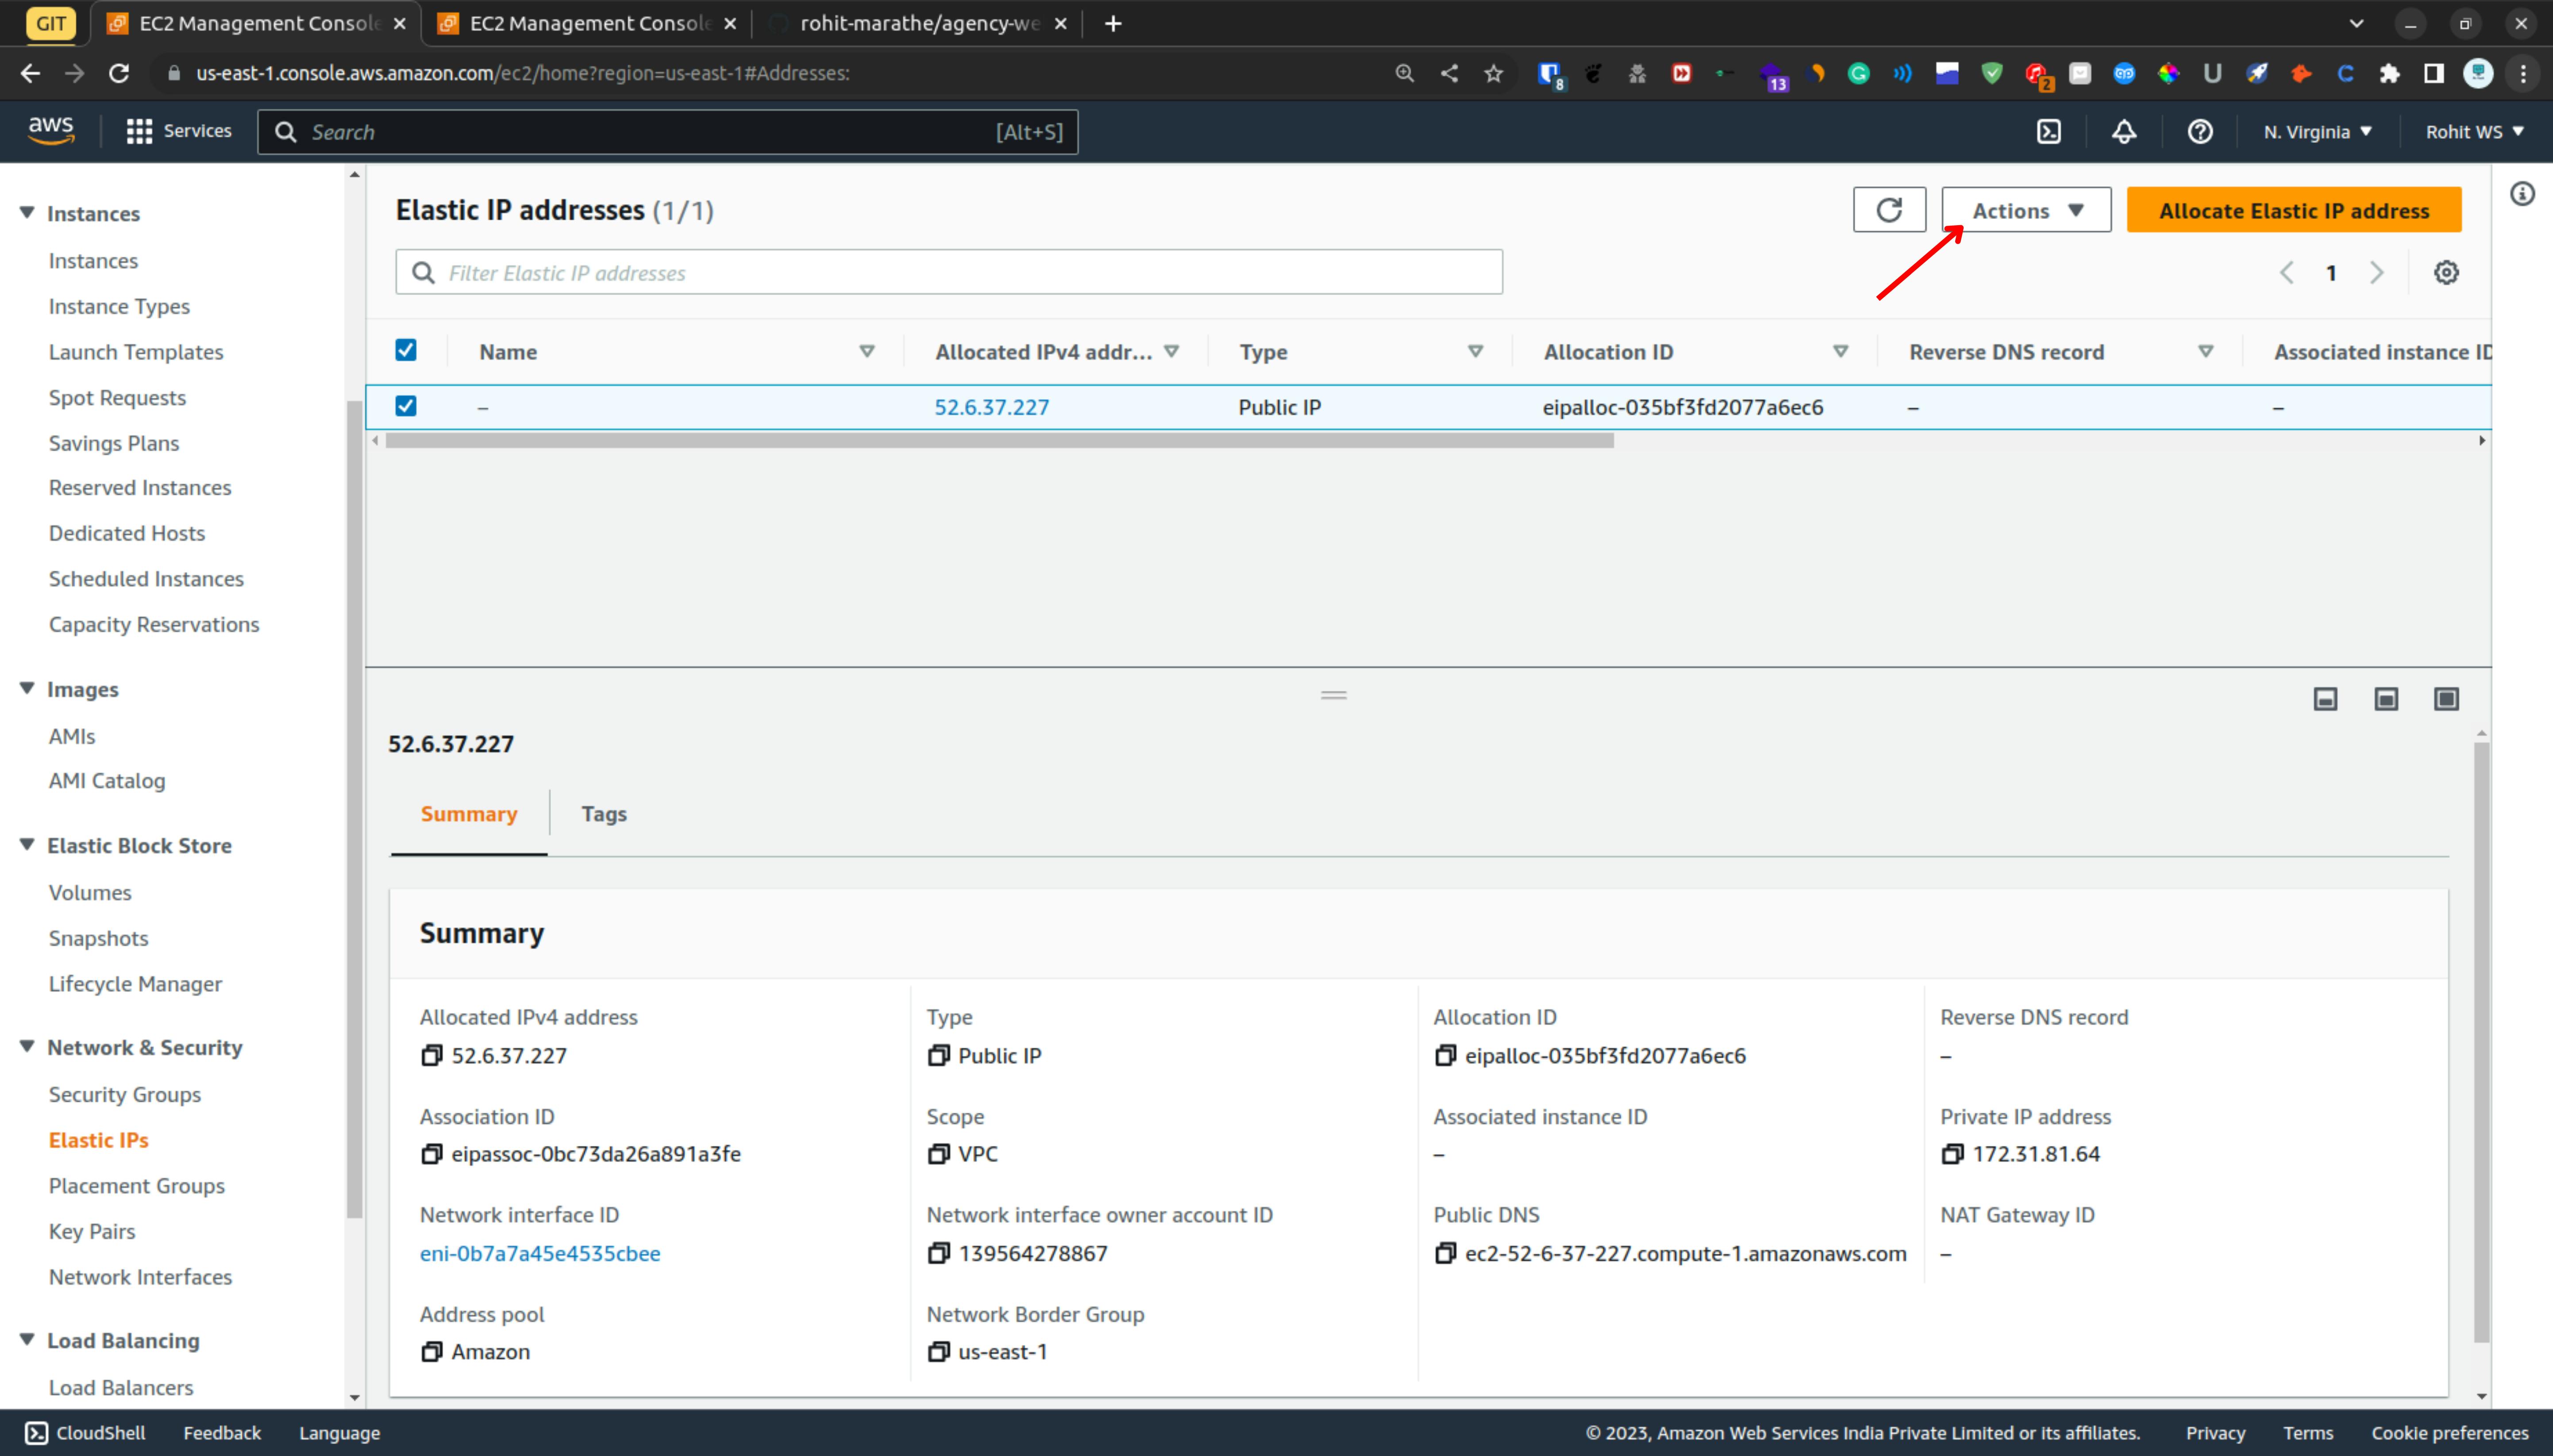
So once we terminate the instance then we have still elastic IP and it is not associated with any instance now we have to release the elastic IP so if you don't release the elastic IP then you might get billed.
so again go to the elastic IP section select the IP & click on the action
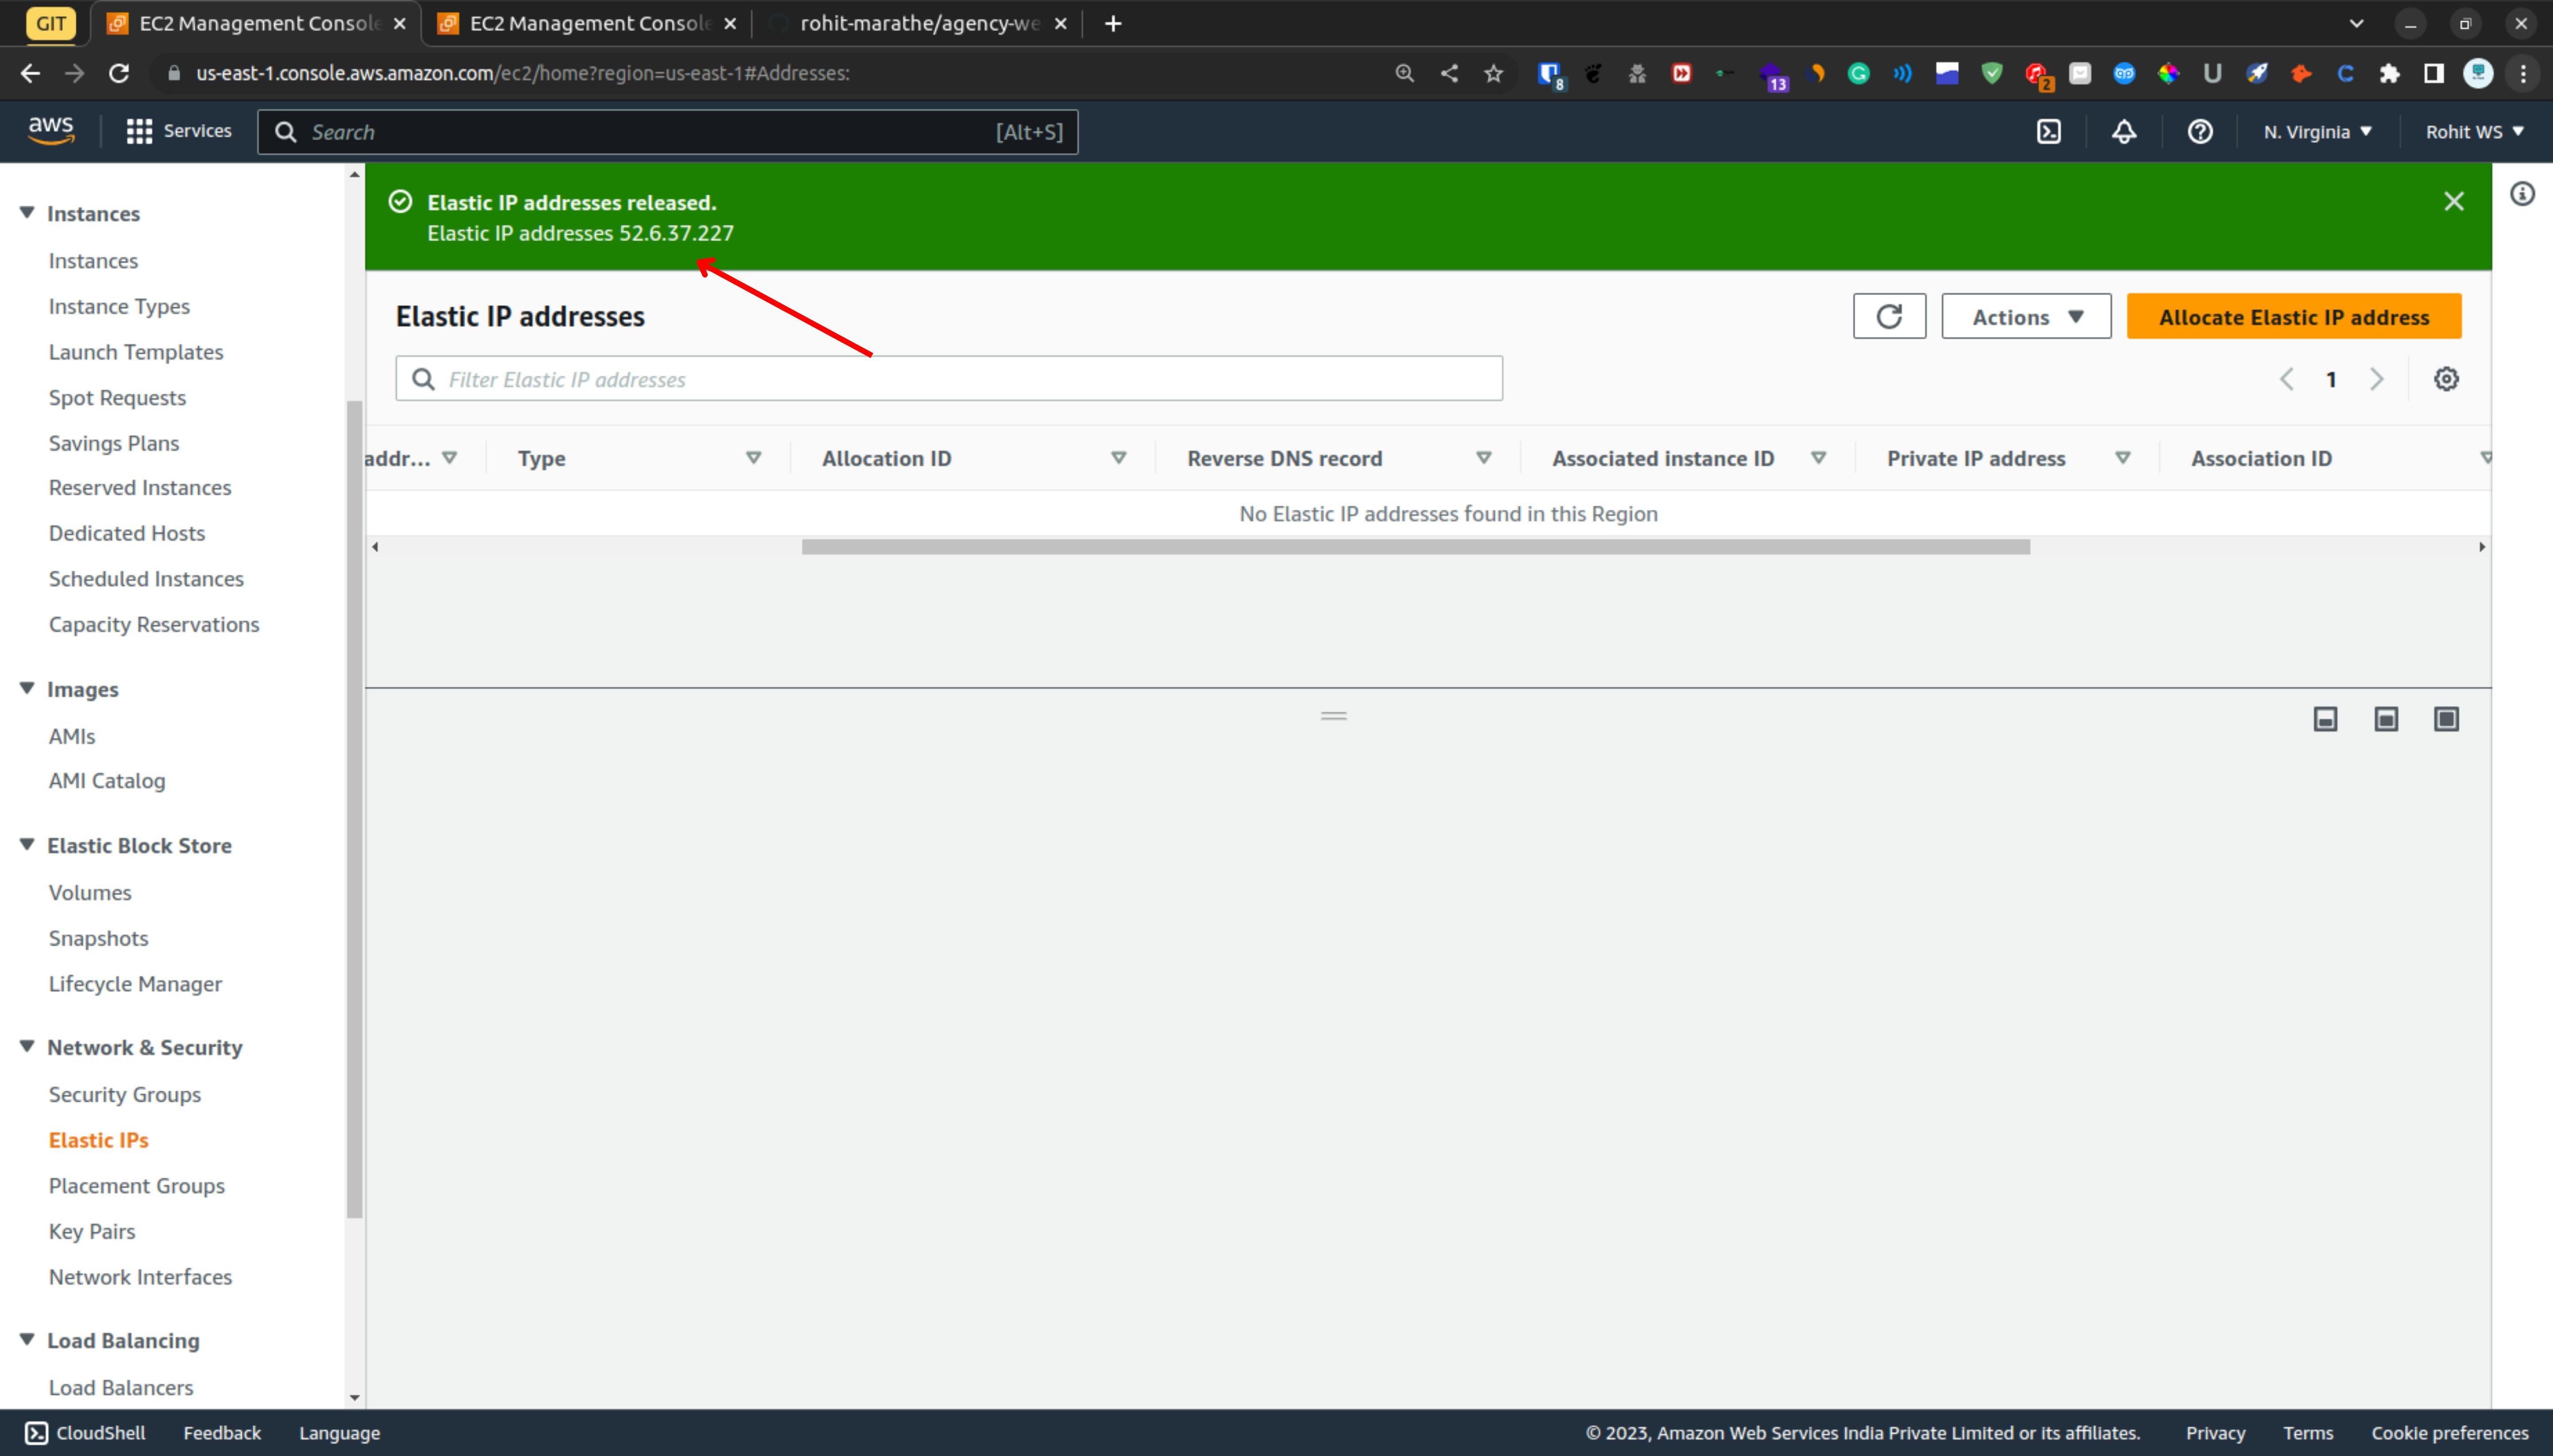
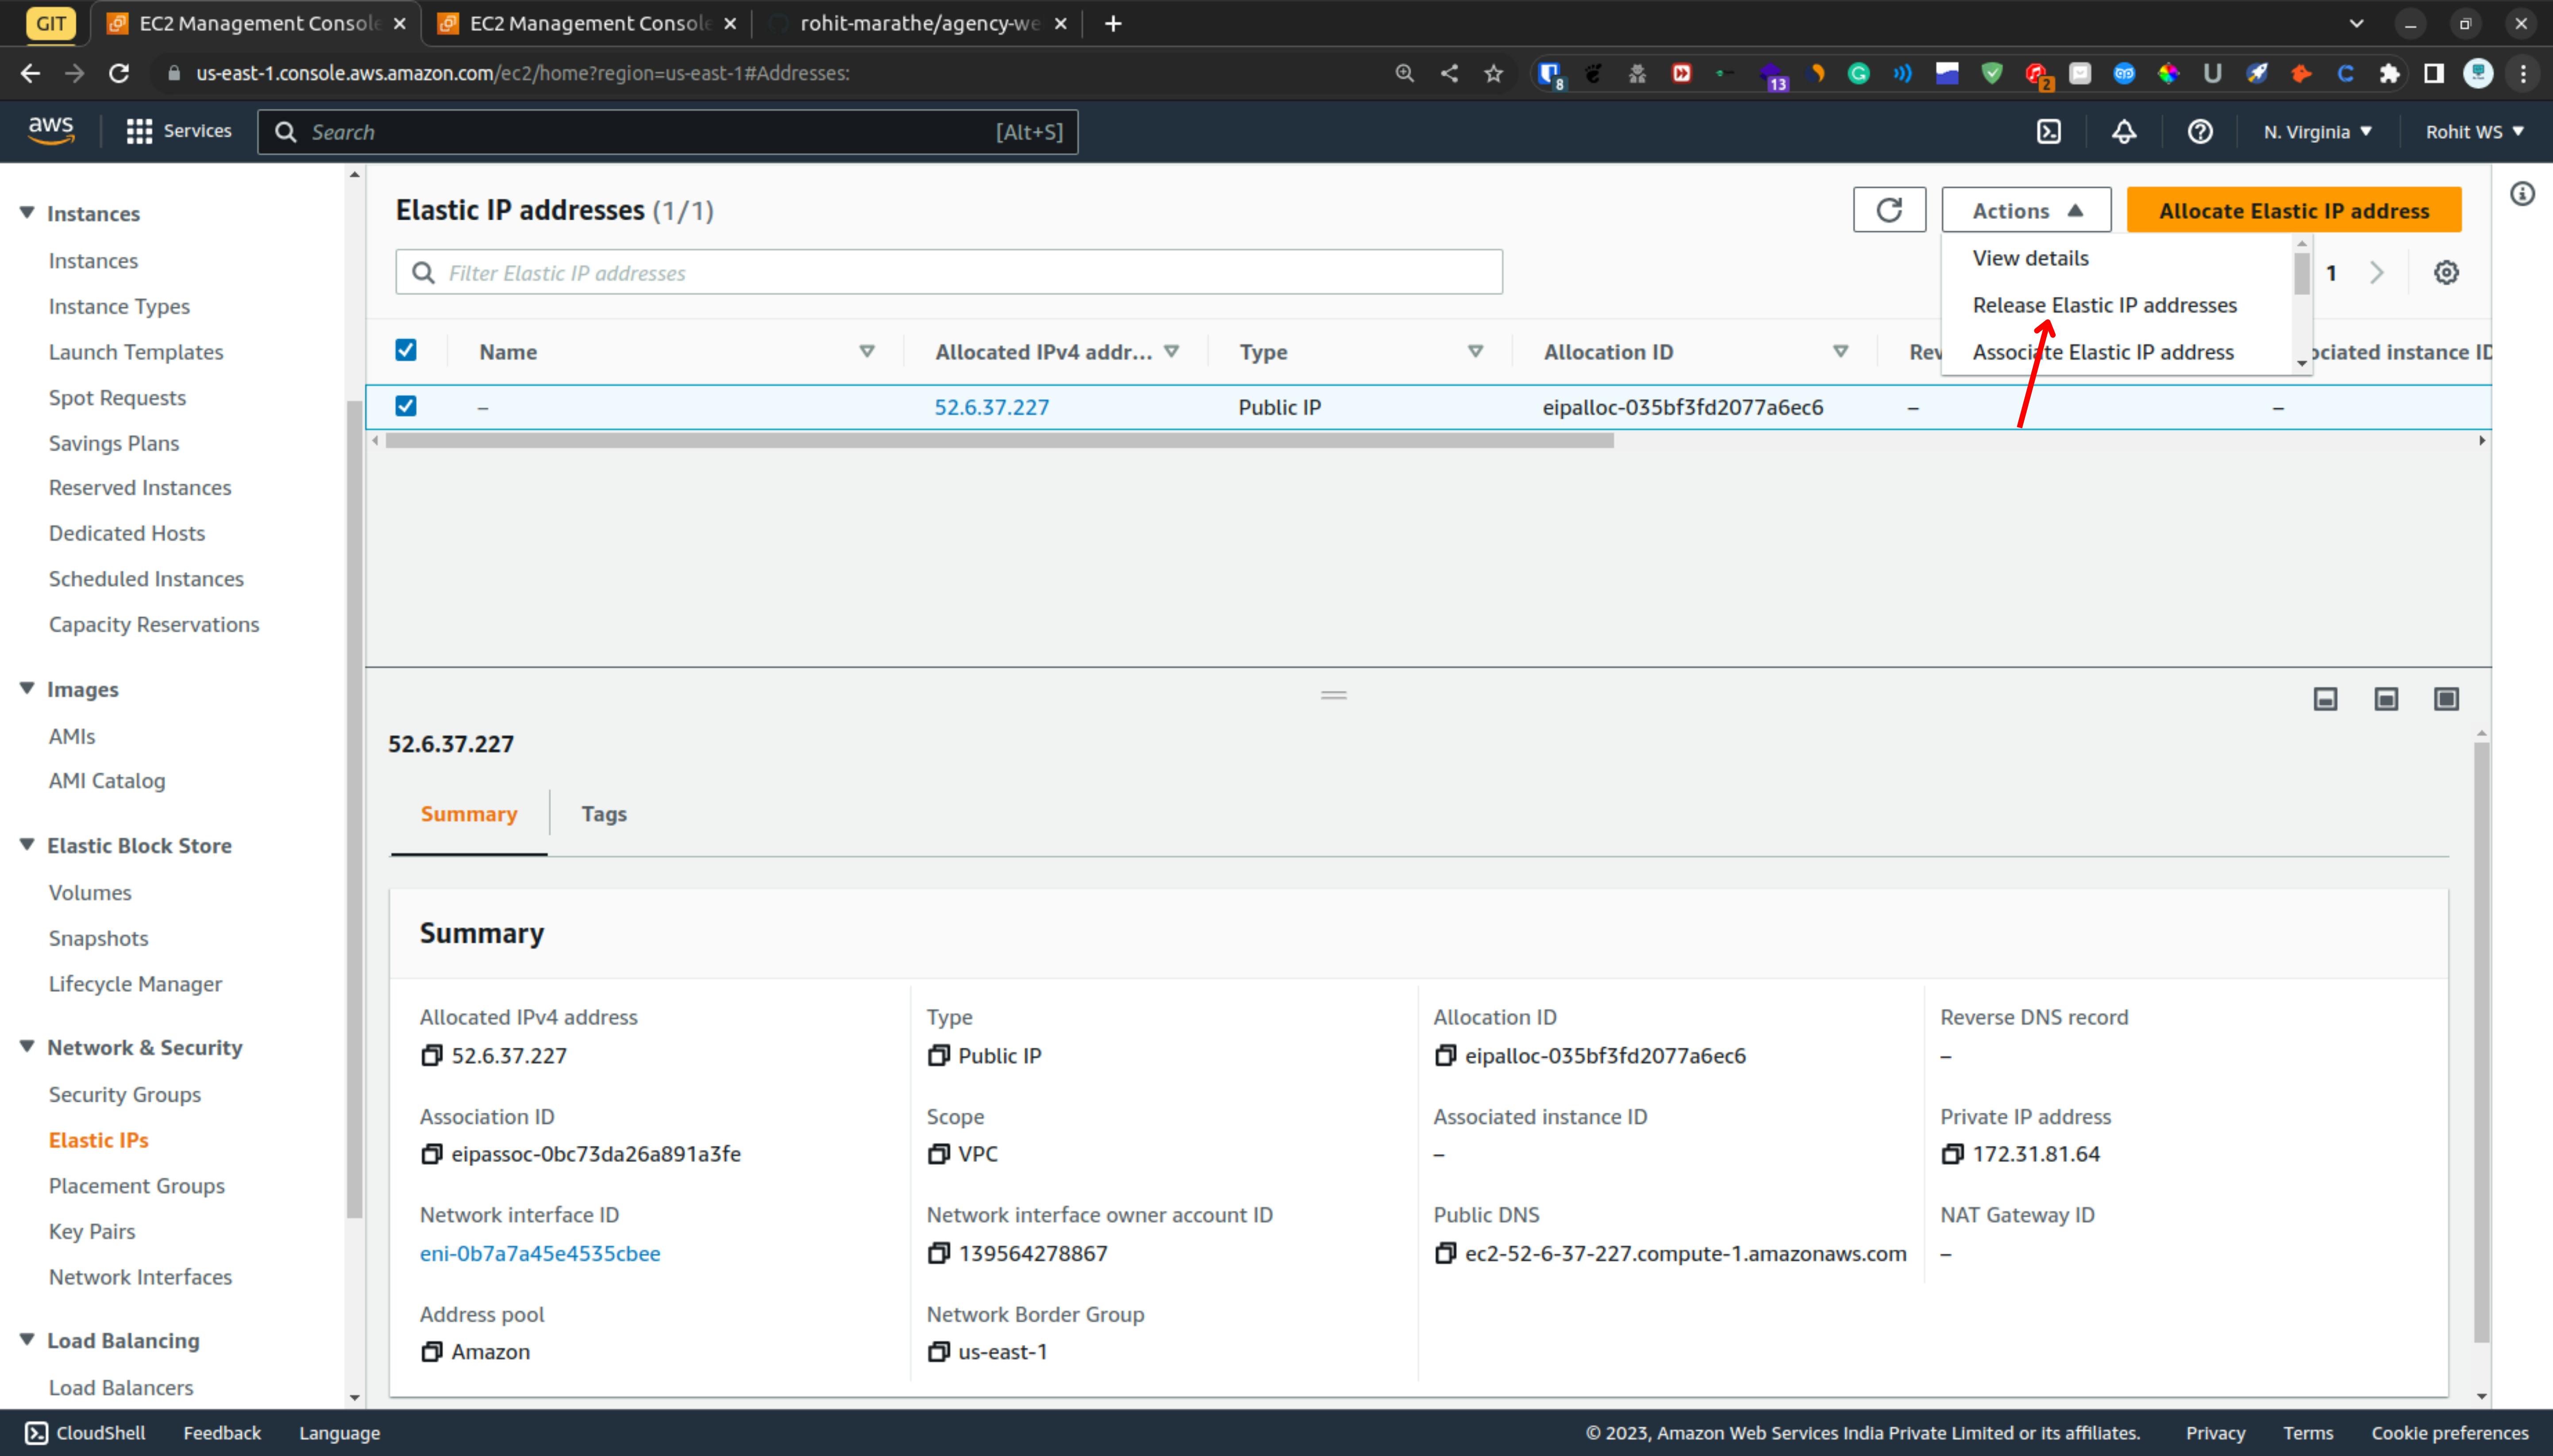
Then click on the Release Elastic IP address
Also, note that once your instance completely terminates then the release option appear. so my instance is completely terminated. So just click on the release & it will release the IP.
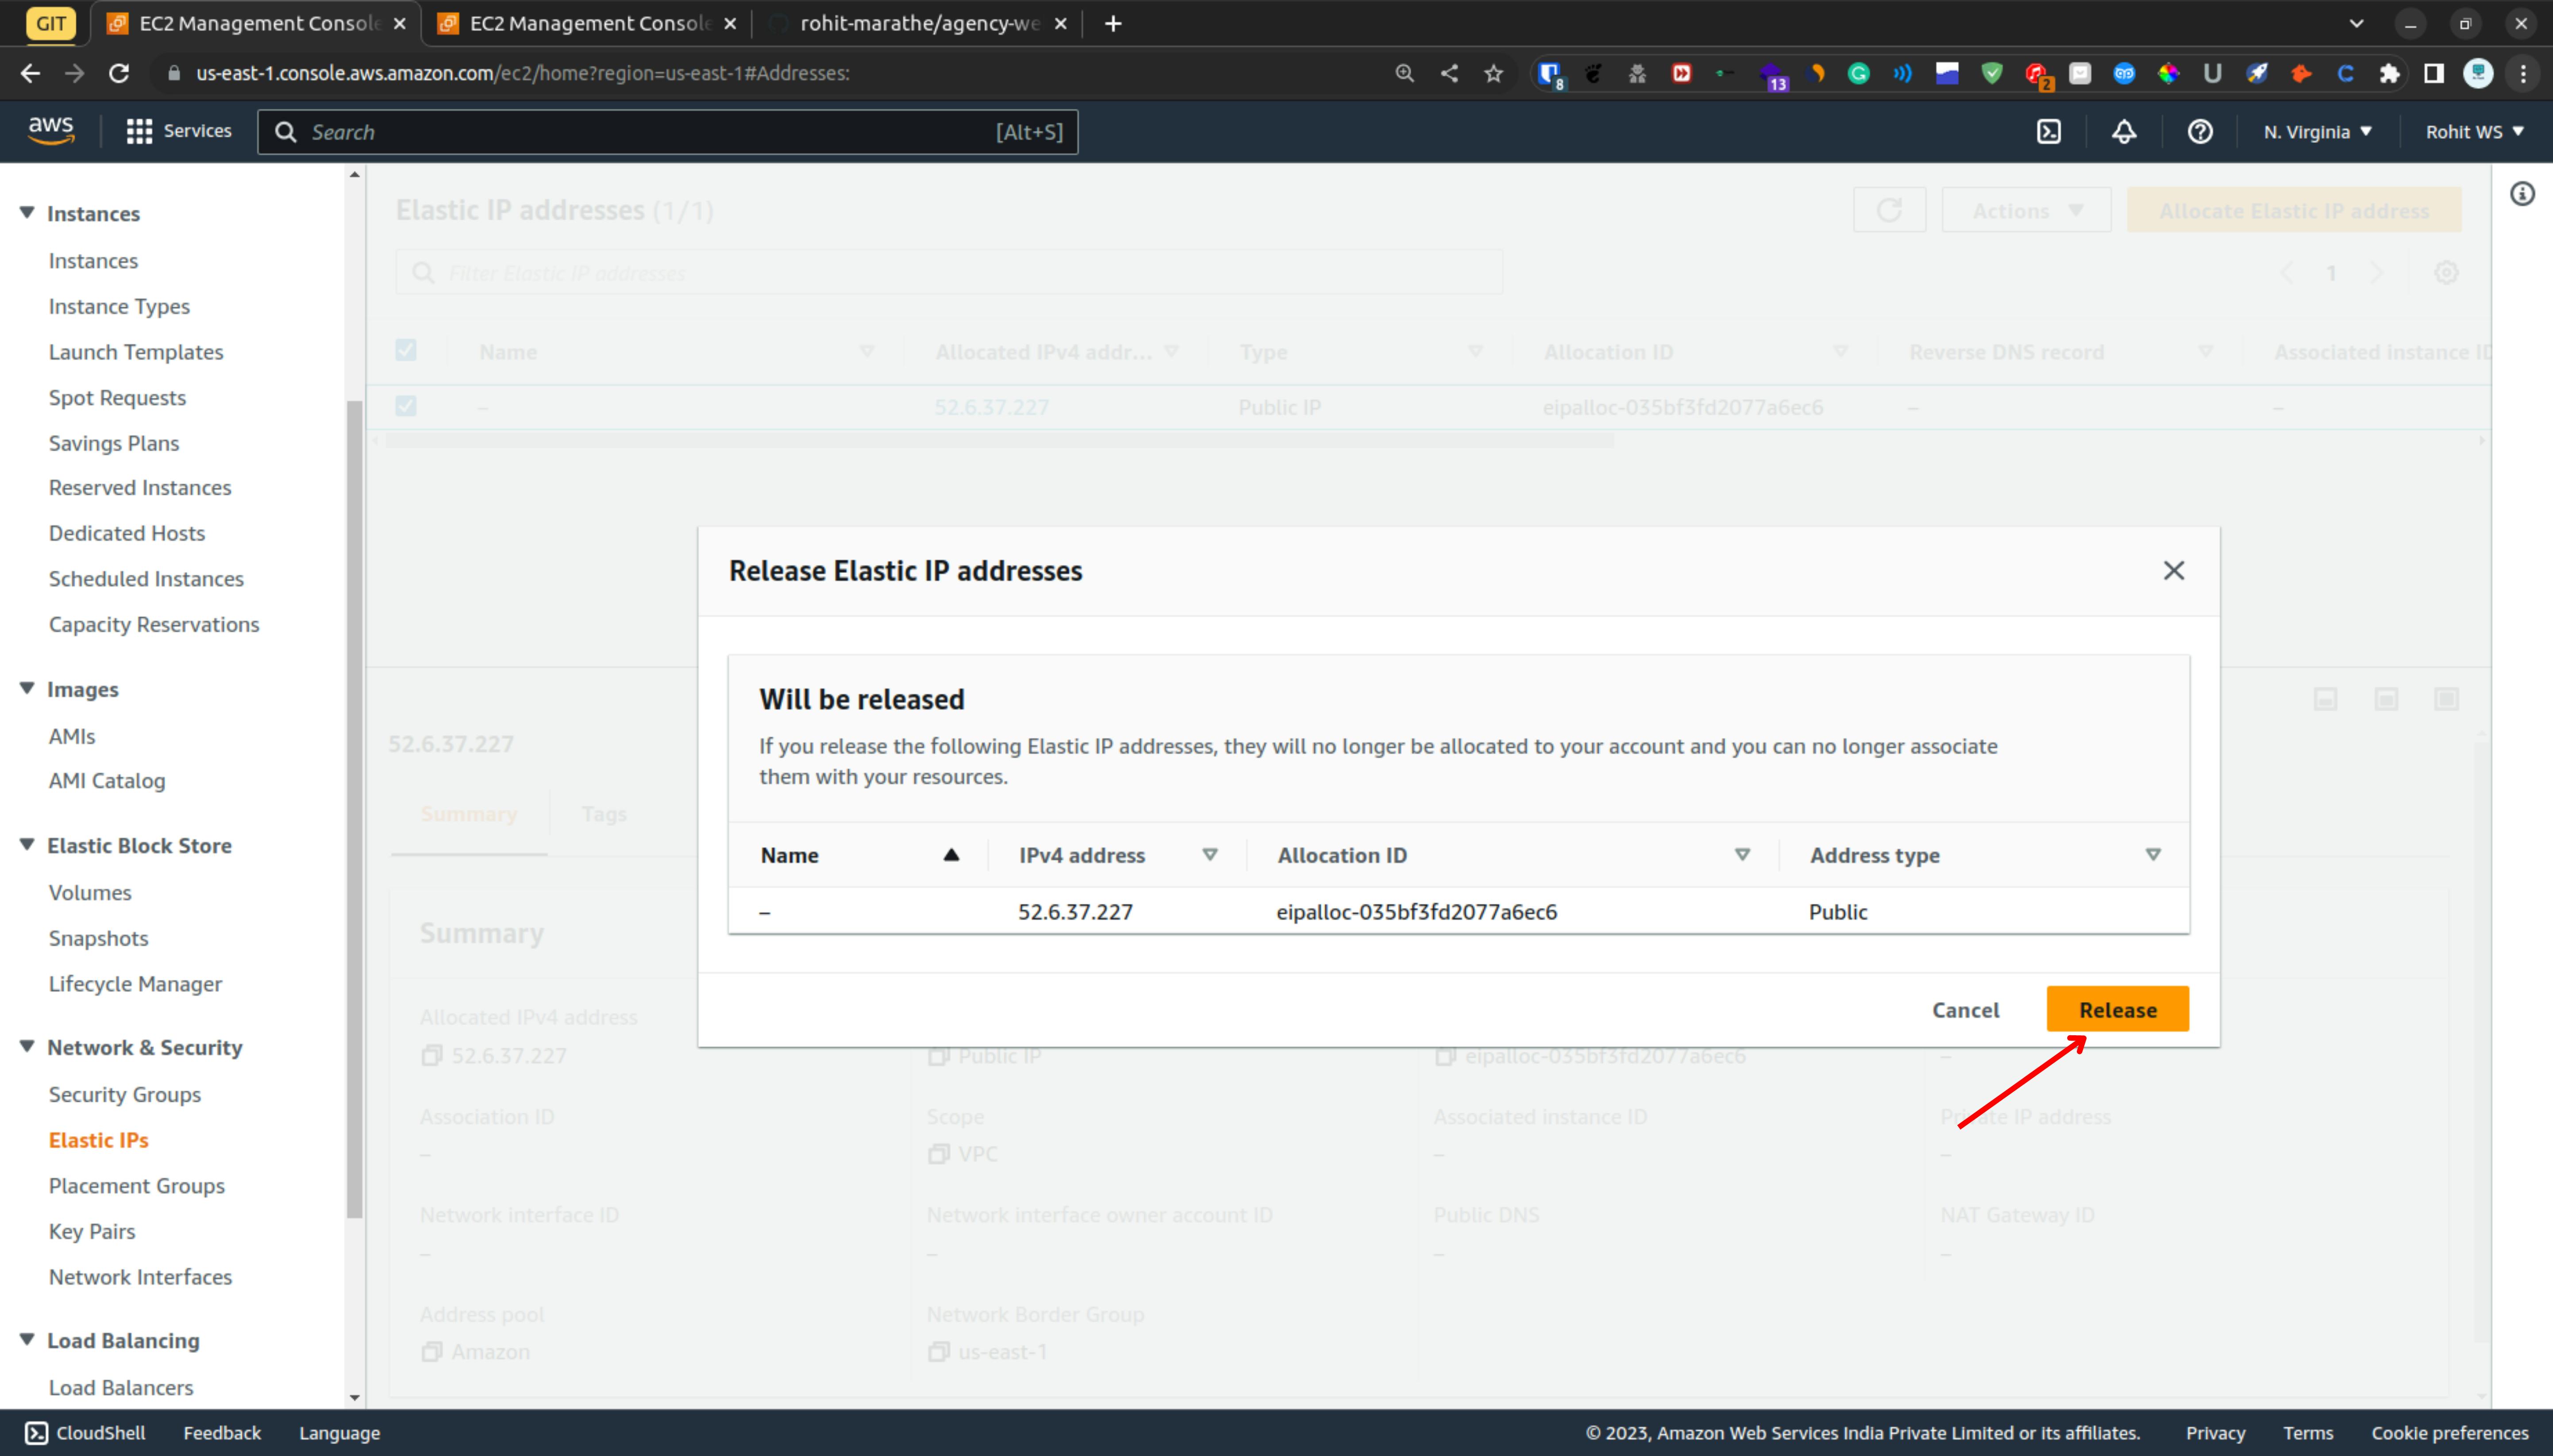
So as you can see that we successfully release the IP.