

Introduction
Docker is the most popular containerized tool that helps to containerize the application. In this tutorial, we will containerize the movie react app and serve the app using the Nginx & this will also apply to all other react apps.
Step - 1
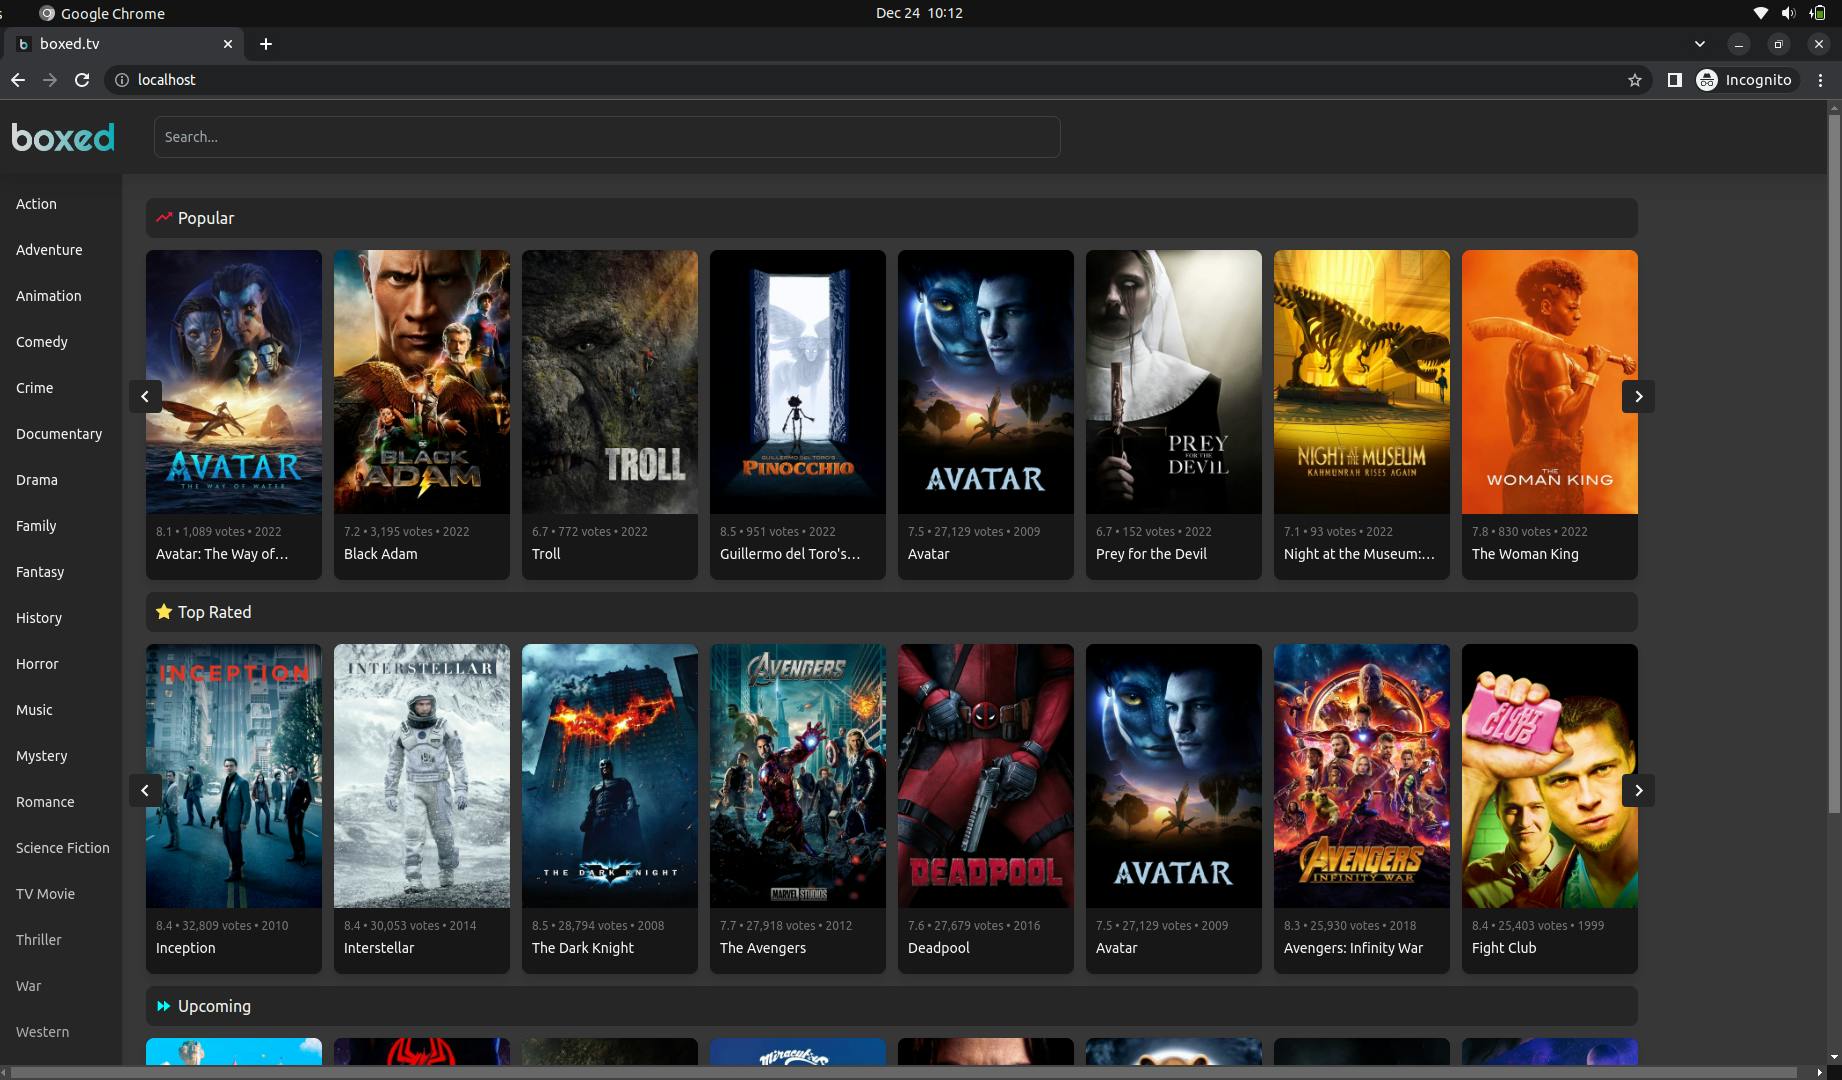
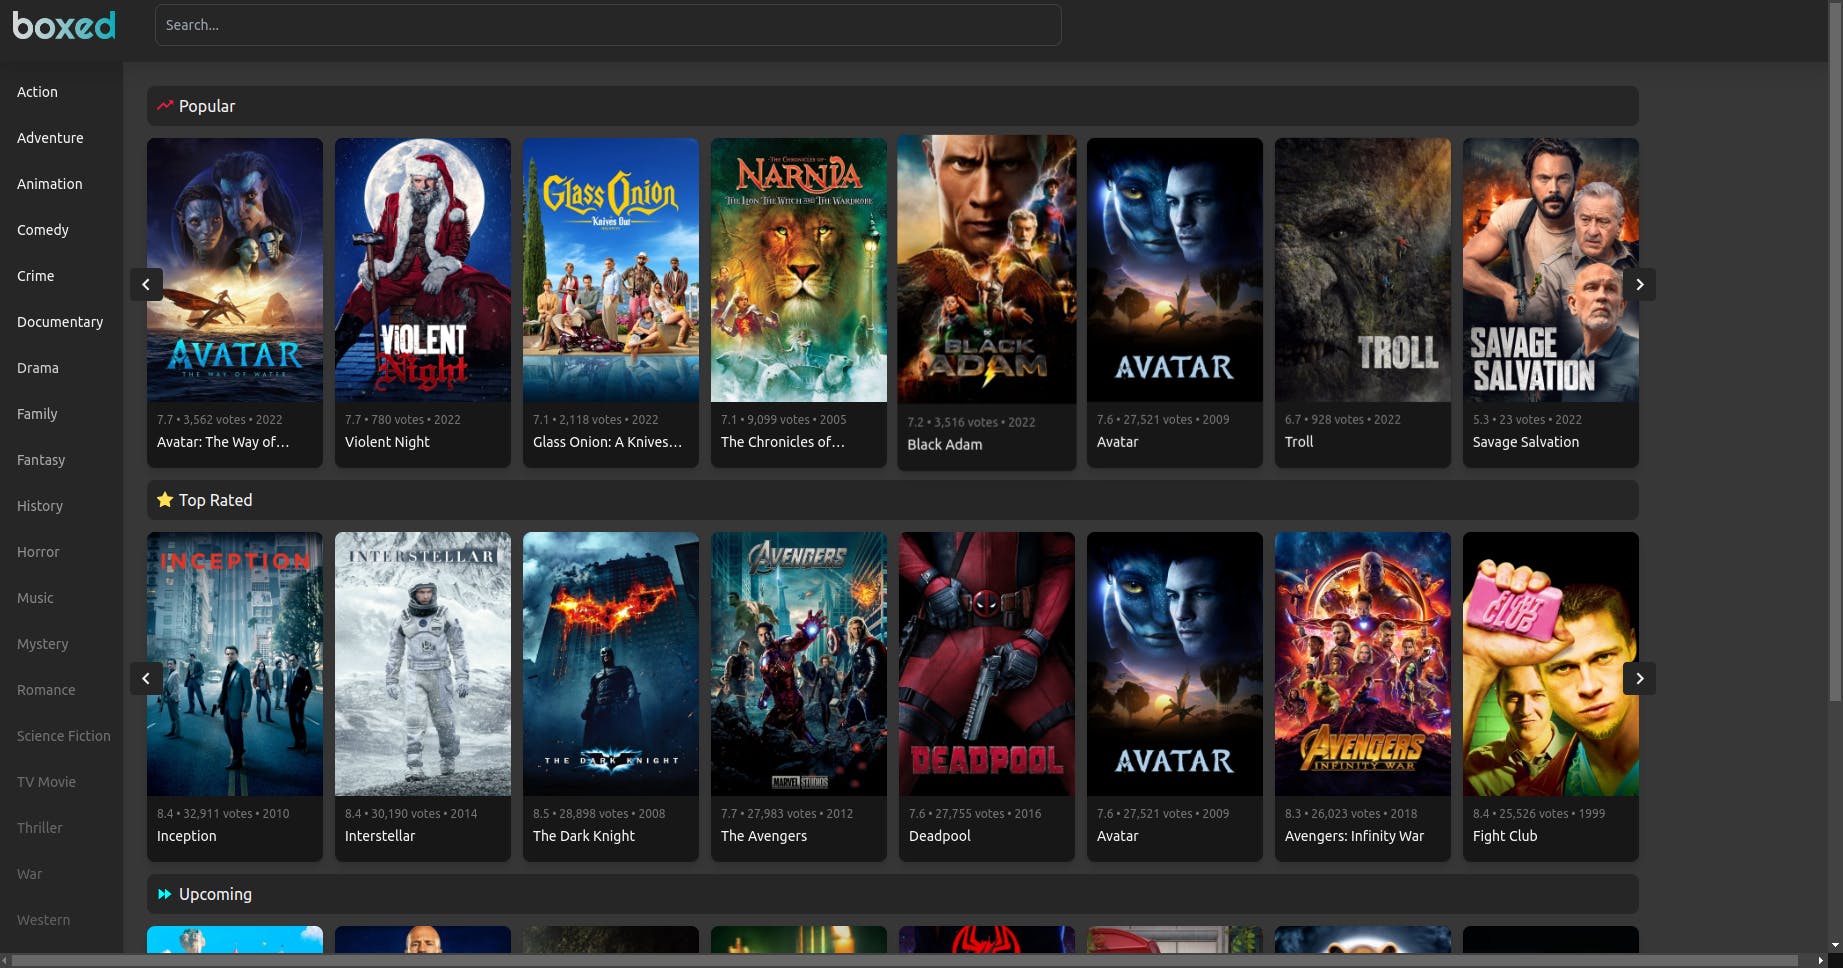
This is how the movie react app look
Step - 2
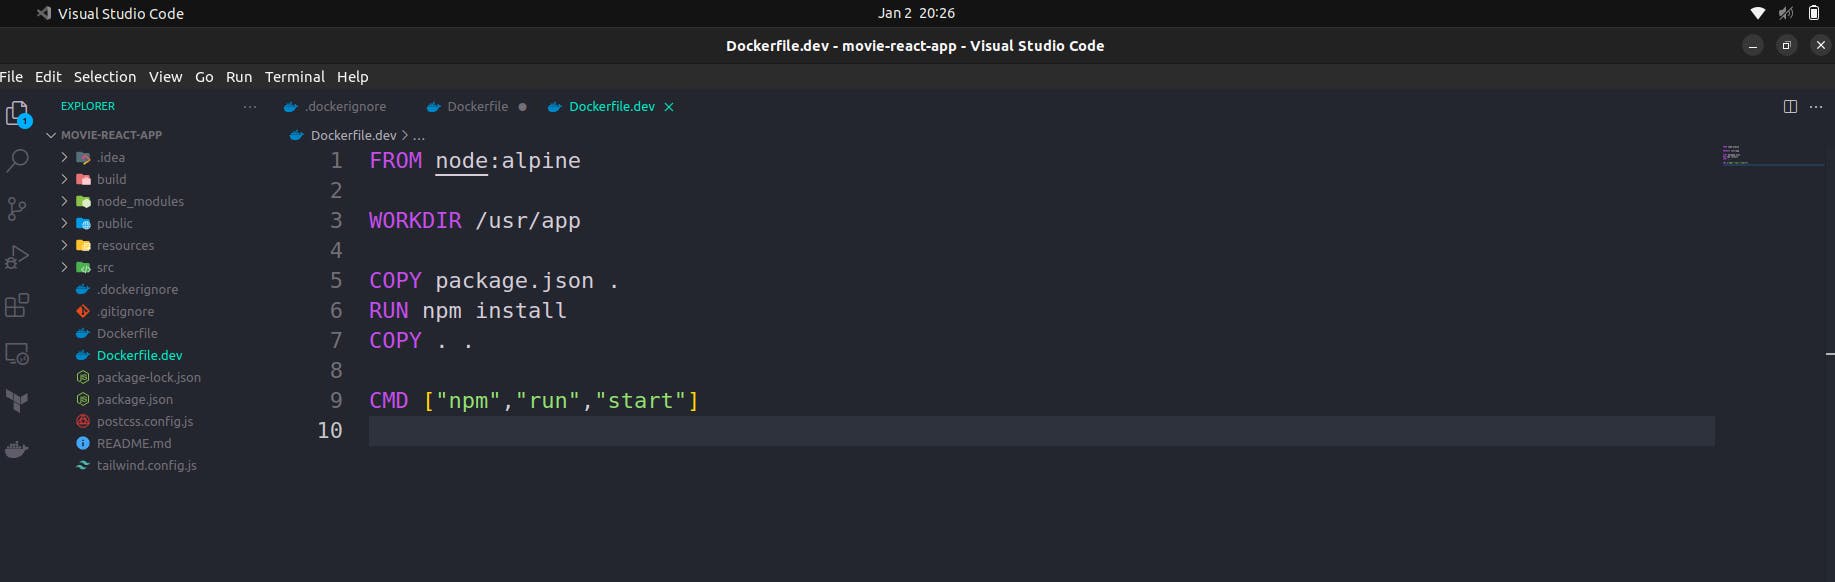
First, we create a “Dockerfile.dev” file. This file is used for development purposes only if you want to build and test the application.
First, we bring the base image of the node because our react is based on the node but there are different types of the image of node for this tutorial we used the specific version of node which is node:alpine.
Then we add the working directory and the path.
Now package.json file will be copied and pasted into the working directory
Now we install npm packages using the “RUN npm install “
Now we copy entire files and directories to the destination working directory
For starting the app we use the “CMD [ “npm”, “run”, “start”]
FROM node:alpine

WORKDIR /usr/app

COPY package.json .
RUN npm install
COPY . .

CMD ["npm","run","start"]
Step - 3
Now Create a “.dockerignore” file in which we can add the files or directories that you do not want while building the docker image. So, for now, adding the “node_modules” folder is not necessary now and it will automatically add while building the docker image.
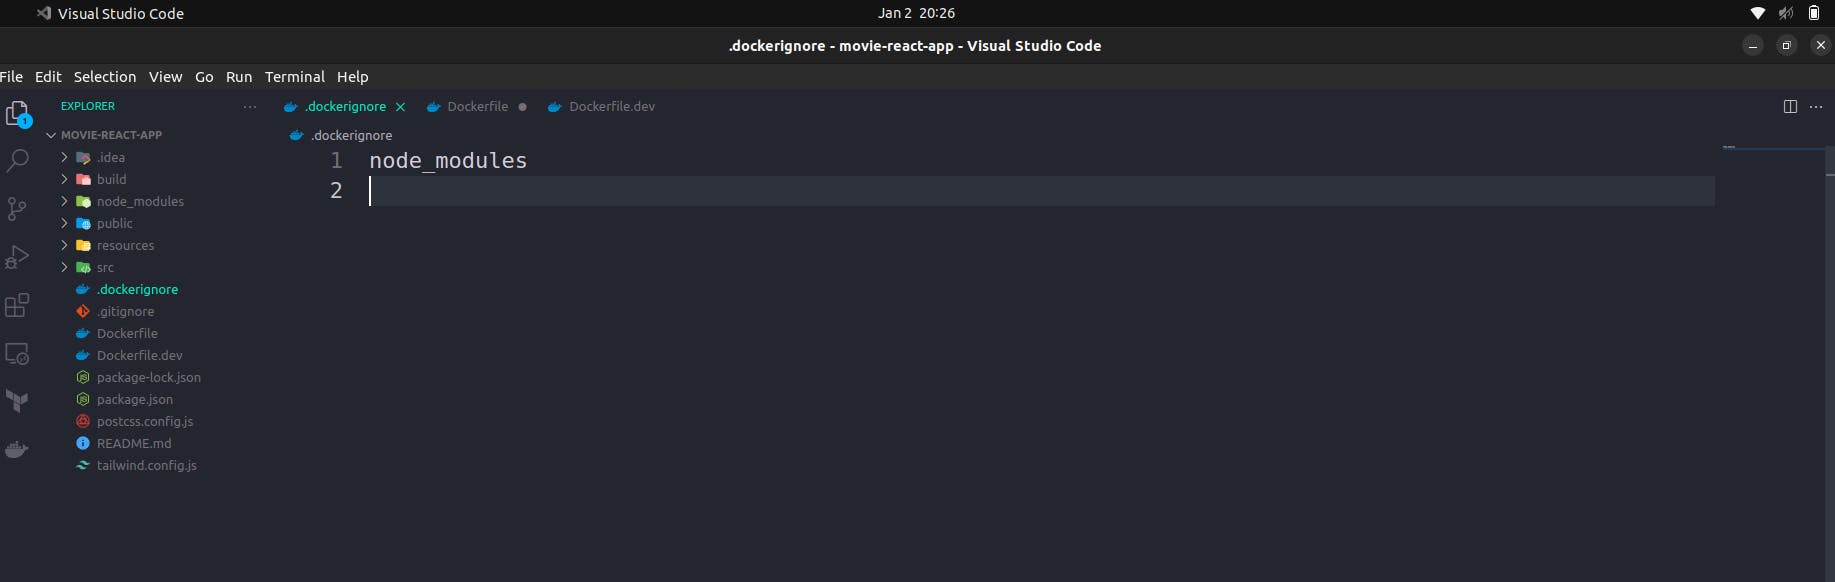
node_modules
Step - 4
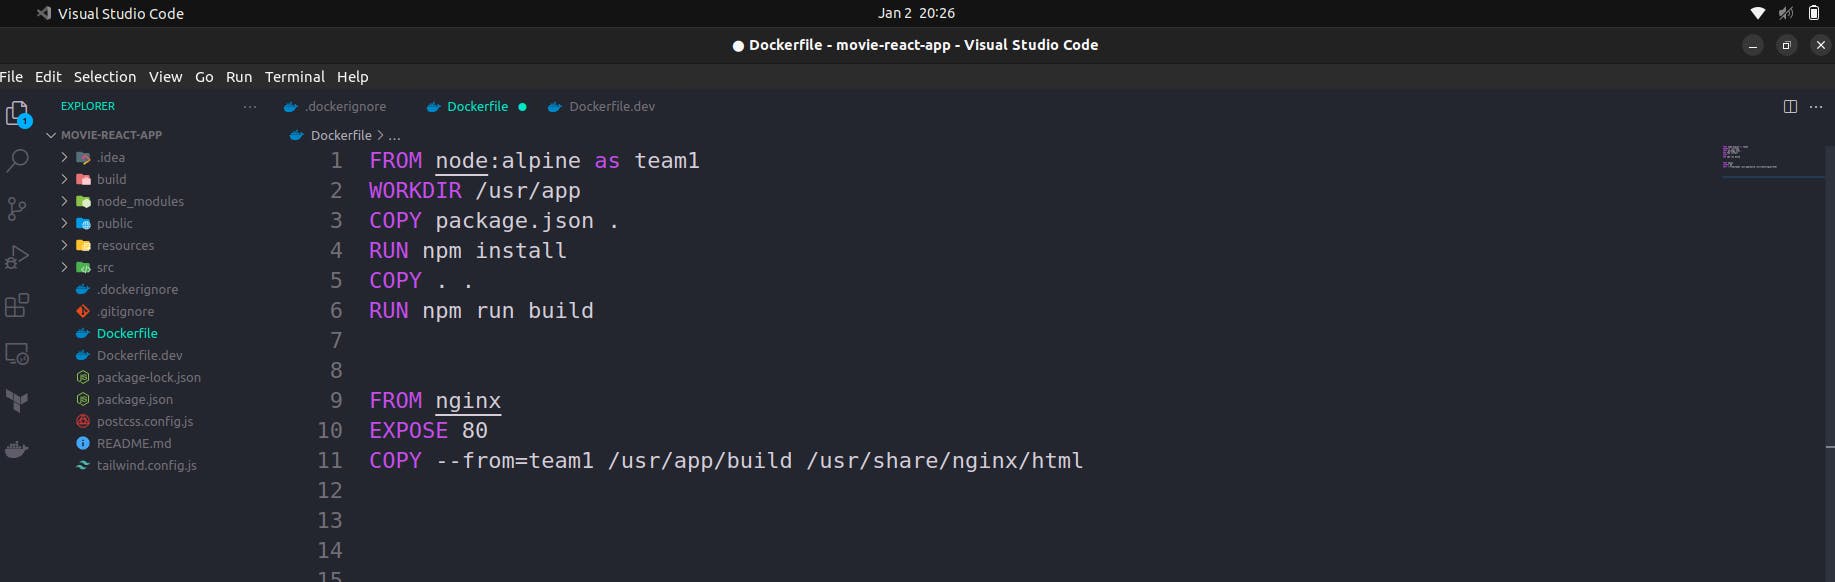
Now we create a “Dockerfile” file for production. In which we serve the app with Nginx.
First, we bring the base image of node:alpine & now we tag the build stage like this - “as team1”
Then we add the working directory and the path
Now package.json file will be copied and pasted into the working directory
Now we install npm packages using the “RUN npm install “
Now we copy entire files and directories to the destination working directory
Now add “RUN npm run build” it will build the app for the production that is more optimized & efficient.
Now we bring the Nginx image for serving the application with Nginx.
Add “EXPOSE 80” for exposing the port because the Nginx server is running on port 80.
Now we copy the files from the build stage “team1” - & this directory where the build file exists “/usr/app/build” & paste the file to the destination that “/usr/share/nginx/html” this is path for the Nginx server.

FROM node:alpine as team1
WORKDIR /usr/app
COPY package.json .
RUN npm install
COPY . .
RUN npm run build


FROM nginx
EXPOSE 80
COPY --from=team1 /usr/app/build /usr/share/nginx/html
Step - 5
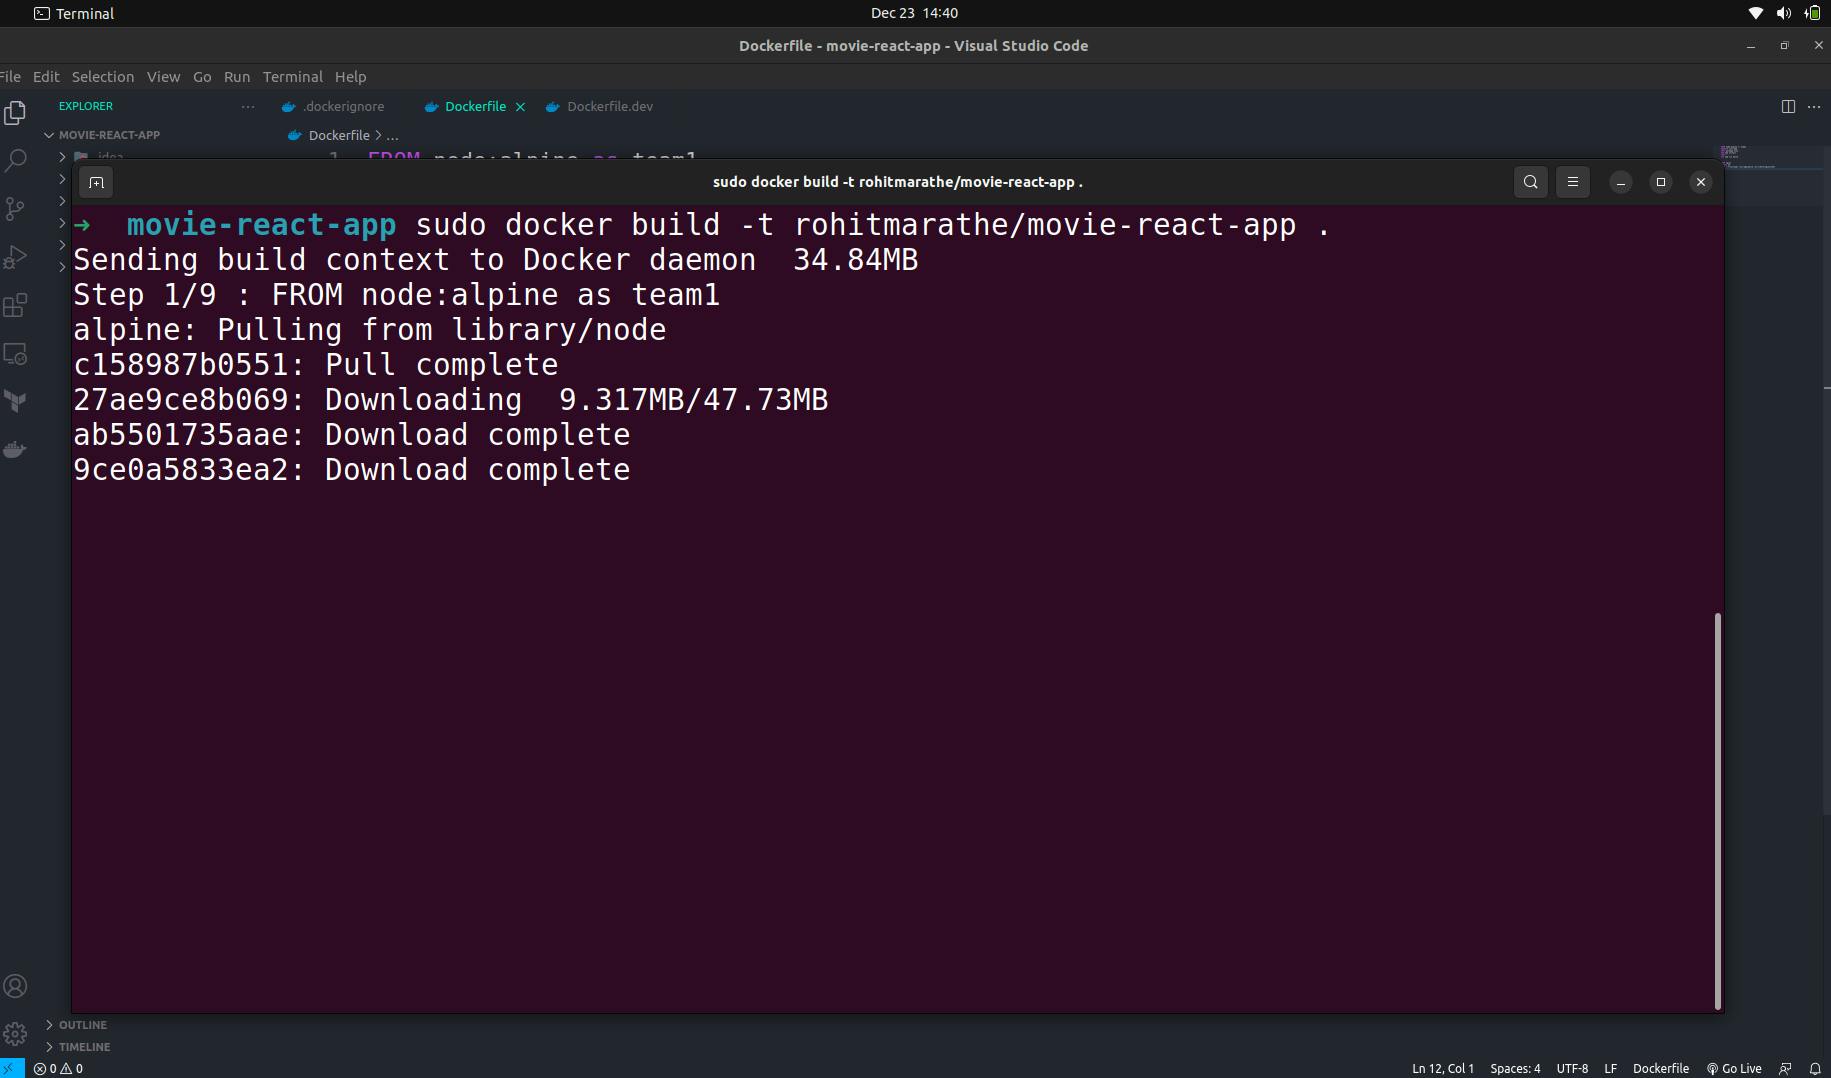
Now we are building the docker image using the ubuntu CLI and the command is applicable for another os except the “Sudo”
sudo docker build -t rohitmarathe/movie-react-app .
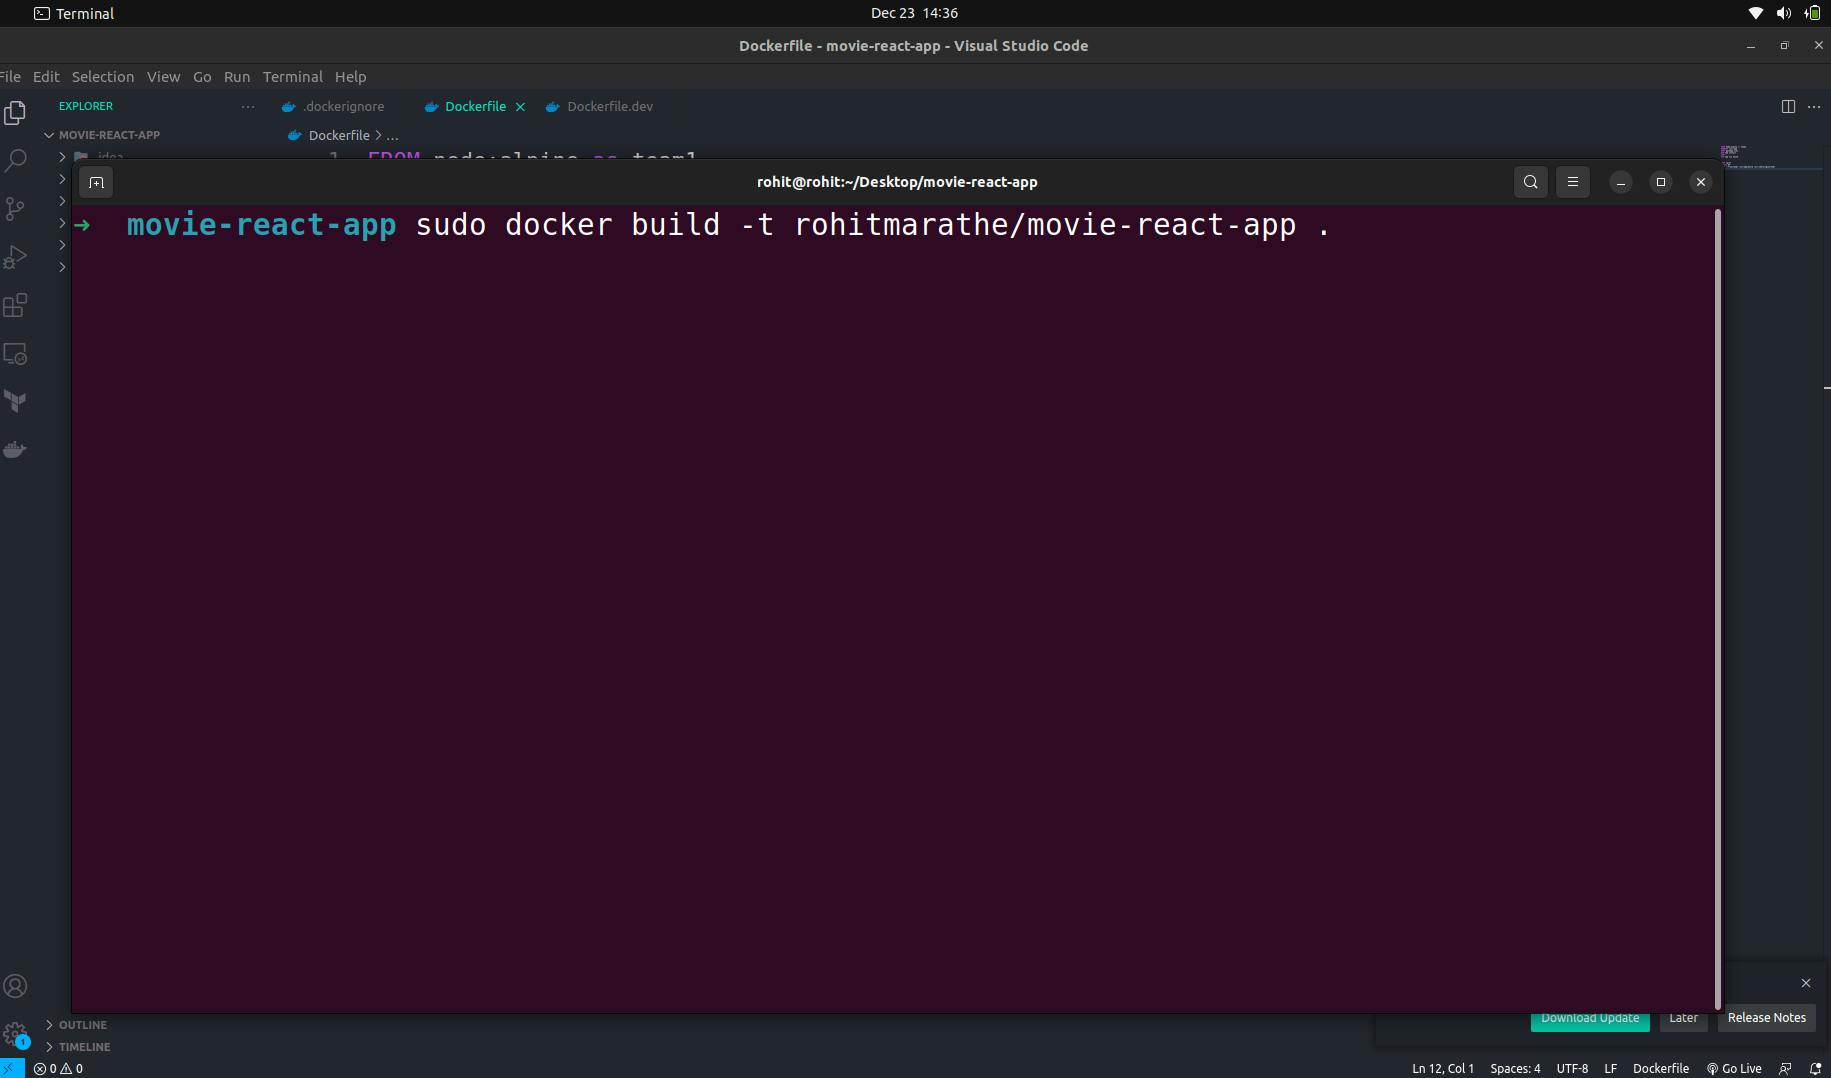
Now it will be building the docker image using the “Dockerfile” file also do not forget to tag the image with a -t tag like this “-t dockerusername/example-app”. Also if your “Dockerfile” already exists in the same directory then use “ . “ at the end of the command.
- Now the process has started the building the docker images & pulling the image.
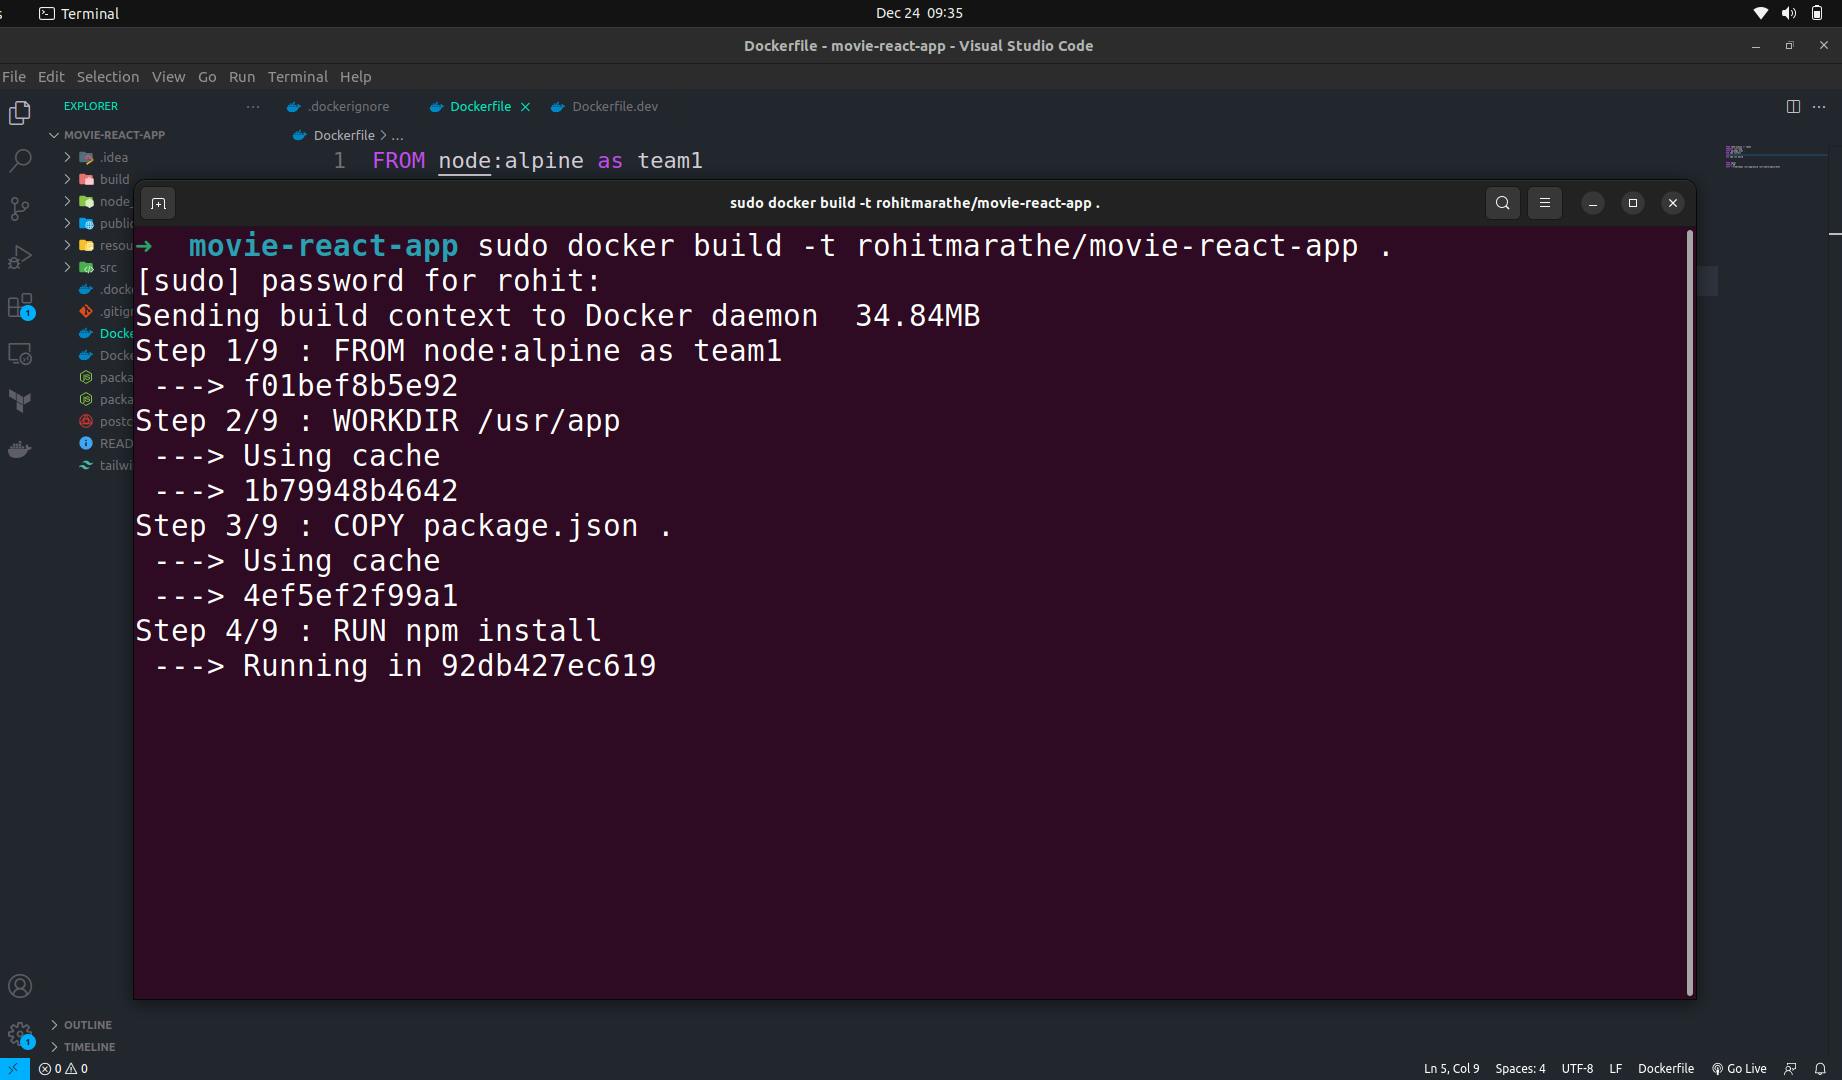
- Now one by one all steps will be executed.
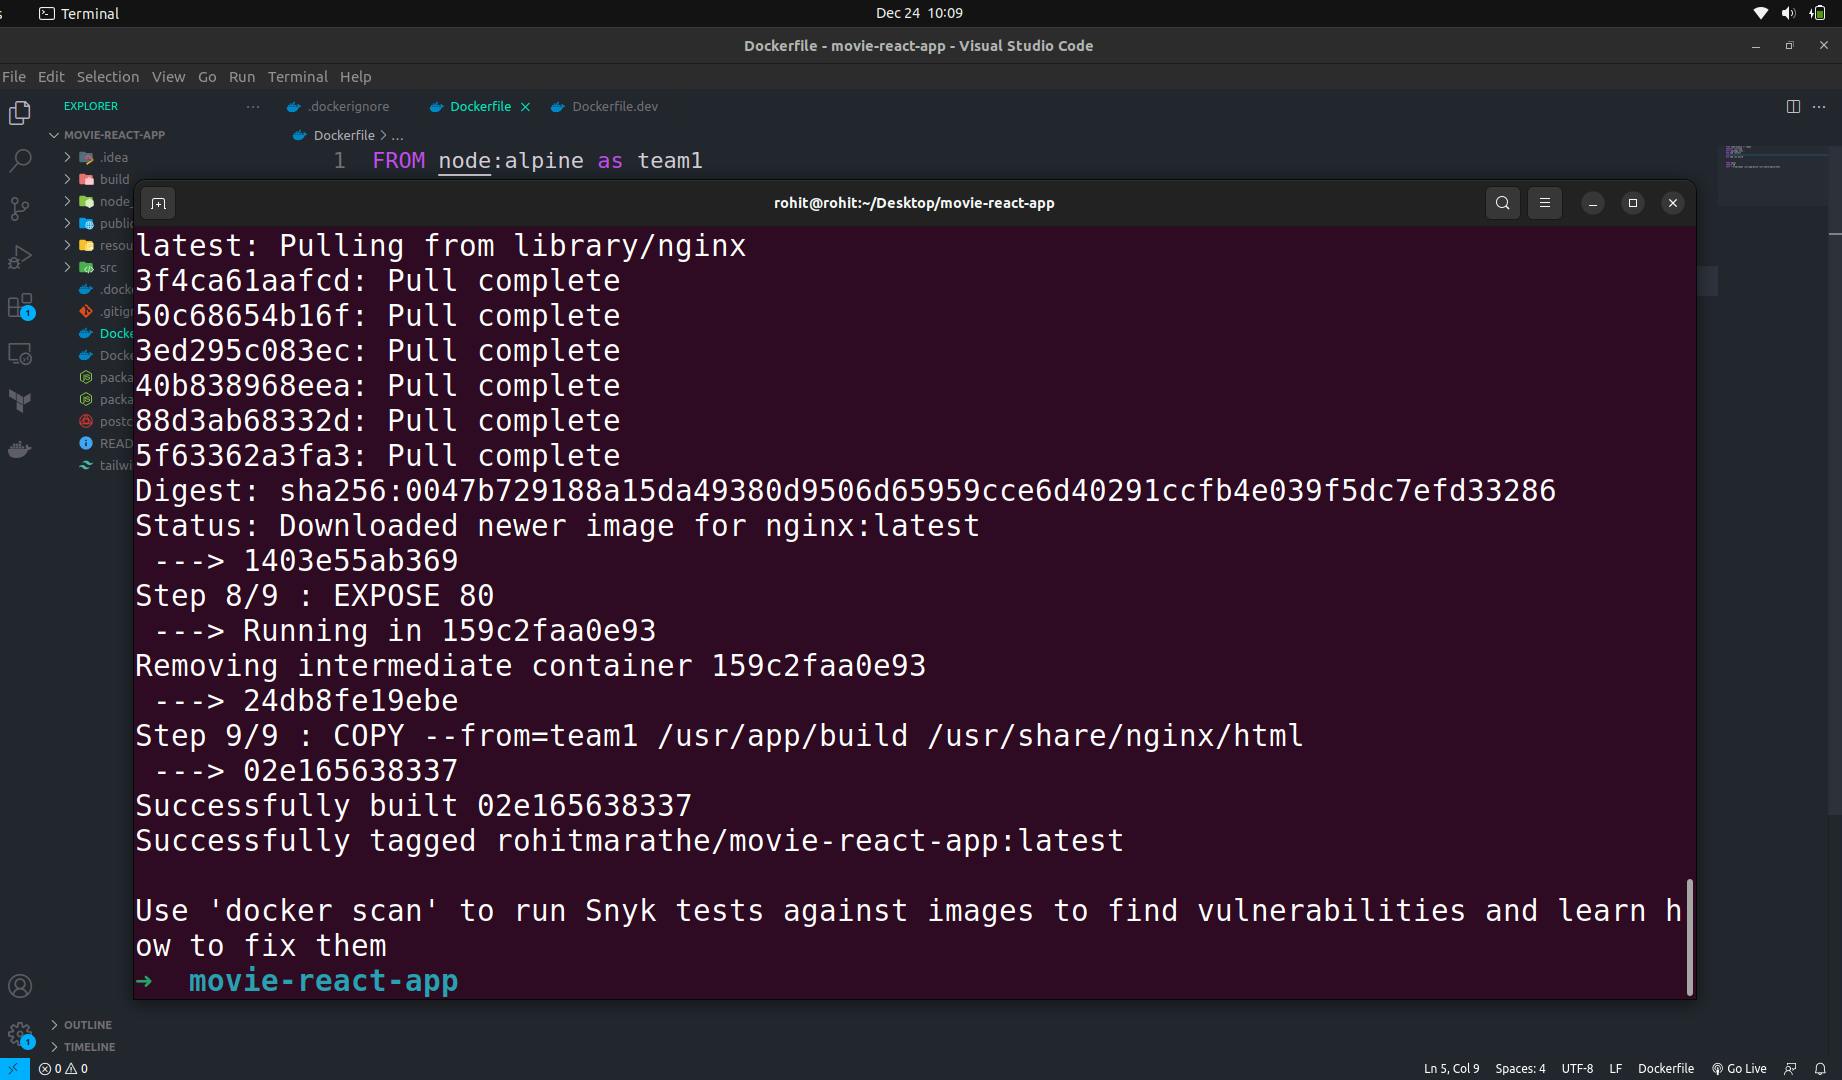
- The Docker image has been successfully built.
Step - 6
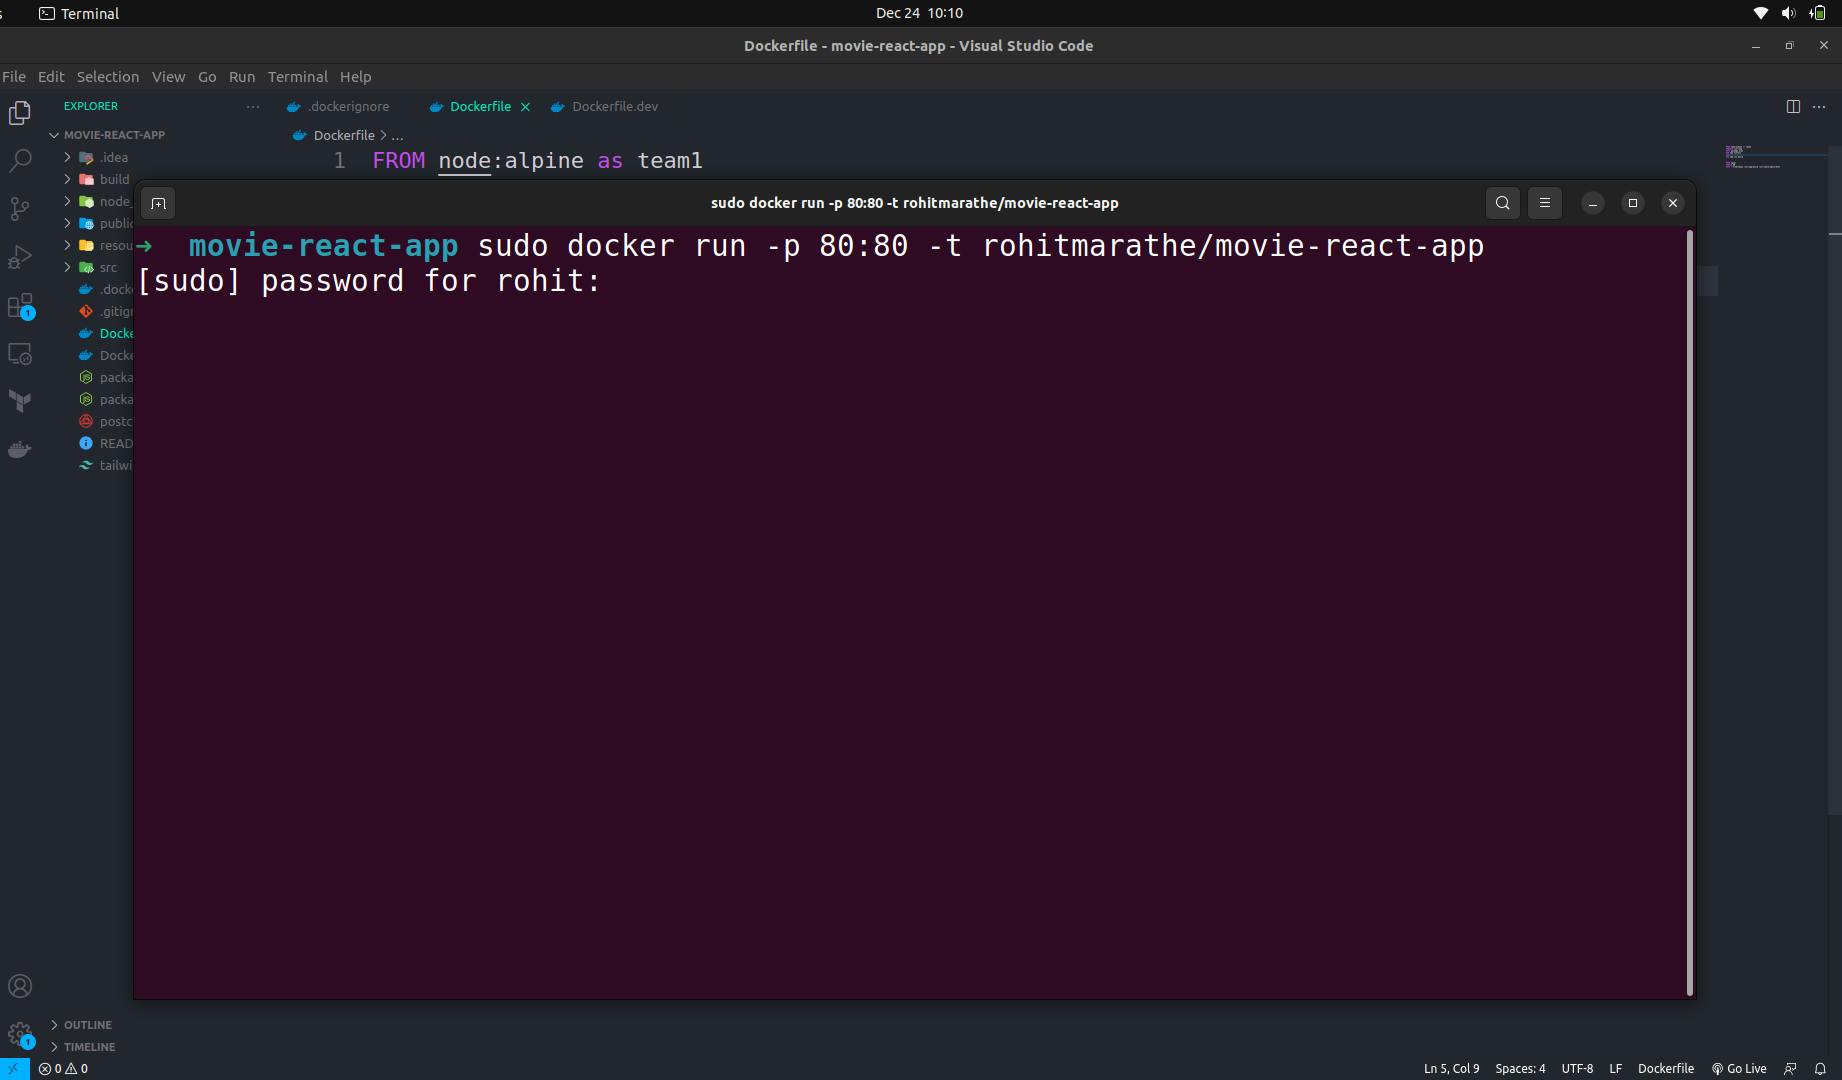
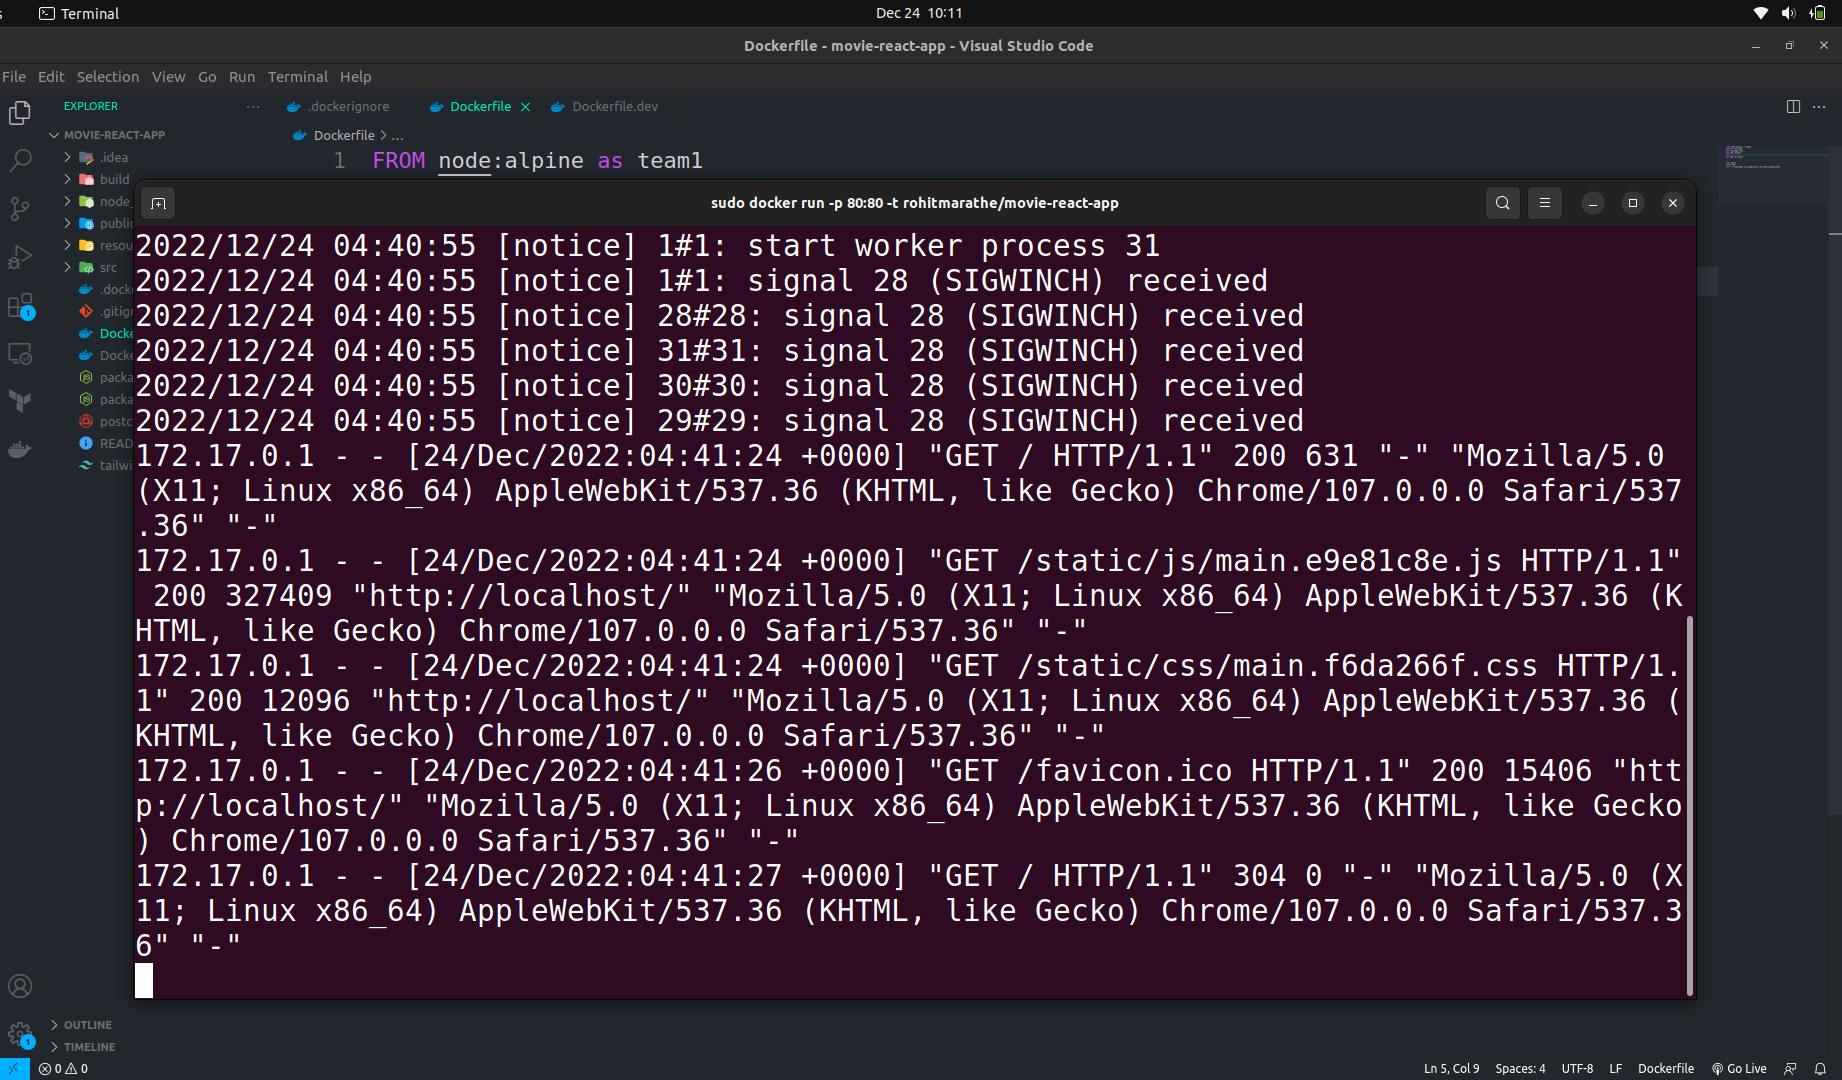
Now we have to run the application. The Nginx server is running the on the 80 port. Now we are mapping the internal docker port with an external port like this “-p 80:80” the first 80 is the external port and another 80 port is for the internal docker container.
Follow the command for running the application
sudo docker run -p 80:80 -t dockerusername/your-app
Avoid “sudo” if you are using another OS.
Step - 7
Now our application is successfully running.
Step - 8
Now open the browser & type “localhost:80” in the tab.
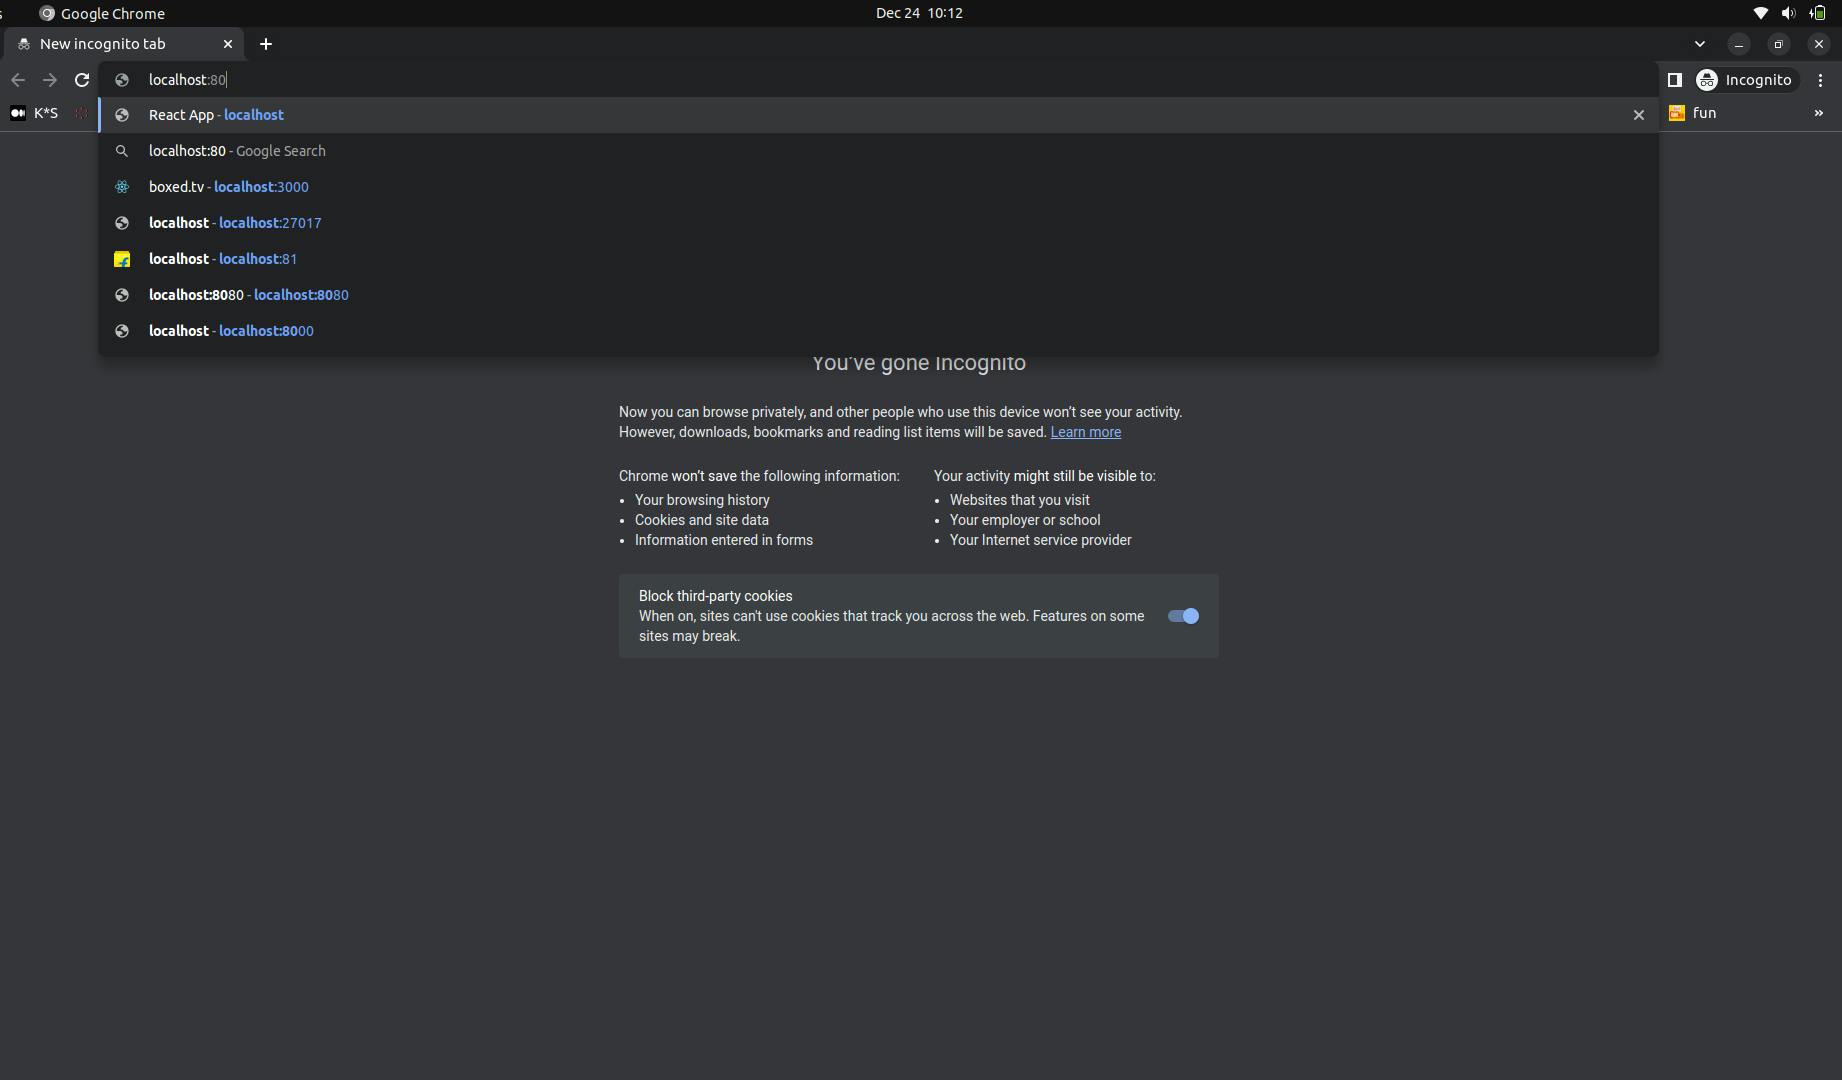
Step - 9
Now our application is successfully running