How To Install K3s Single Node Cluster On EC2 Instance With Deployment Of React App


Table of contents
Introduction
In this tutorial i will guide you step by step how you can install and setup the single node k3s cluster on ec2 instance. So if you don't about what k3s then let me explain so K3s is a lightweight Kubernetes distribution created by Rancher Labs. So you can easily setup and deployed your manifest files and this is not consume too much resources. After the installation part i will deploy a web app also i am not attaching any worker node in it all the things is done on the single node cluster.
Step - 1
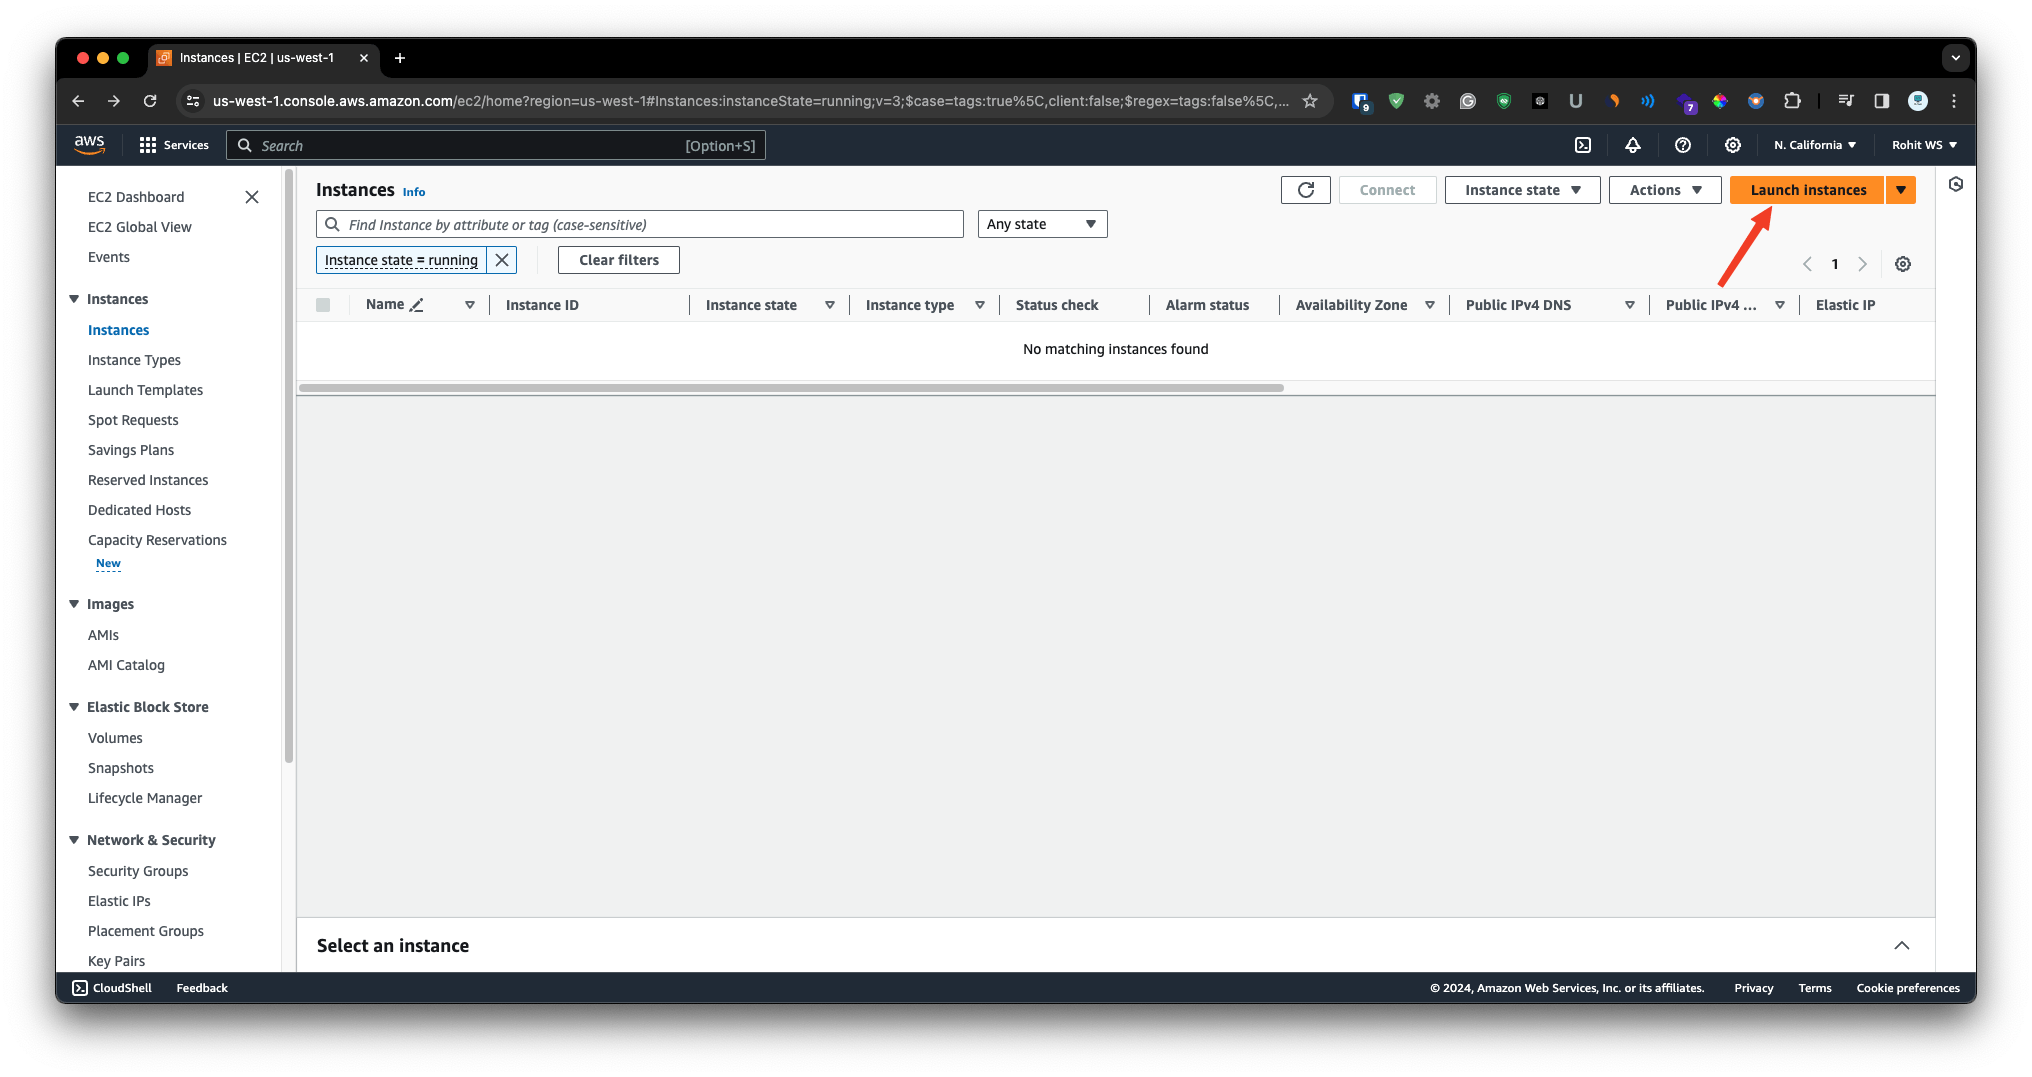
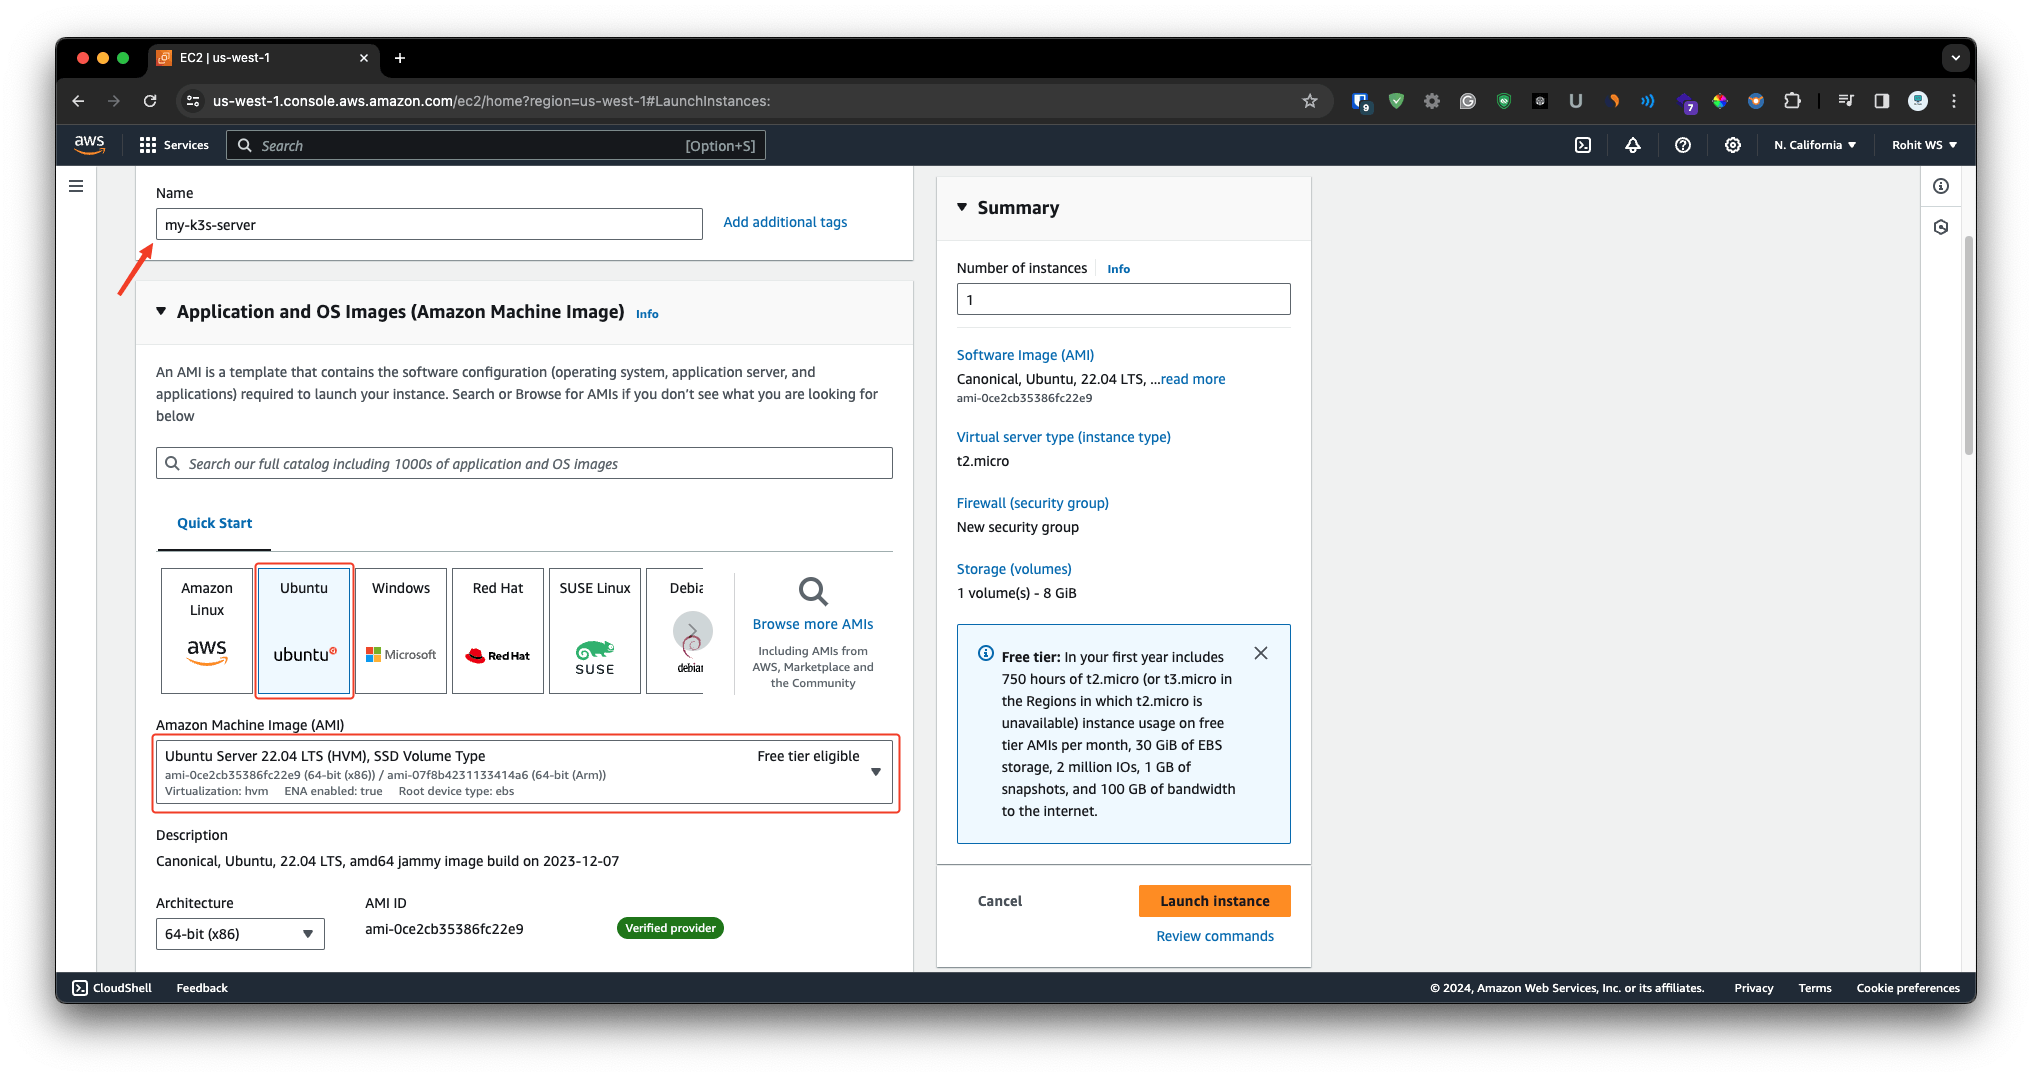
First we are going to launch the instance. So make sure that you have to fill all the details like instance name.
Once you setup the name then you have to choose the AMI. So in this case i have choose the Ubuntu 22.04
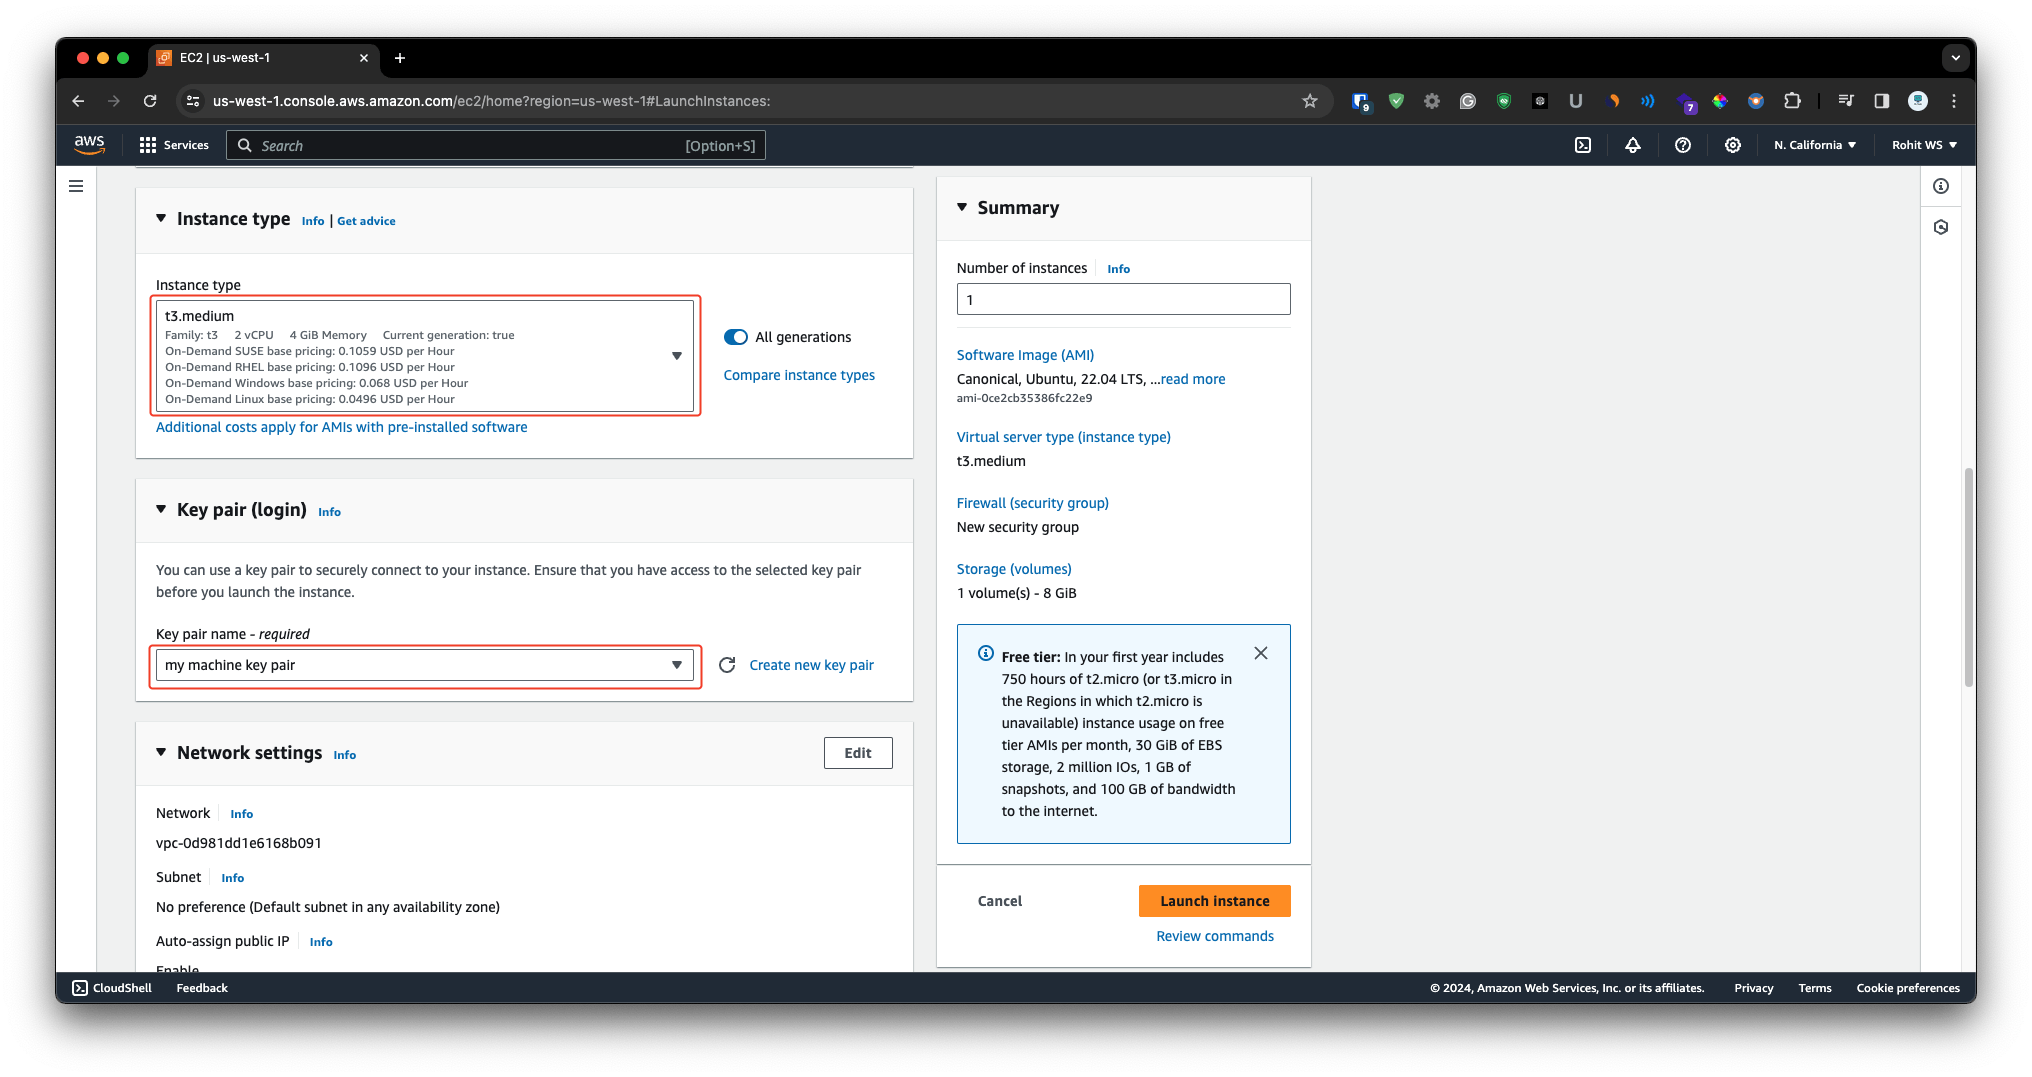
Now for the instance i will highly suggest that at least go with the minimum 2 vCPU & 4GB of RAM for smoother performance. So for this tutorial i have choose the - t3.medium. Also this instance does not come under free tier.
From the key pair i will choose my existing key pair. If you don't have then you can just simply create it.
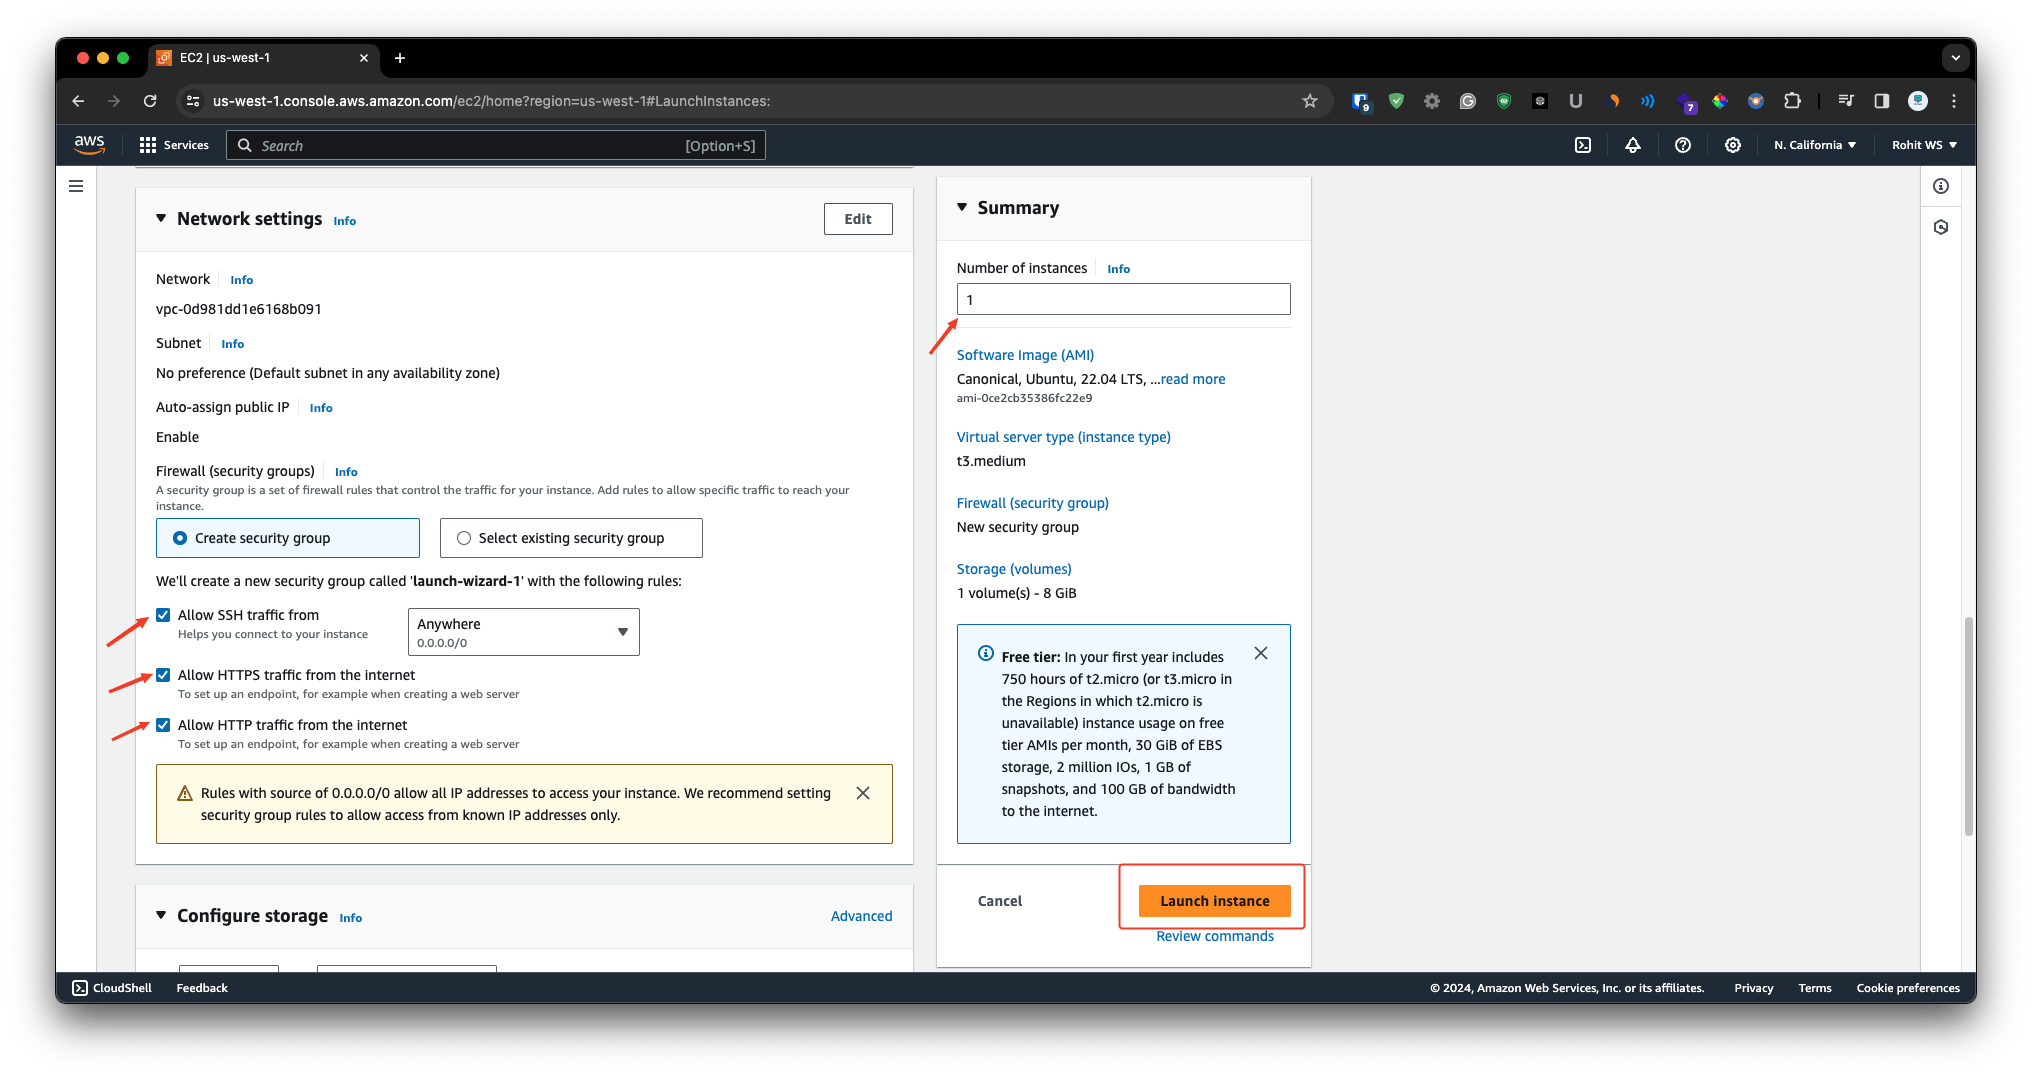
Once you done with the above things then i will create a new security group & allows - SSH, HTTP, HTTPS. After that mentioned how many instance do you want & just simply click on the launch instance.
Step - 2
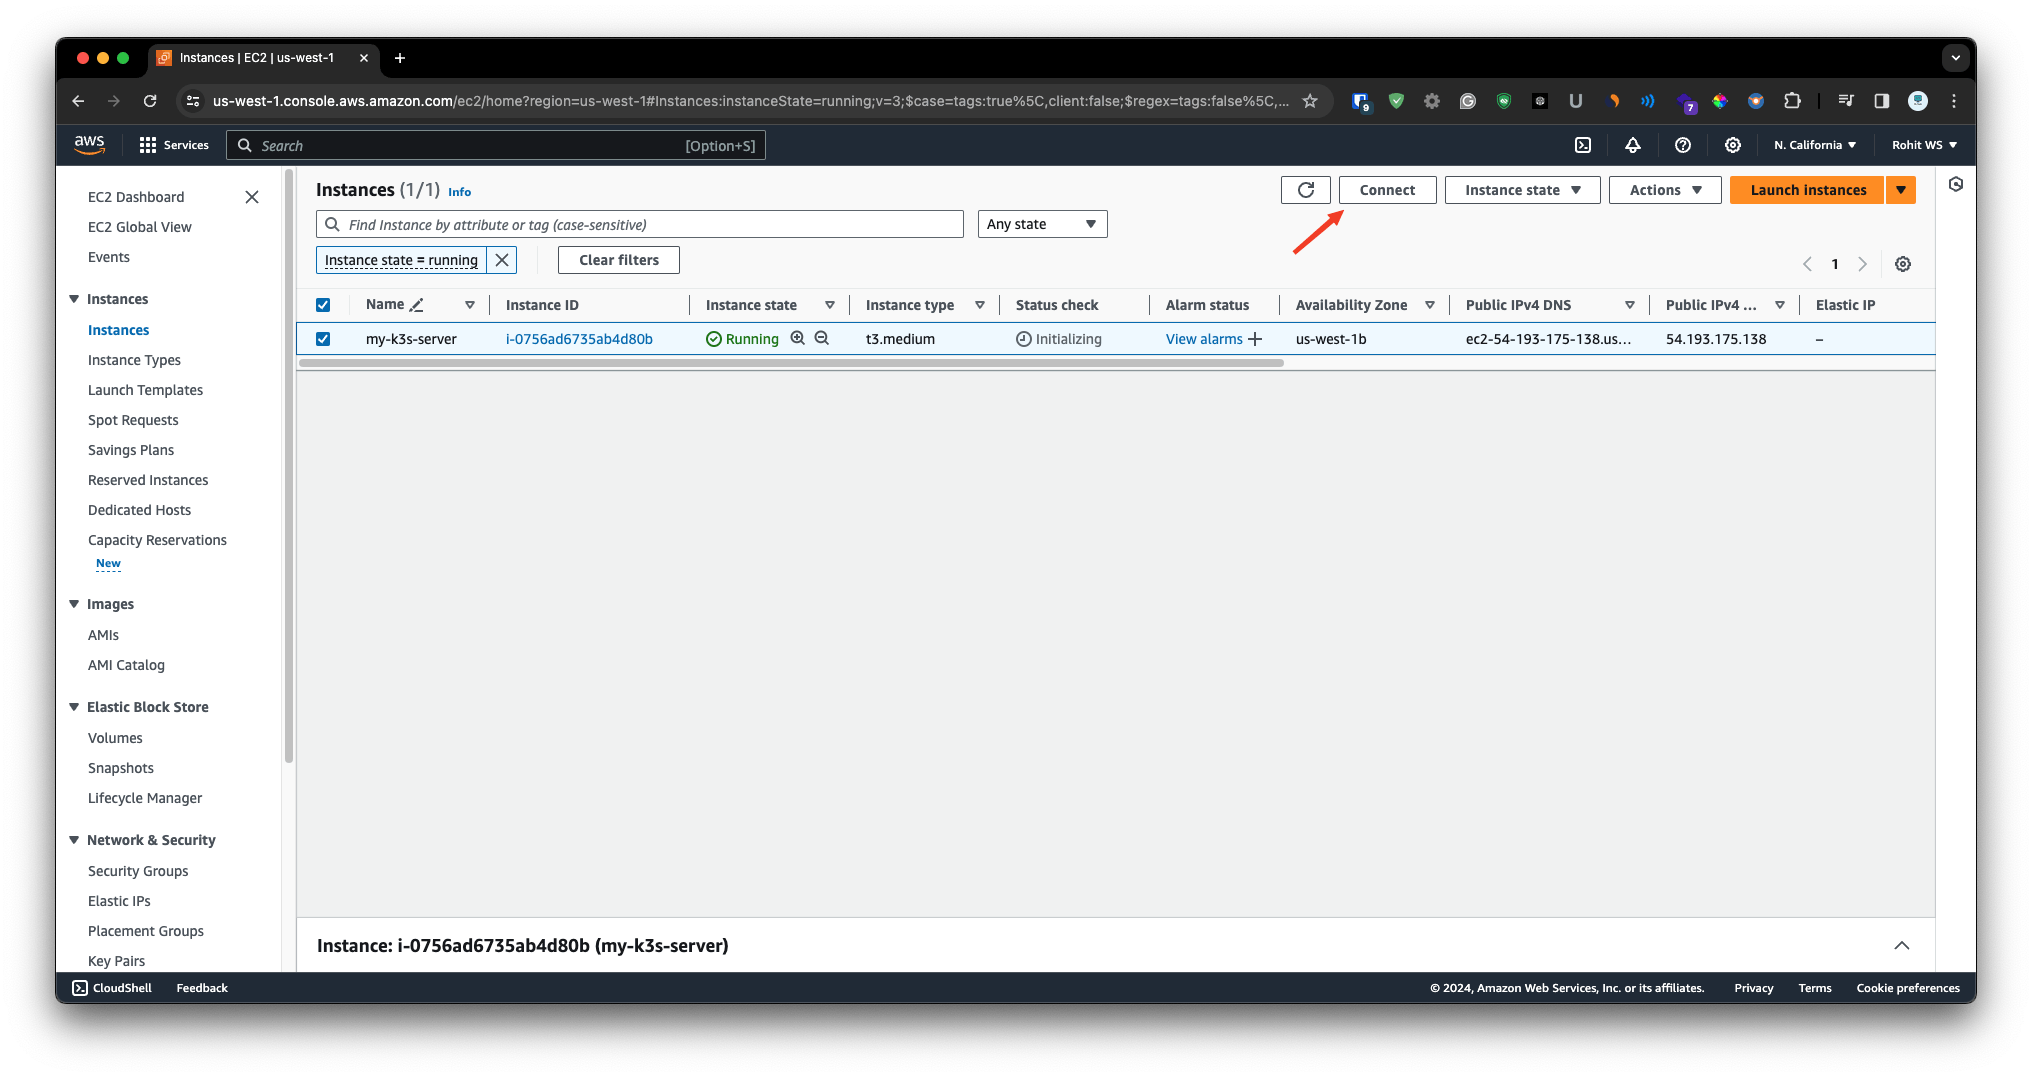
Once your instance comes in the running state then we are going to connect that instance and install k3s cluster on it. So simply select the instance & click on the connect.
And from the SSH Client tab copy the SSH example.
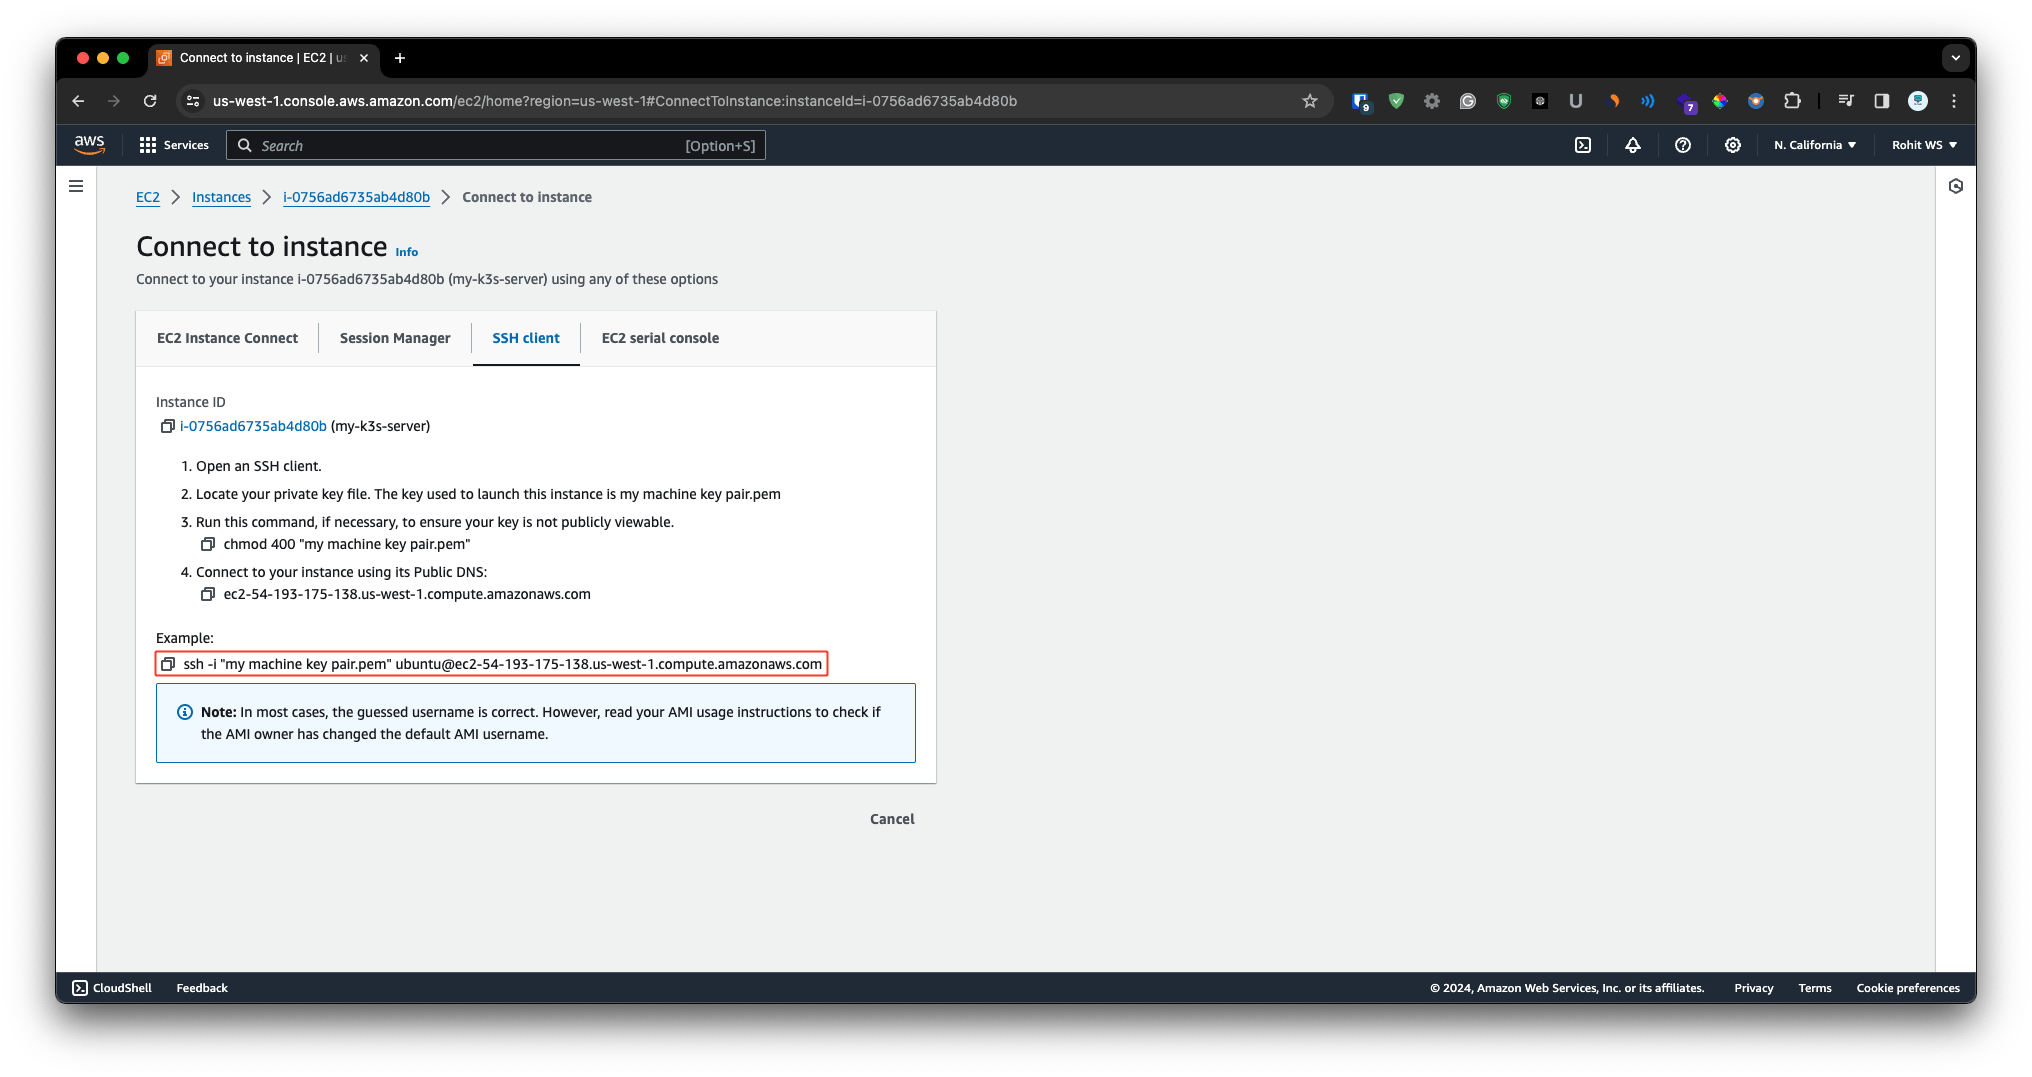
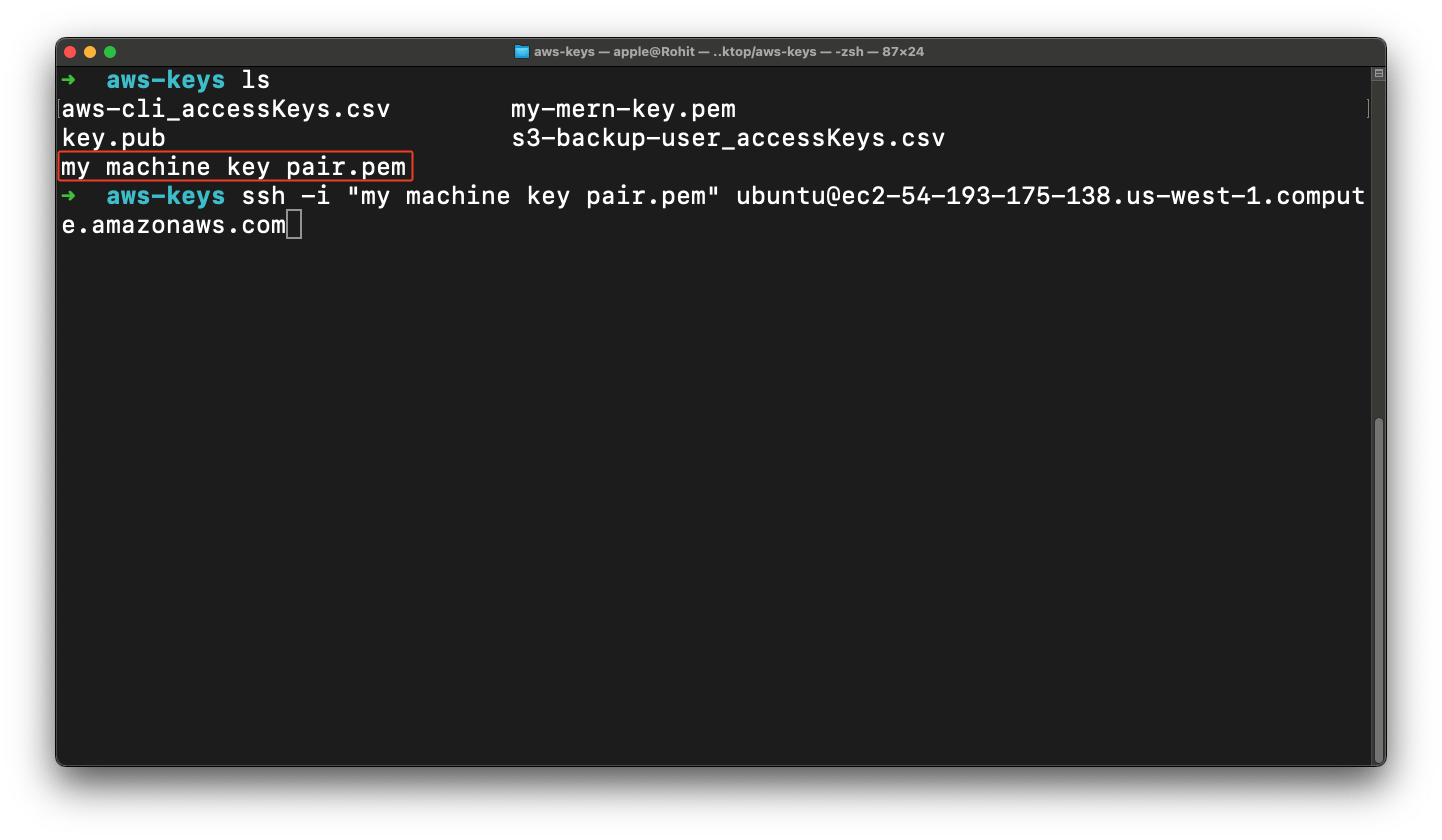
Now we are going to SSH into the machine so just open the terminal and go into your directory where you have key pair . Then just simply paste the command & enter it and you get option for fingerprint so just type the yes option.
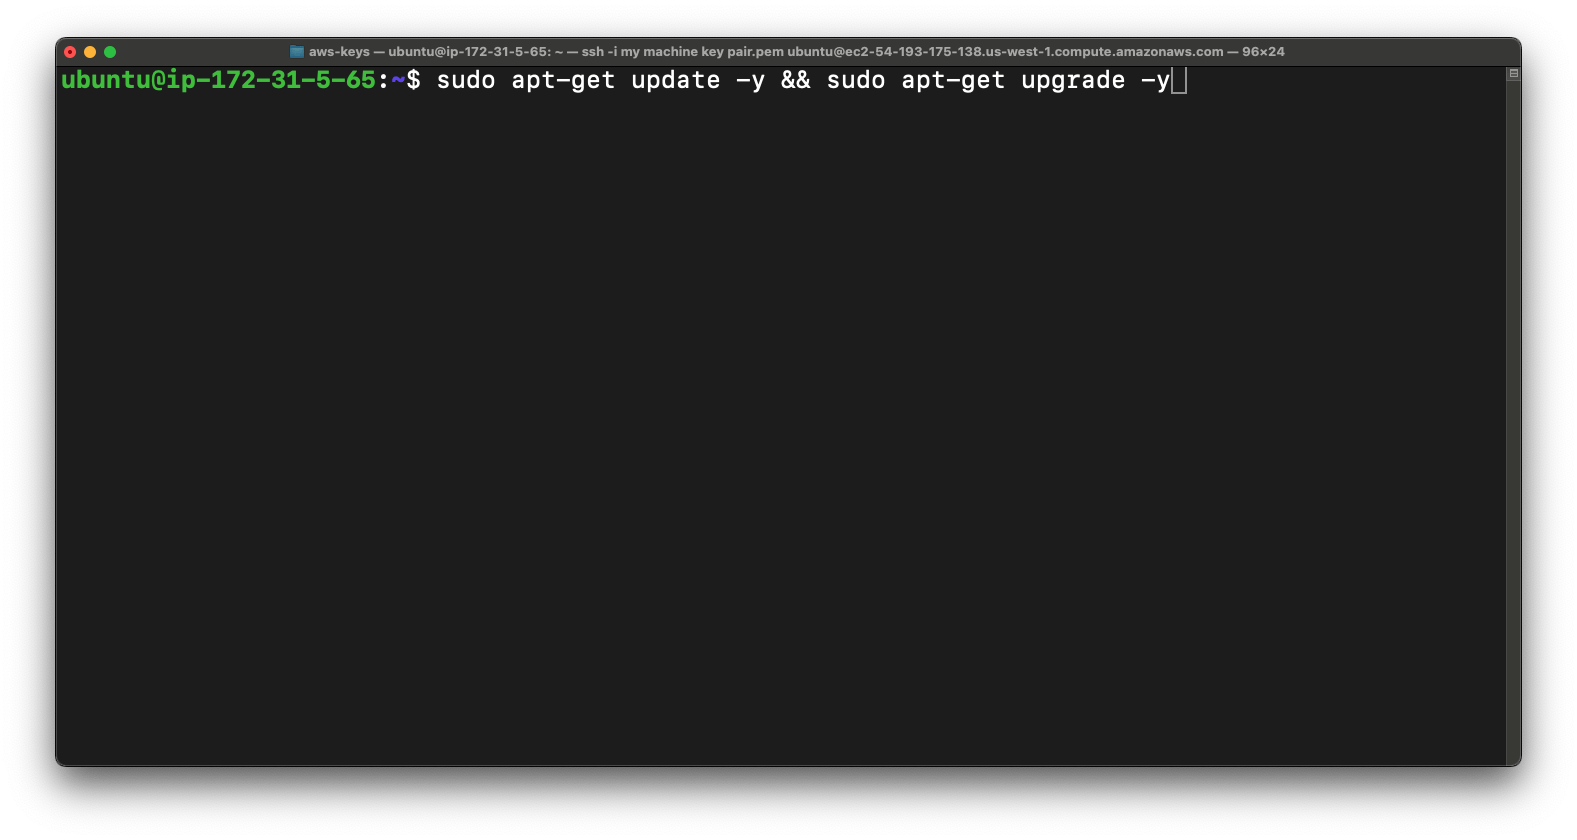
So once you get into the instance then we are going to update & upgrade packages.
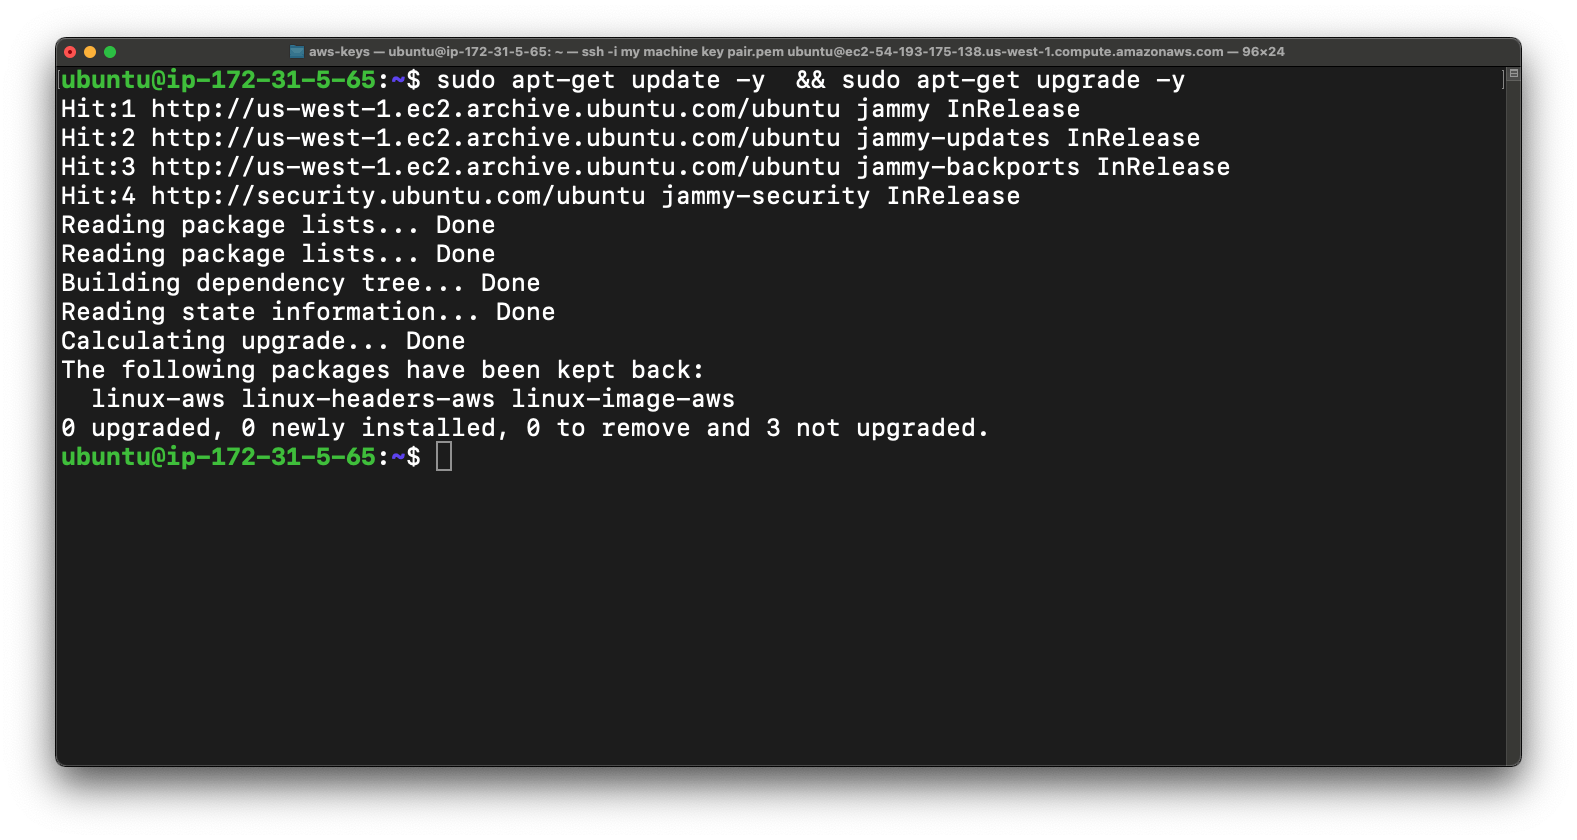
sudo apt-get update && sudo apt-get upgrade -y
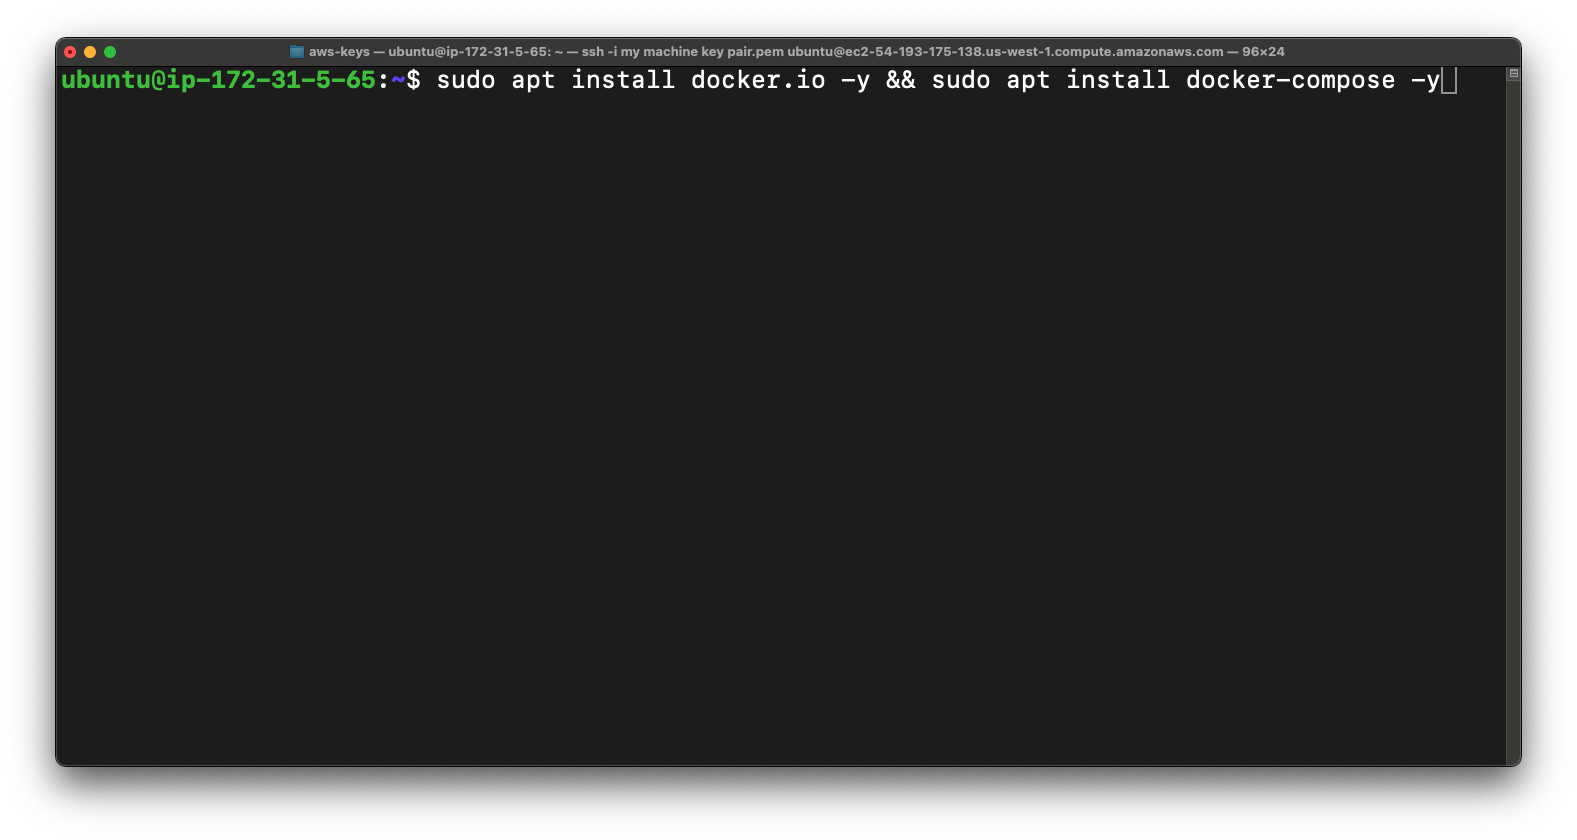
So once you done with that then we are going to install docker and docker compose.

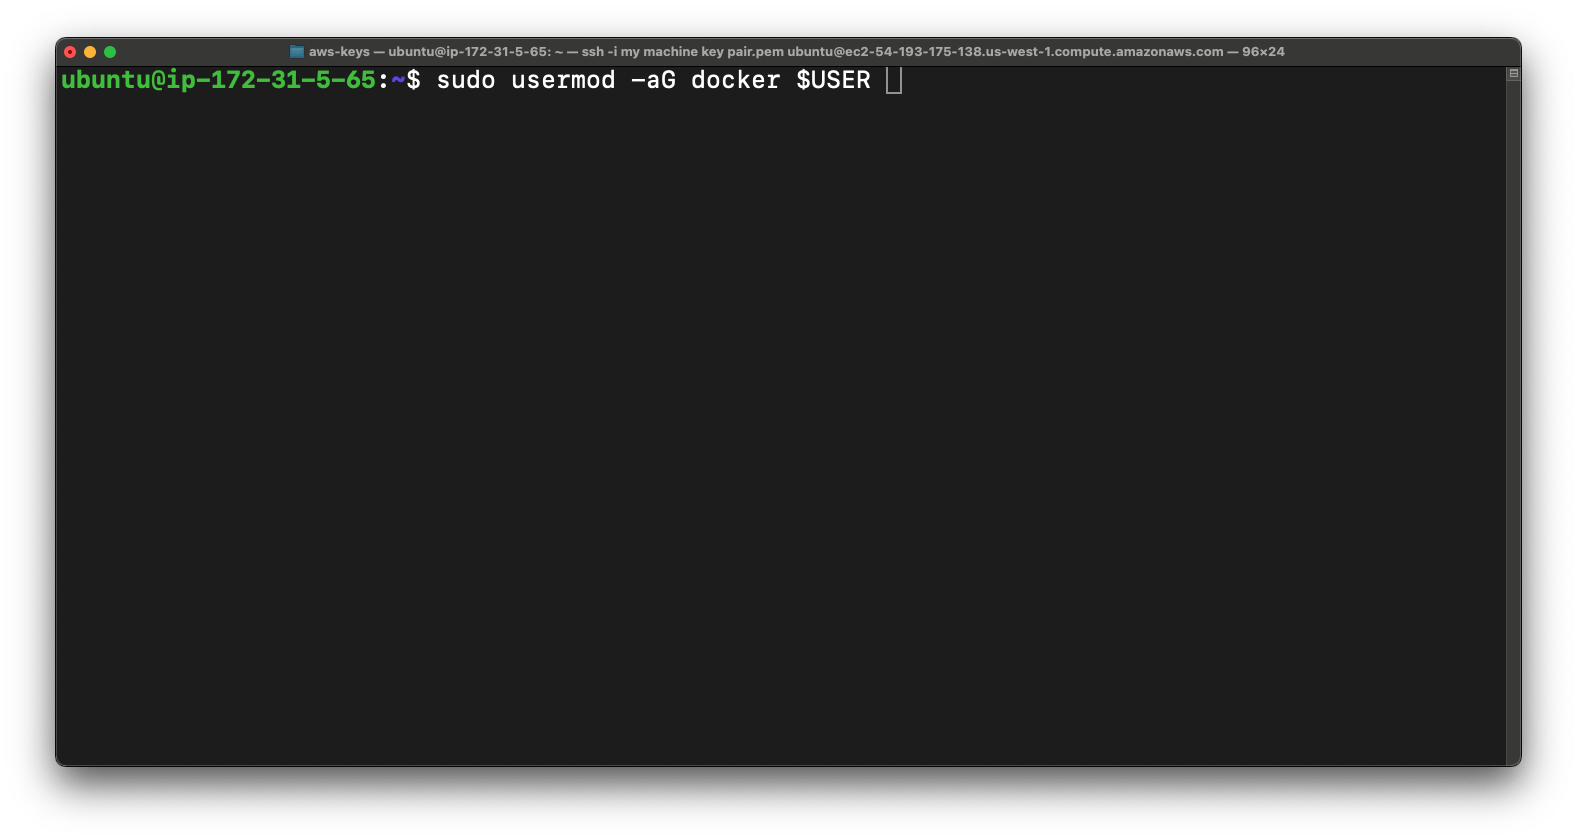
Once docker is installed then we are going to add user to the "docker" group on this this instance. So you can use the docker command without sudo.
sudo usermod -aG docker $USER
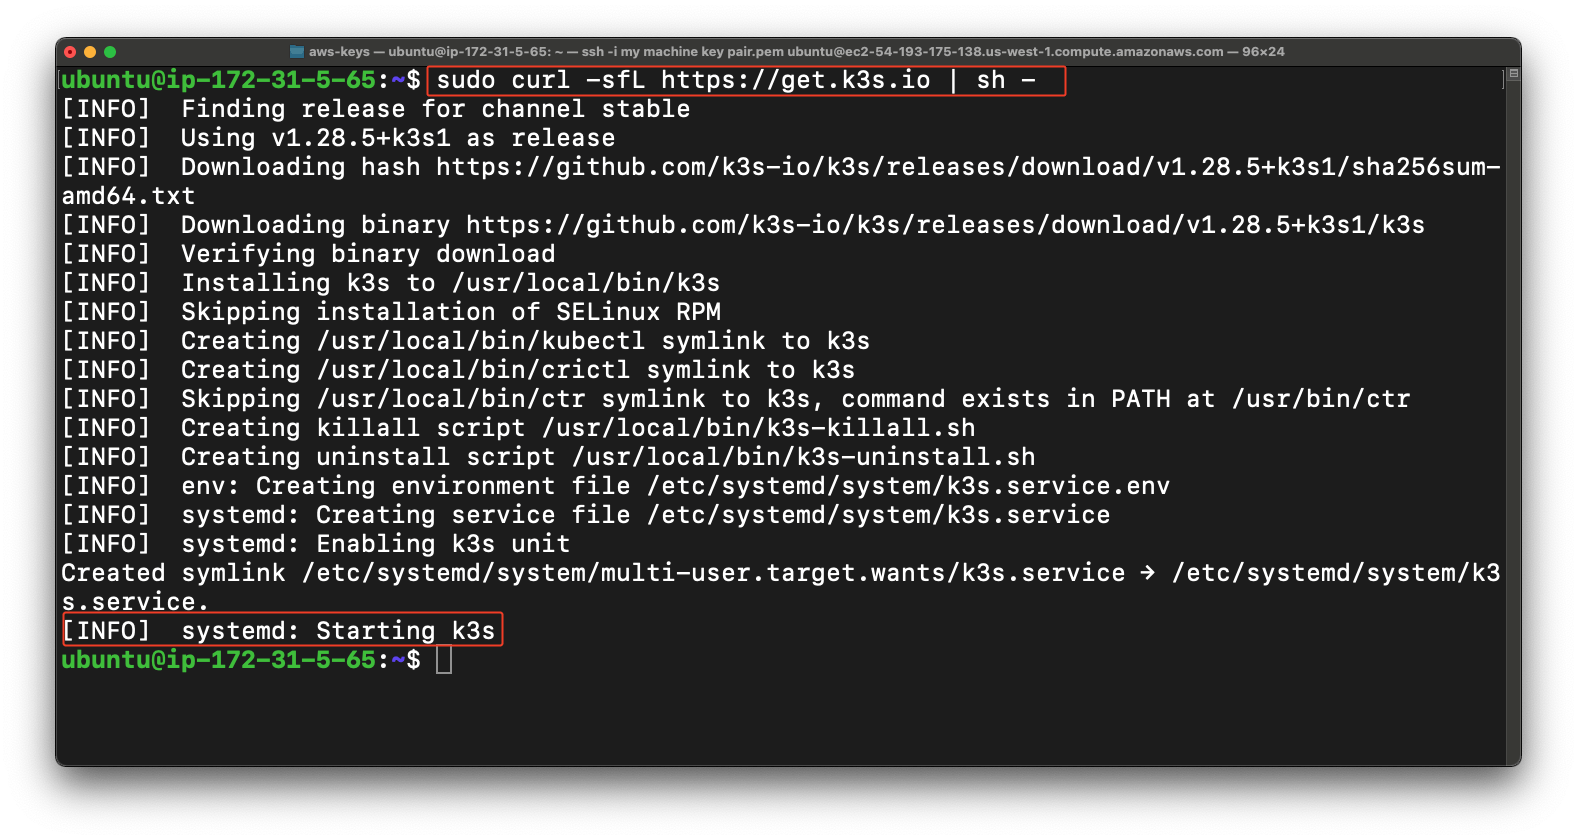
Now we are going to install K3s cluster so you have to this command below.
sudo curl -sfL https://get.k3s.io | sh -
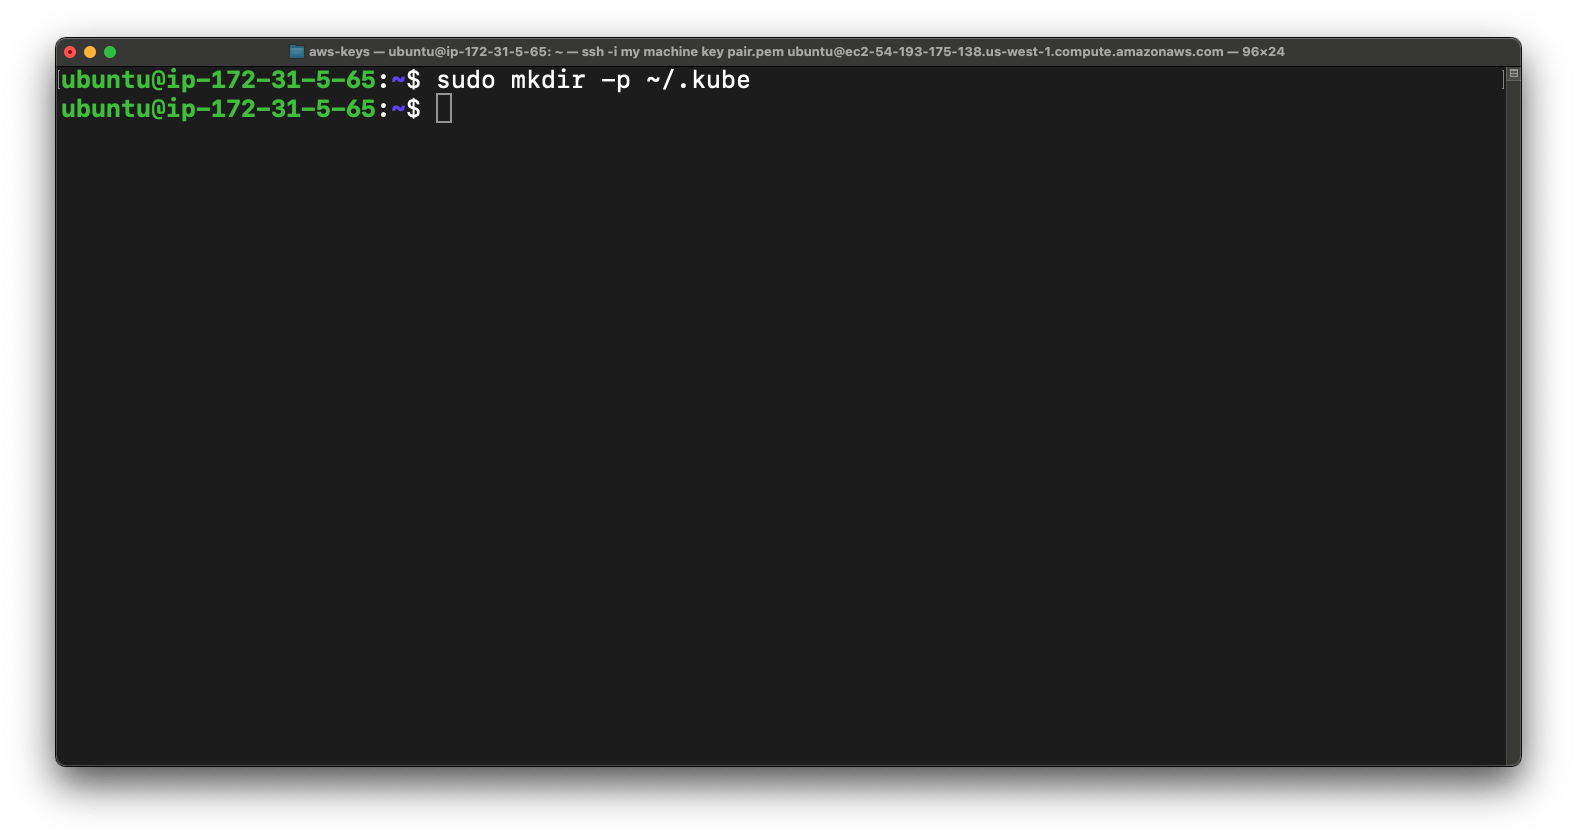
Now we are going to create .kube directory in home directory of user.
sudo mkdir -p ~/.kube
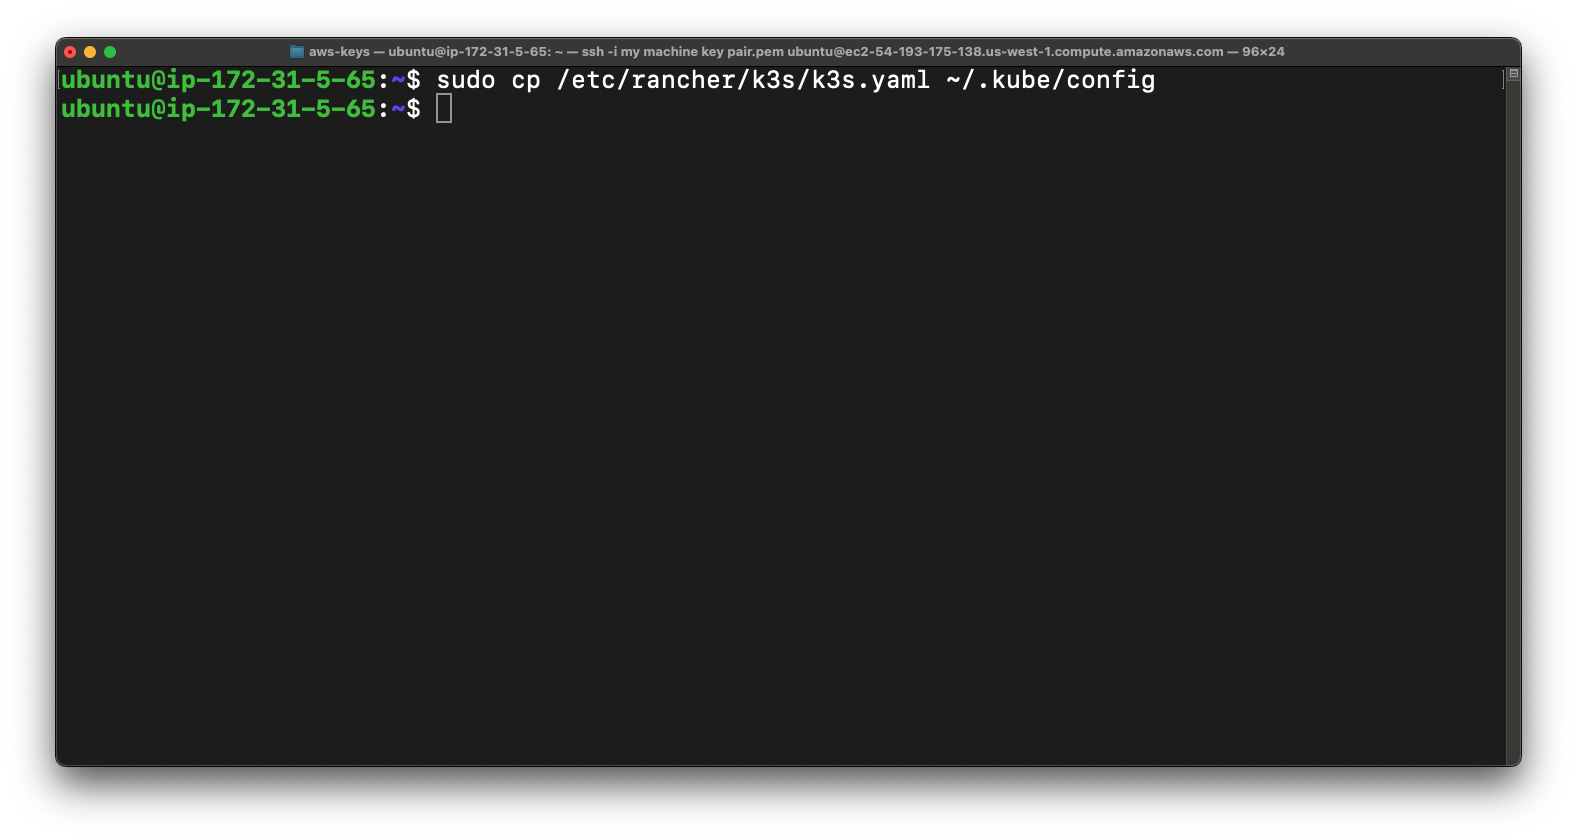
Now we are going to copy k3s.yaml config file from rancher directory to .kube directory.
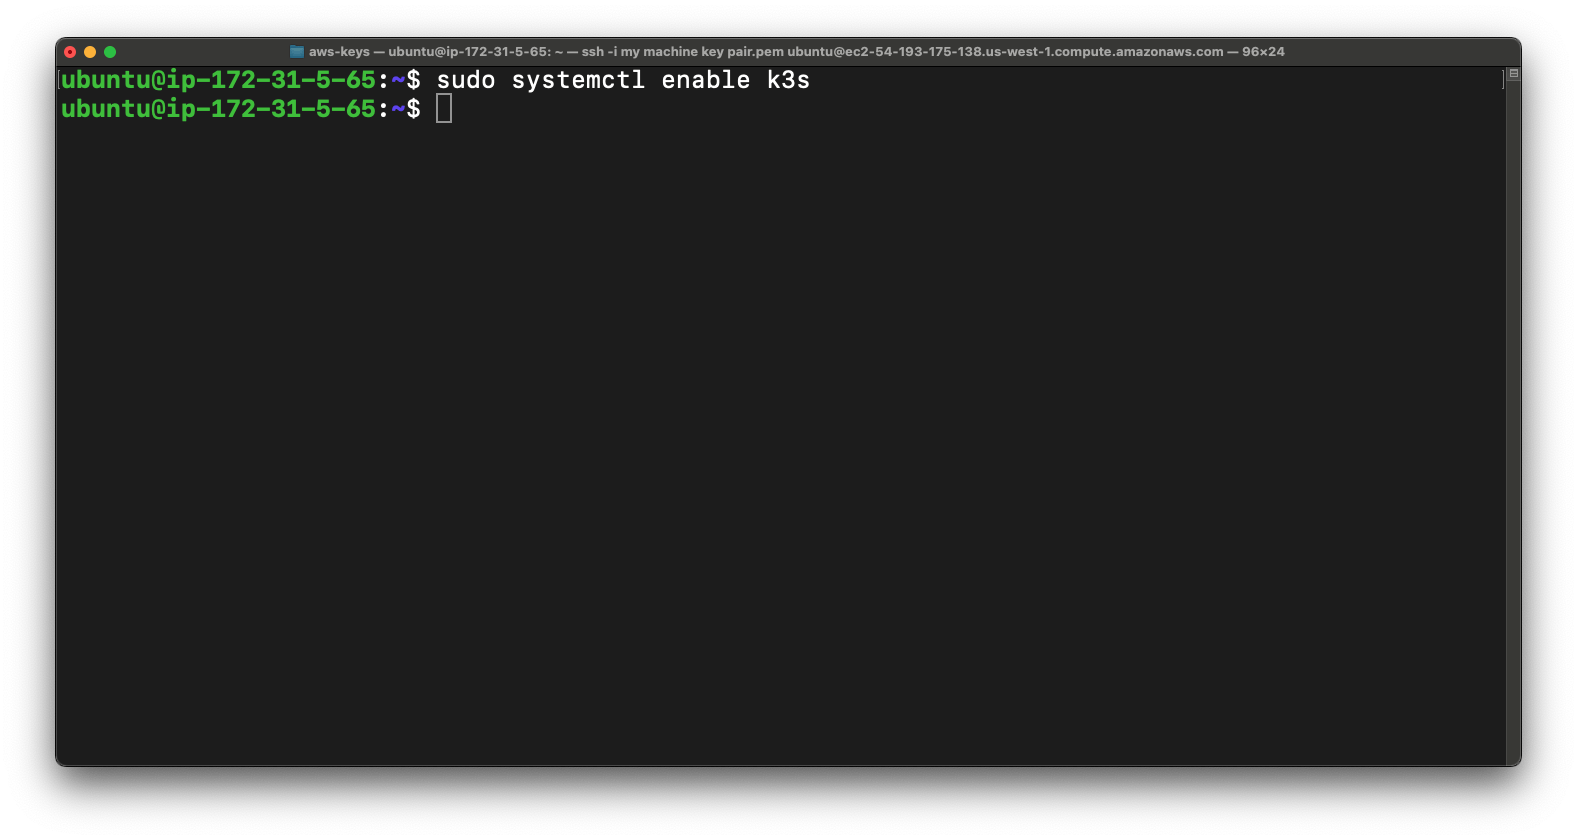
Now we are going to use this command below for K3s service to start automatically on system boot.
sudo systemctl enable k3s
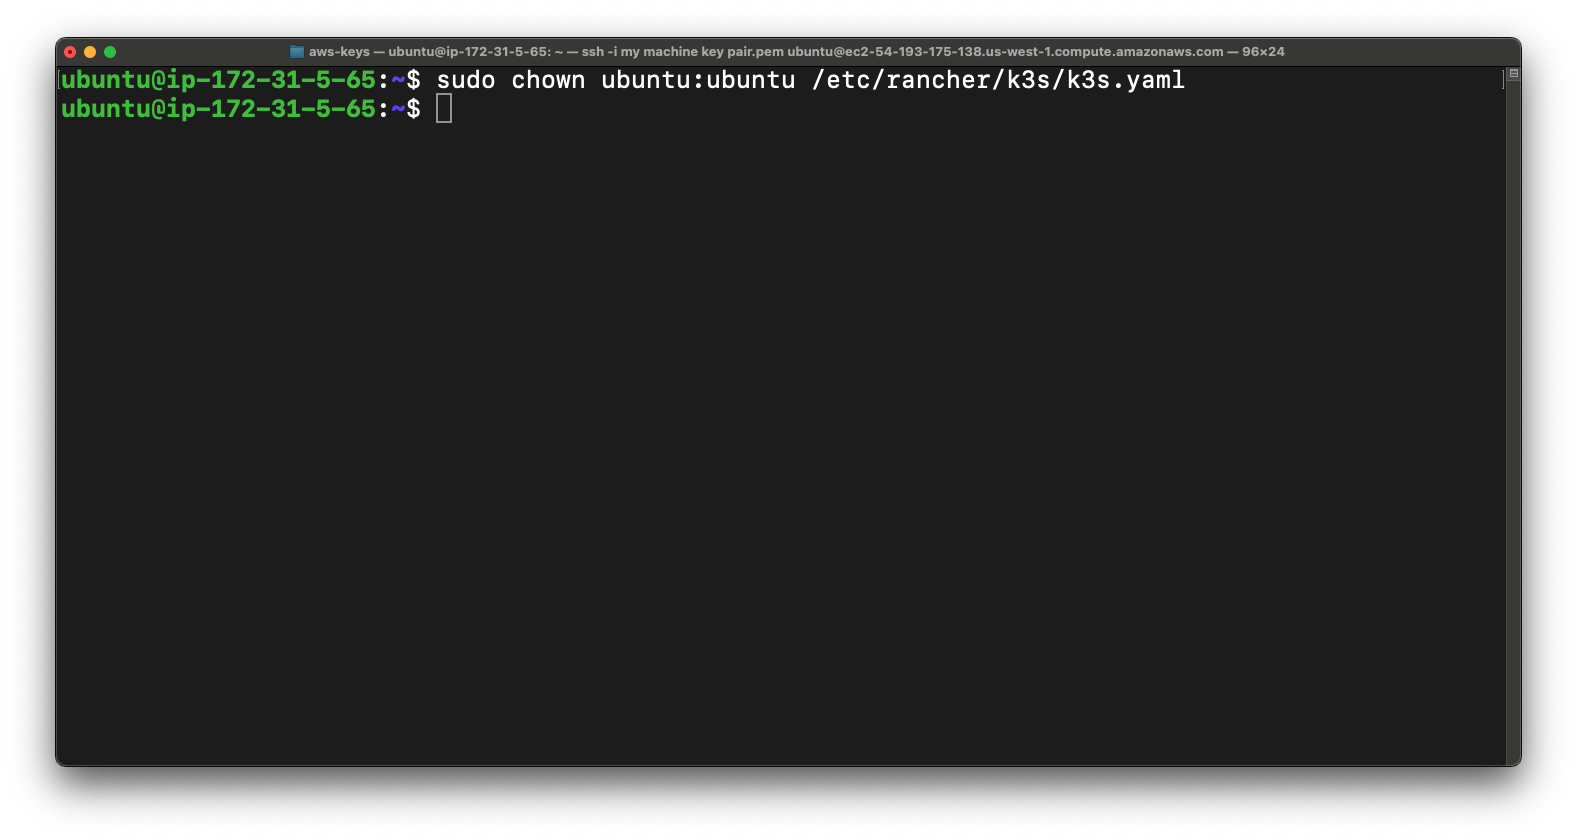
now we are going to change ownership of the "k3s.yaml" configuration file to the user and group "ubuntu," granting them permissions to read and modify the file within the K3s setup on the system.
sudo chown ubuntu:ubuntu /etc/rancher/k3s/k3s.yaml
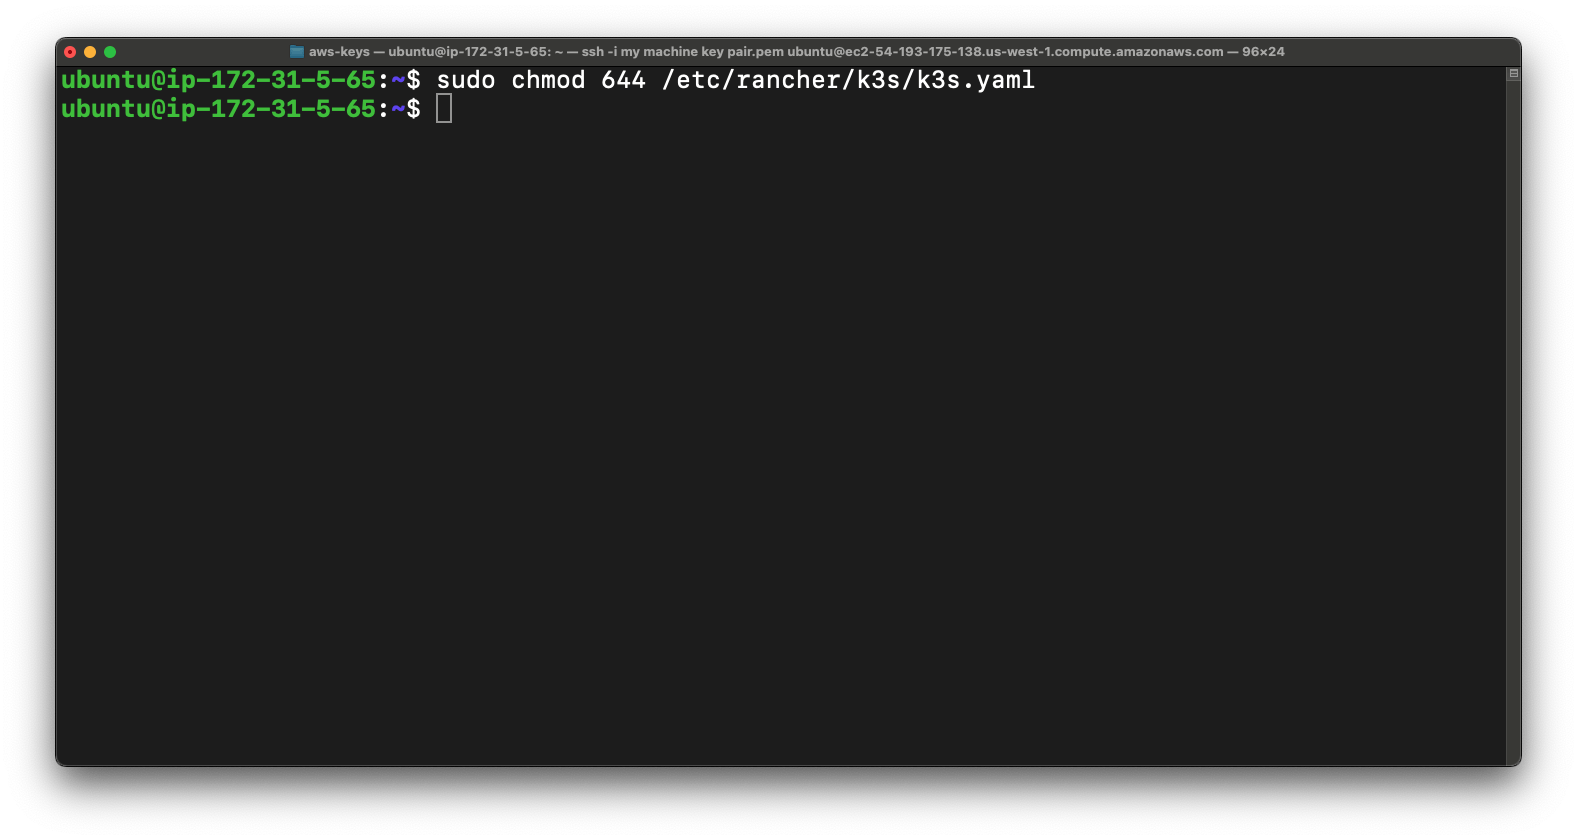
Now we are going to sets read and write permissions for the file owner and read-only permissions for group members and others on the "k3s.yaml" configuration file, ensuring appropriate access control within the K3s setup on the system.
sudo chmod 644 /etc/rancher/k3s/k3s.yaml
Now once again we are going to run the update & upgrade command if anything is need to update or upgrade.
Now we are going to check status of k3s.
sudo systemctl status k3s

Step - 3
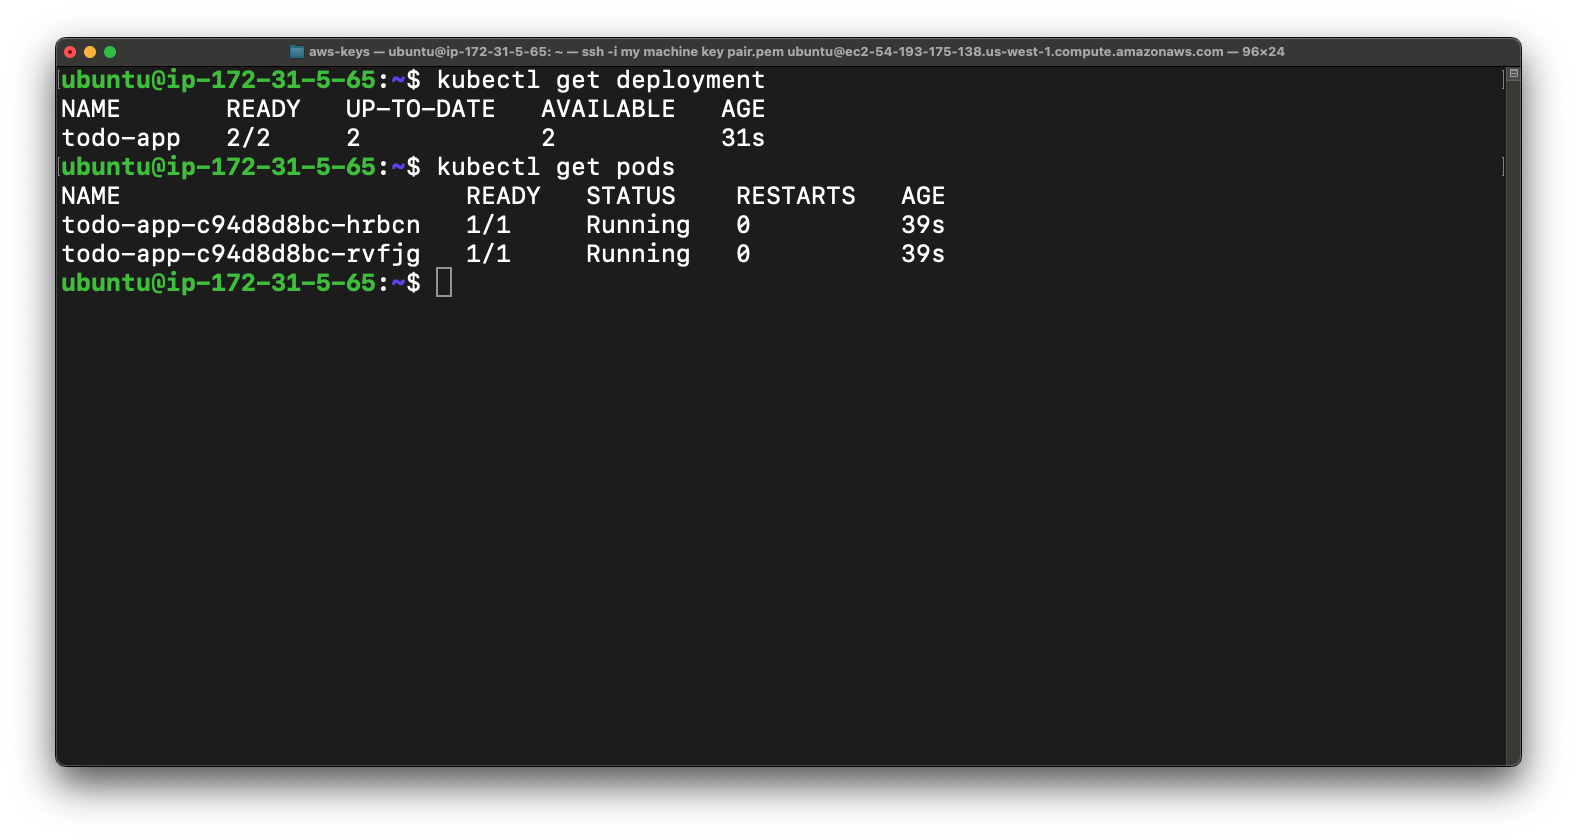
Now in this cluster we don't have any deployment. You can check deployment using below command.
kubectl get deployment

So now we are going to deploy a react app so for that we need two files first is service.yml & other is Deployment.yml.
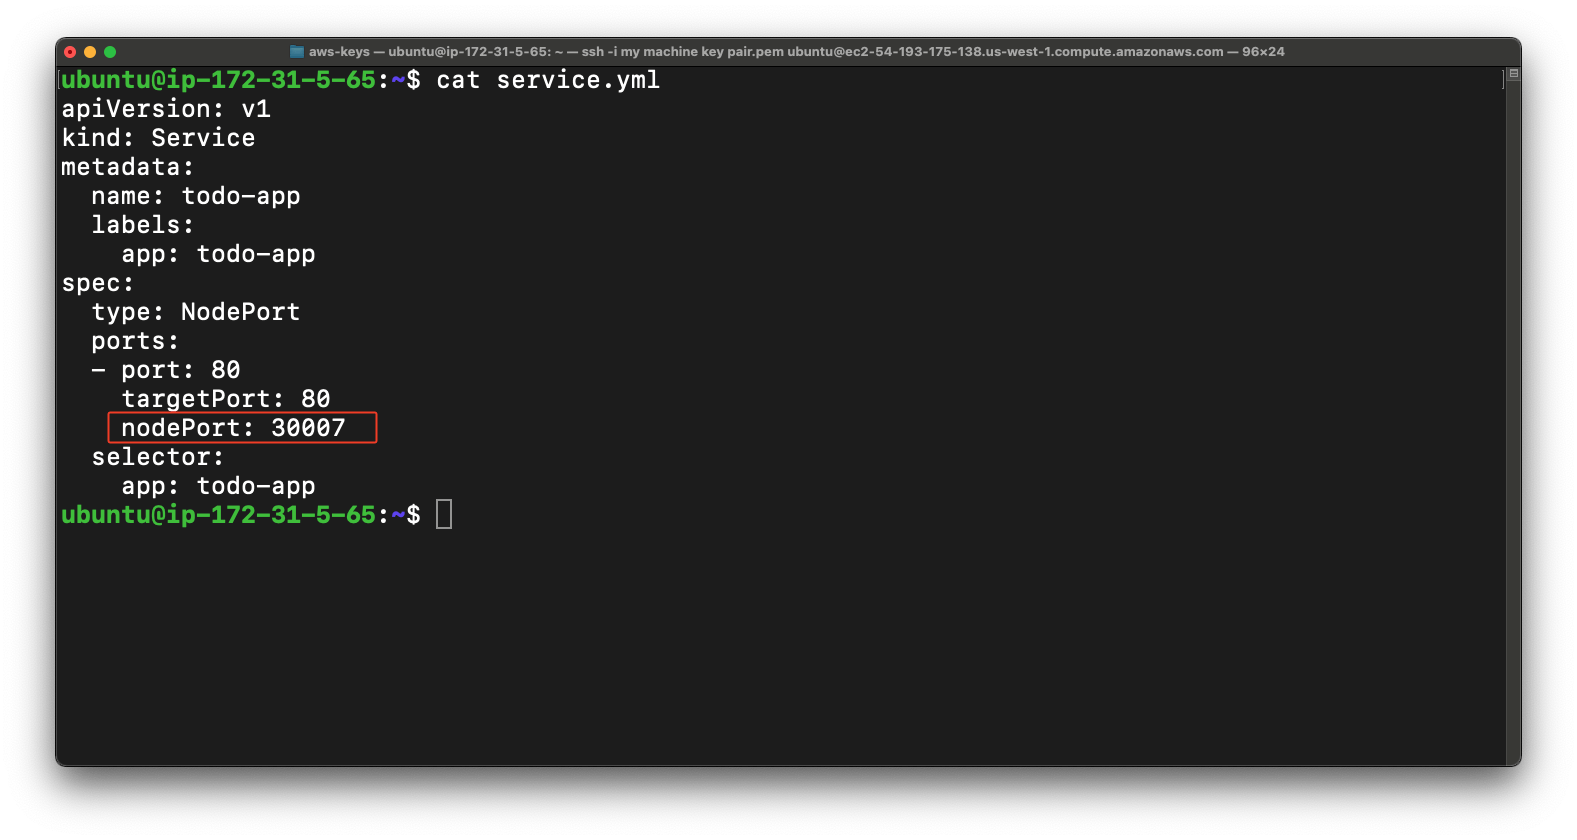
So now first we are going to create service file for the react app so basically
A service file in Kubernetes defines how to access and connect to a group of pods.
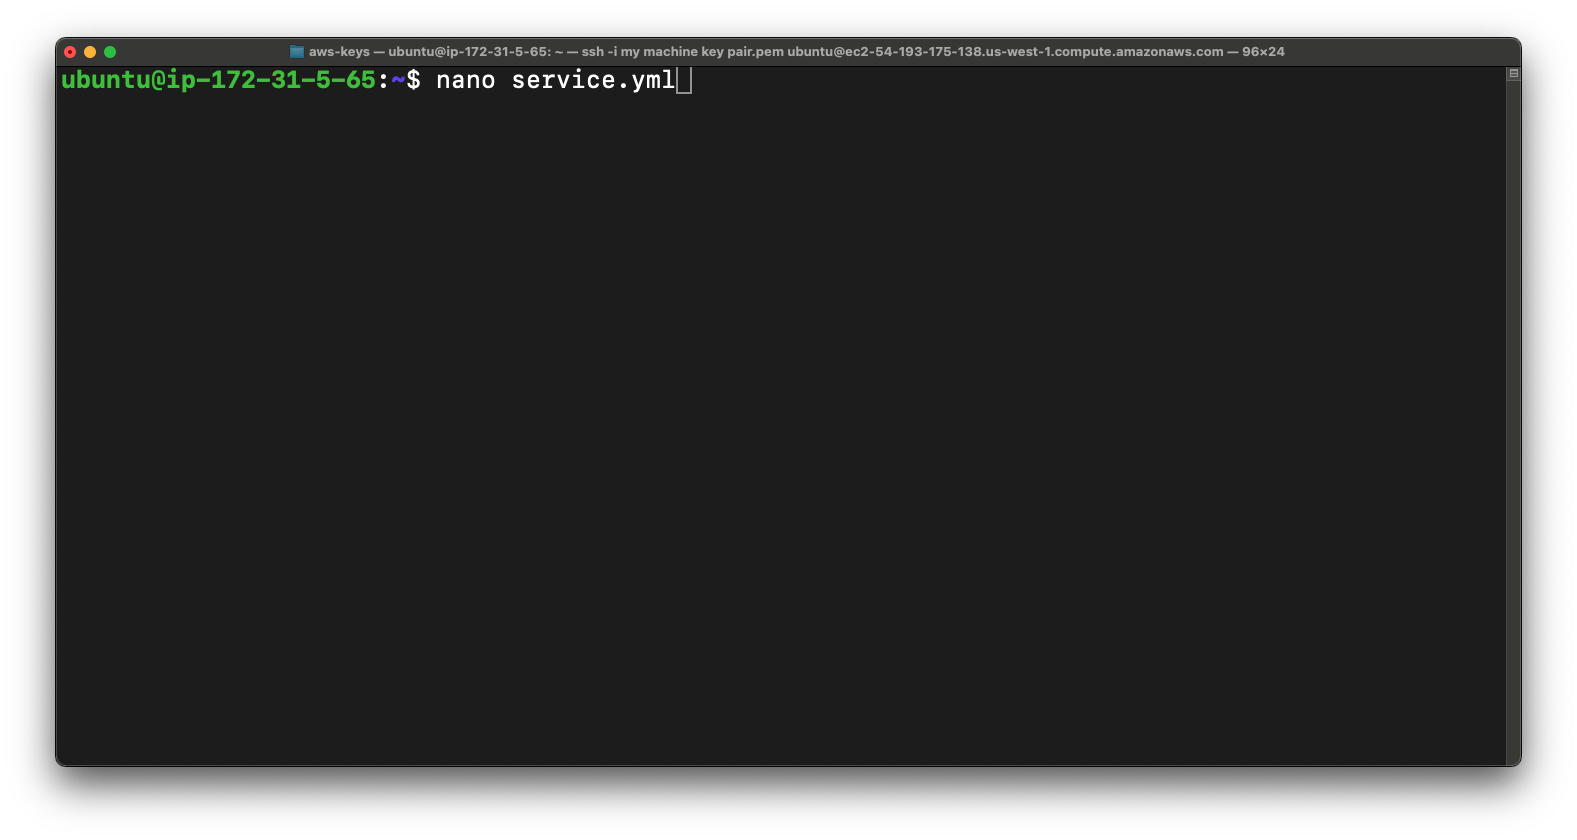
So for that use nano for creating the file.
nano service.yml
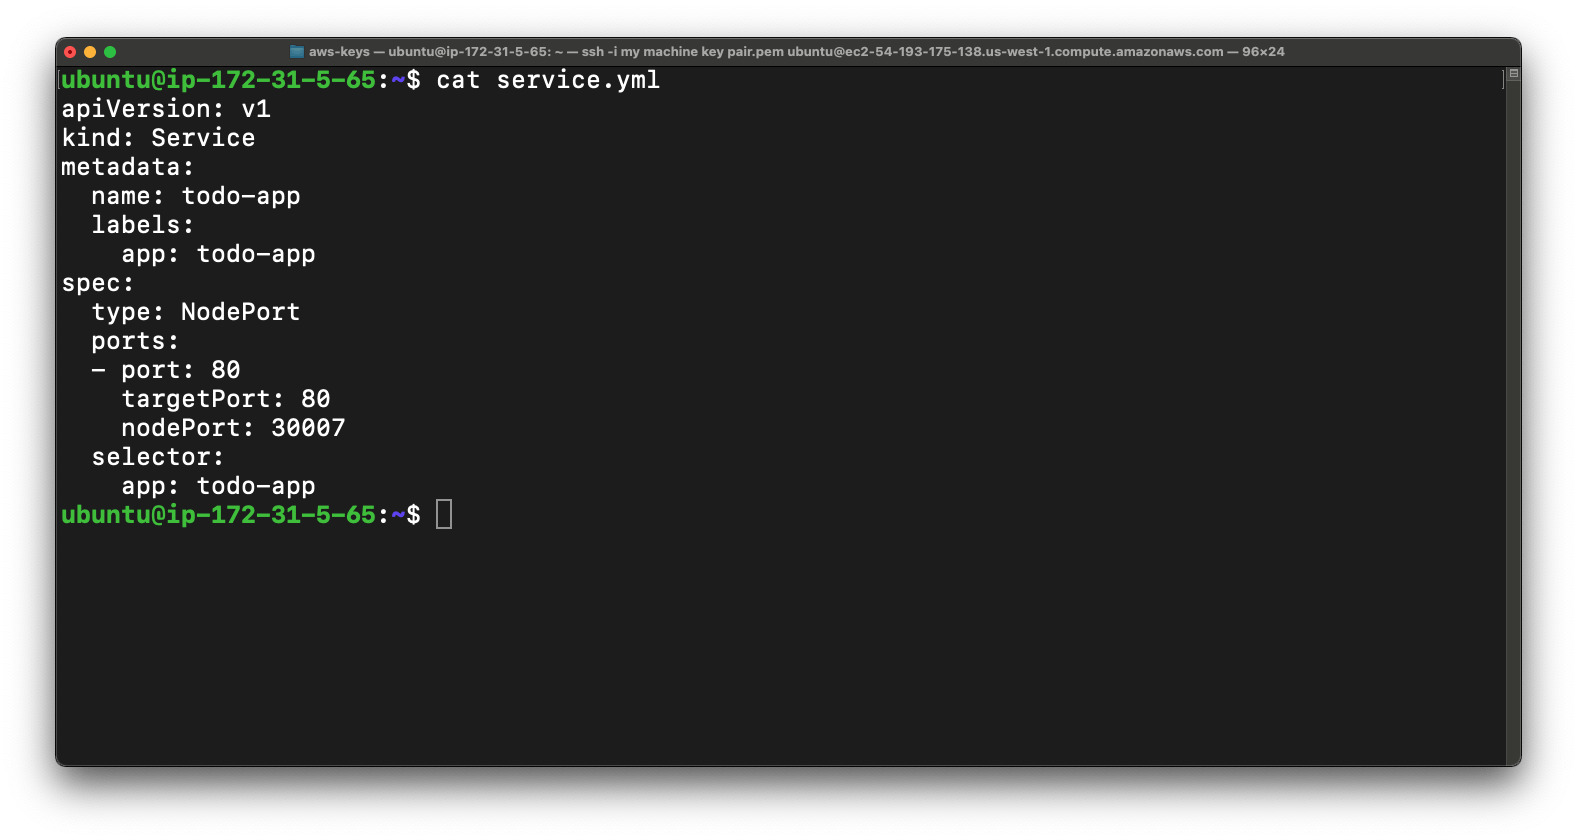
Copy & Paste this code in the file & use the control + s button to save the file.
apiVersion: v1
kind: Service
metadata:
  name: todo-app
  labels:
    app: todo-app
spec:
  type: NodePort
  ports:
  - port: 80
    targetPort: 80
    nodePort: 30007
  selector:
    app: todo-app

As you can see that we have successfully create the service file
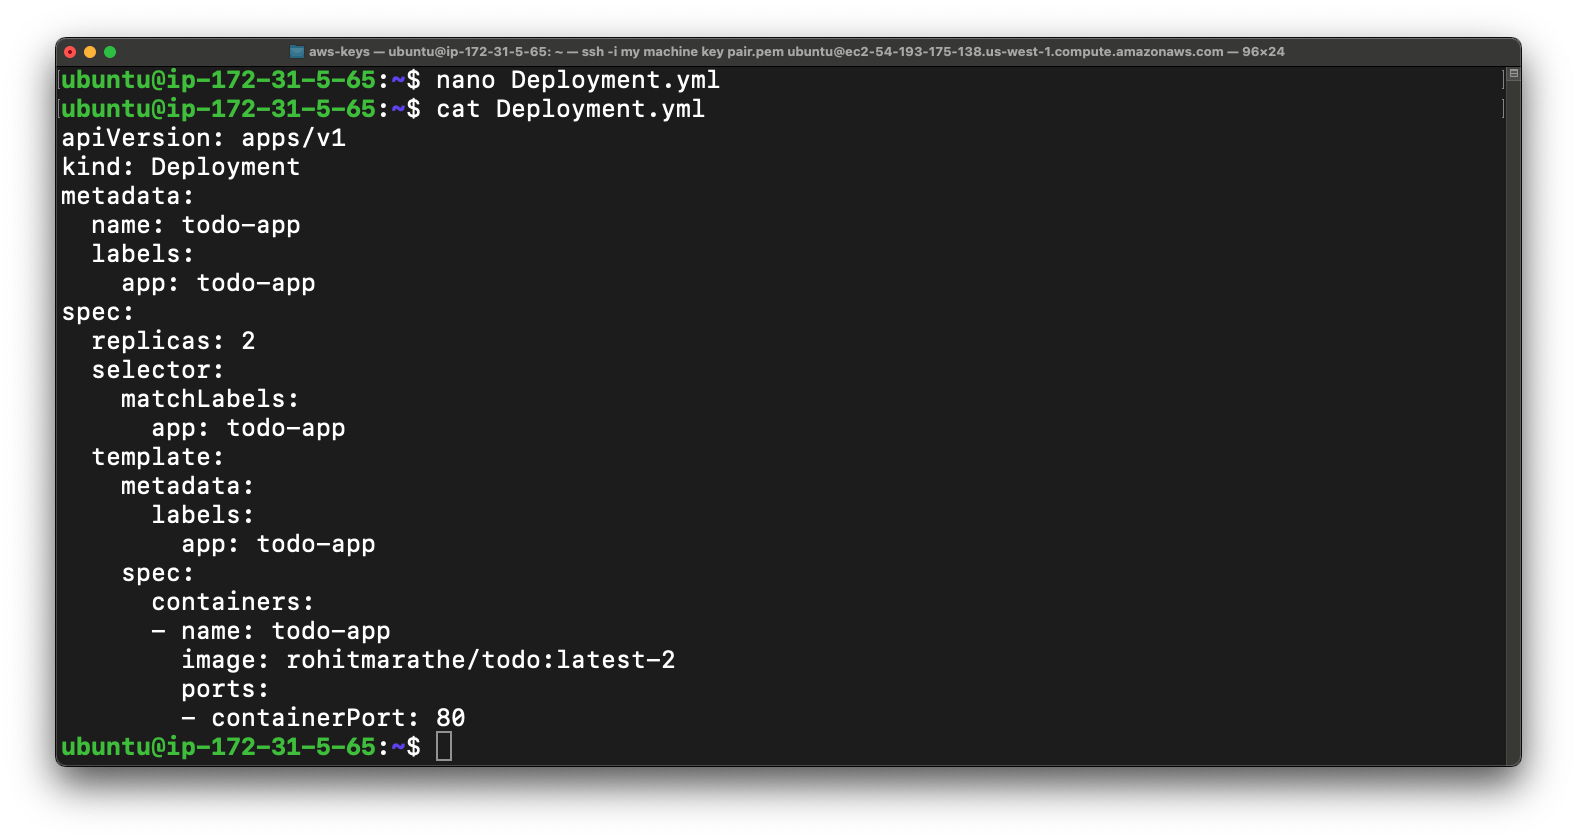
Also now create Deployment.yml file just copy & paste the below code in the file.
apiVersion: apps/v1
kind: Deployment
metadata:
  name: todo-app
  labels:
    app: todo-app
spec:
  replicas: 2
  selector:
    matchLabels:
      app: todo-app
  template:
    metadata:
      labels:
        app: todo-app
    spec:
      containers:
      - name: todo-app
        image: rohitmarathe/todo:latest-2
        ports:
        - containerPort: 80
Now our Deployment.yml file is also ready.
Now we just apply kubectl command to deploy the app.
sudo kubectl apply -f Deployment.yml
sudo kubectl apply -f service.yml
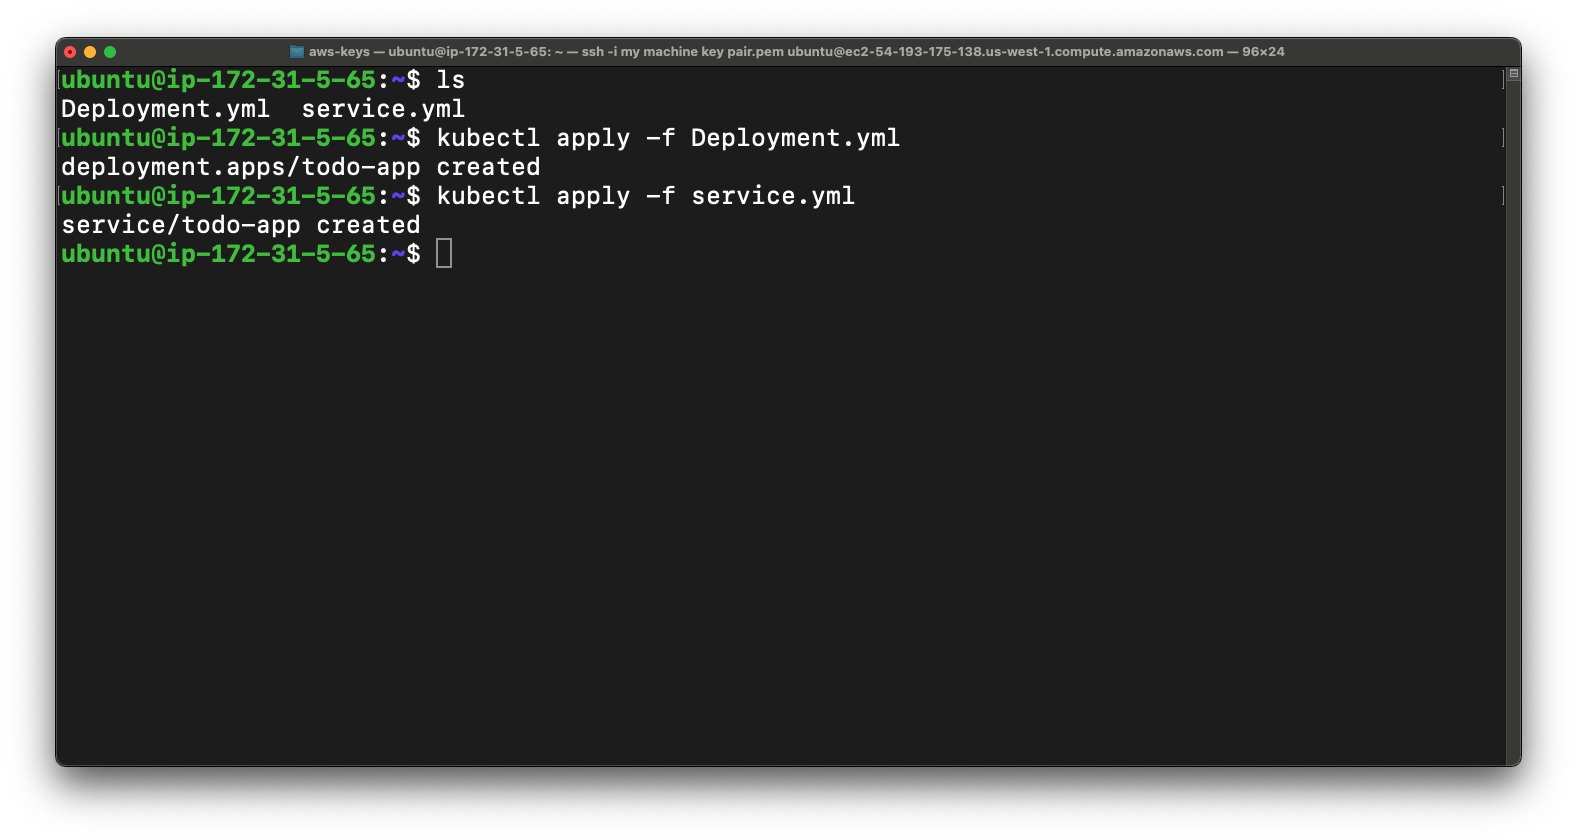
So once you done with above then you can verify that whether is deployment is running or not using kubectl command.
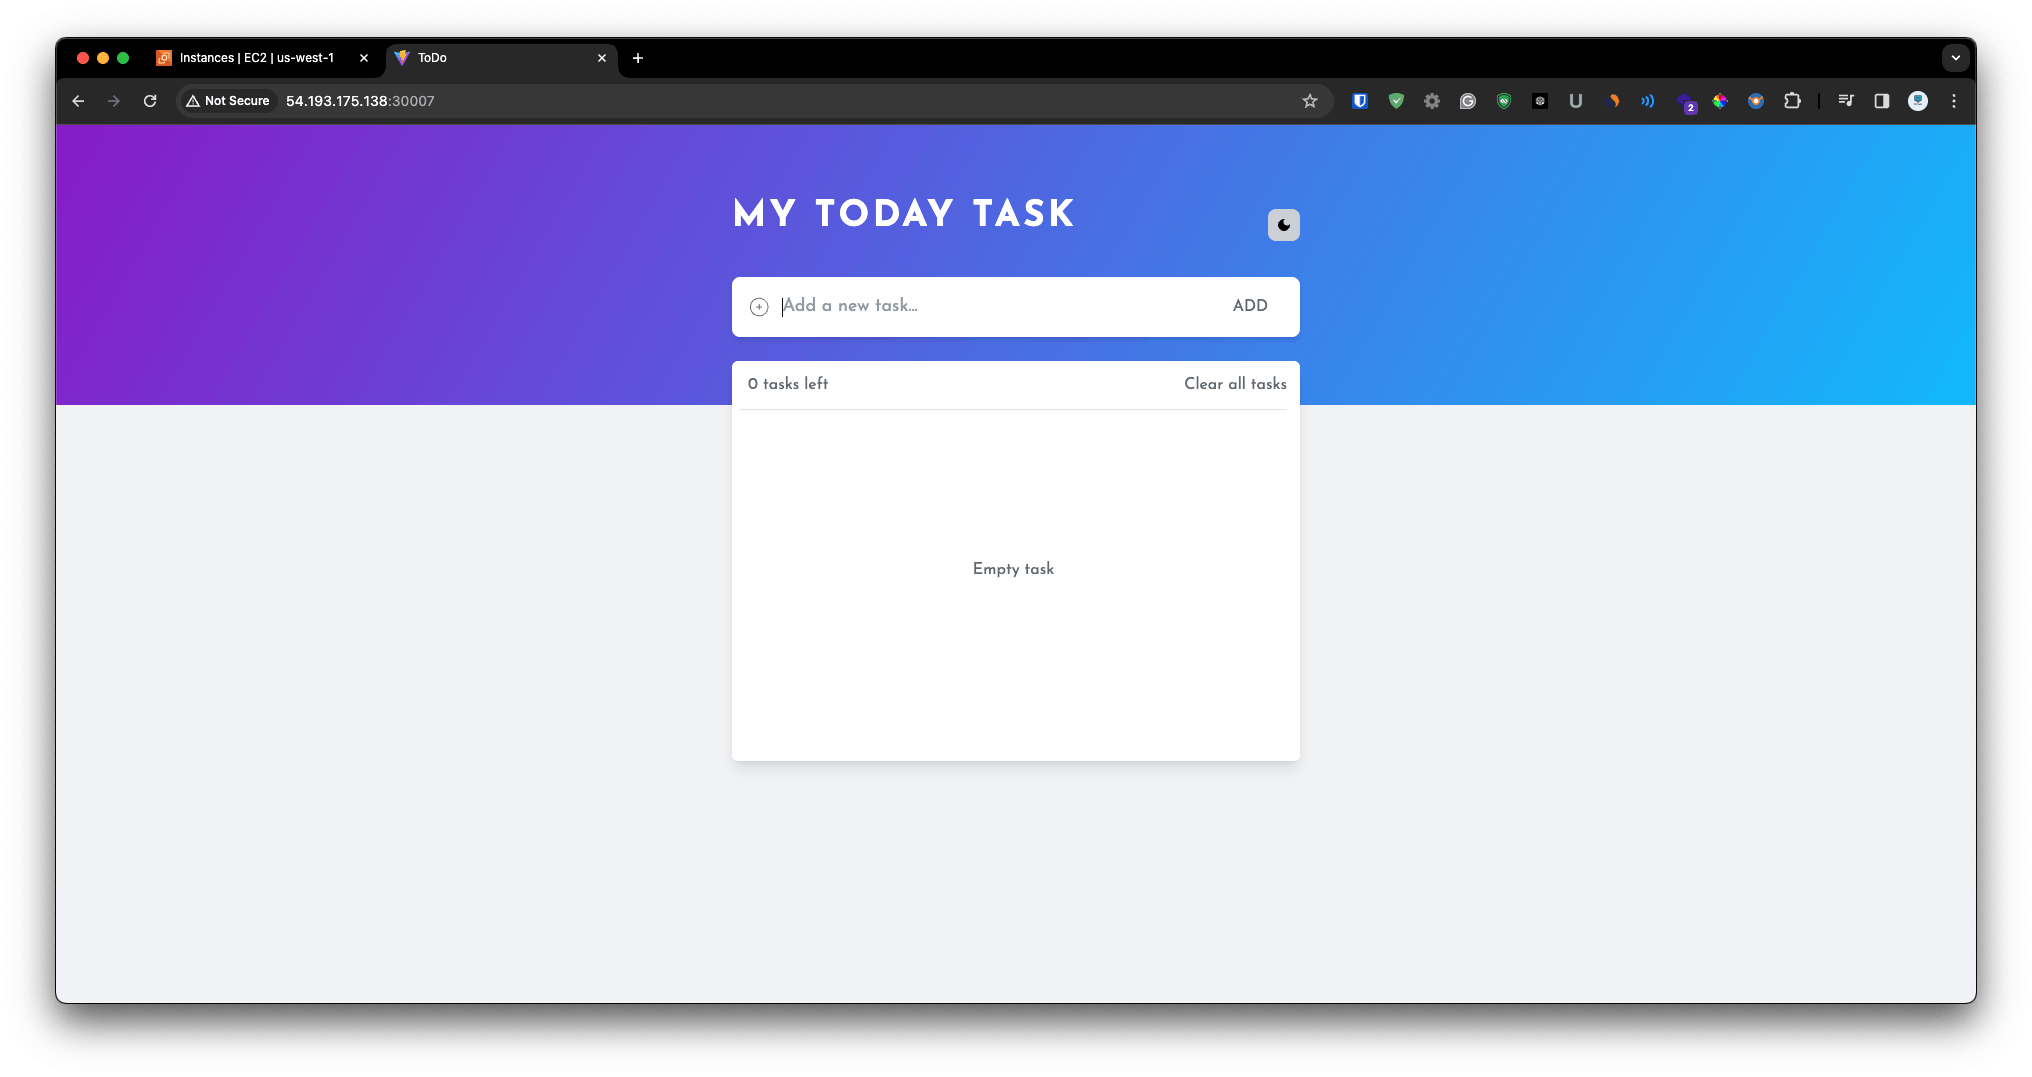
So now we are going to access the app. So i mentioned in the service file this app will be access with the NodePort.
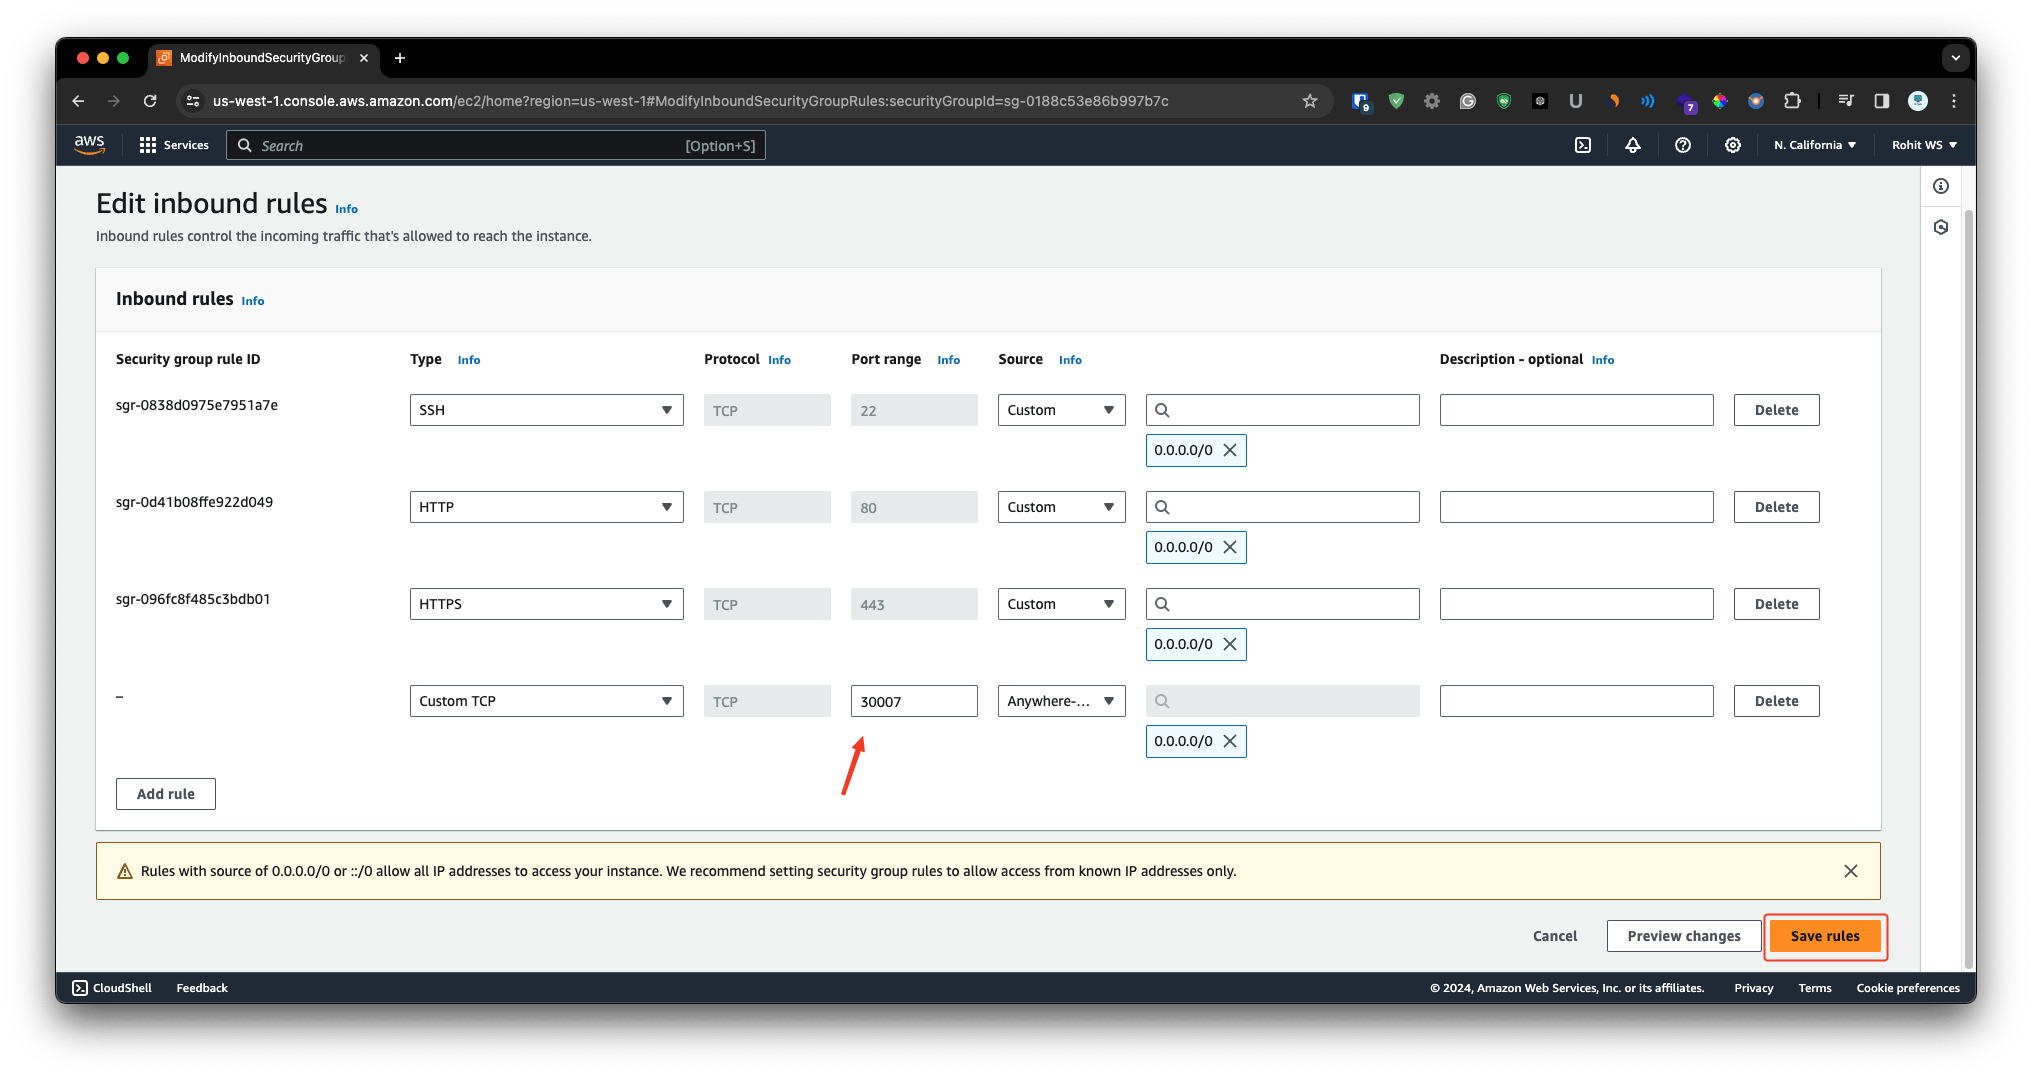
The NodePort - 30007 is port where we can access the app so first we have to add this port number in security group of instance.
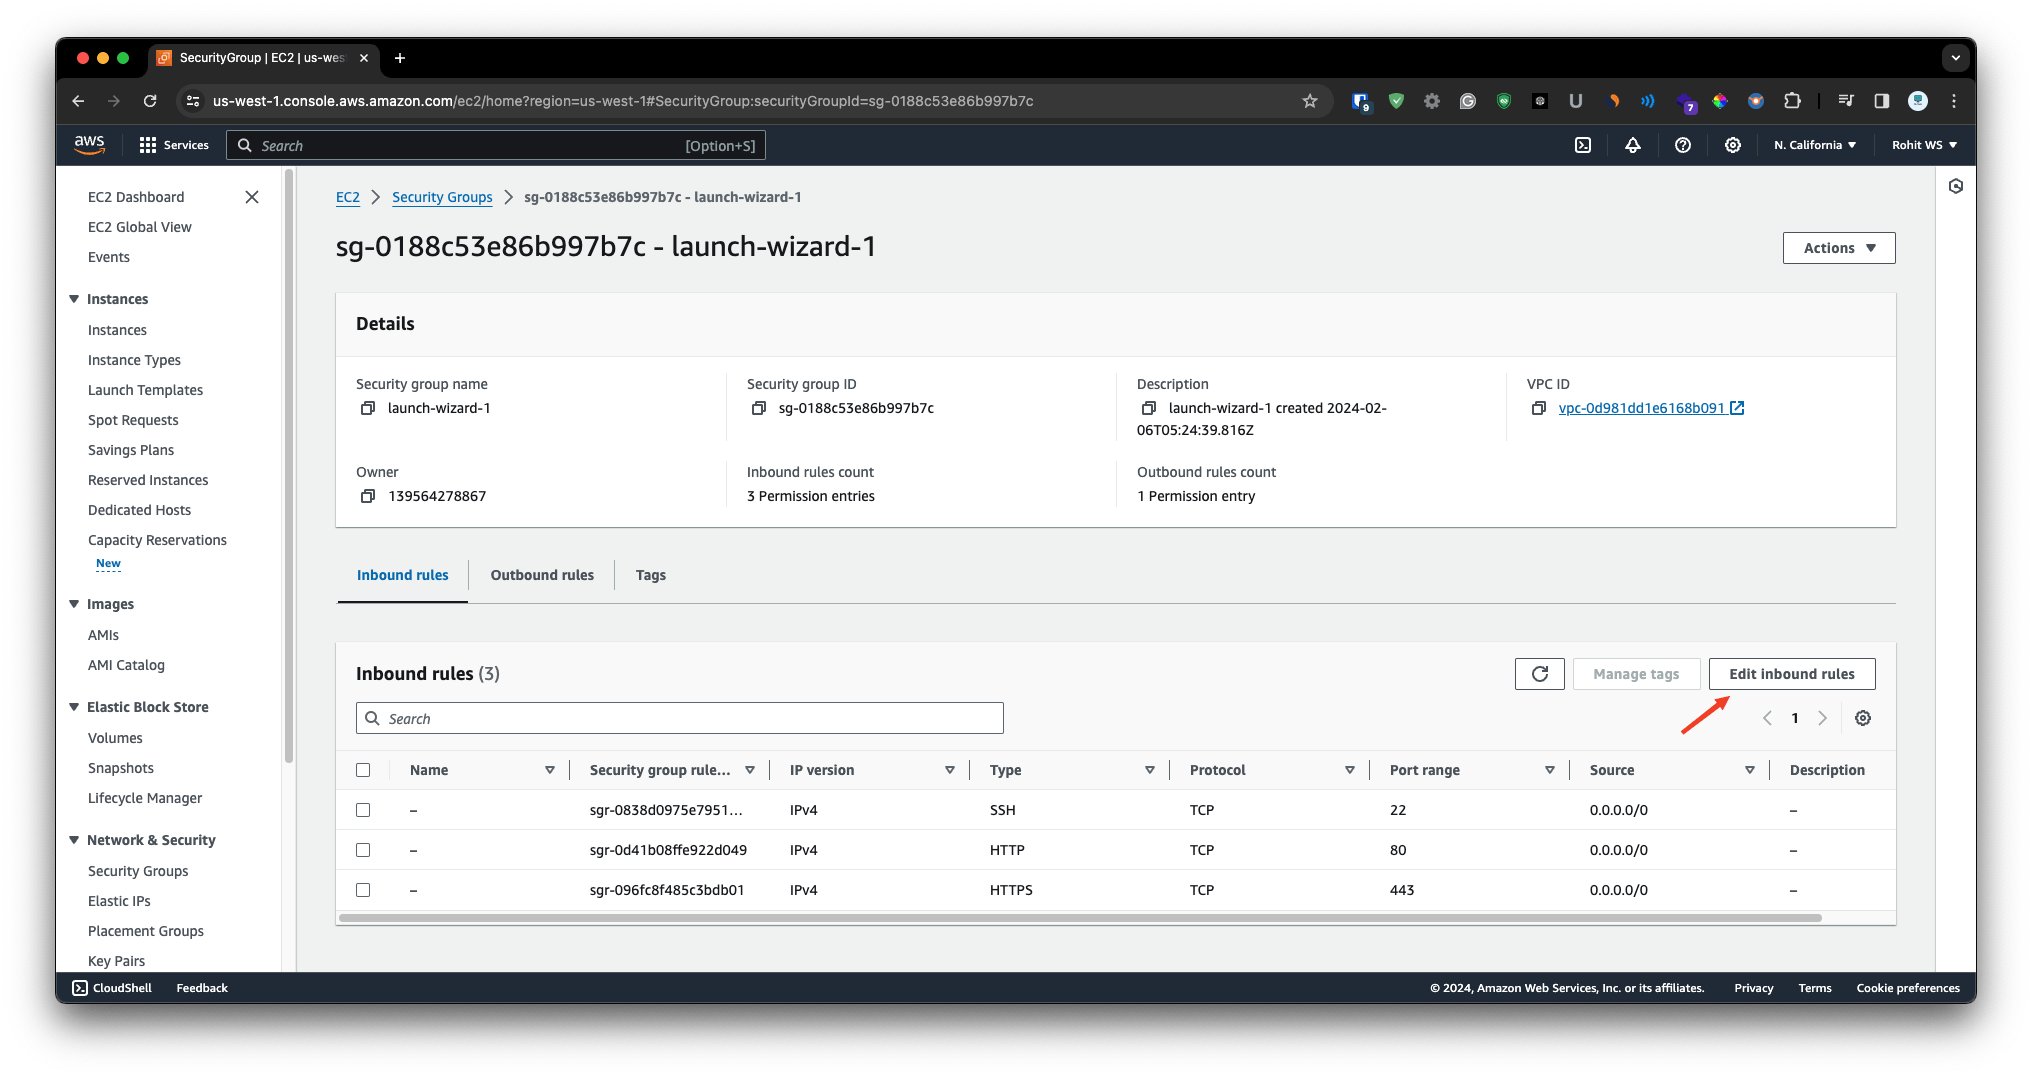
Just simply select the instance & navigate to the security tab & click on the security group.
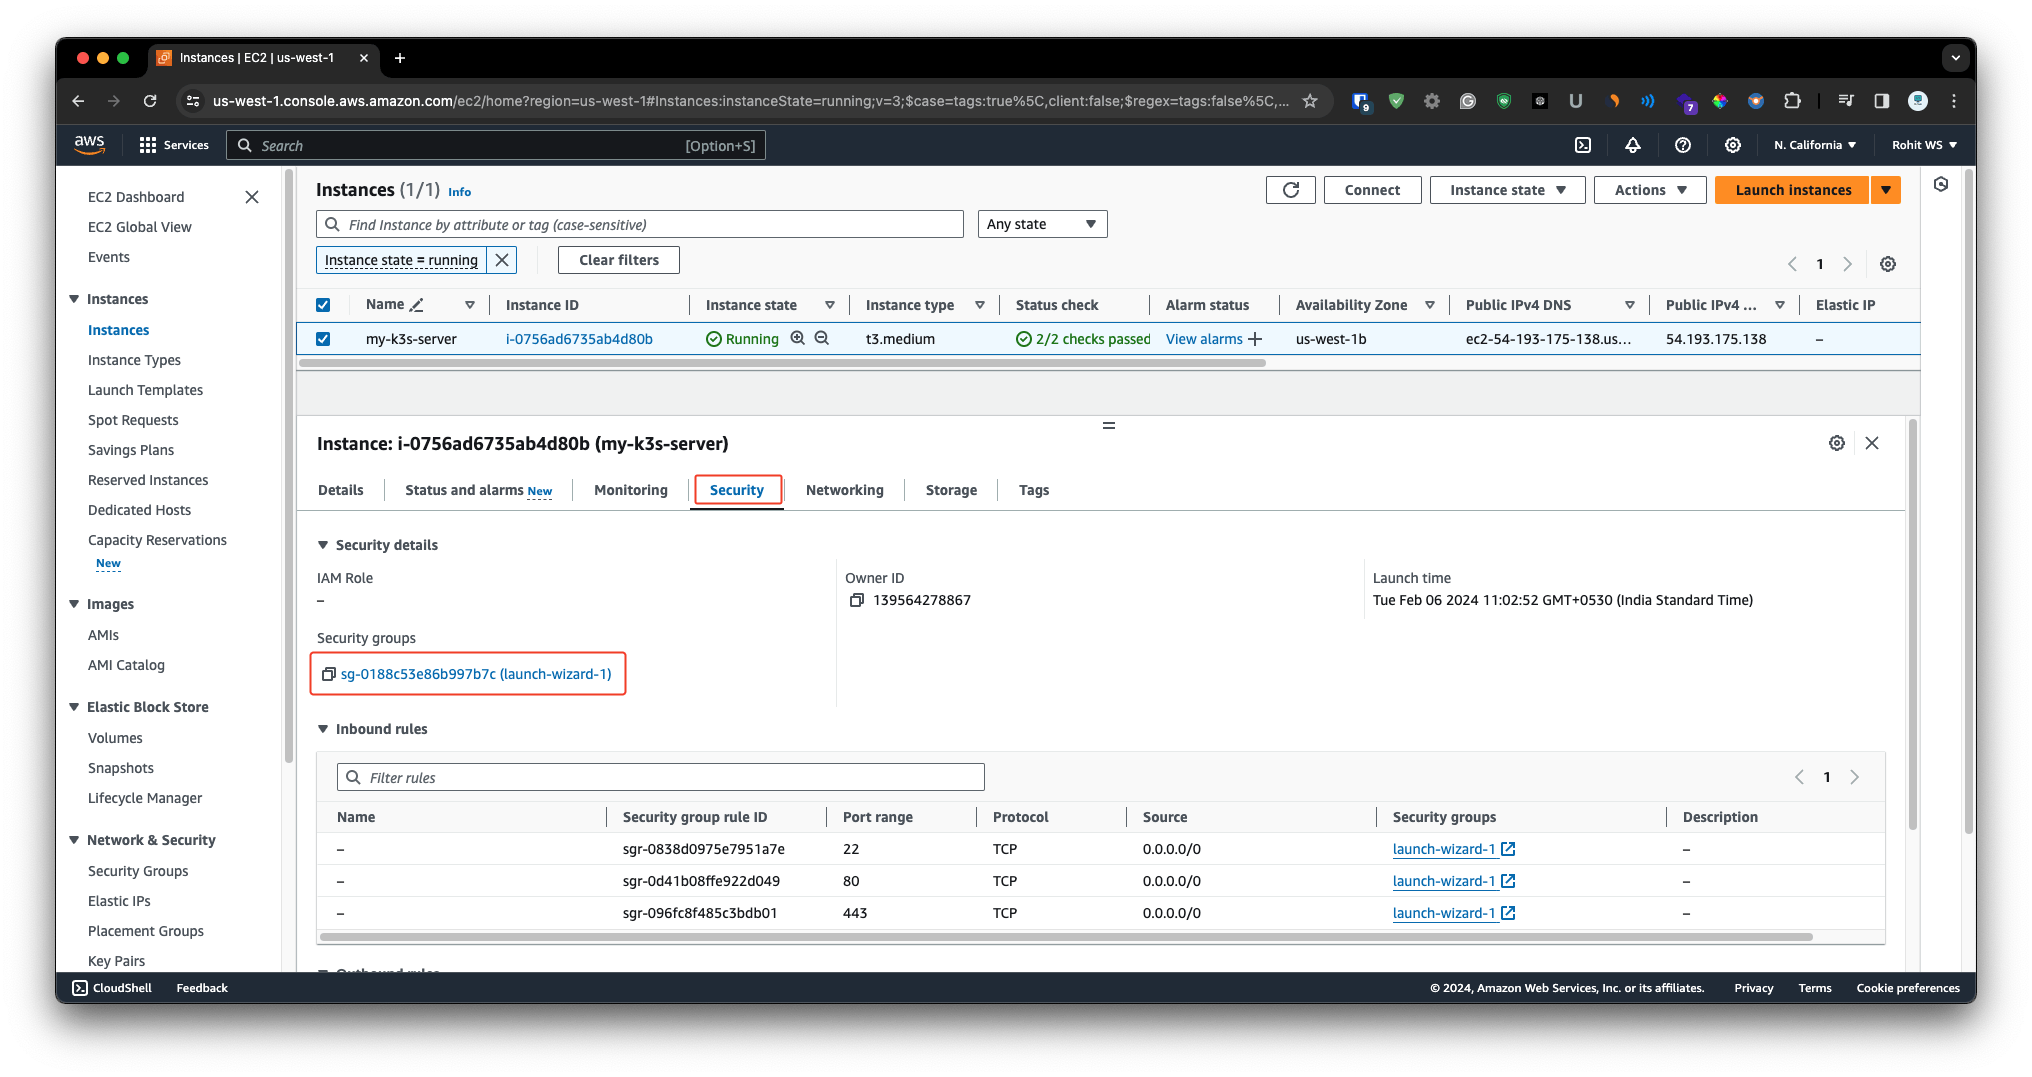
Then just simple click on the Edit Inbound Rule & choose custom tcp add the port number and choose source from anywhere ipv4 & save the rule.
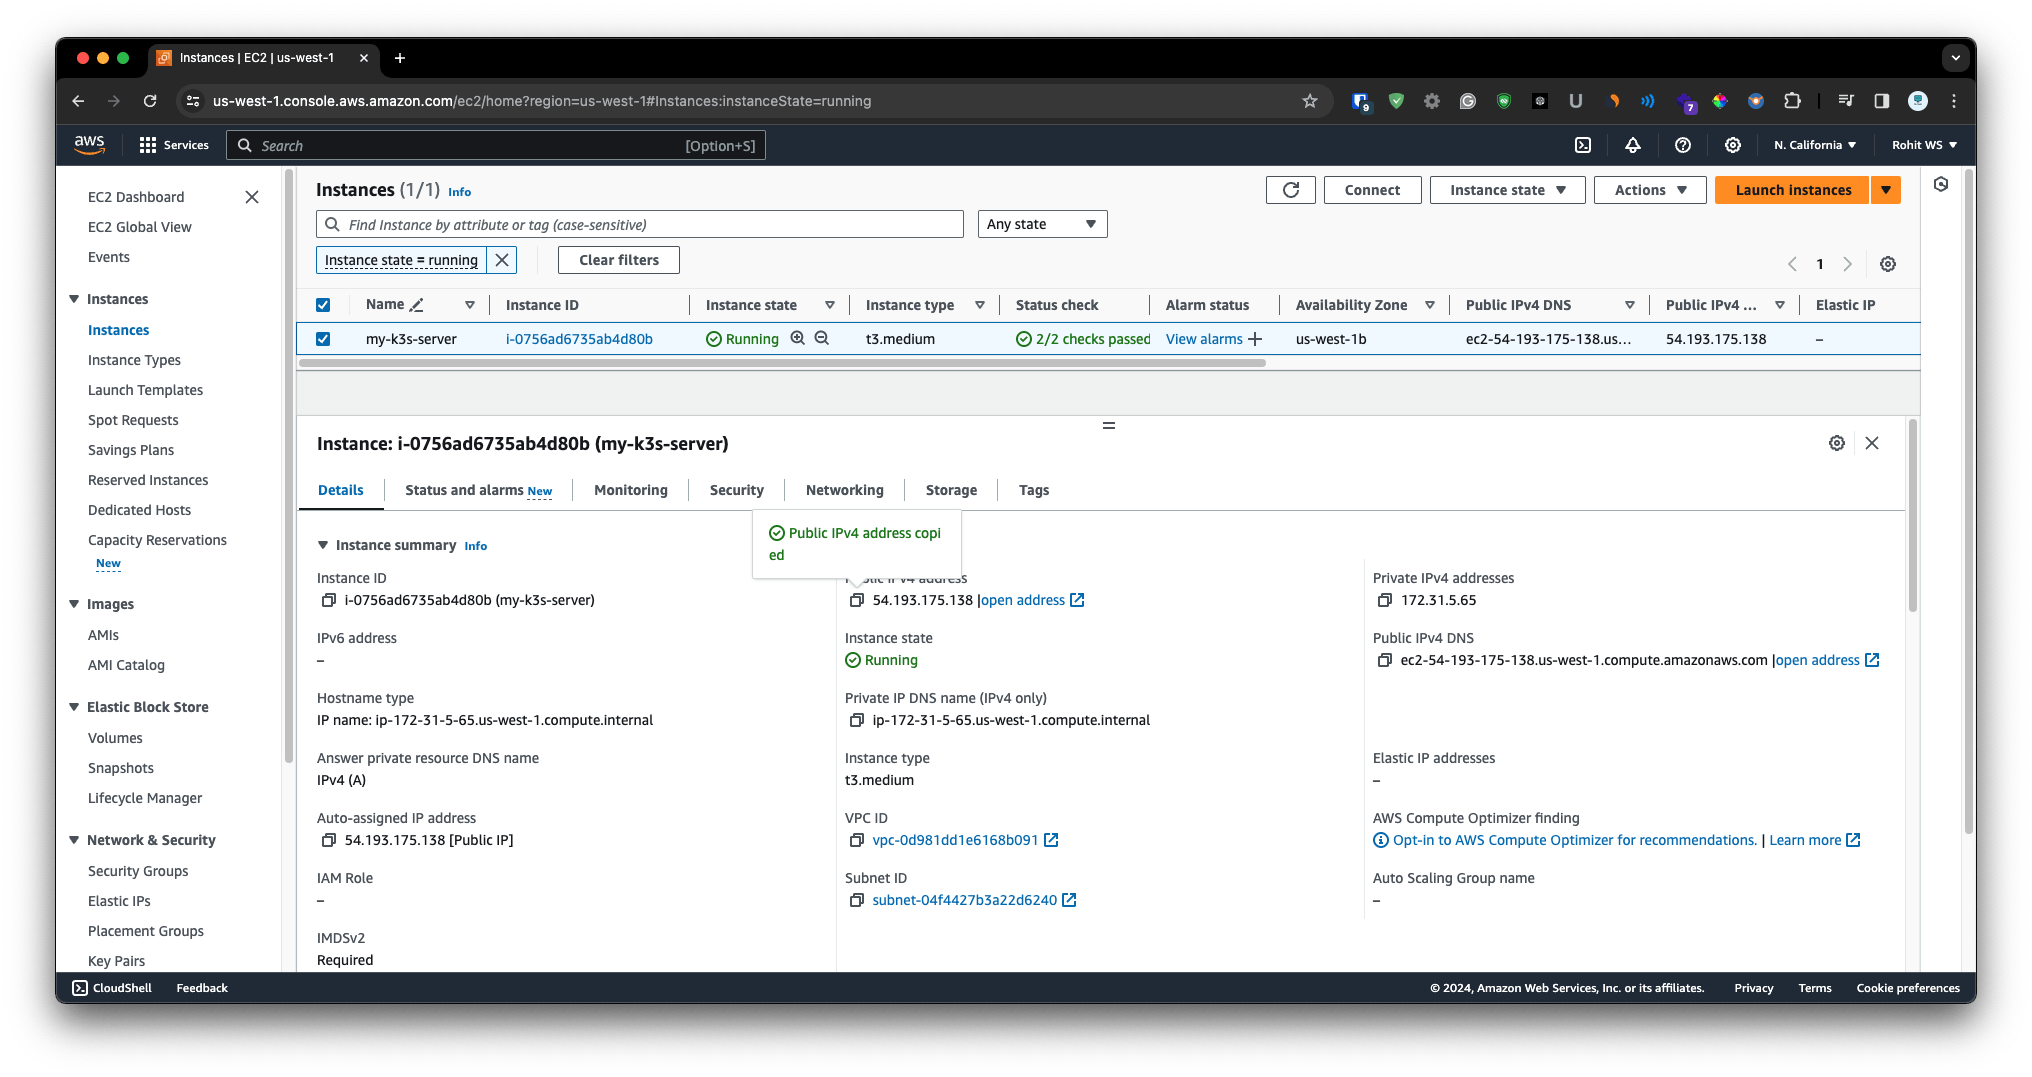
Now select the instance & copy the public ip Now paste the public ip along with the port number in new tab.

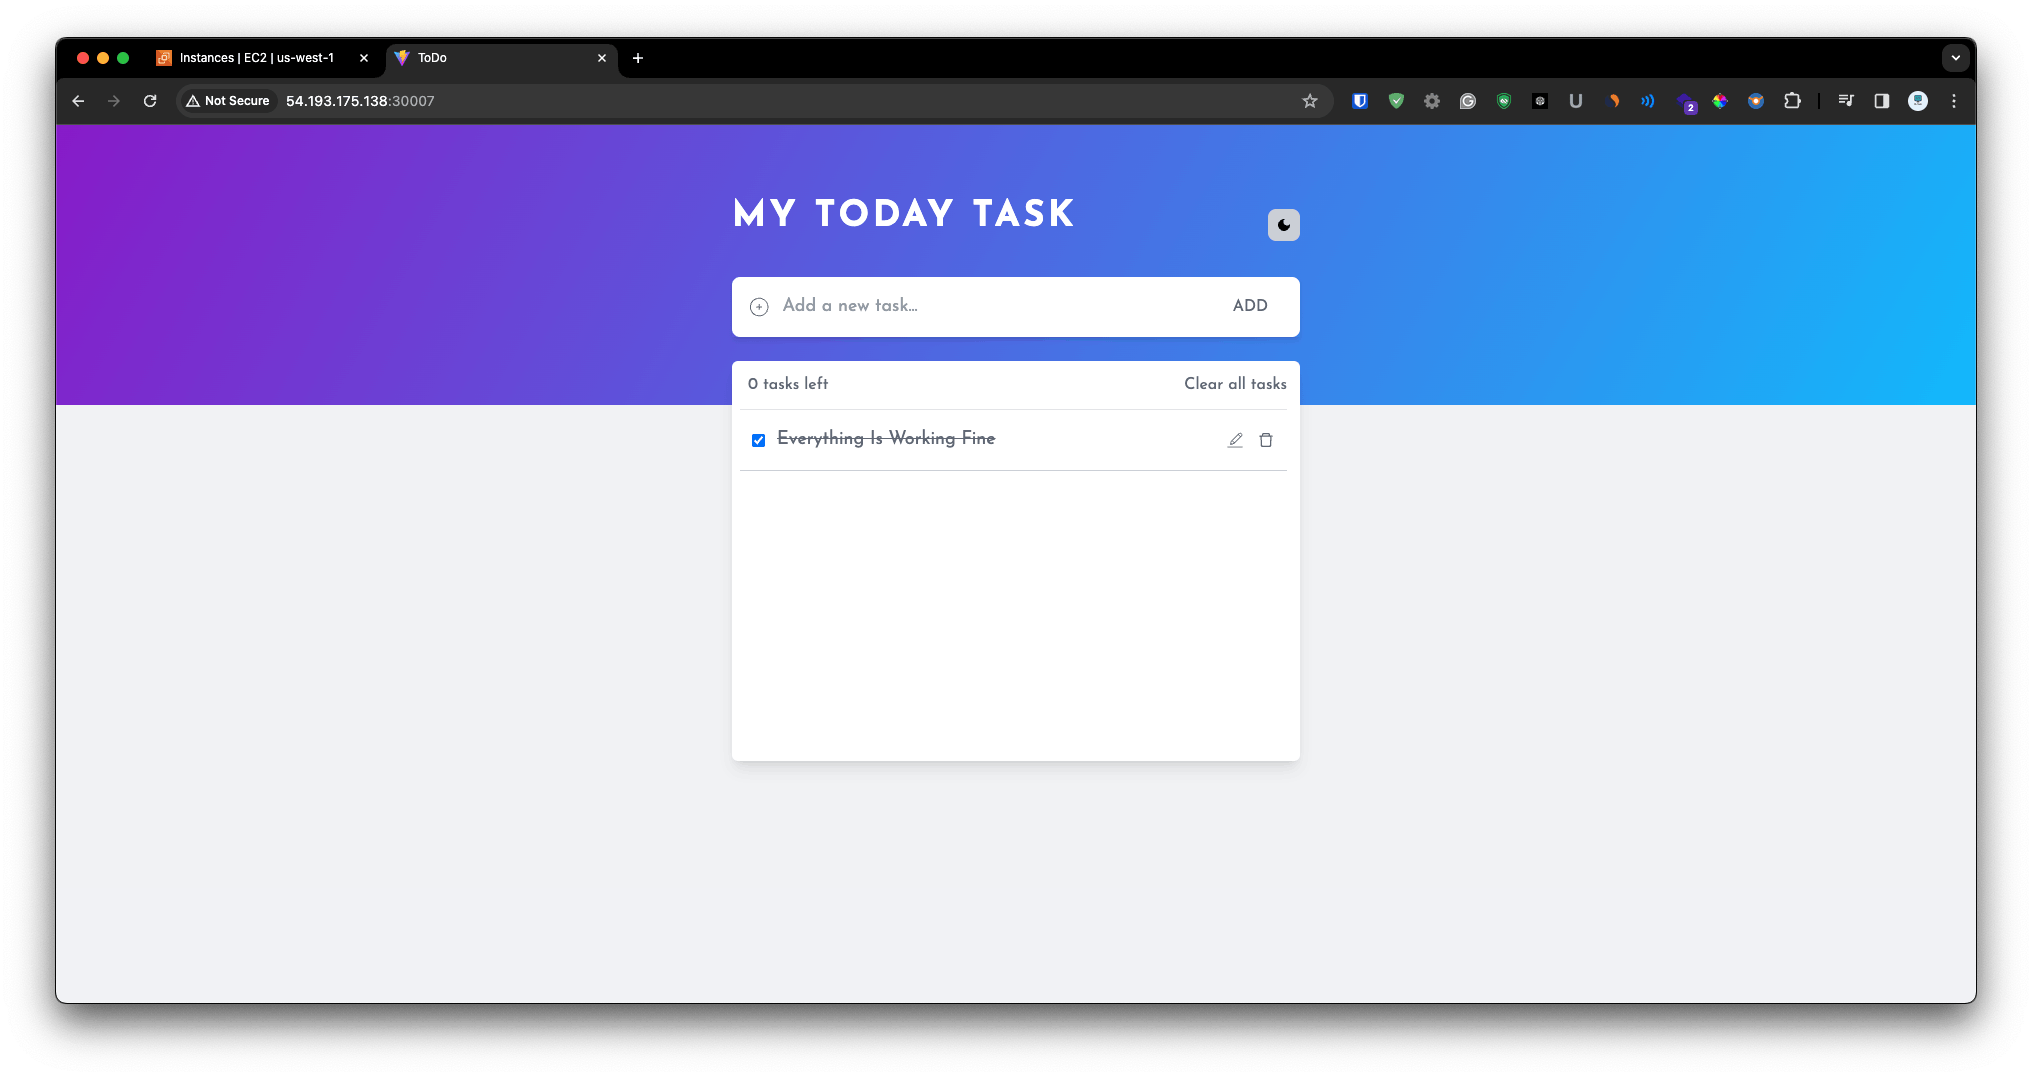
As you see that our app is successfully in deploy on k3s cluster Also app is working fine.